Best Of
Re: Post a picture.....any picture...part deux...
They're pretty common here, although it has been a couple of years - until today - that I've seen one in our yard.
We've seen a mom (I presume) and little ones (kittens? boblings?) a couple of times during the summers over the years here. Adorbsable. No photos, unfortunately.
I emailed our neighbors to see if this one (or others) turn up on their gamecam.
Our own gamecam got attacked a few years back by a woodpecker and I haven't replaced it to date.
We've seen a mom (I presume) and little ones (kittens? boblings?) a couple of times during the summers over the years here. Adorbsable. No photos, unfortunately.
I emailed our neighbors to see if this one (or others) turn up on their gamecam.
Our own gamecam got attacked a few years back by a woodpecker
 mhardy6647
4 ·

Re: Post a picture.....any picture...part deux...
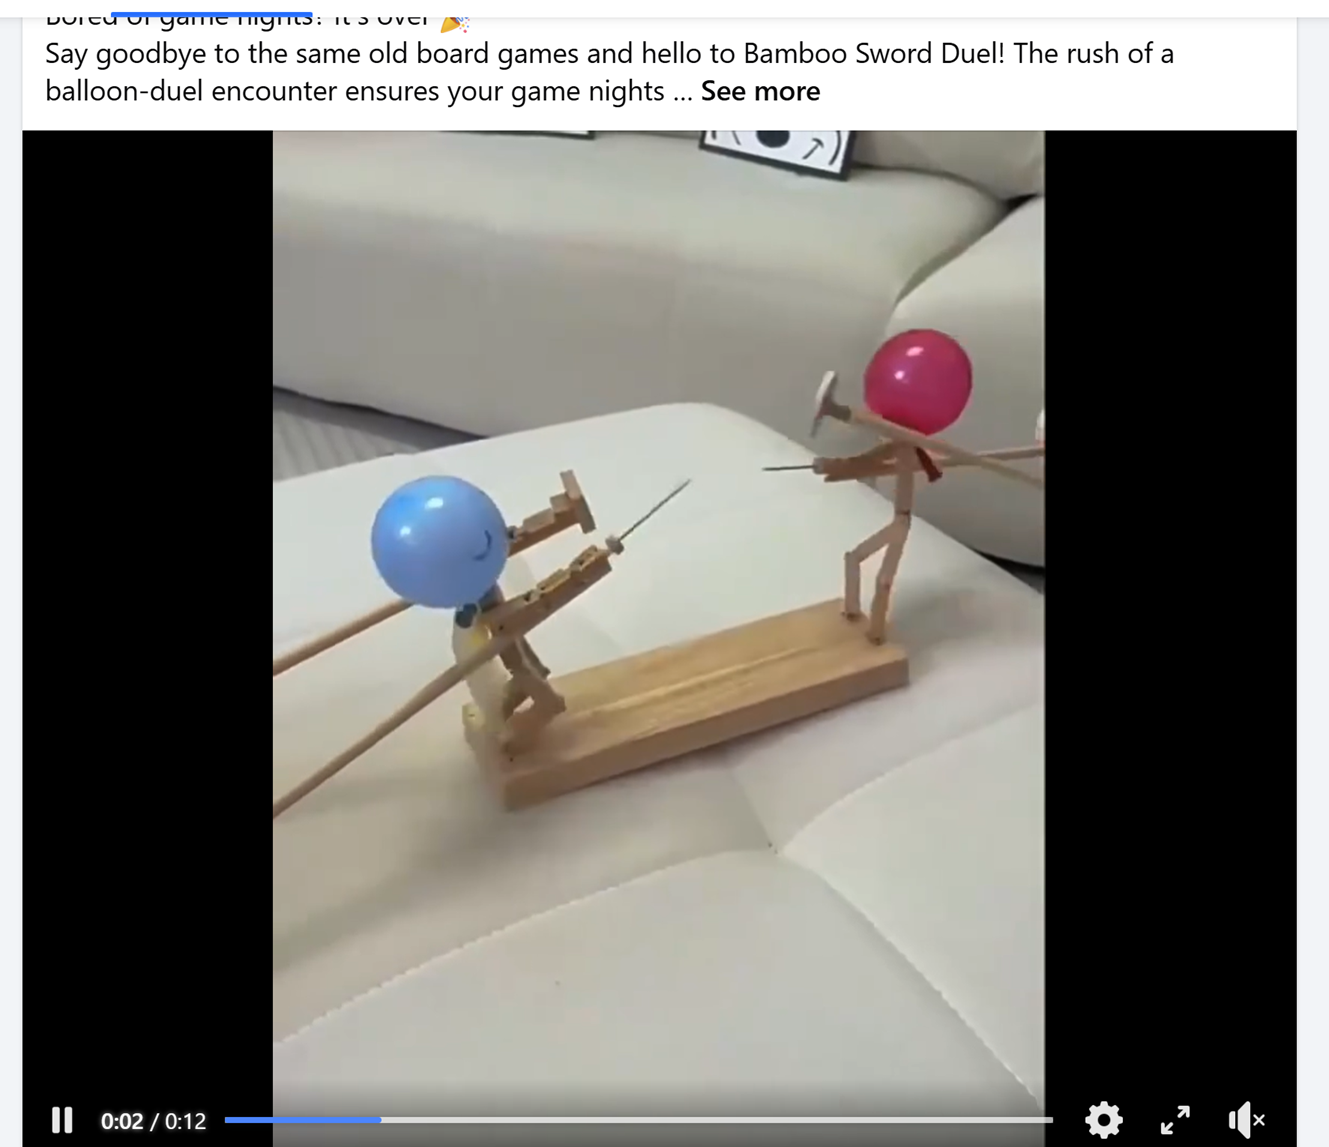
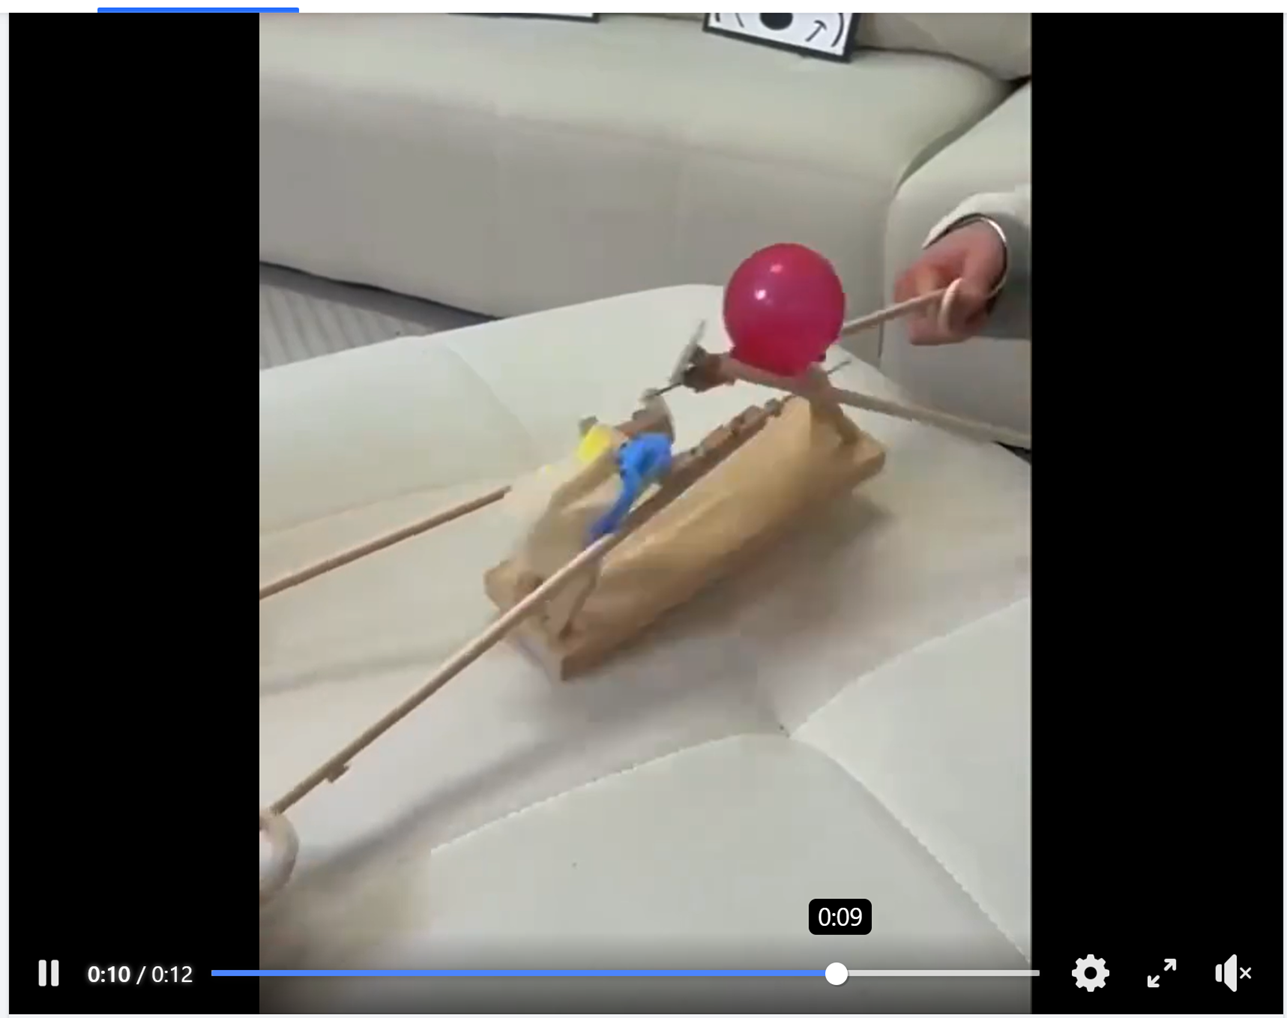
Bamboo Sword Duel puts skin, er, your balloon in the game.
 SCompRacer
4 ·

Re: Tweeter replacement options for Monitor 10b
Hi Folks. Just catching up on my first post here…seems to have generated some spirited discussion - which I will gently side-step. ")
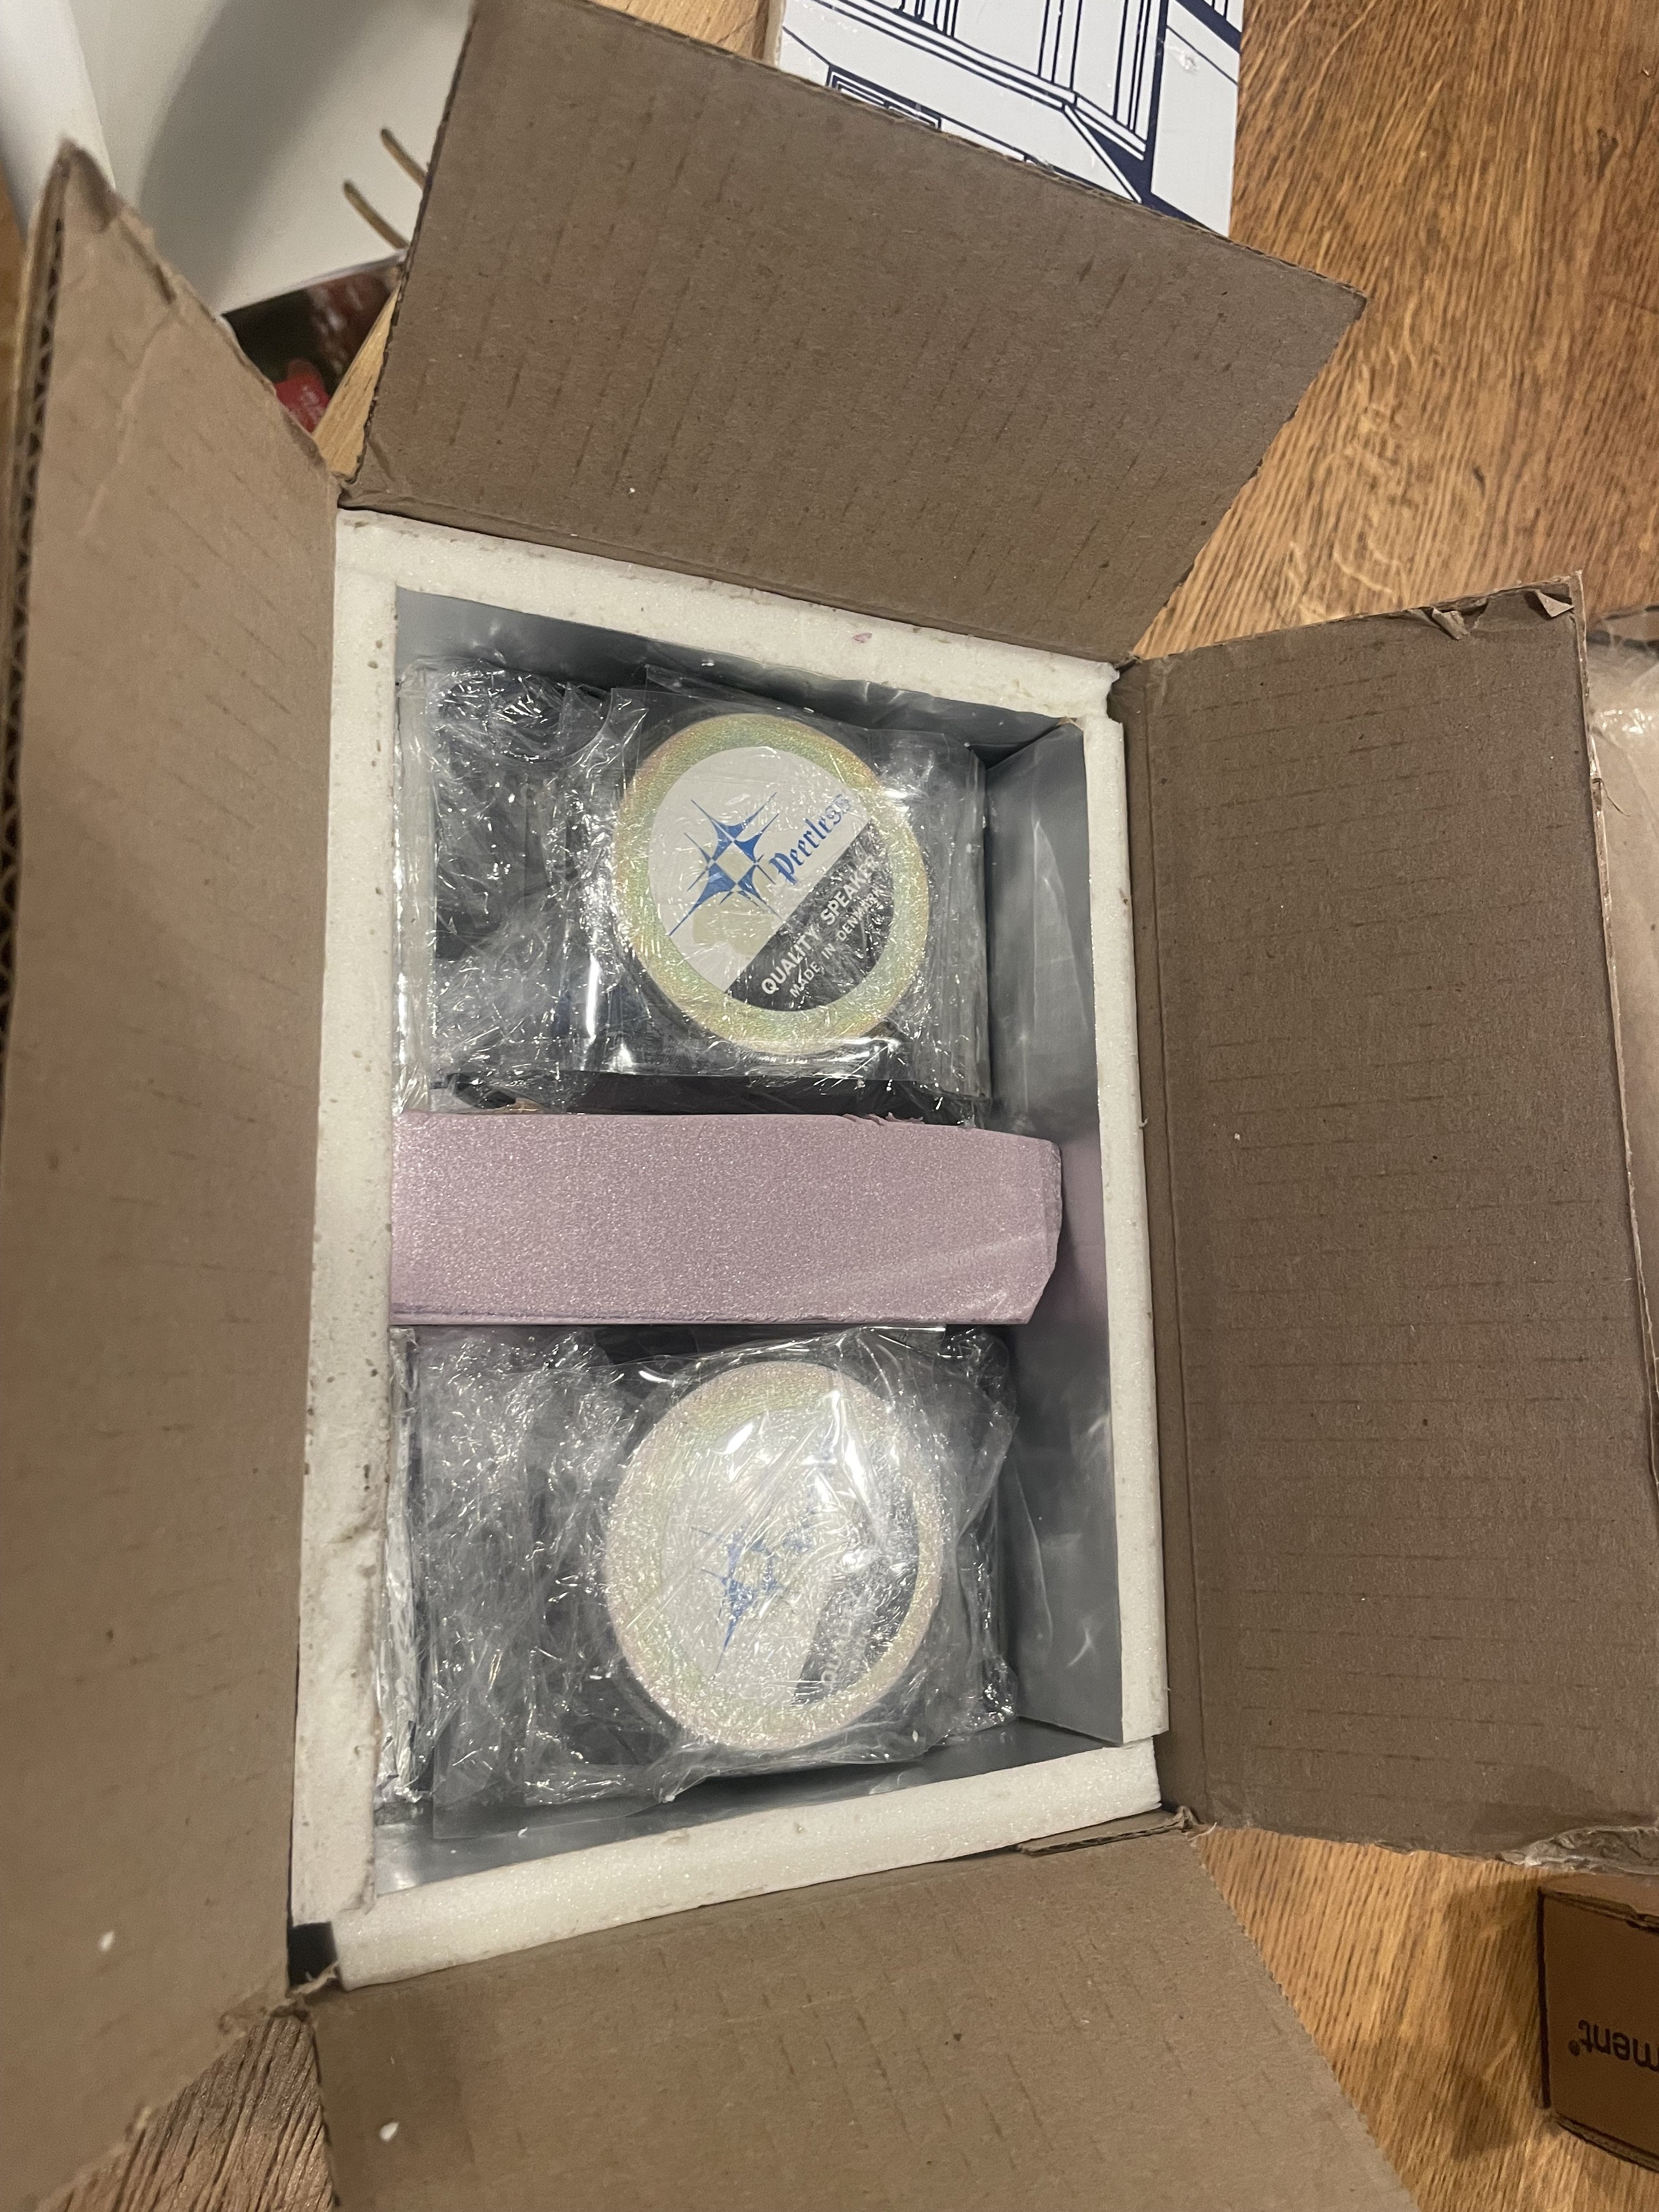
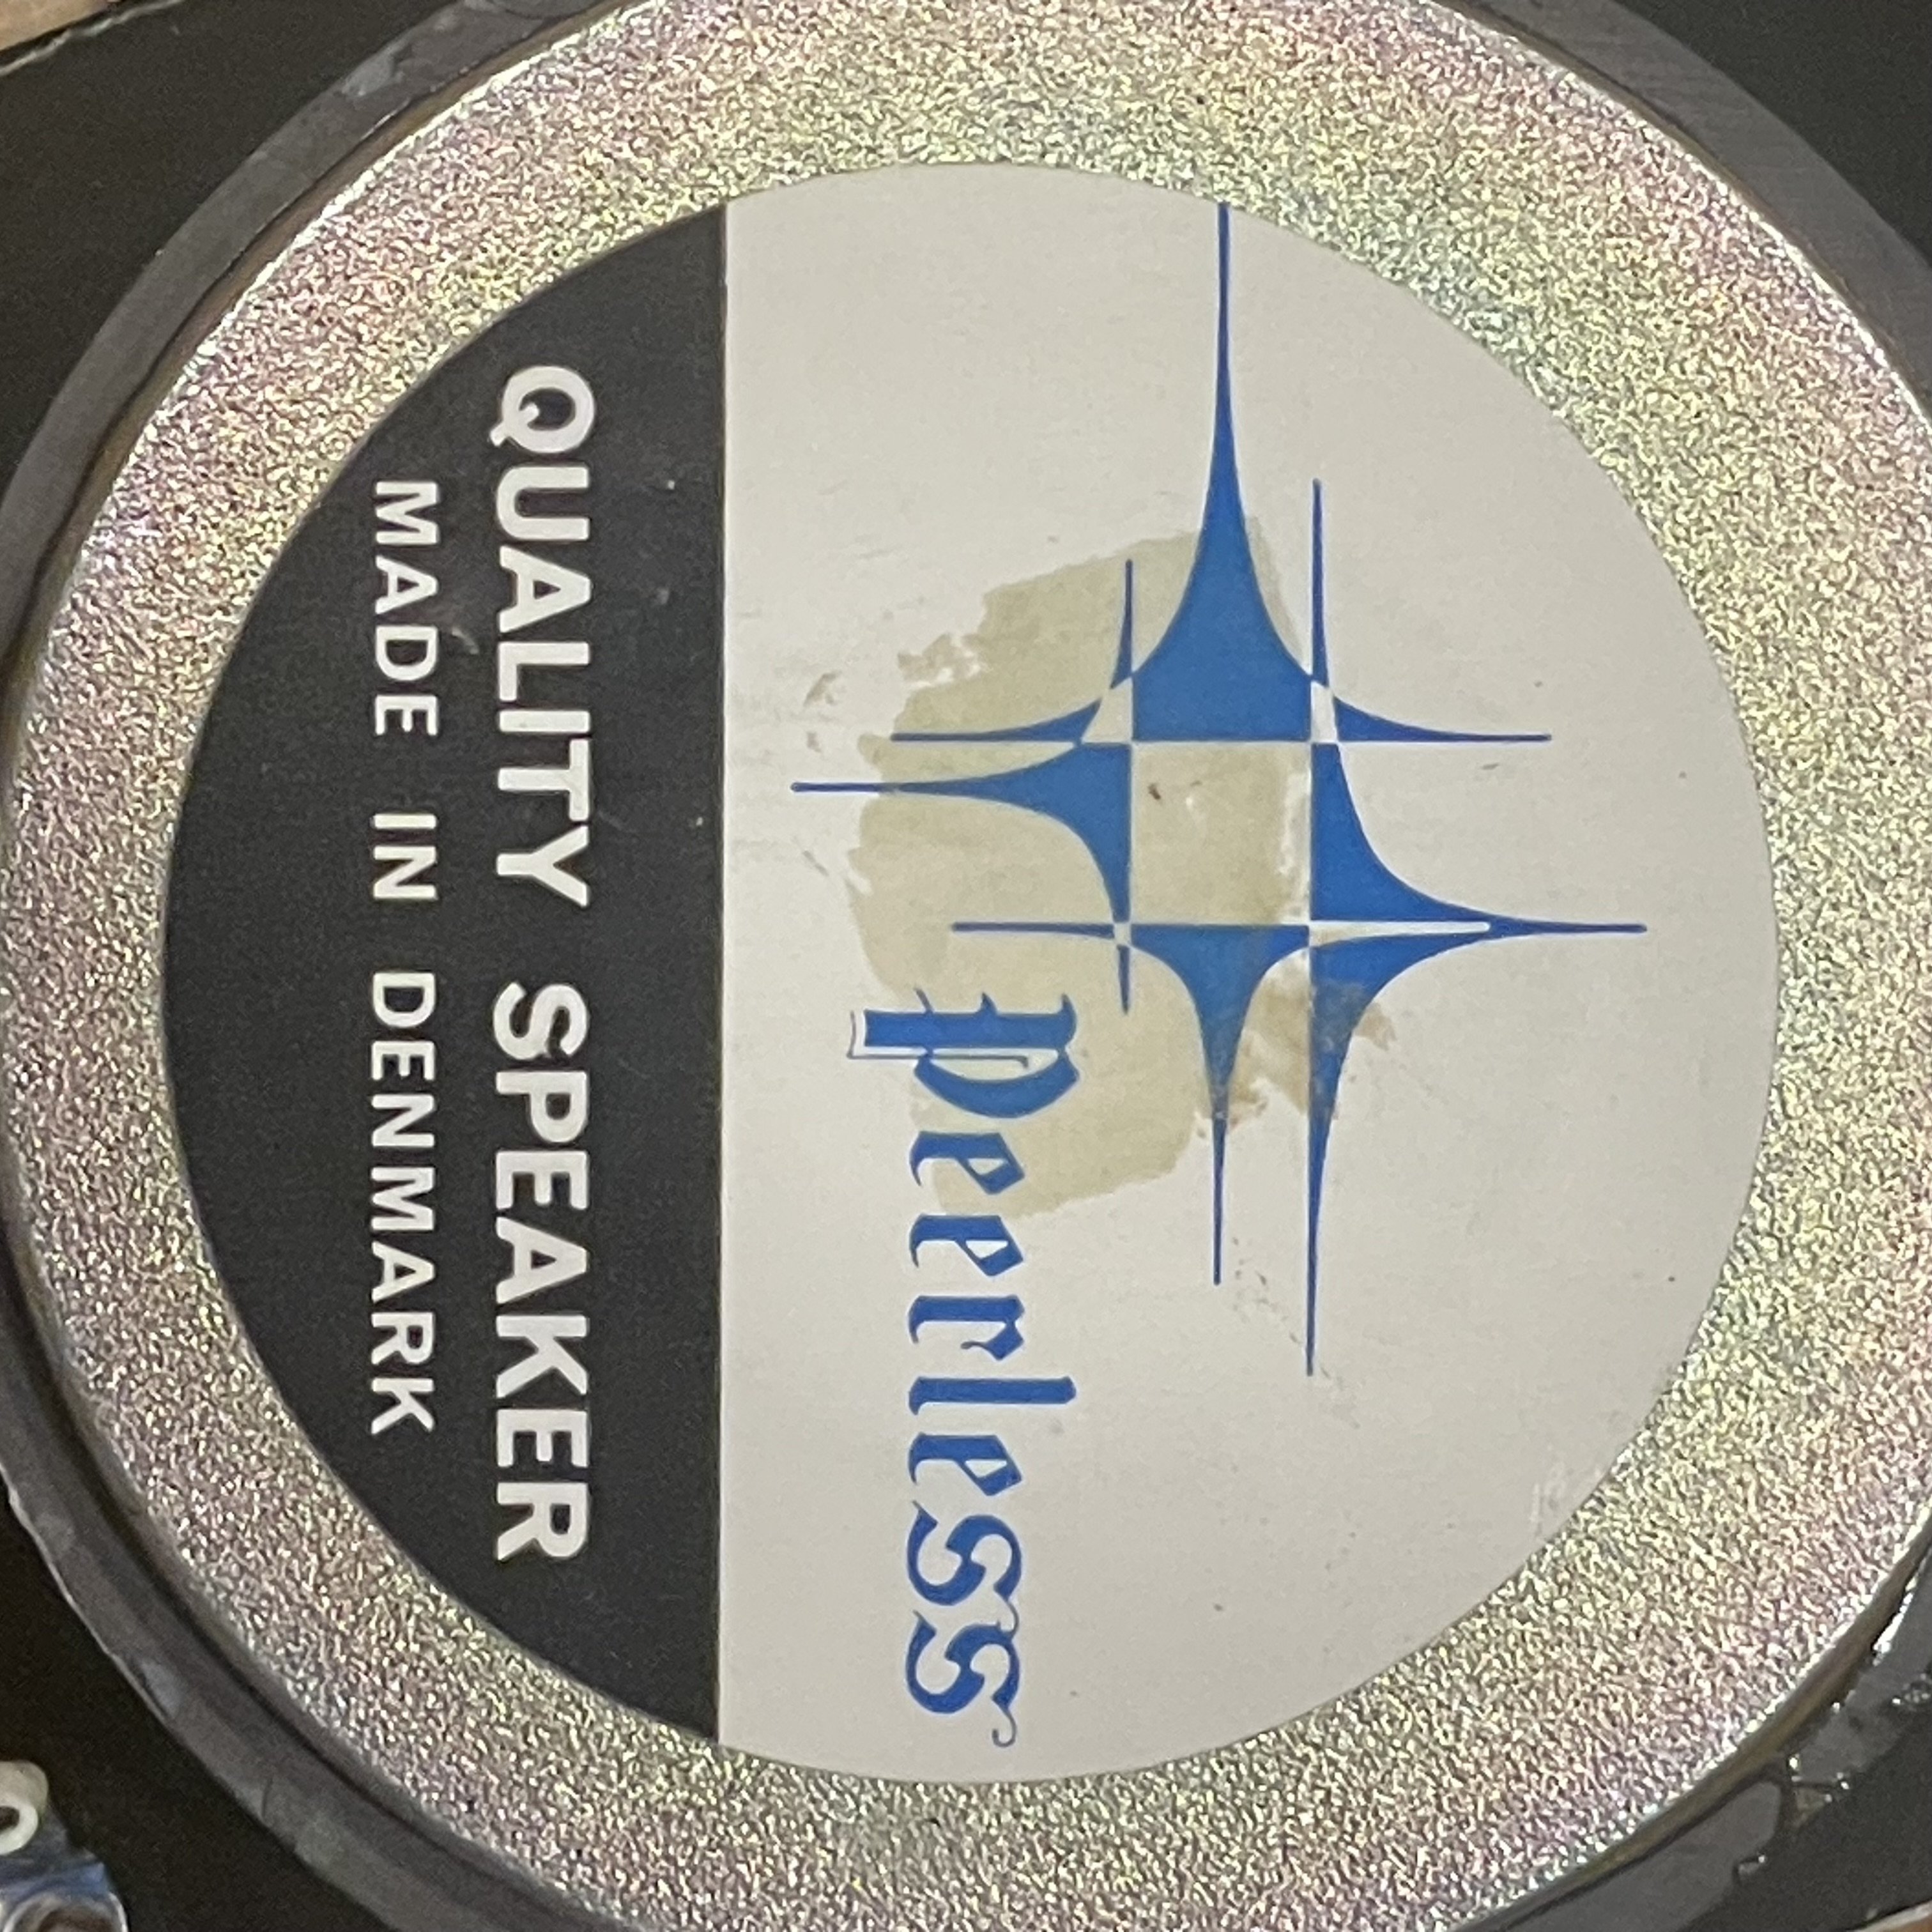
The beautiful Danish-made tweeters arrived. The ebay seller packed them so well it restored some of my faith in humanity.
I used a gator clip to help dissipate the heat when I de-soldered the tabs. (Thank you for the tip, @Gardenstater) My solder-sucker helped get them clean enough that the M10 connectors slipped right on.
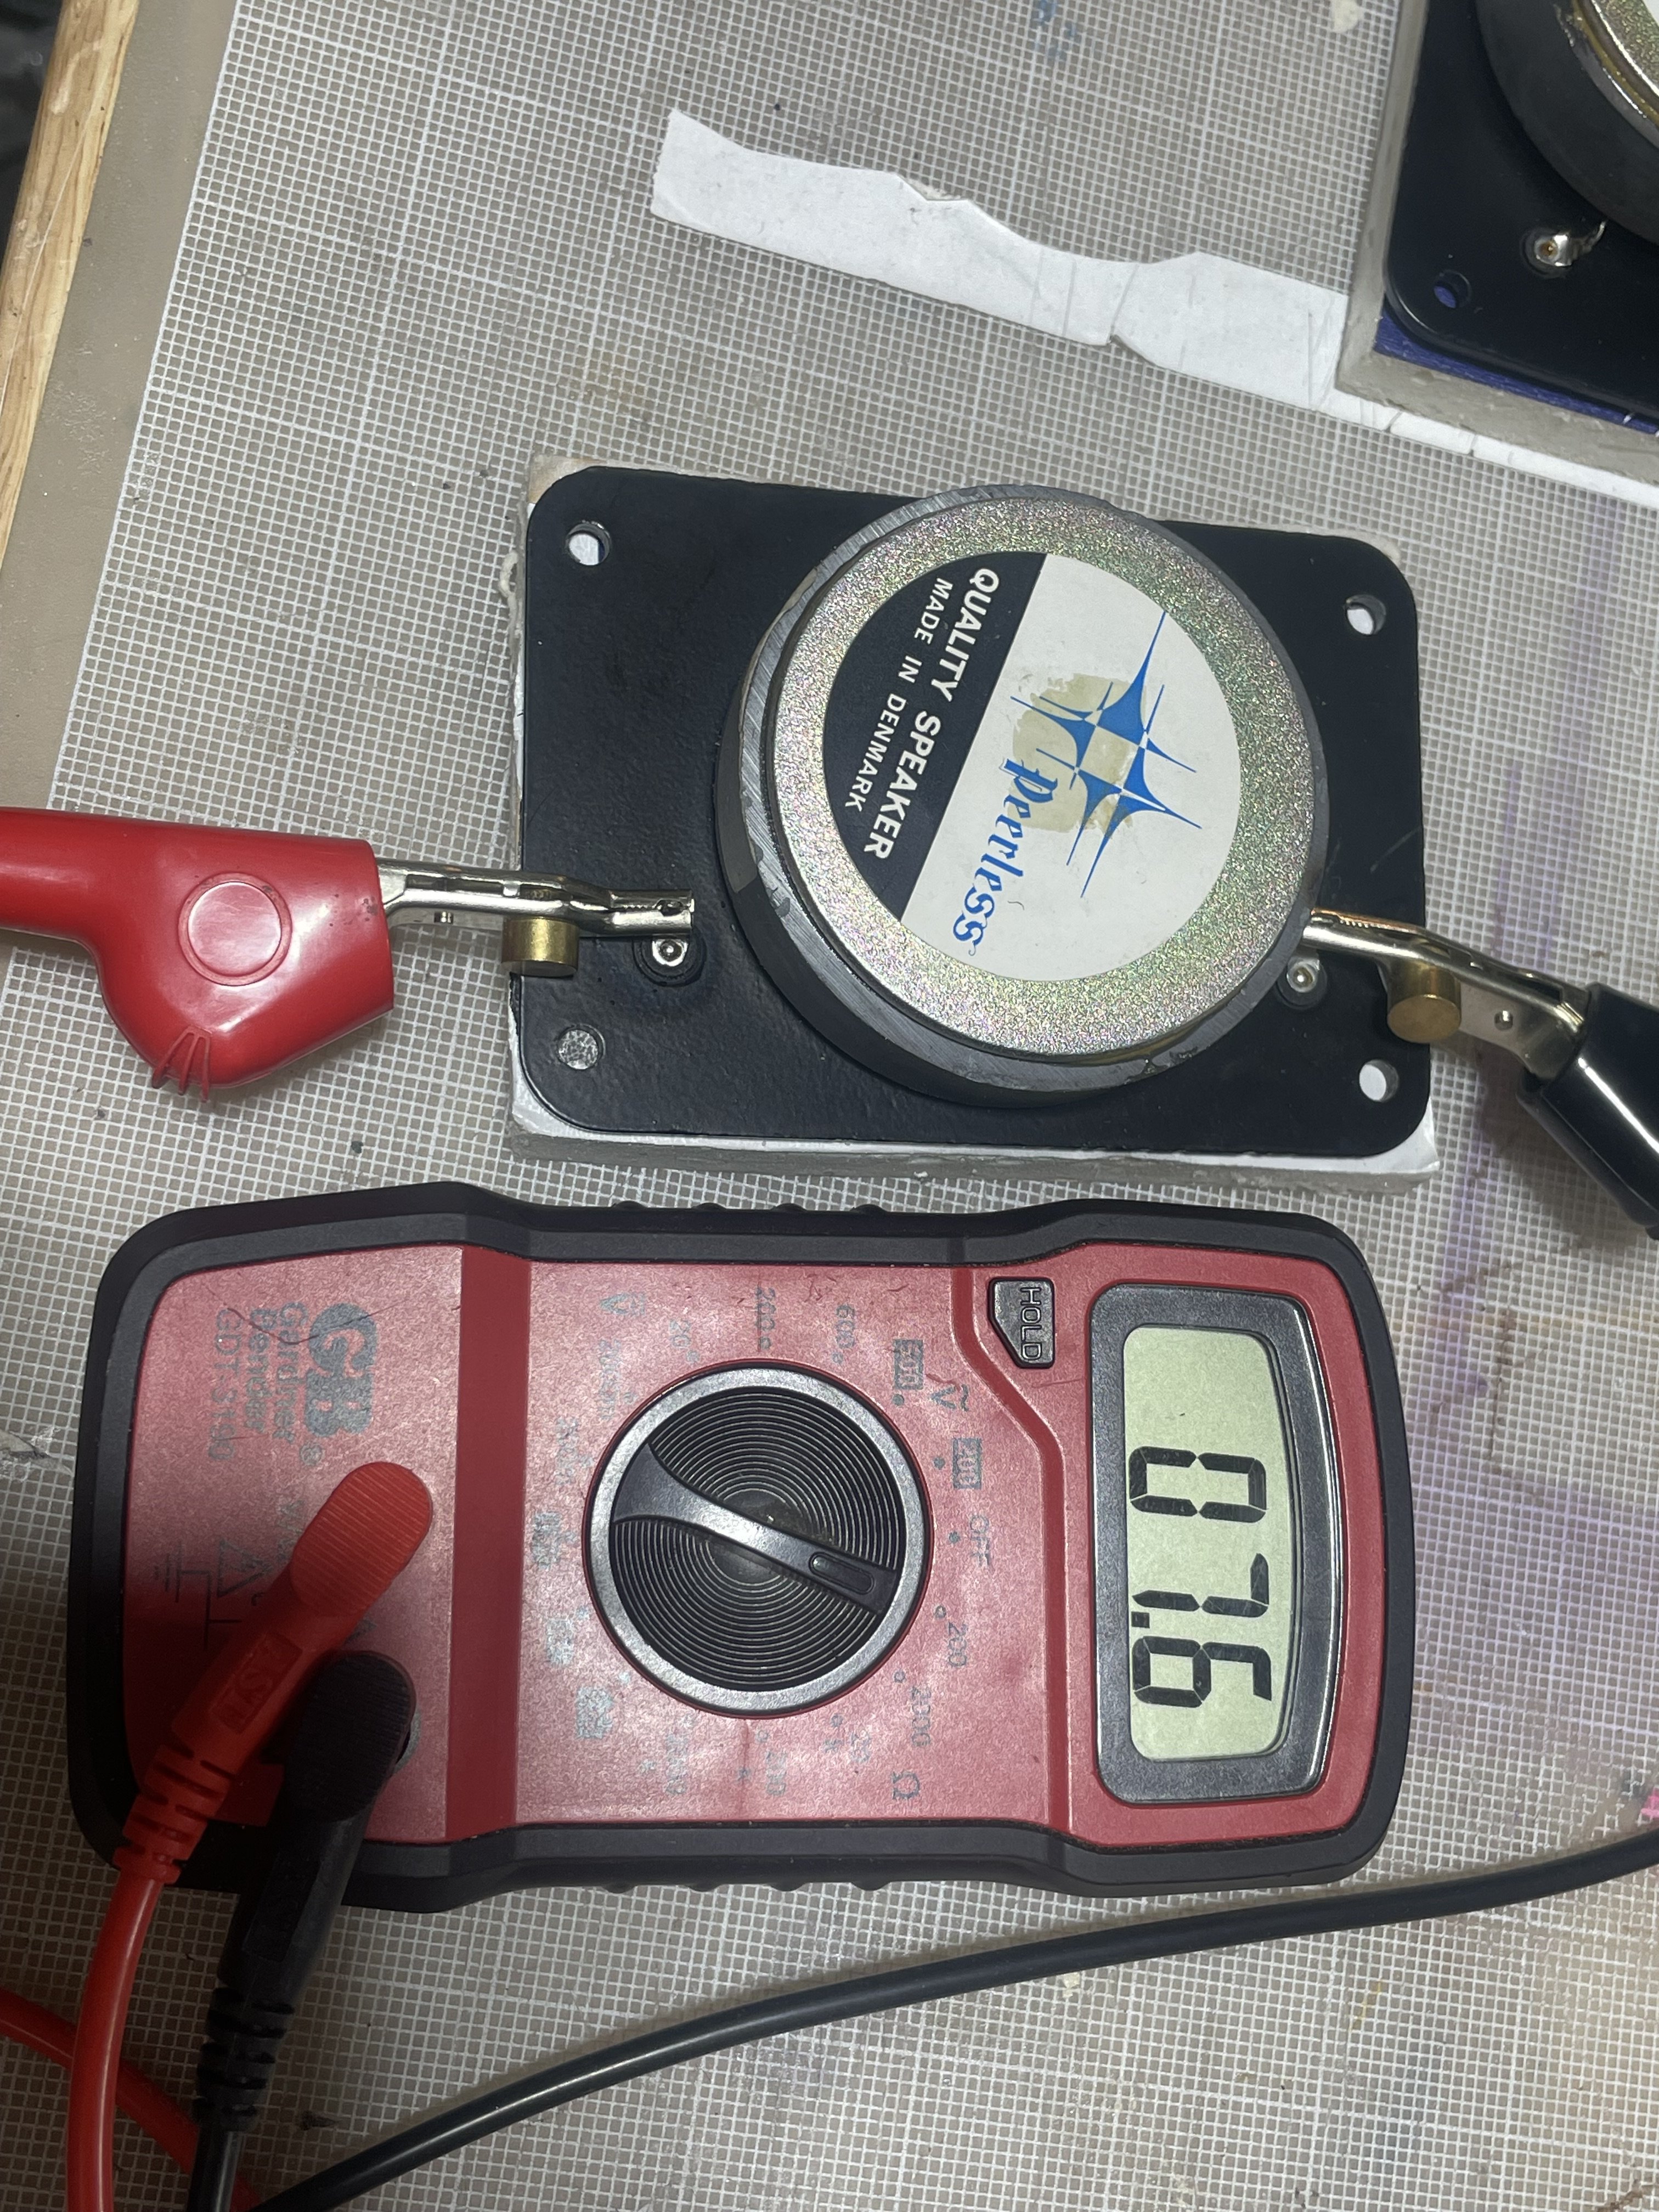
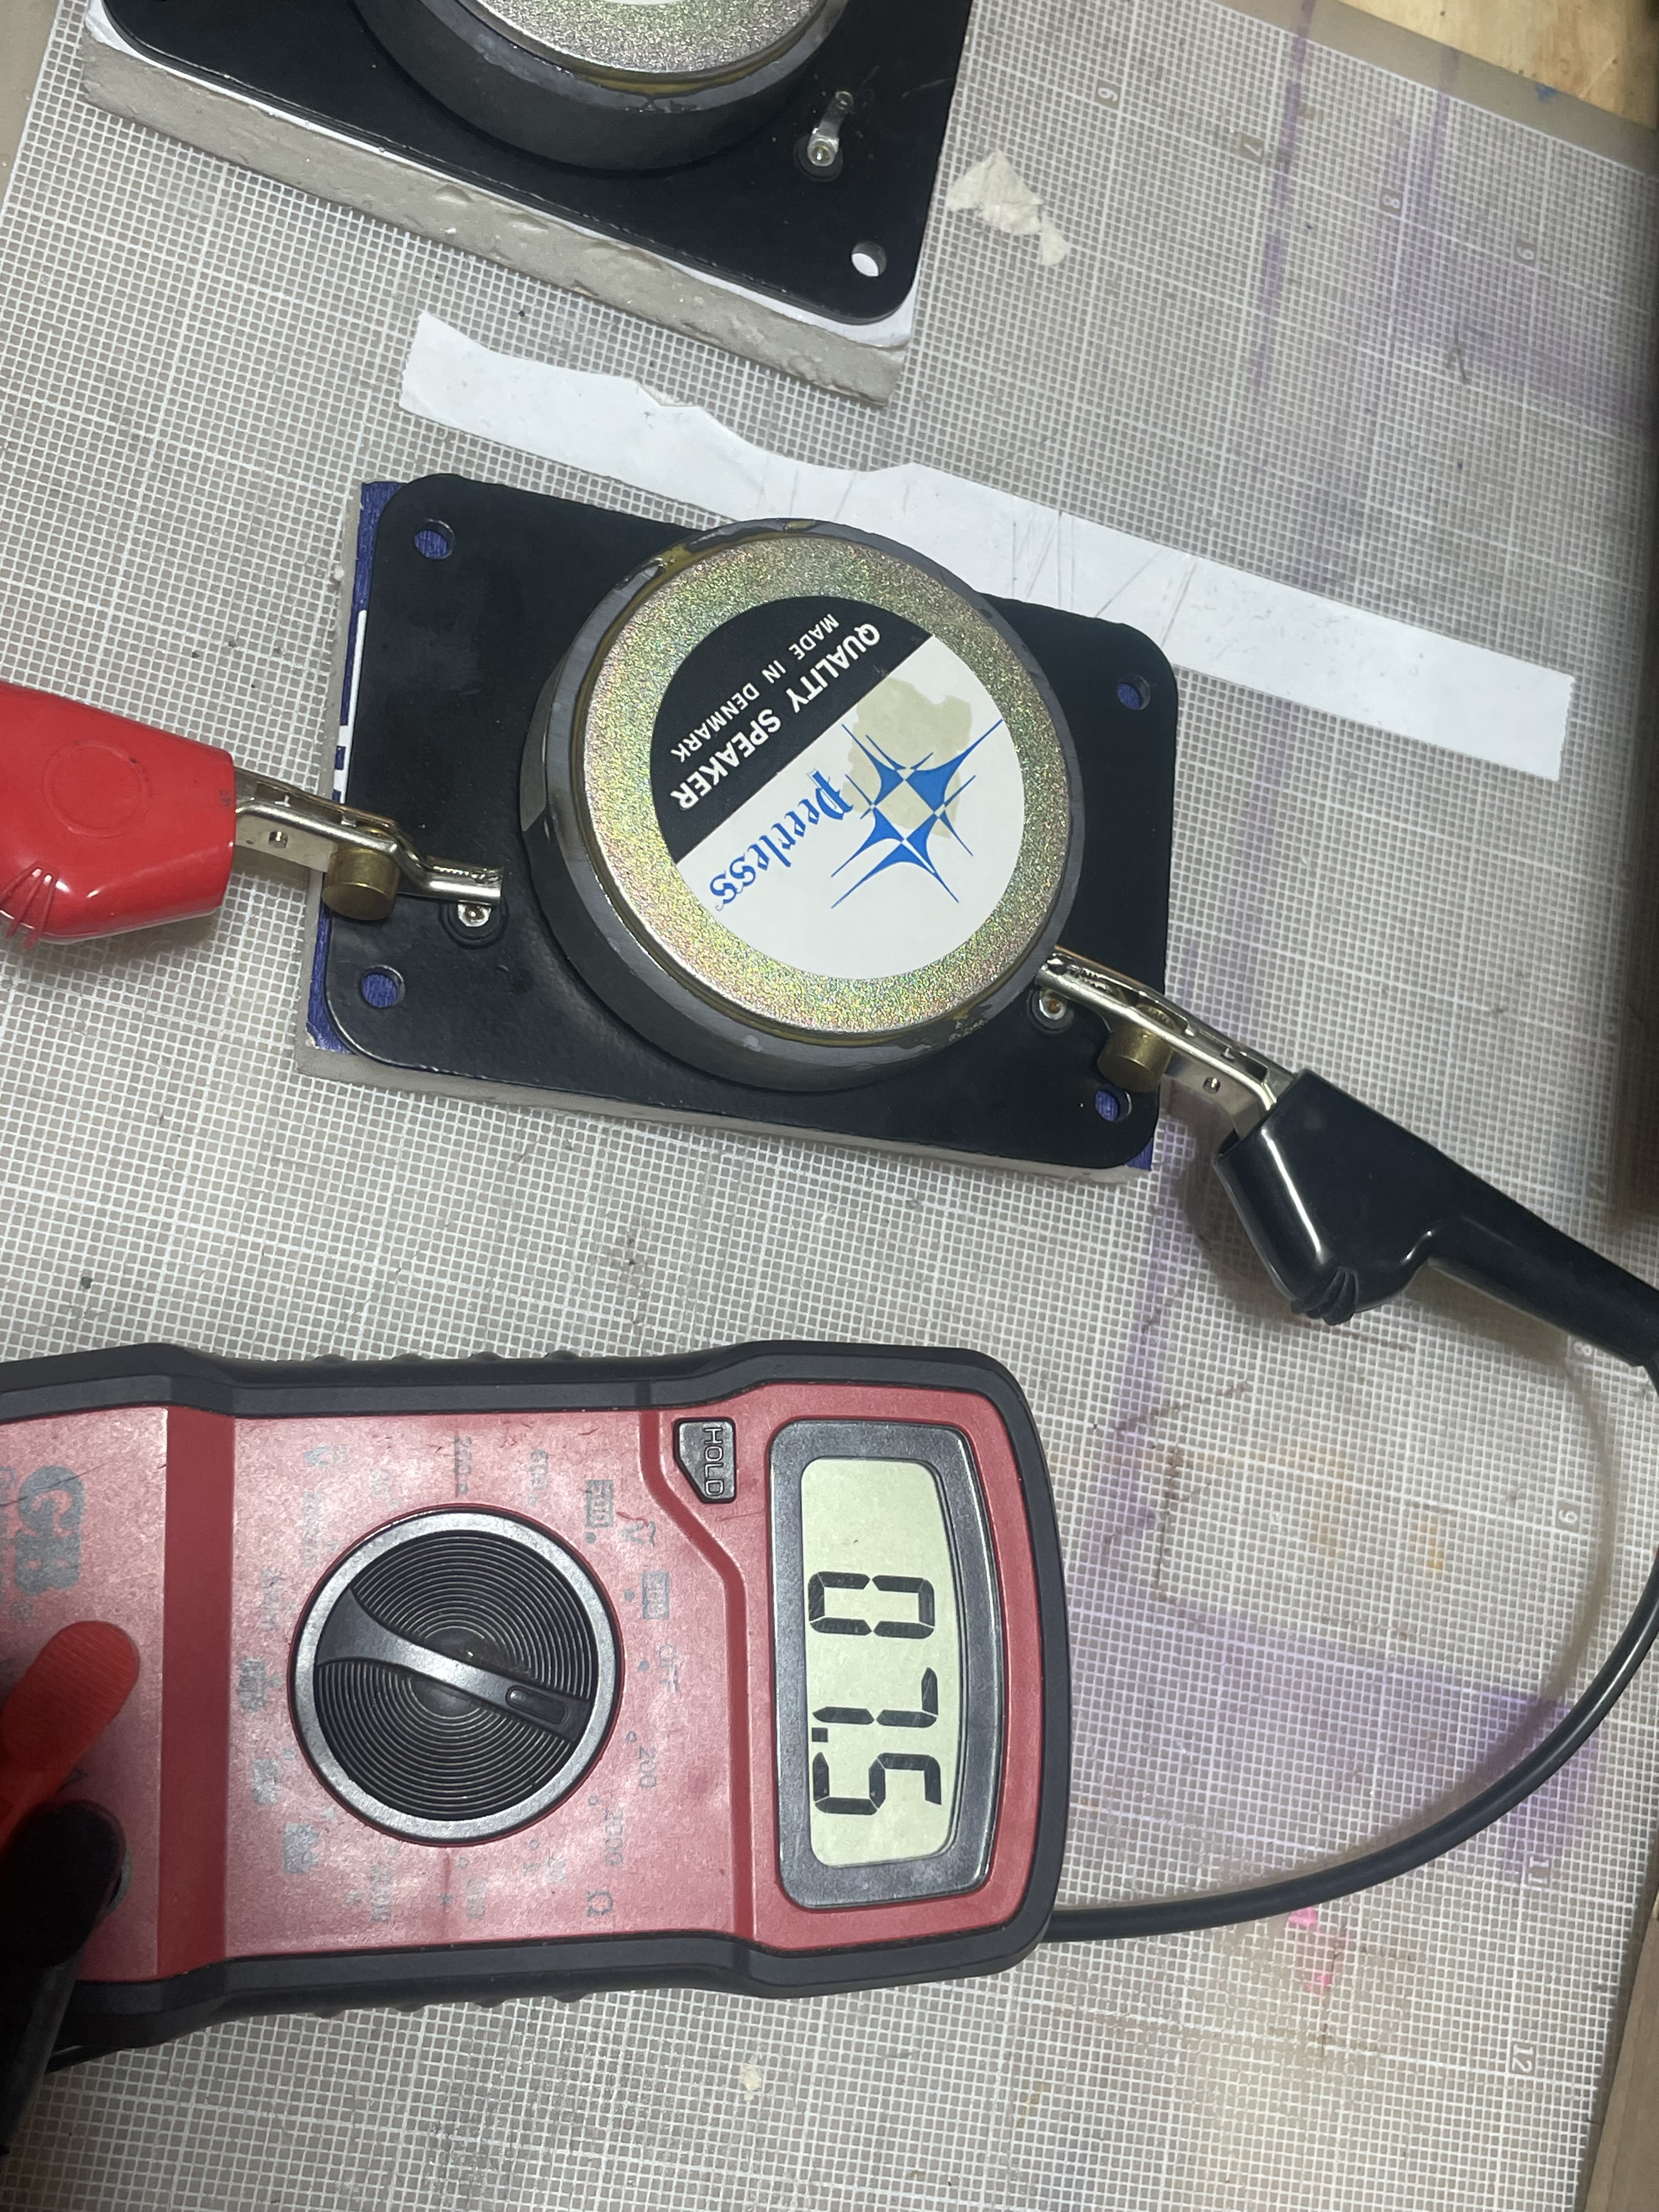
Before installing them I threw them on my meter and they were pretty close to each other. I don’t know where they “should” be - but from a quick scan of other threads this seems reasonable?
I’m going to forego the solder-iron home-brew aperture puncture procedure because I’m pretty sure I’d mess something up and there’s enough sadness in the world as it is.
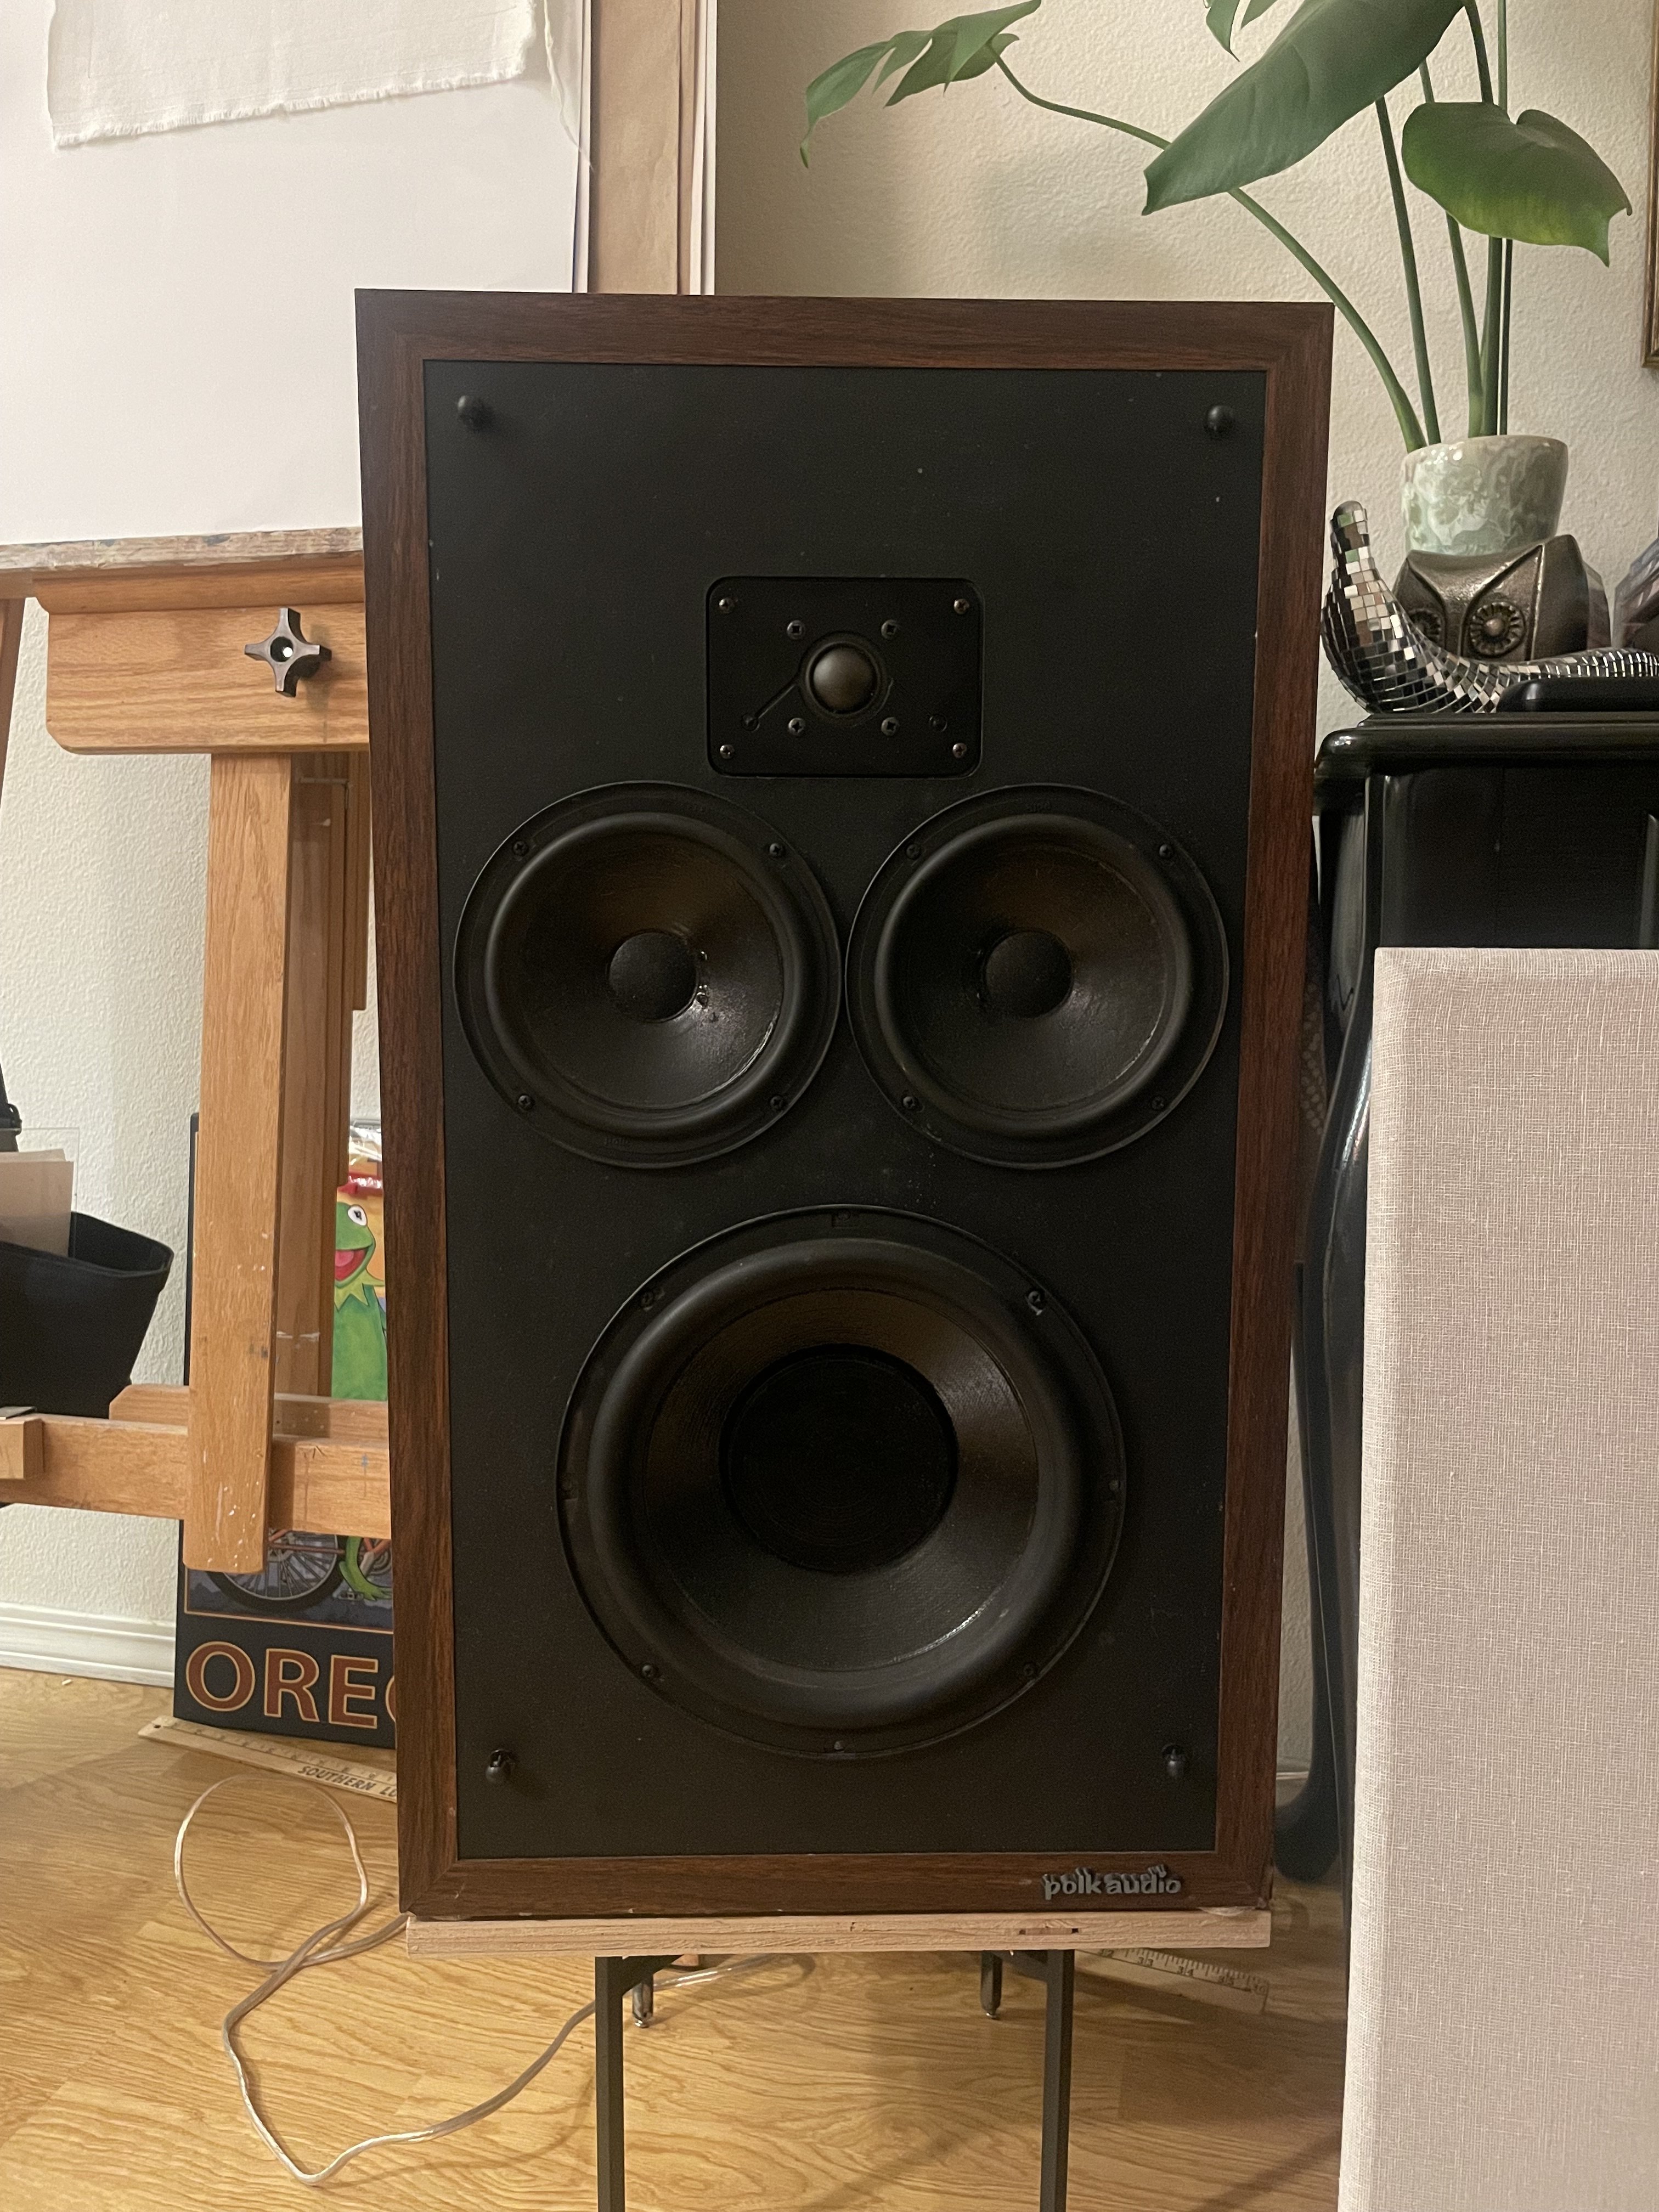
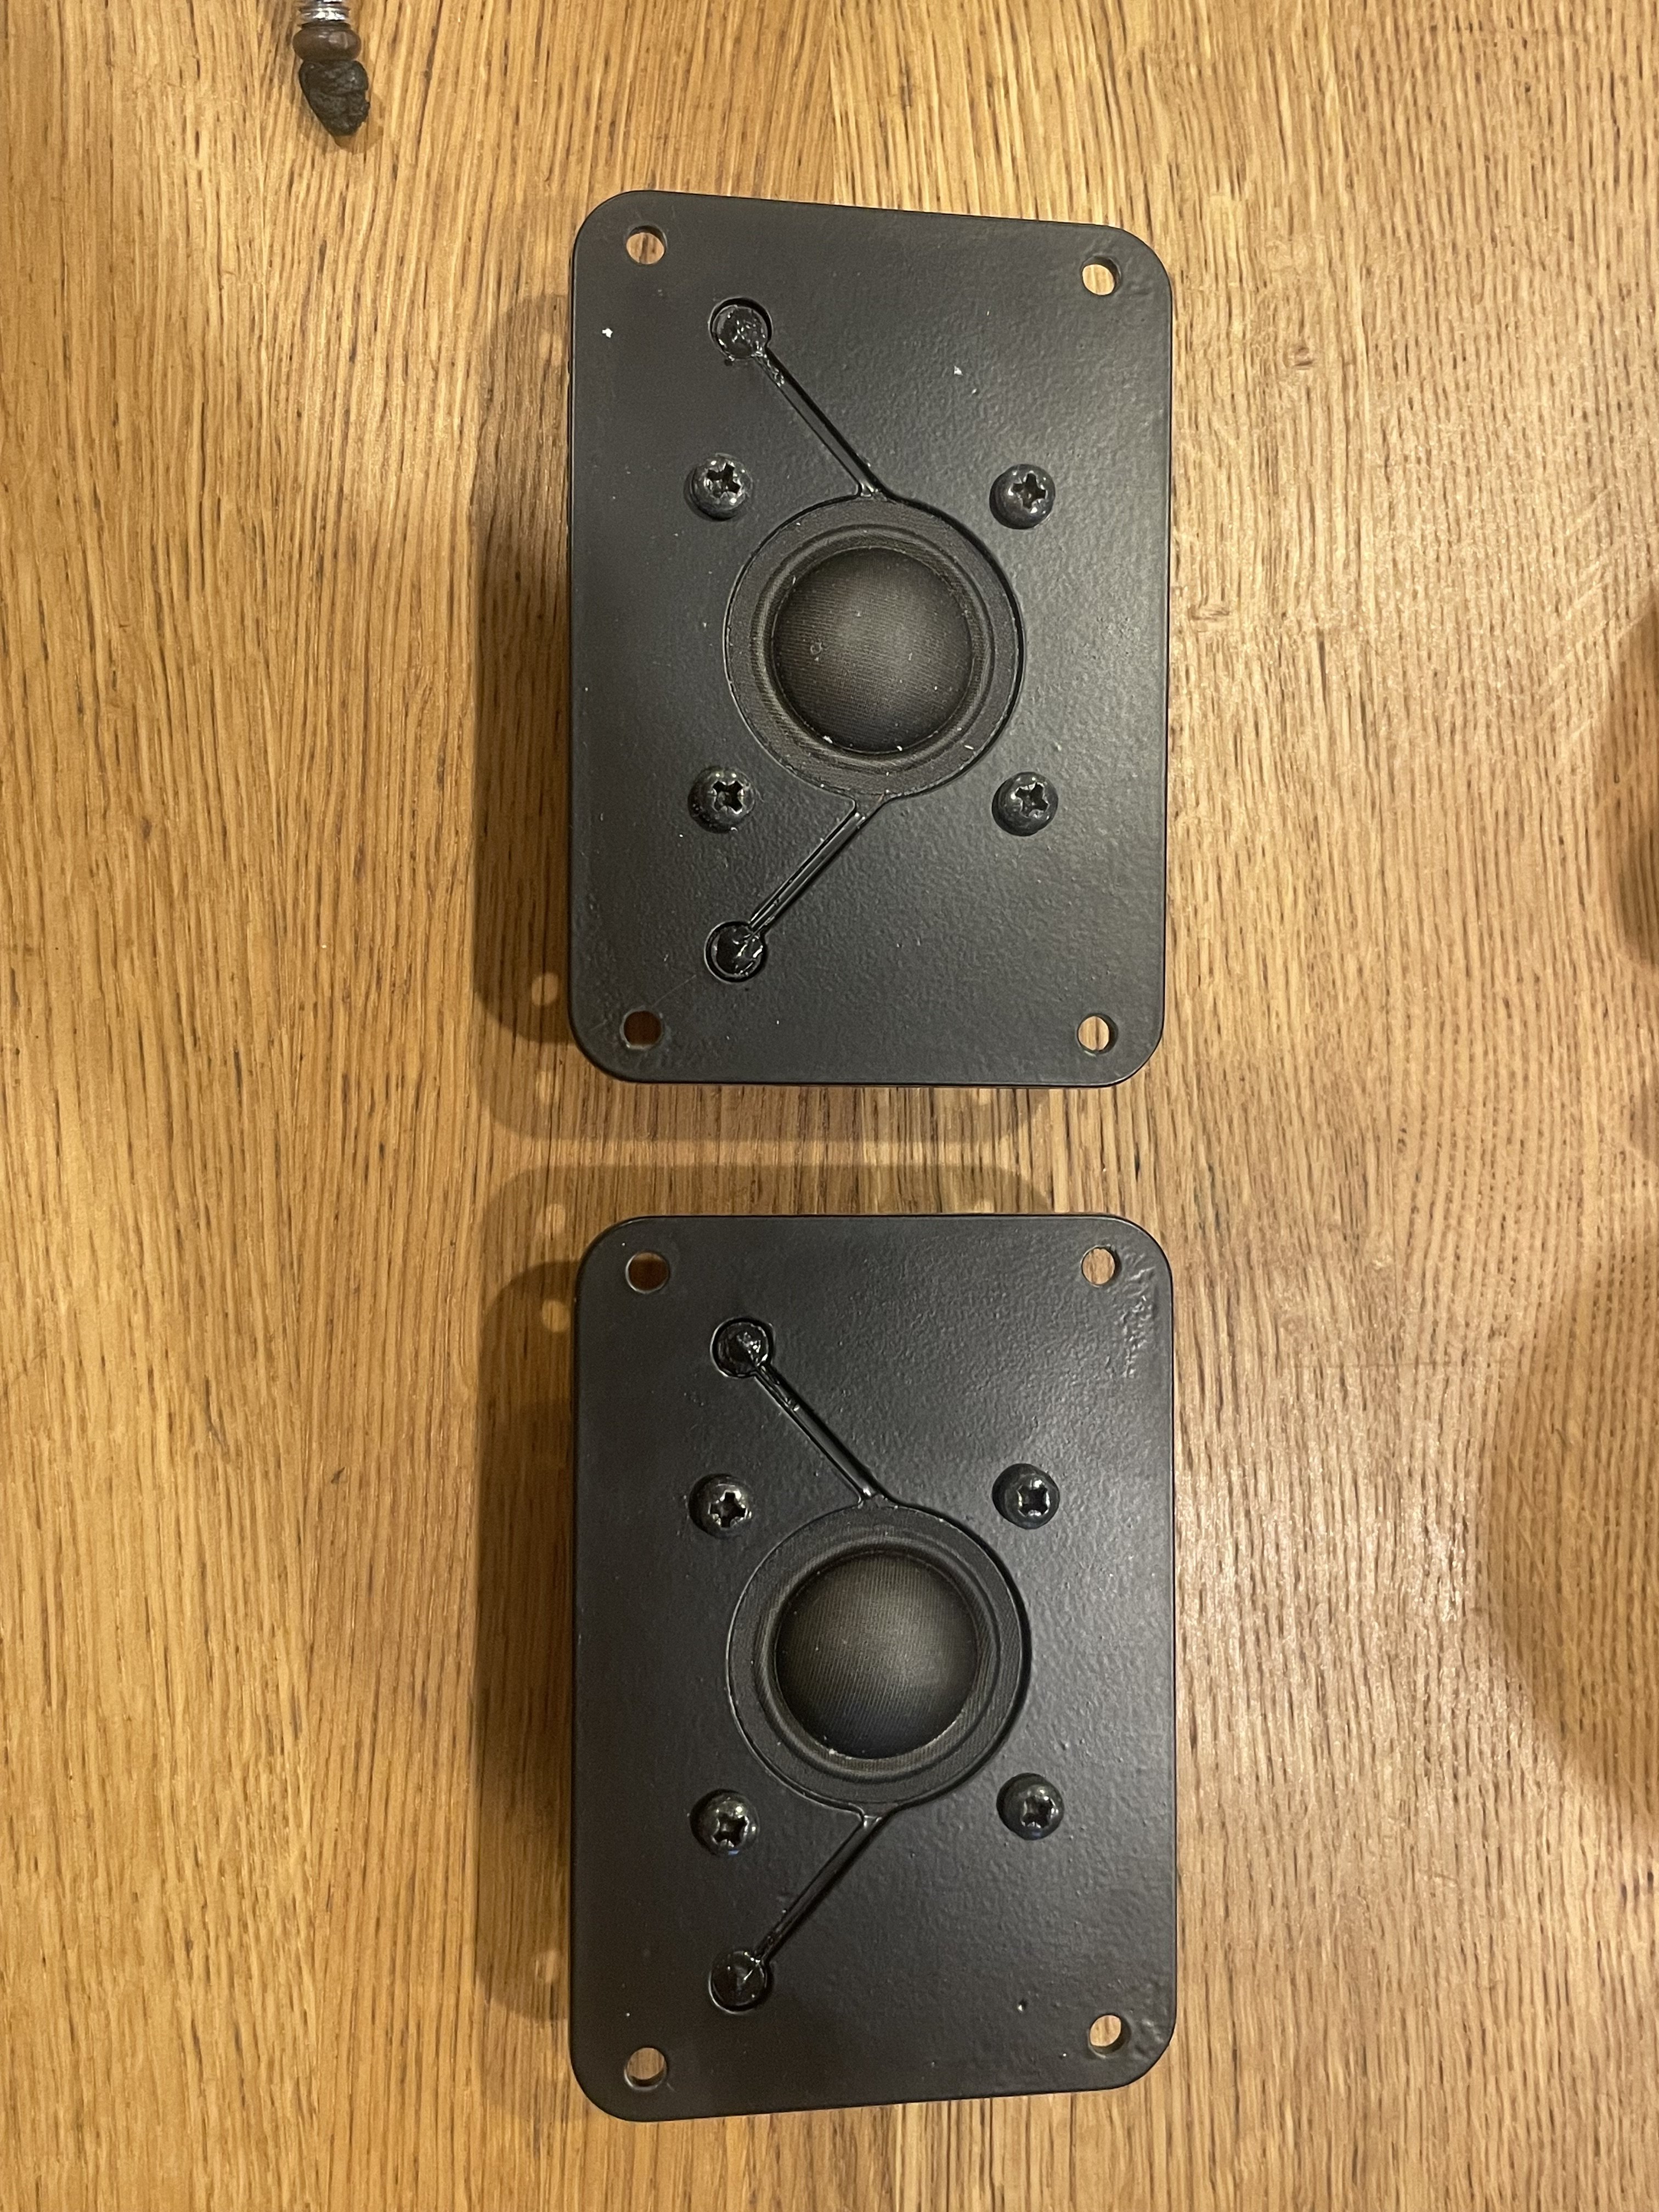
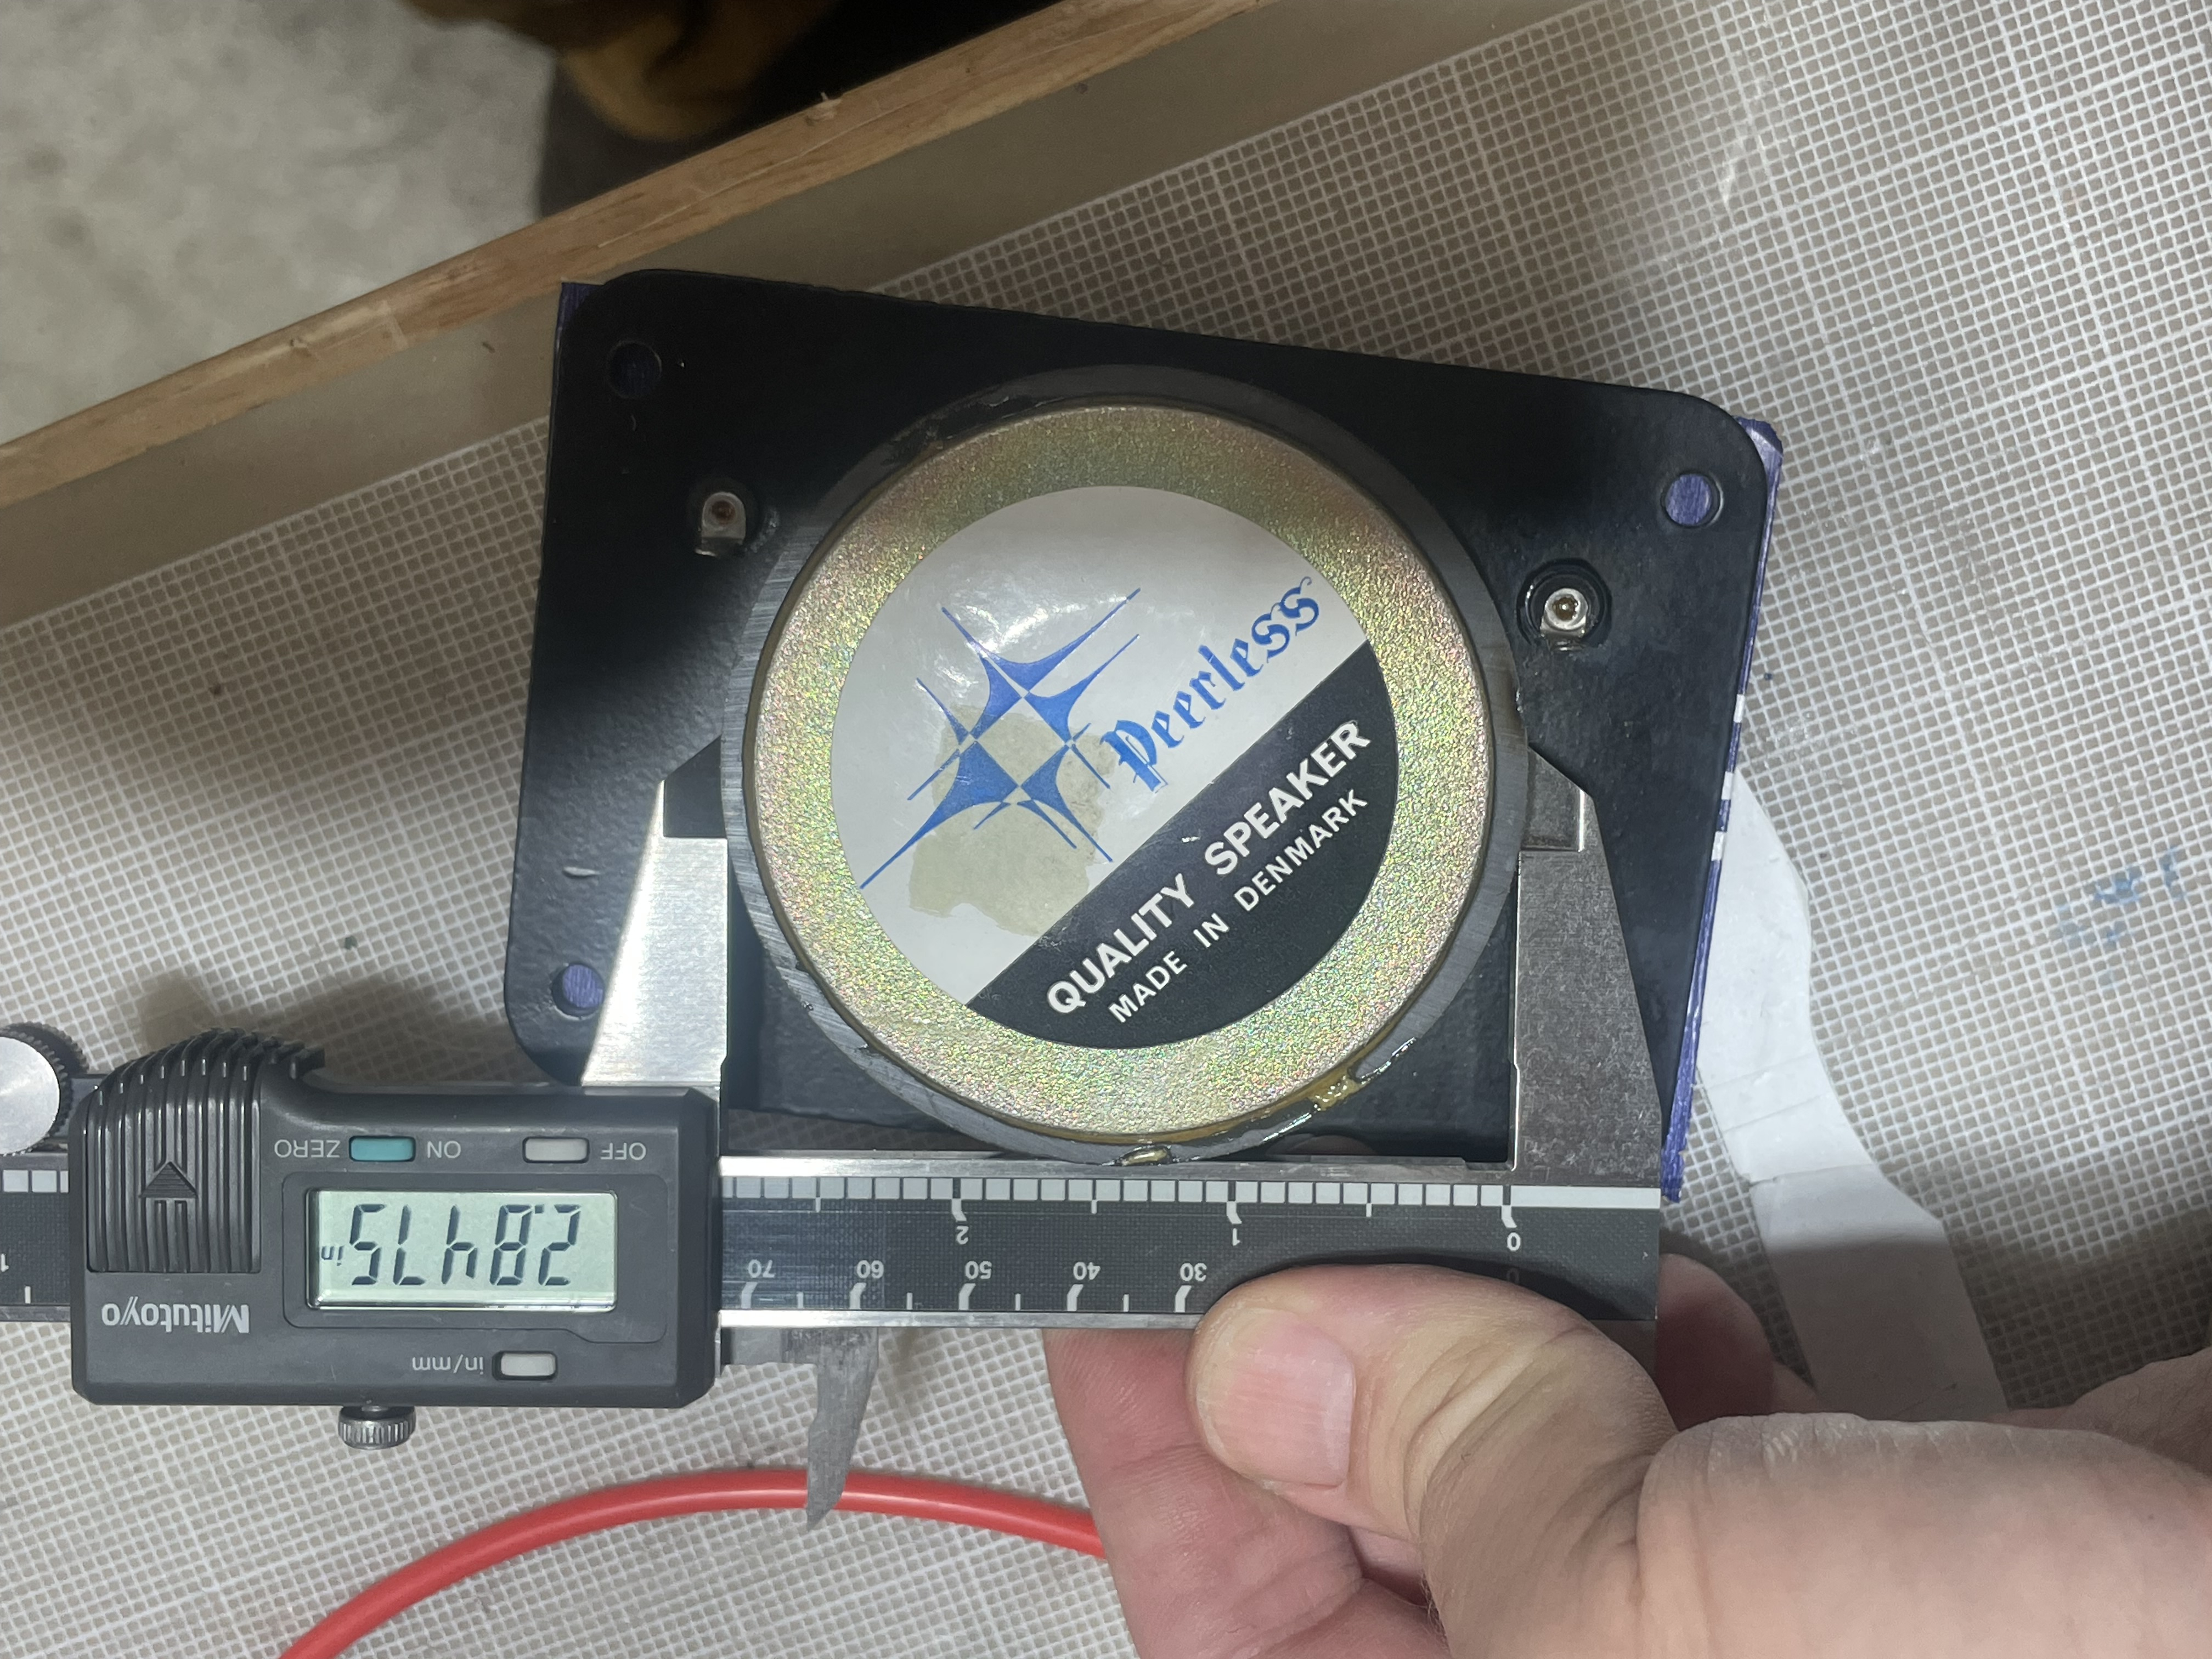
Here is one of my the M10Bs with the peerless in place. I think they look pretty nice, and they were a precise fit replacement for the SL1000s.
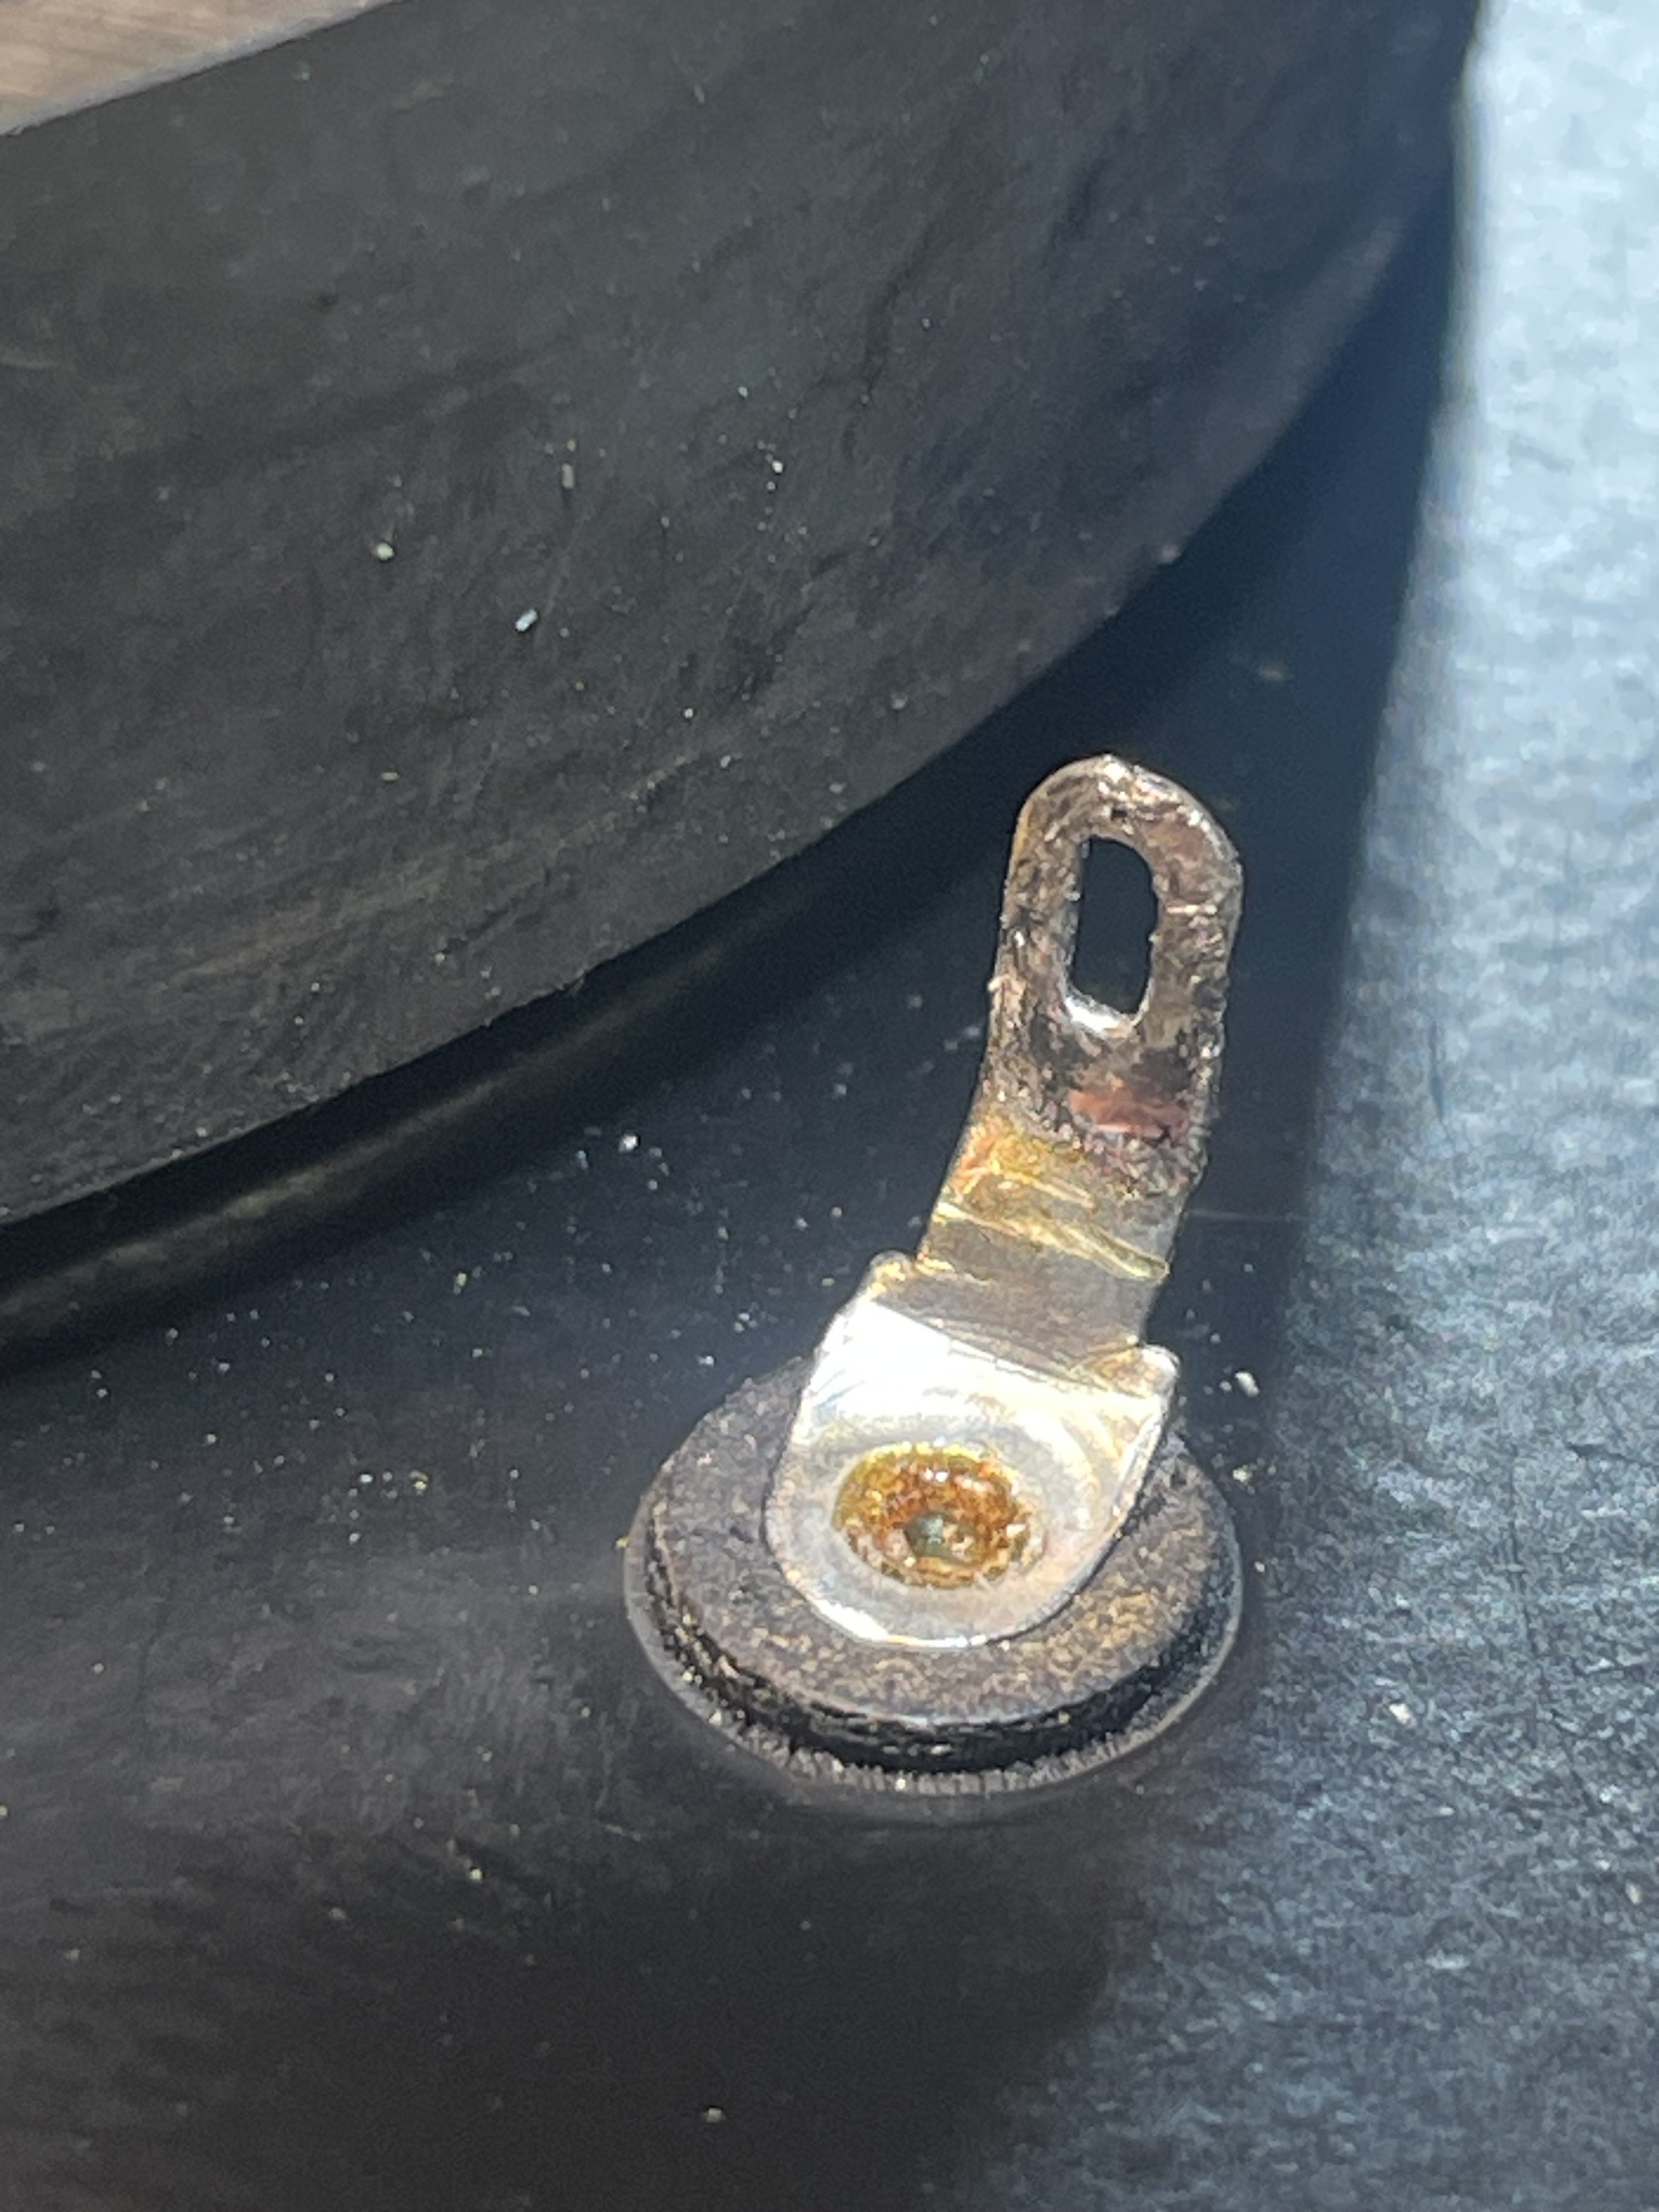
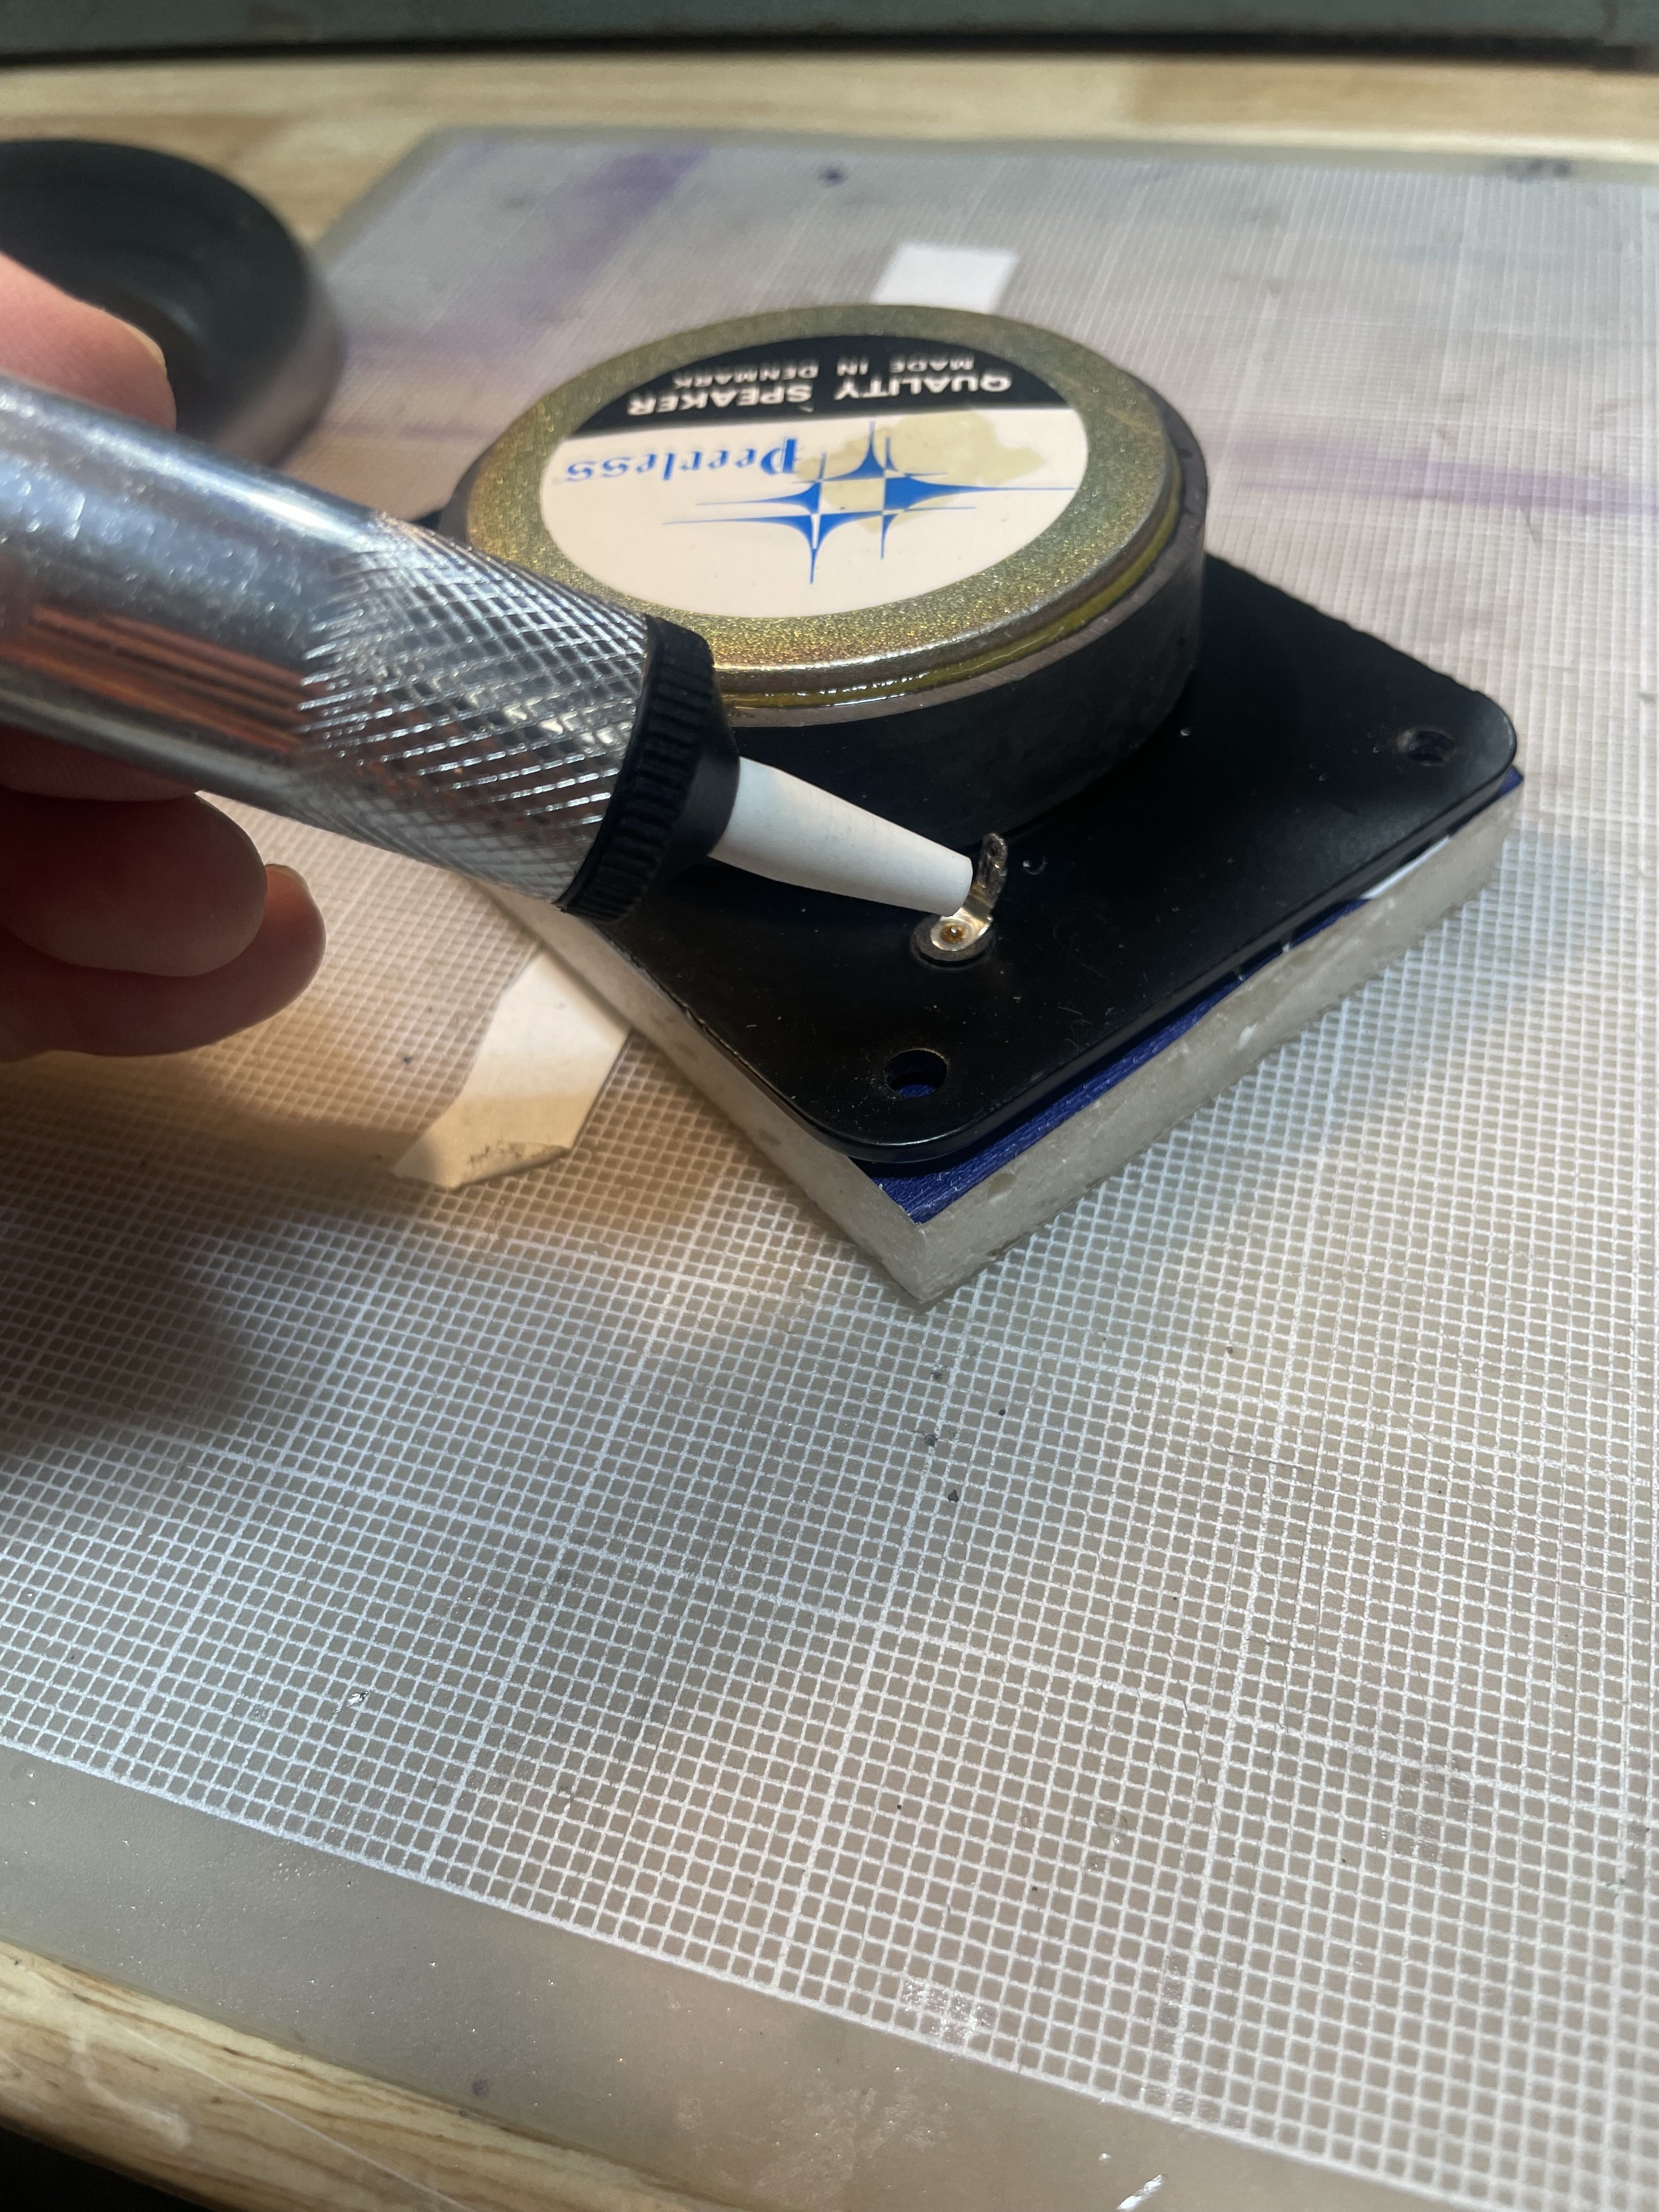
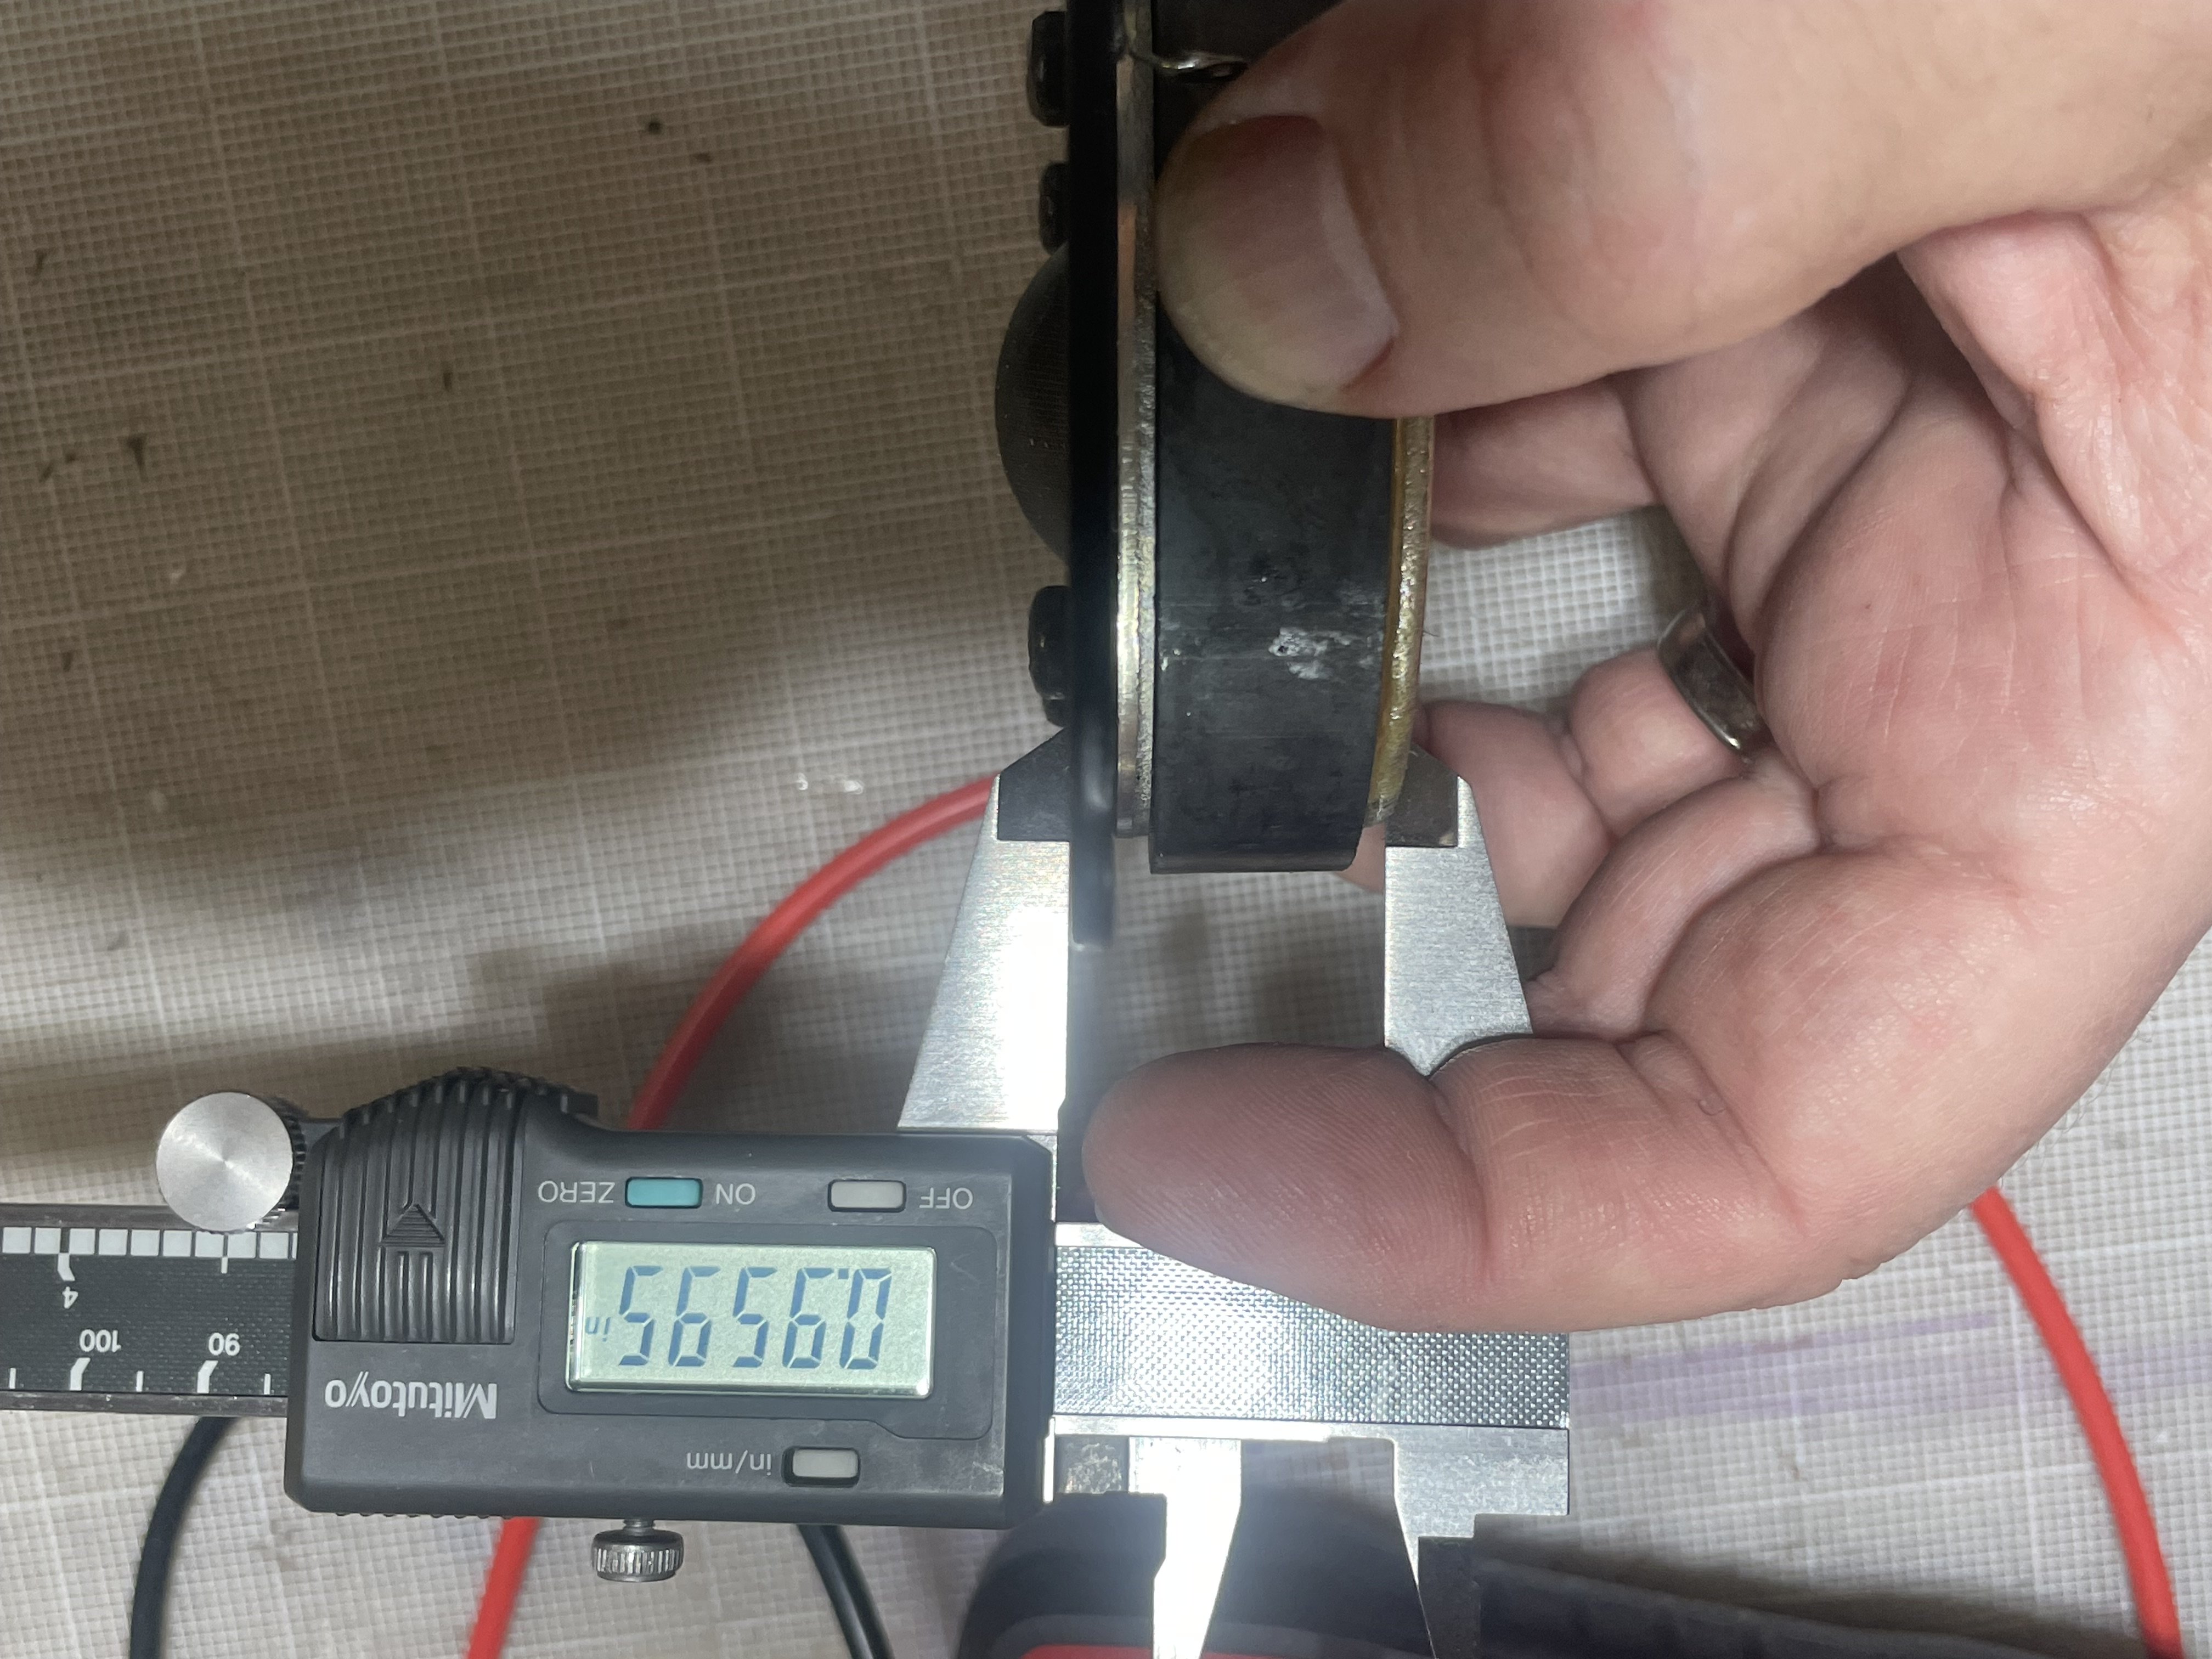
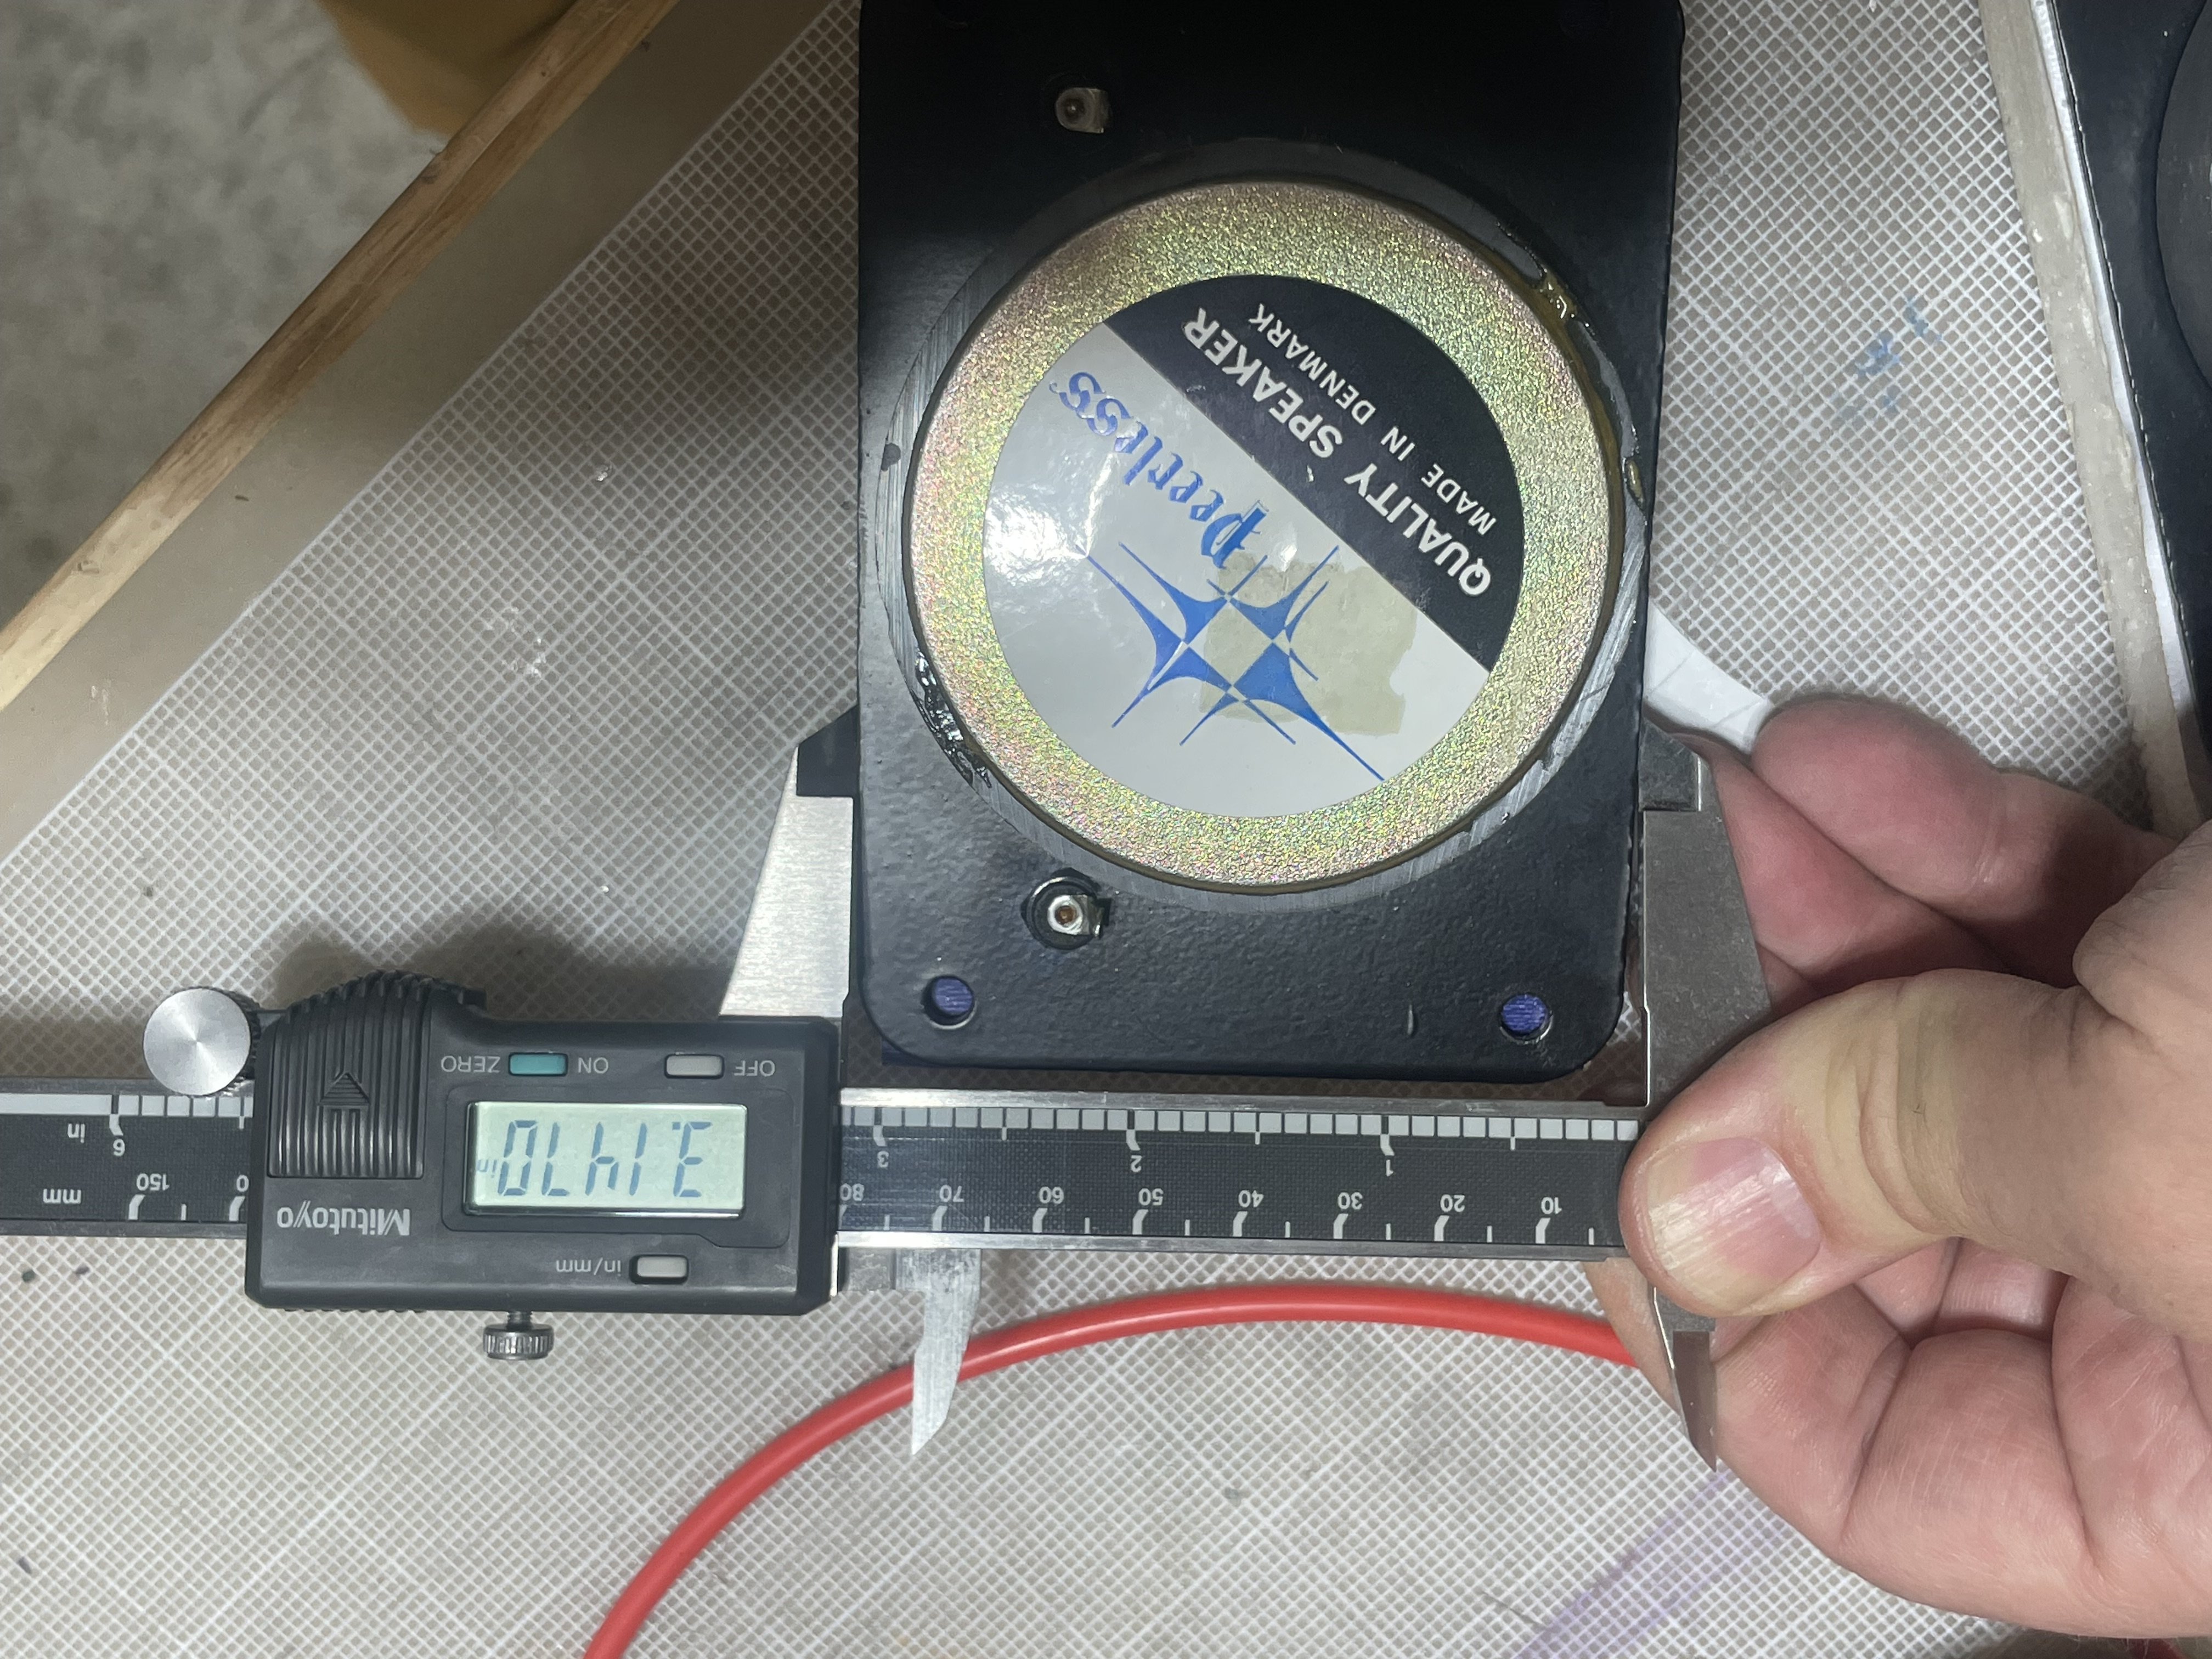
I’m not sure if the following images are helpful, but I thought I’d include them for reference. I threw my calipers on the tweeters and got some rough measurements. The ebay seller hinted that there might be a dimple under the label in the center of the magnet assembly, and I can feel it. I tried to get the caliper to approximately where I could feel the dimple.
Thanks to everyone for your help and advice. I’ll put these through their paces (running Pat Metheny through them now) and report back. I know the crossovers need attention, so if I get that completed before end of year I’ll follow up with that update as well.
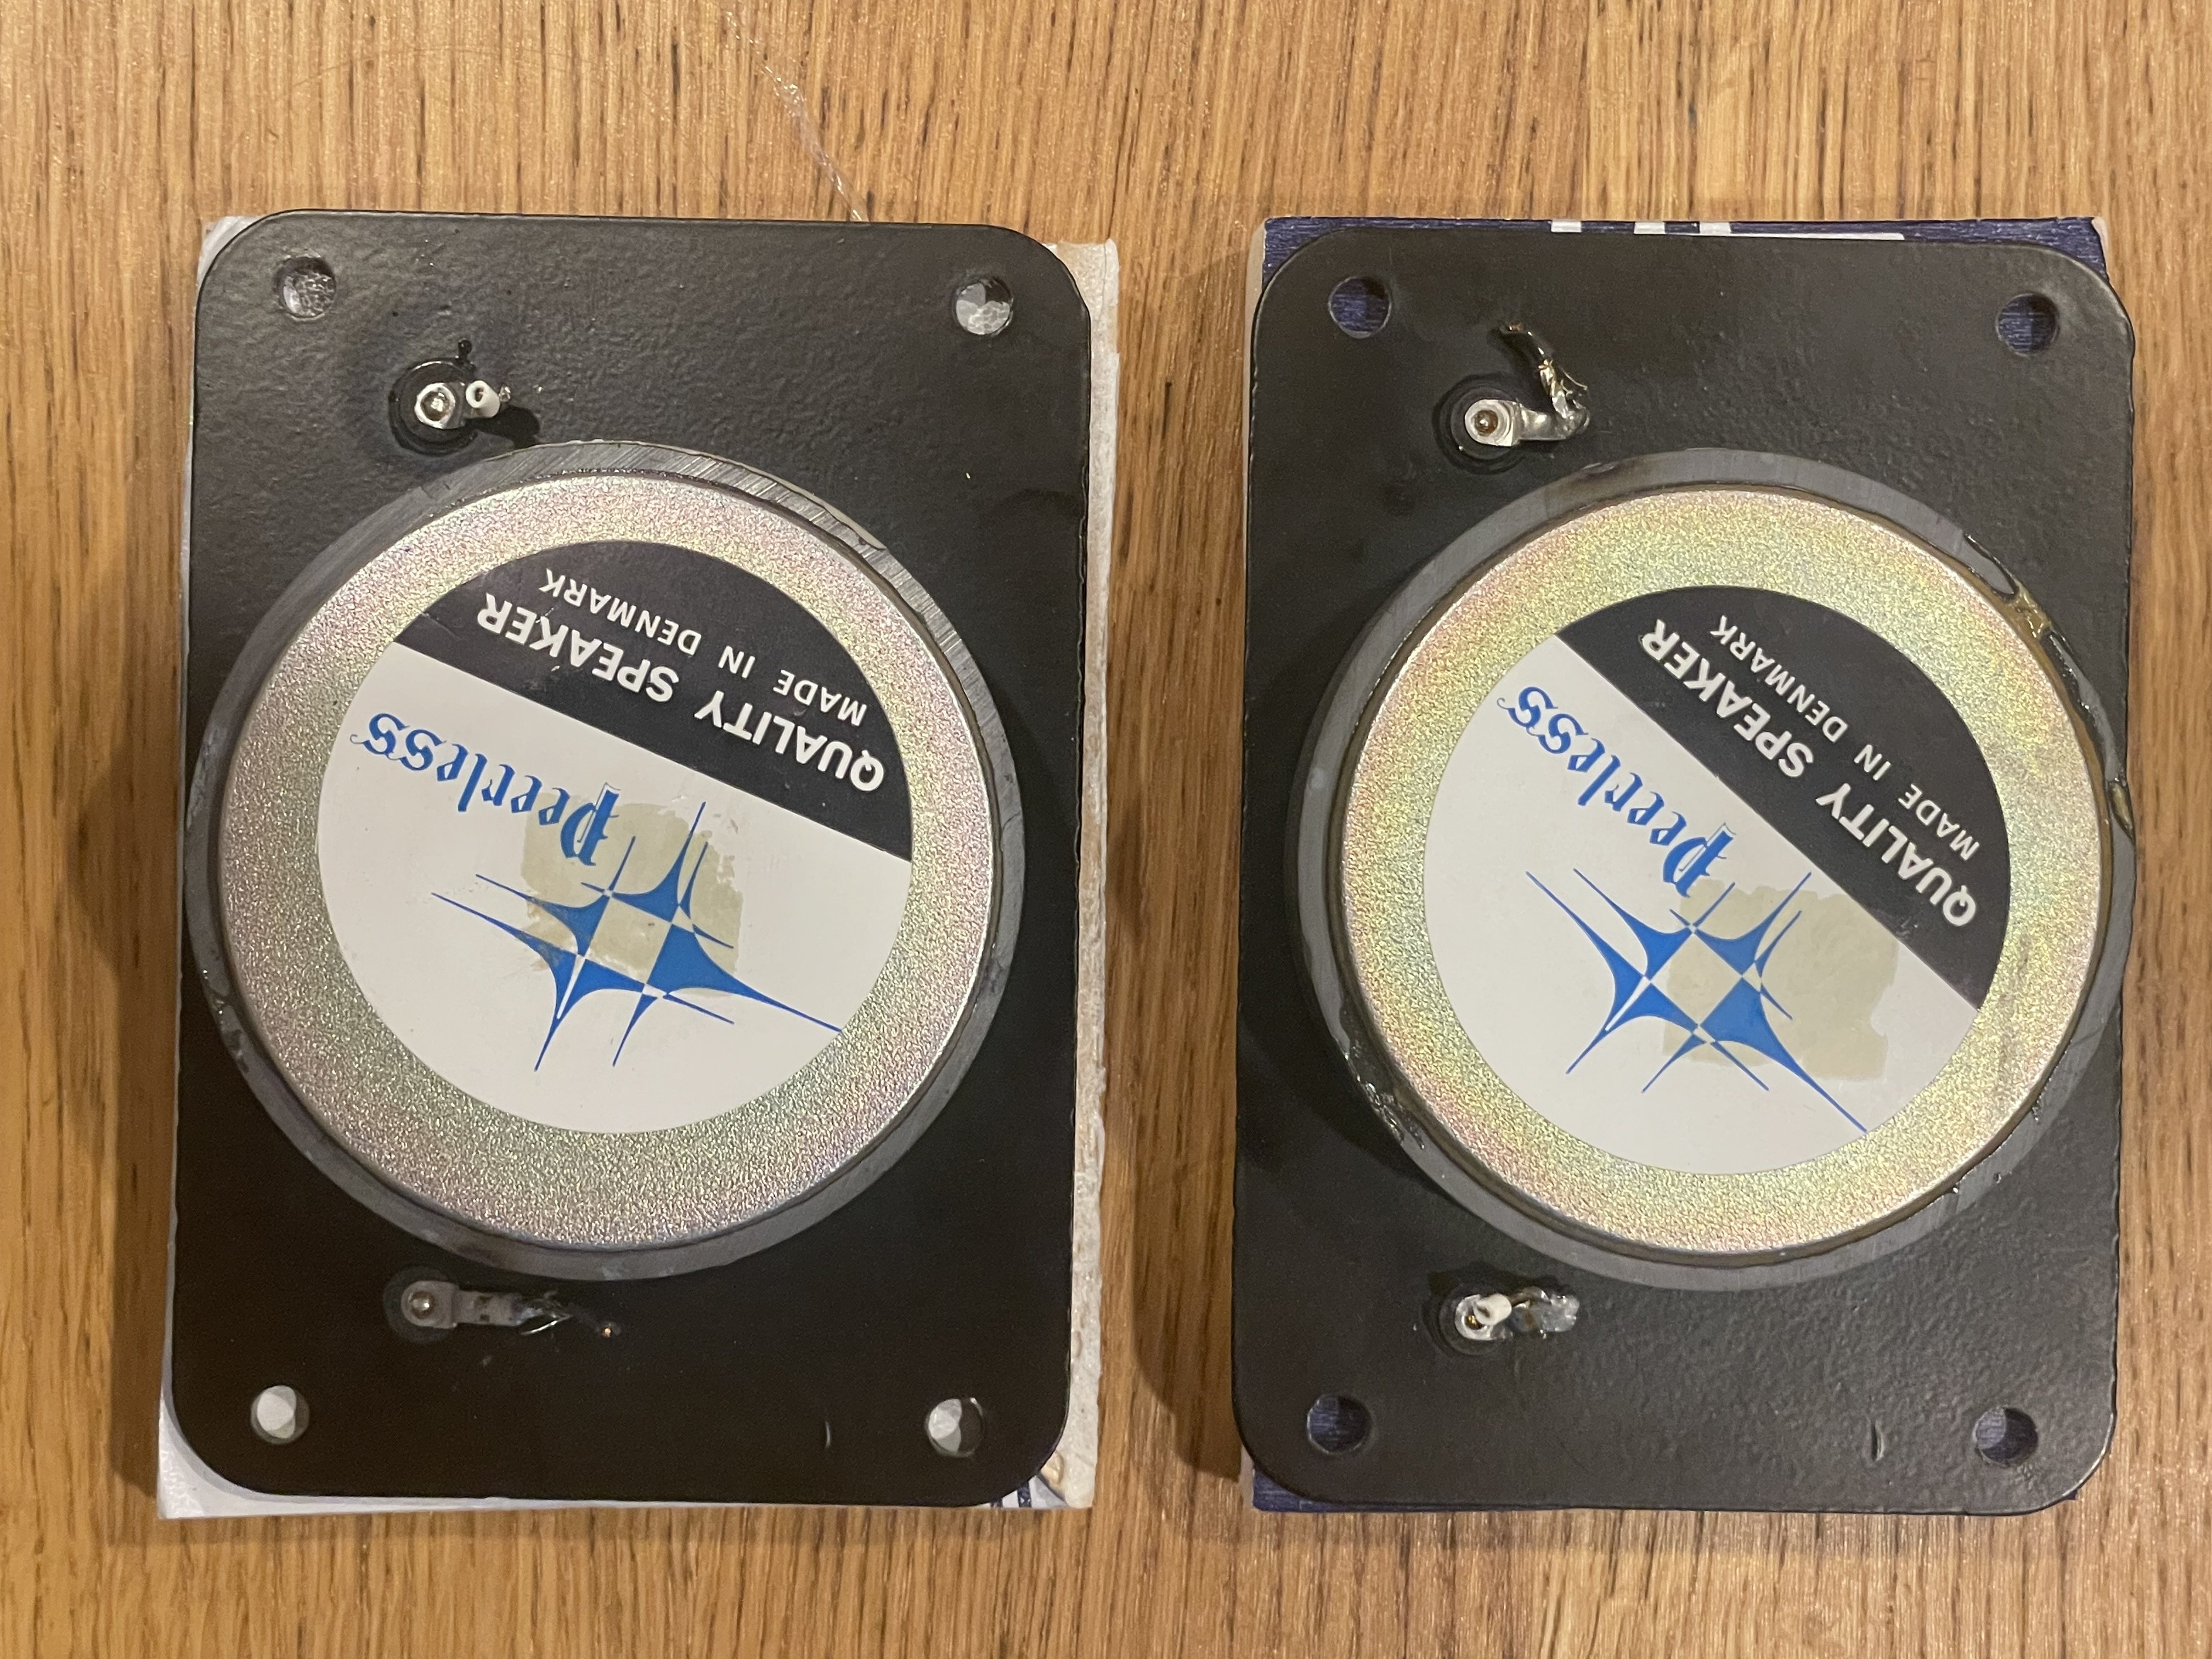

The beautiful Danish-made tweeters arrived. The ebay seller packed them so well it restored some of my faith in humanity.
I used a gator clip to help dissipate the heat when I de-soldered the tabs. (Thank you for the tip, @Gardenstater) My solder-sucker helped get them clean enough that the M10 connectors slipped right on.
Before installing them I threw them on my meter and they were pretty close to each other. I don’t know where they “should” be - but from a quick scan of other threads this seems reasonable?
I’m going to forego the solder-iron home-brew aperture puncture procedure because I’m pretty sure I’d mess something up and there’s enough sadness in the world as it is.
Here is one of my the M10Bs with the peerless in place. I think they look pretty nice, and they were a precise fit replacement for the SL1000s.
I’m not sure if the following images are helpful, but I thought I’d include them for reference. I threw my calipers on the tweeters and got some rough measurements. The ebay seller hinted that there might be a dimple under the label in the center of the magnet assembly, and I can feel it. I tried to get the caliper to approximately where I could feel the dimple.
Thanks to everyone for your help and advice. I’ll put these through their paces (running Pat Metheny through them now) and report back. I know the crossovers need attention, so if I get that completed before end of year I’ll follow up with that update as well.
 mtippin
7 ·
Re: What Are You Listening To? (Part Deux)
Dust! I have heard their album with the Vikings on the cover. Their bassist Kenny Aaronson was later in the band Stories ("Brother Louie") and Rick Derringer's band. Their drummer became Marky Ramone of The Ramones.

 Viking64
3 ·
Re: What Are You Listening To? (Part Deux)

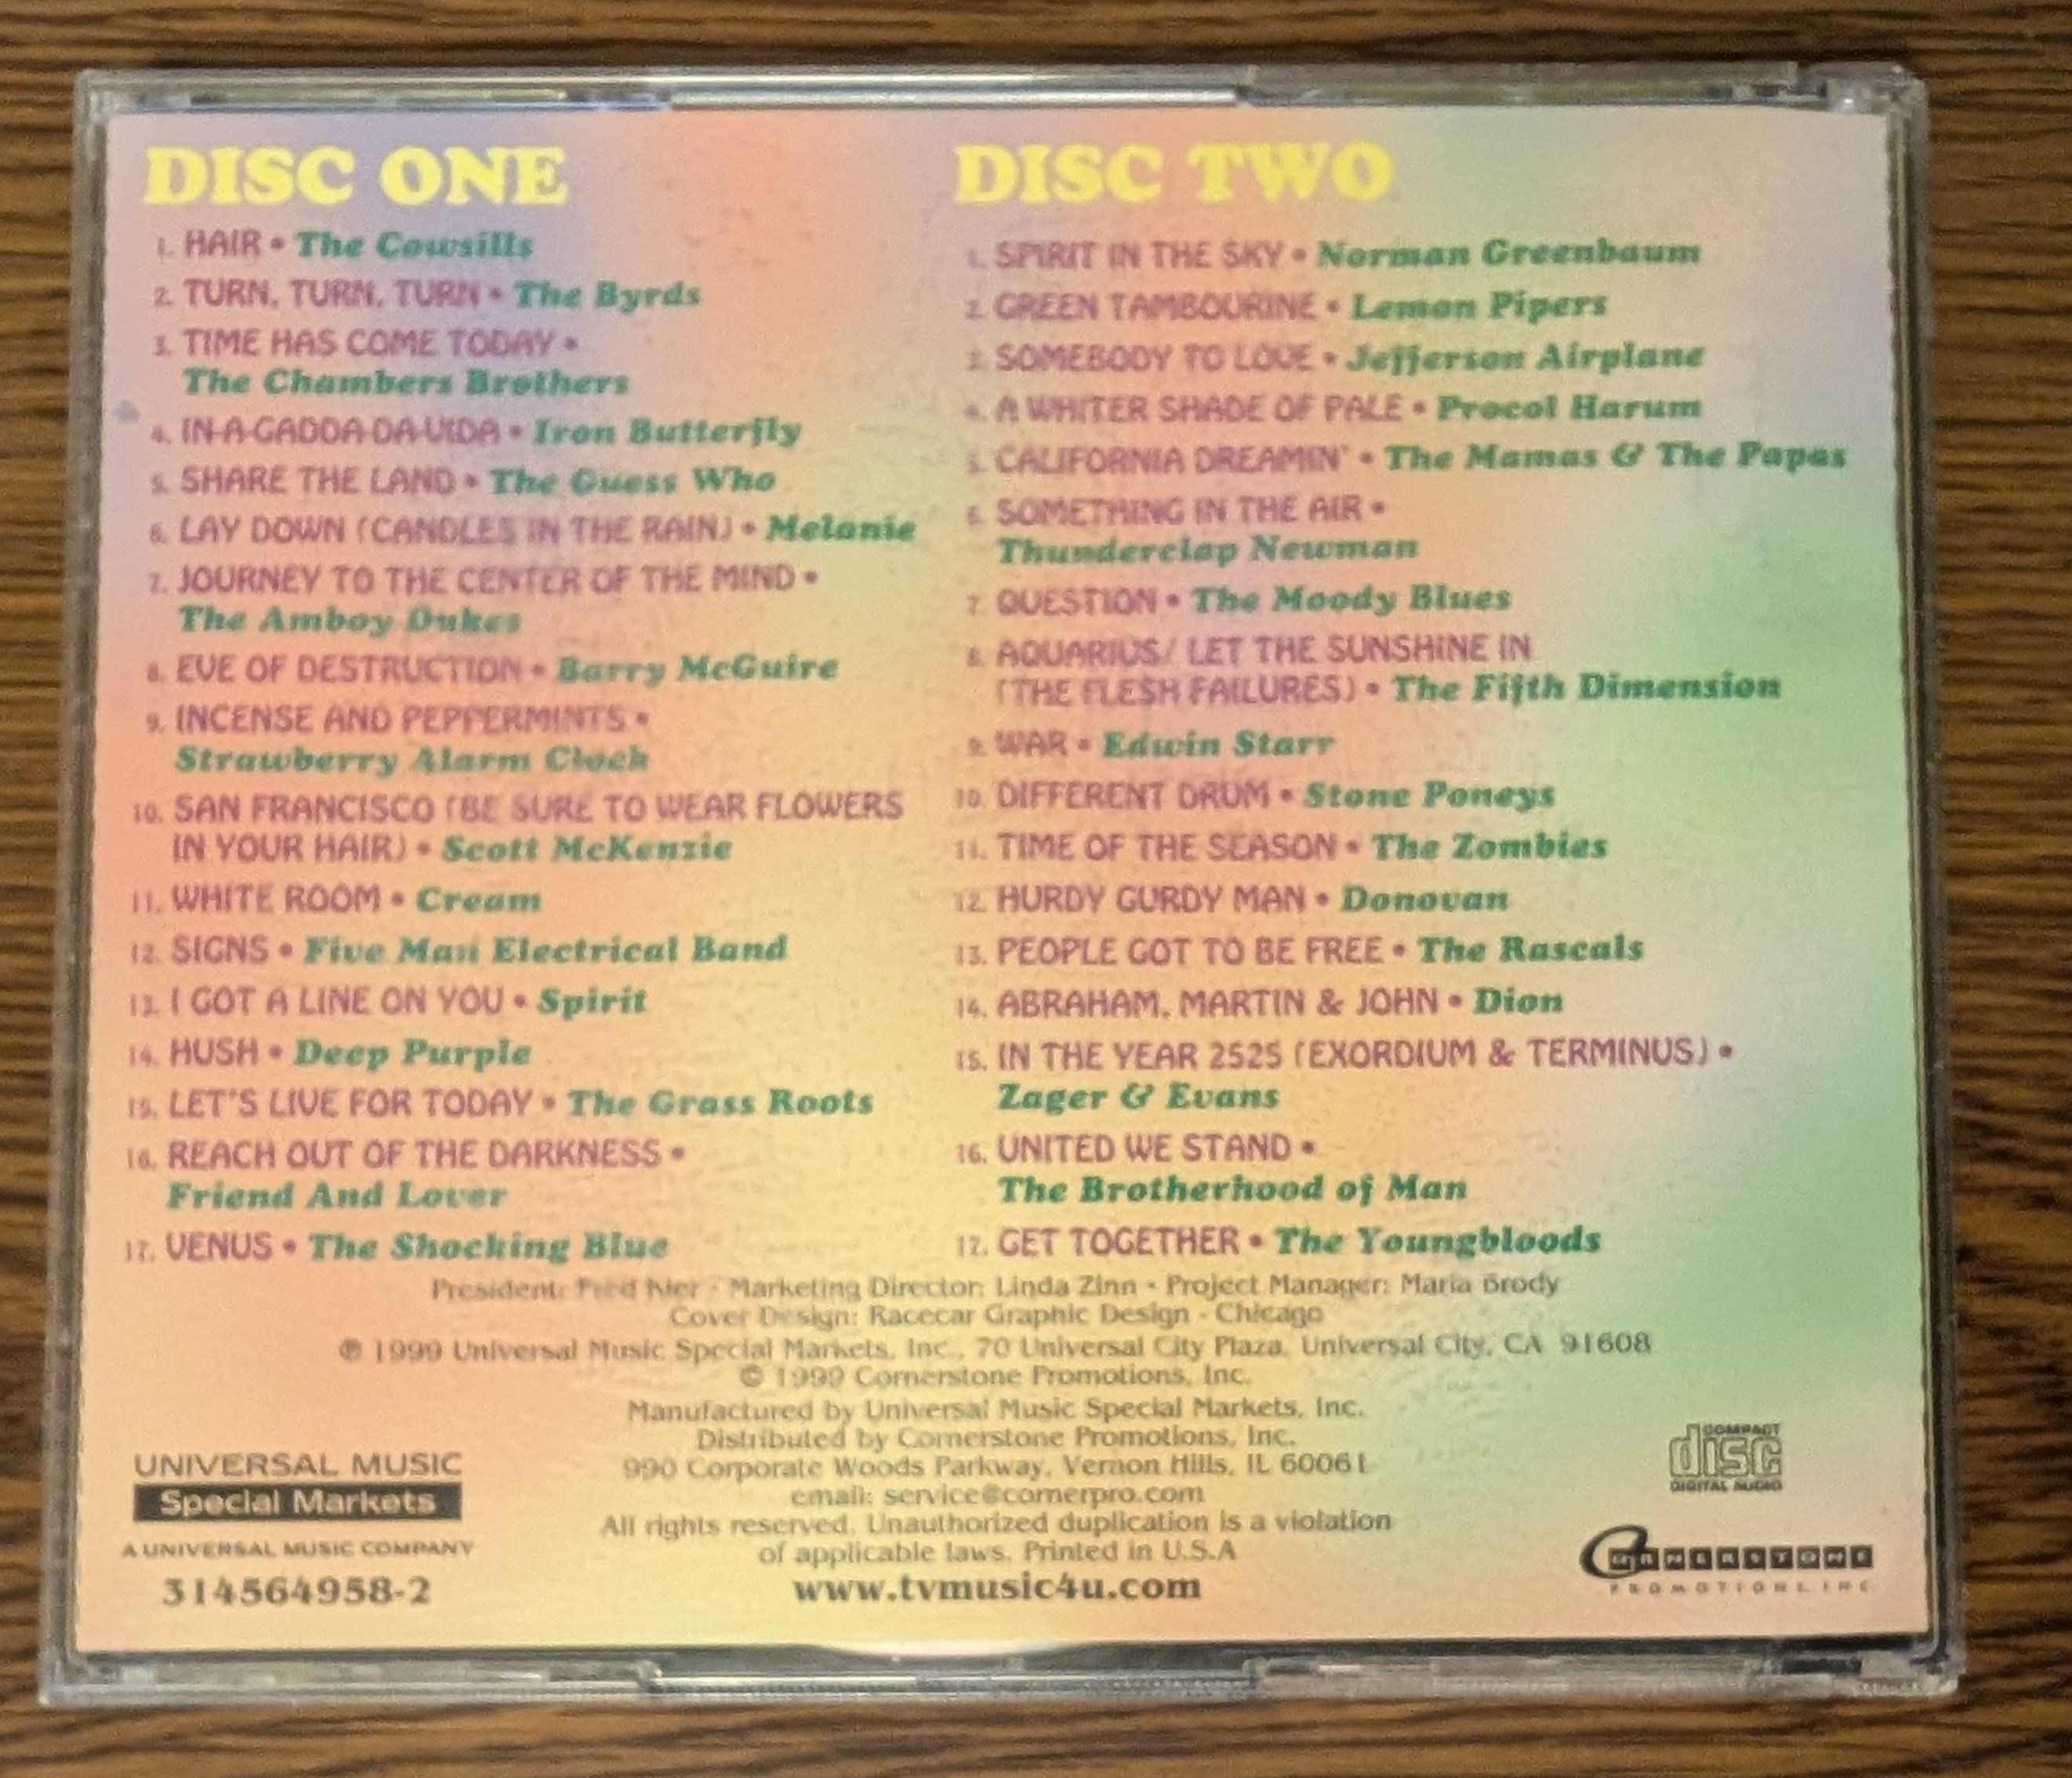
Bought this two-cd set at the GW last week. 59¢, it sounds good, lots of popular hits.
 aprazer402
2 ·
Re: Tweeter replacement options for Monitor 10b
If you burn a hole in a SL1000/2000, it sounds just as bad.
 xschop
3 ·
Re: Tweeter replacement options for Monitor 10b
Time to get back on your meds.
Again, I see words and no proof. Your feeble attempt to be funny proves nothing.
Meds as old as you are? Trust me you win there big guy!! No way anyone here is on as many as you!!
Post that pic of you burning that tweeter hole we all want to see that 🤣🤣
 DeRod
DeRod
-1 ·