Best Of


Re: Looking under the hood
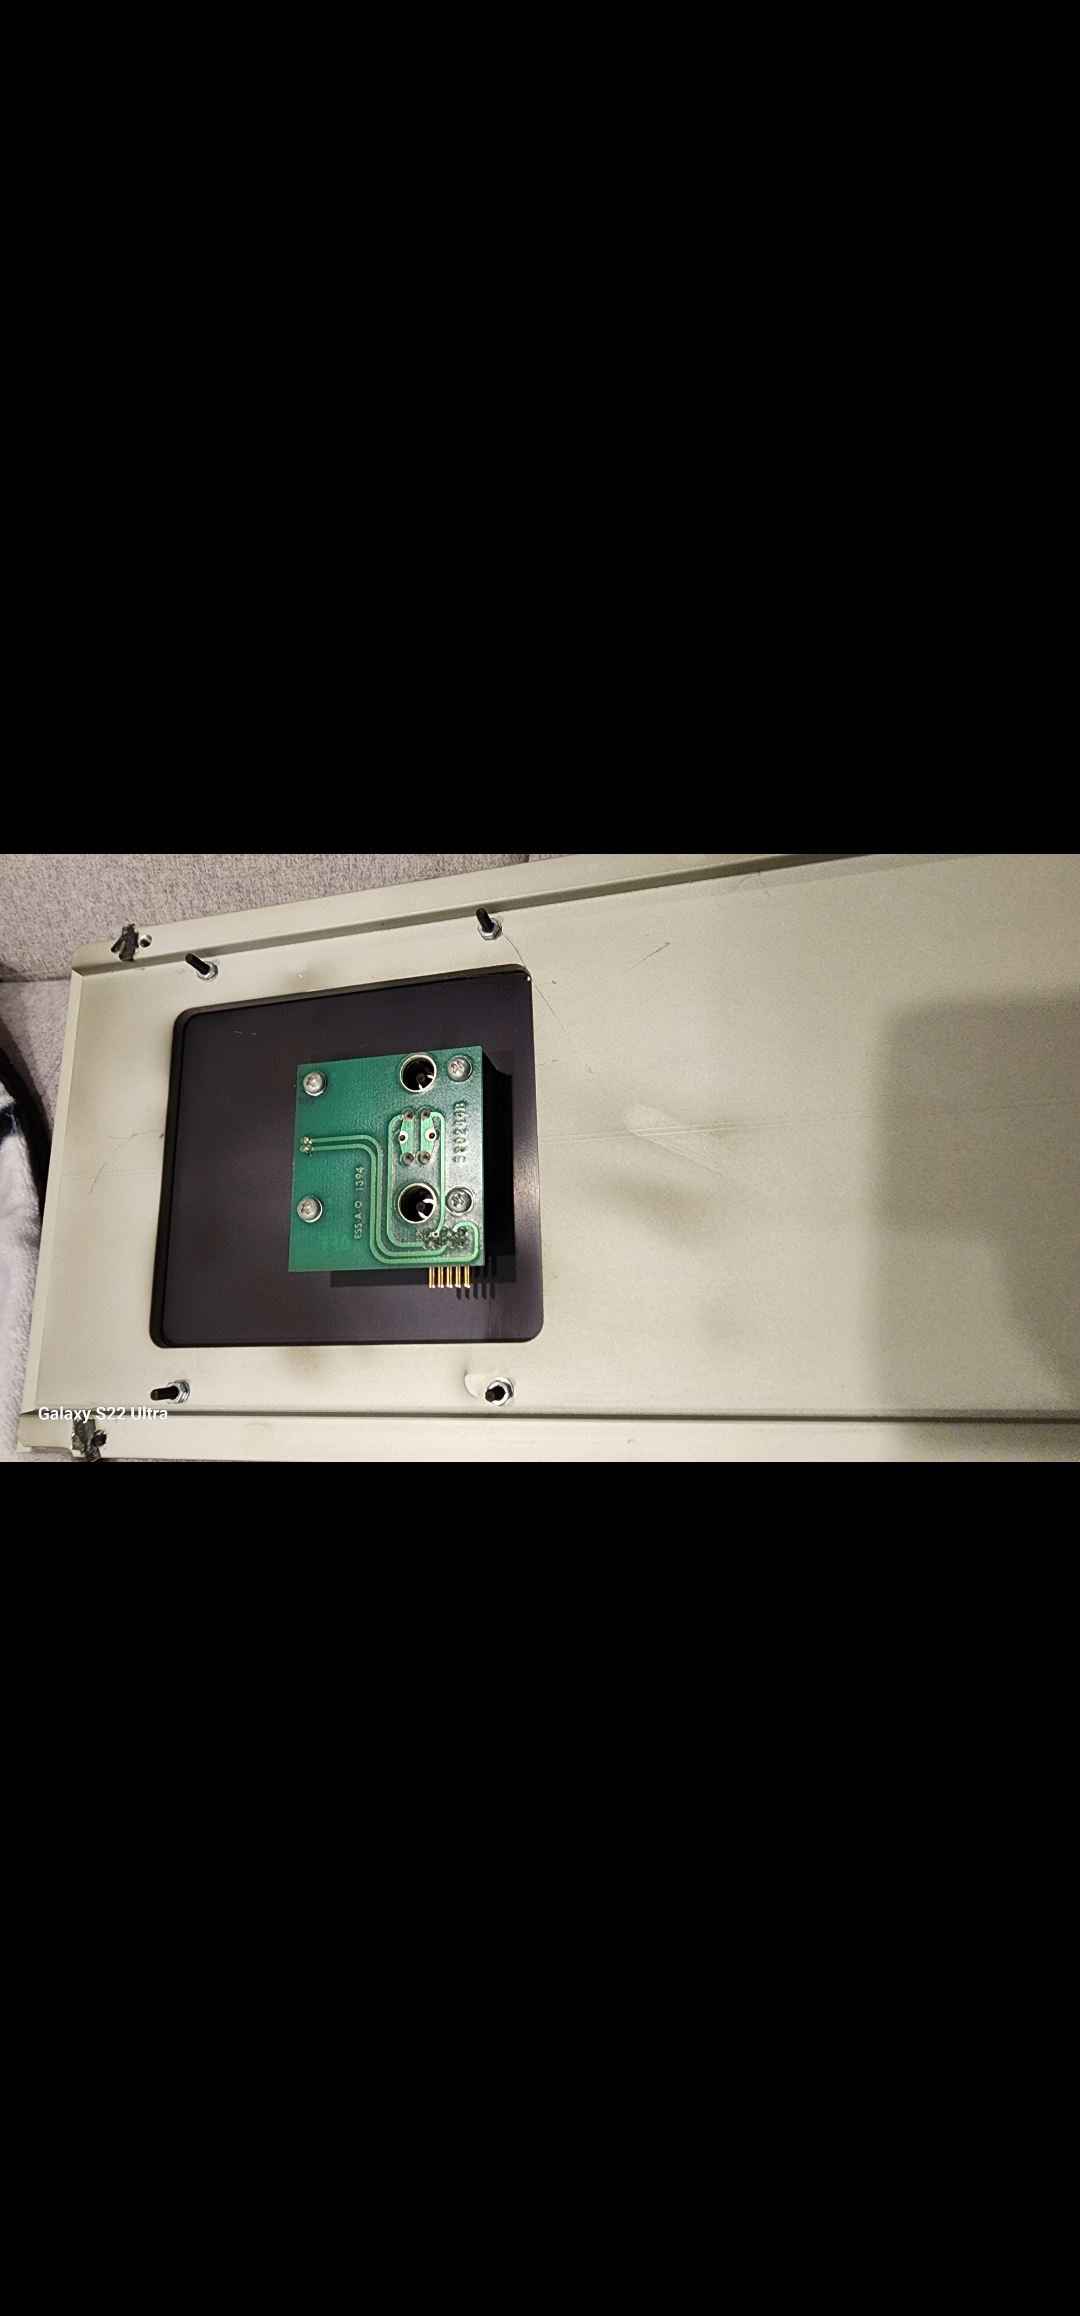
One of my monoblocks wouldn't turn on... Sad but half way expected due to the age... Took an opportunity to take things apart and look for burnt things. I couldn't access it but I think the regenerator is the culprit


 VR3
VR3
4 ·
Re: Looking under the hood
I was a train controller a thousand lifetimes ago. For the Soo Line. I just found my stuff from train dispatcher school in Minneapolis, which I kept for some reason. Very hard school, way more complex than I remember.
 dromunds
5 ·

Re: The Southwest Audio Fest 2025
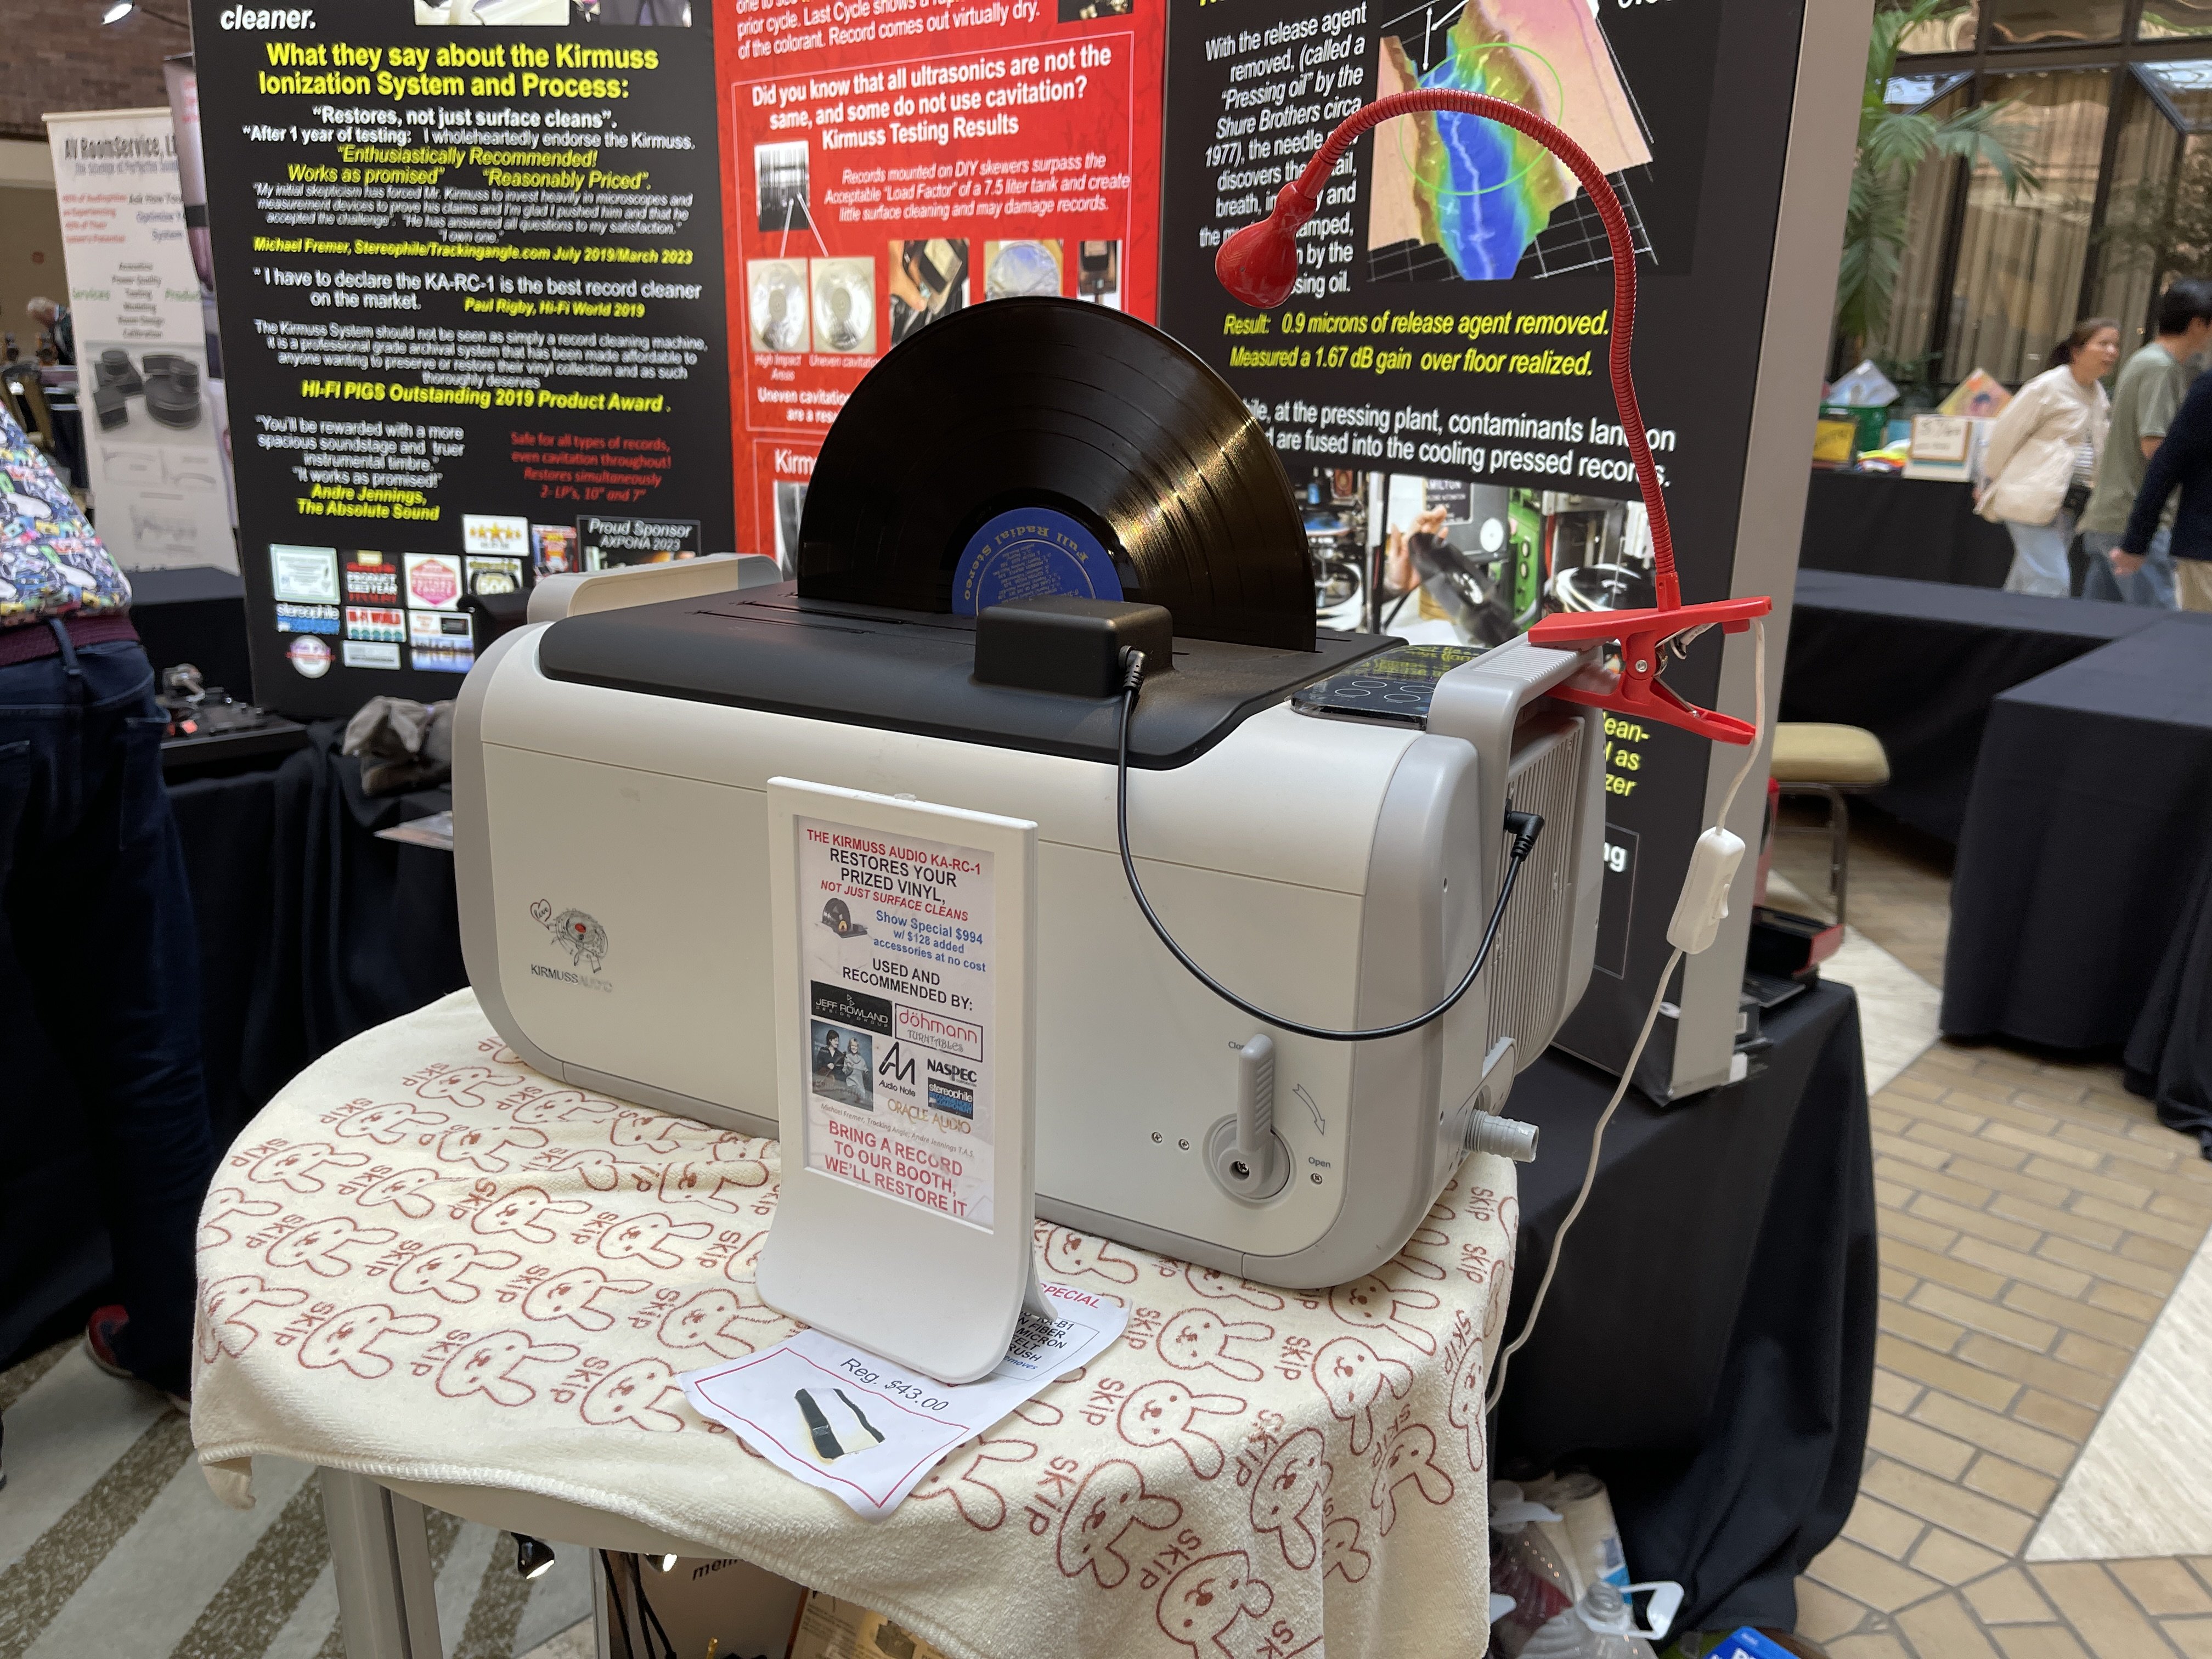
Favorite tool: Kirmuss
This thing is a bit of a hard sell. The restoration process does work. It’s not mind blowing, but I did two A/B comparisons, one with a random record someone brought in, and one of my own.
The problem is that it basically takes a minimum of 20 minutes for the full process.
If I ever do purchase this I’d likely get the Upscale one with the 3LP slots and just use it as a regular ultrasonic. Then save the full process for really stubborn records or my favorites.
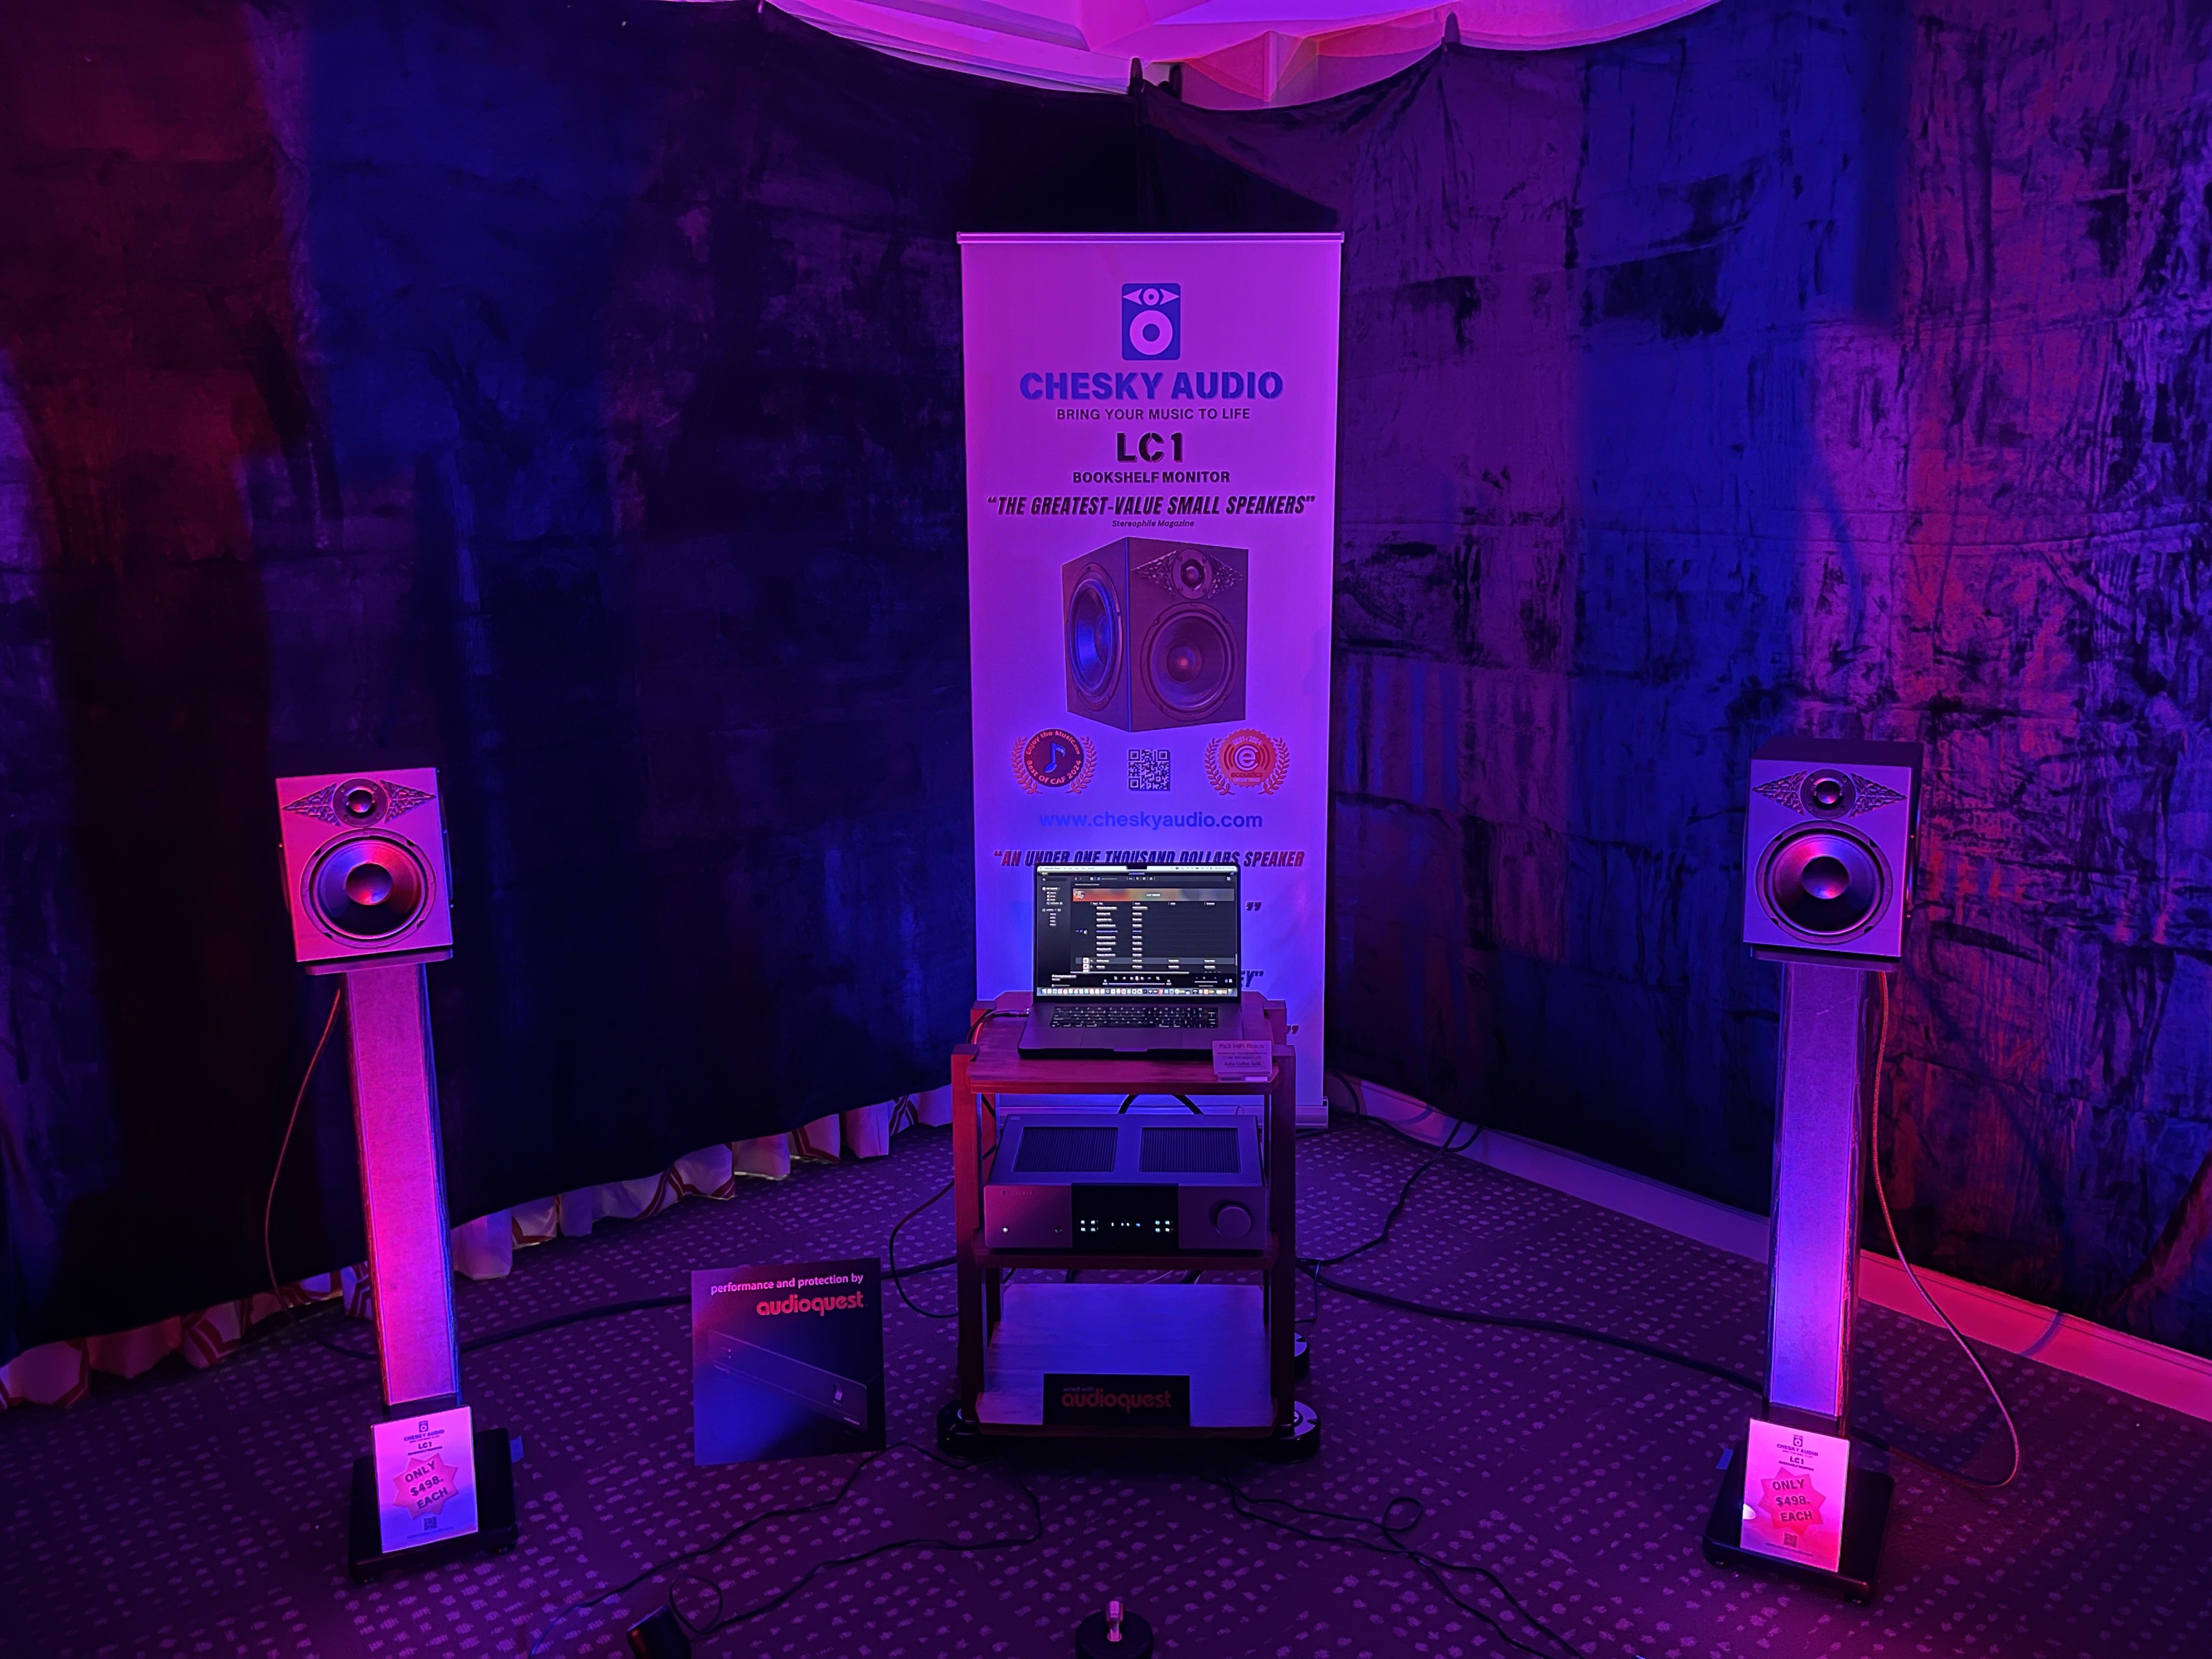
Best Value: Chesky. These are made by David Chesky’s 17 year old son, they cost $1000/pair, sound great for the price point, and was displayed as a $3k total system.
And lastly, what did I come home with:
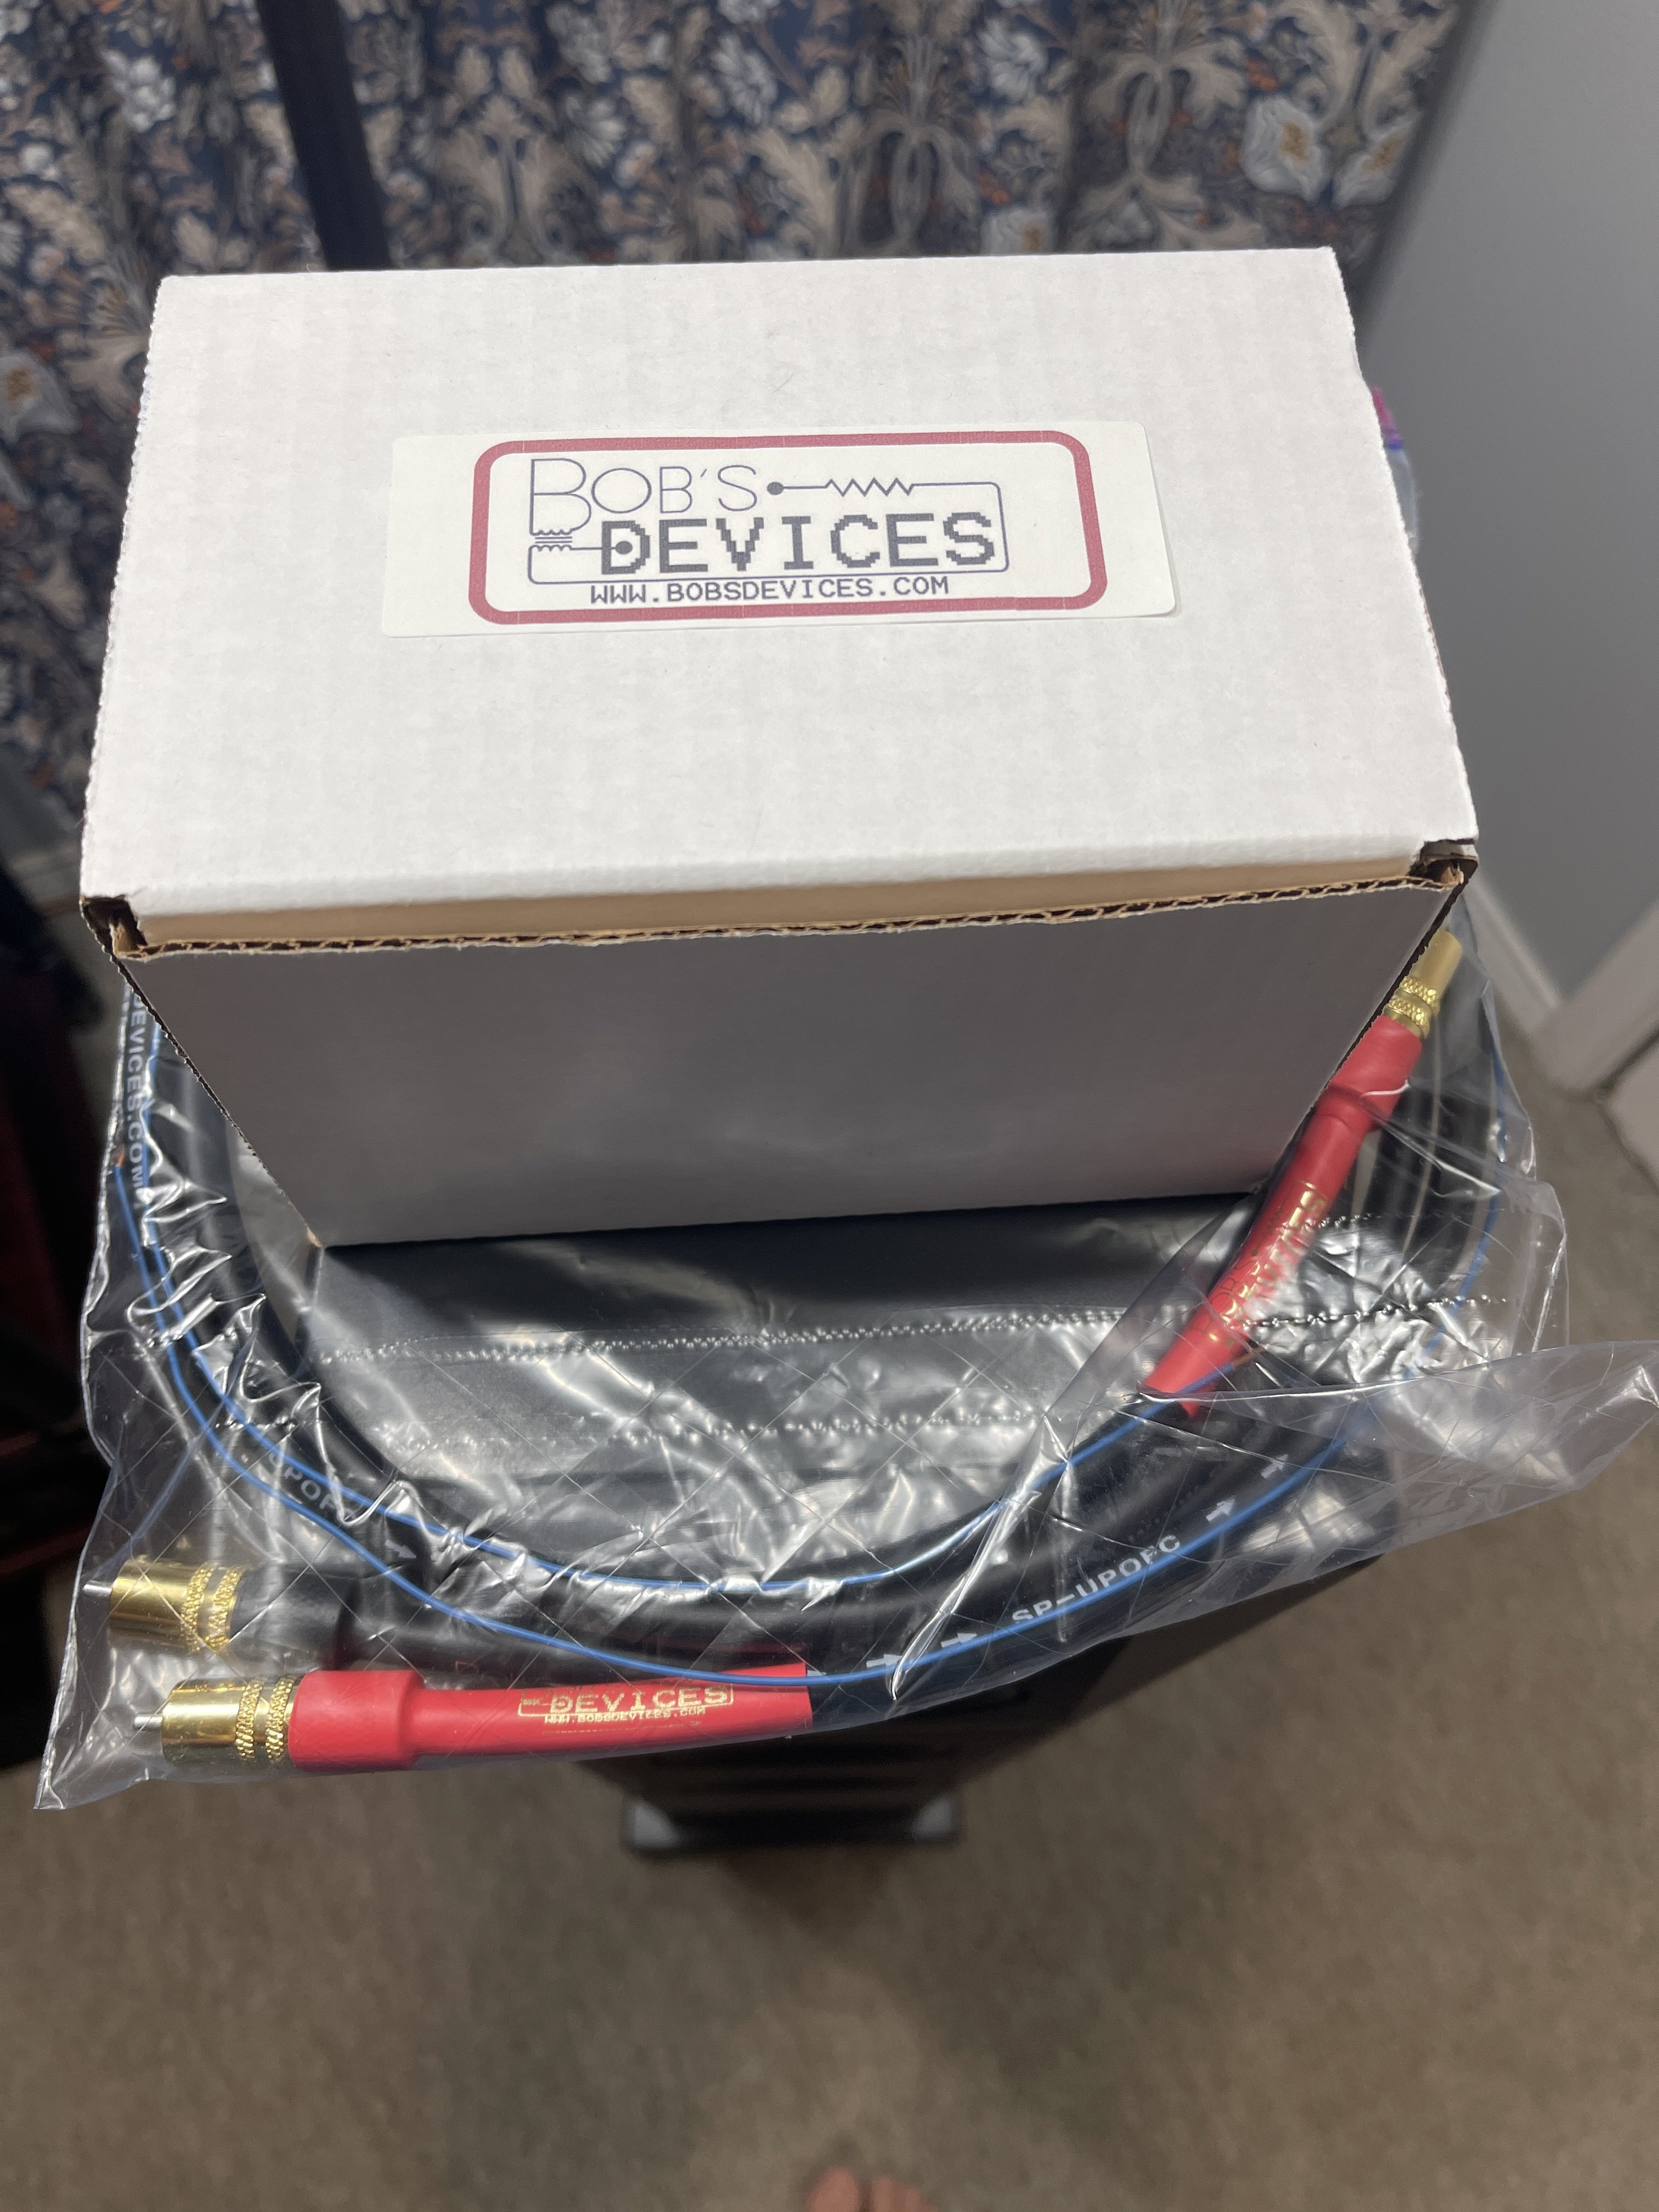
Bob’s Devices Sky 20-S SUT + Bob’s cables. I can’t believe I didn’t take a picture of his booth, but I guess I was pretty focused on potentially actually making a purchase. Bob had a Brinkman table with Hana Umami Blue, Sky 20-S, tube phono, tube headphone amp, and 800S headphones. On Sunday I used my own Arya headphones for final demo.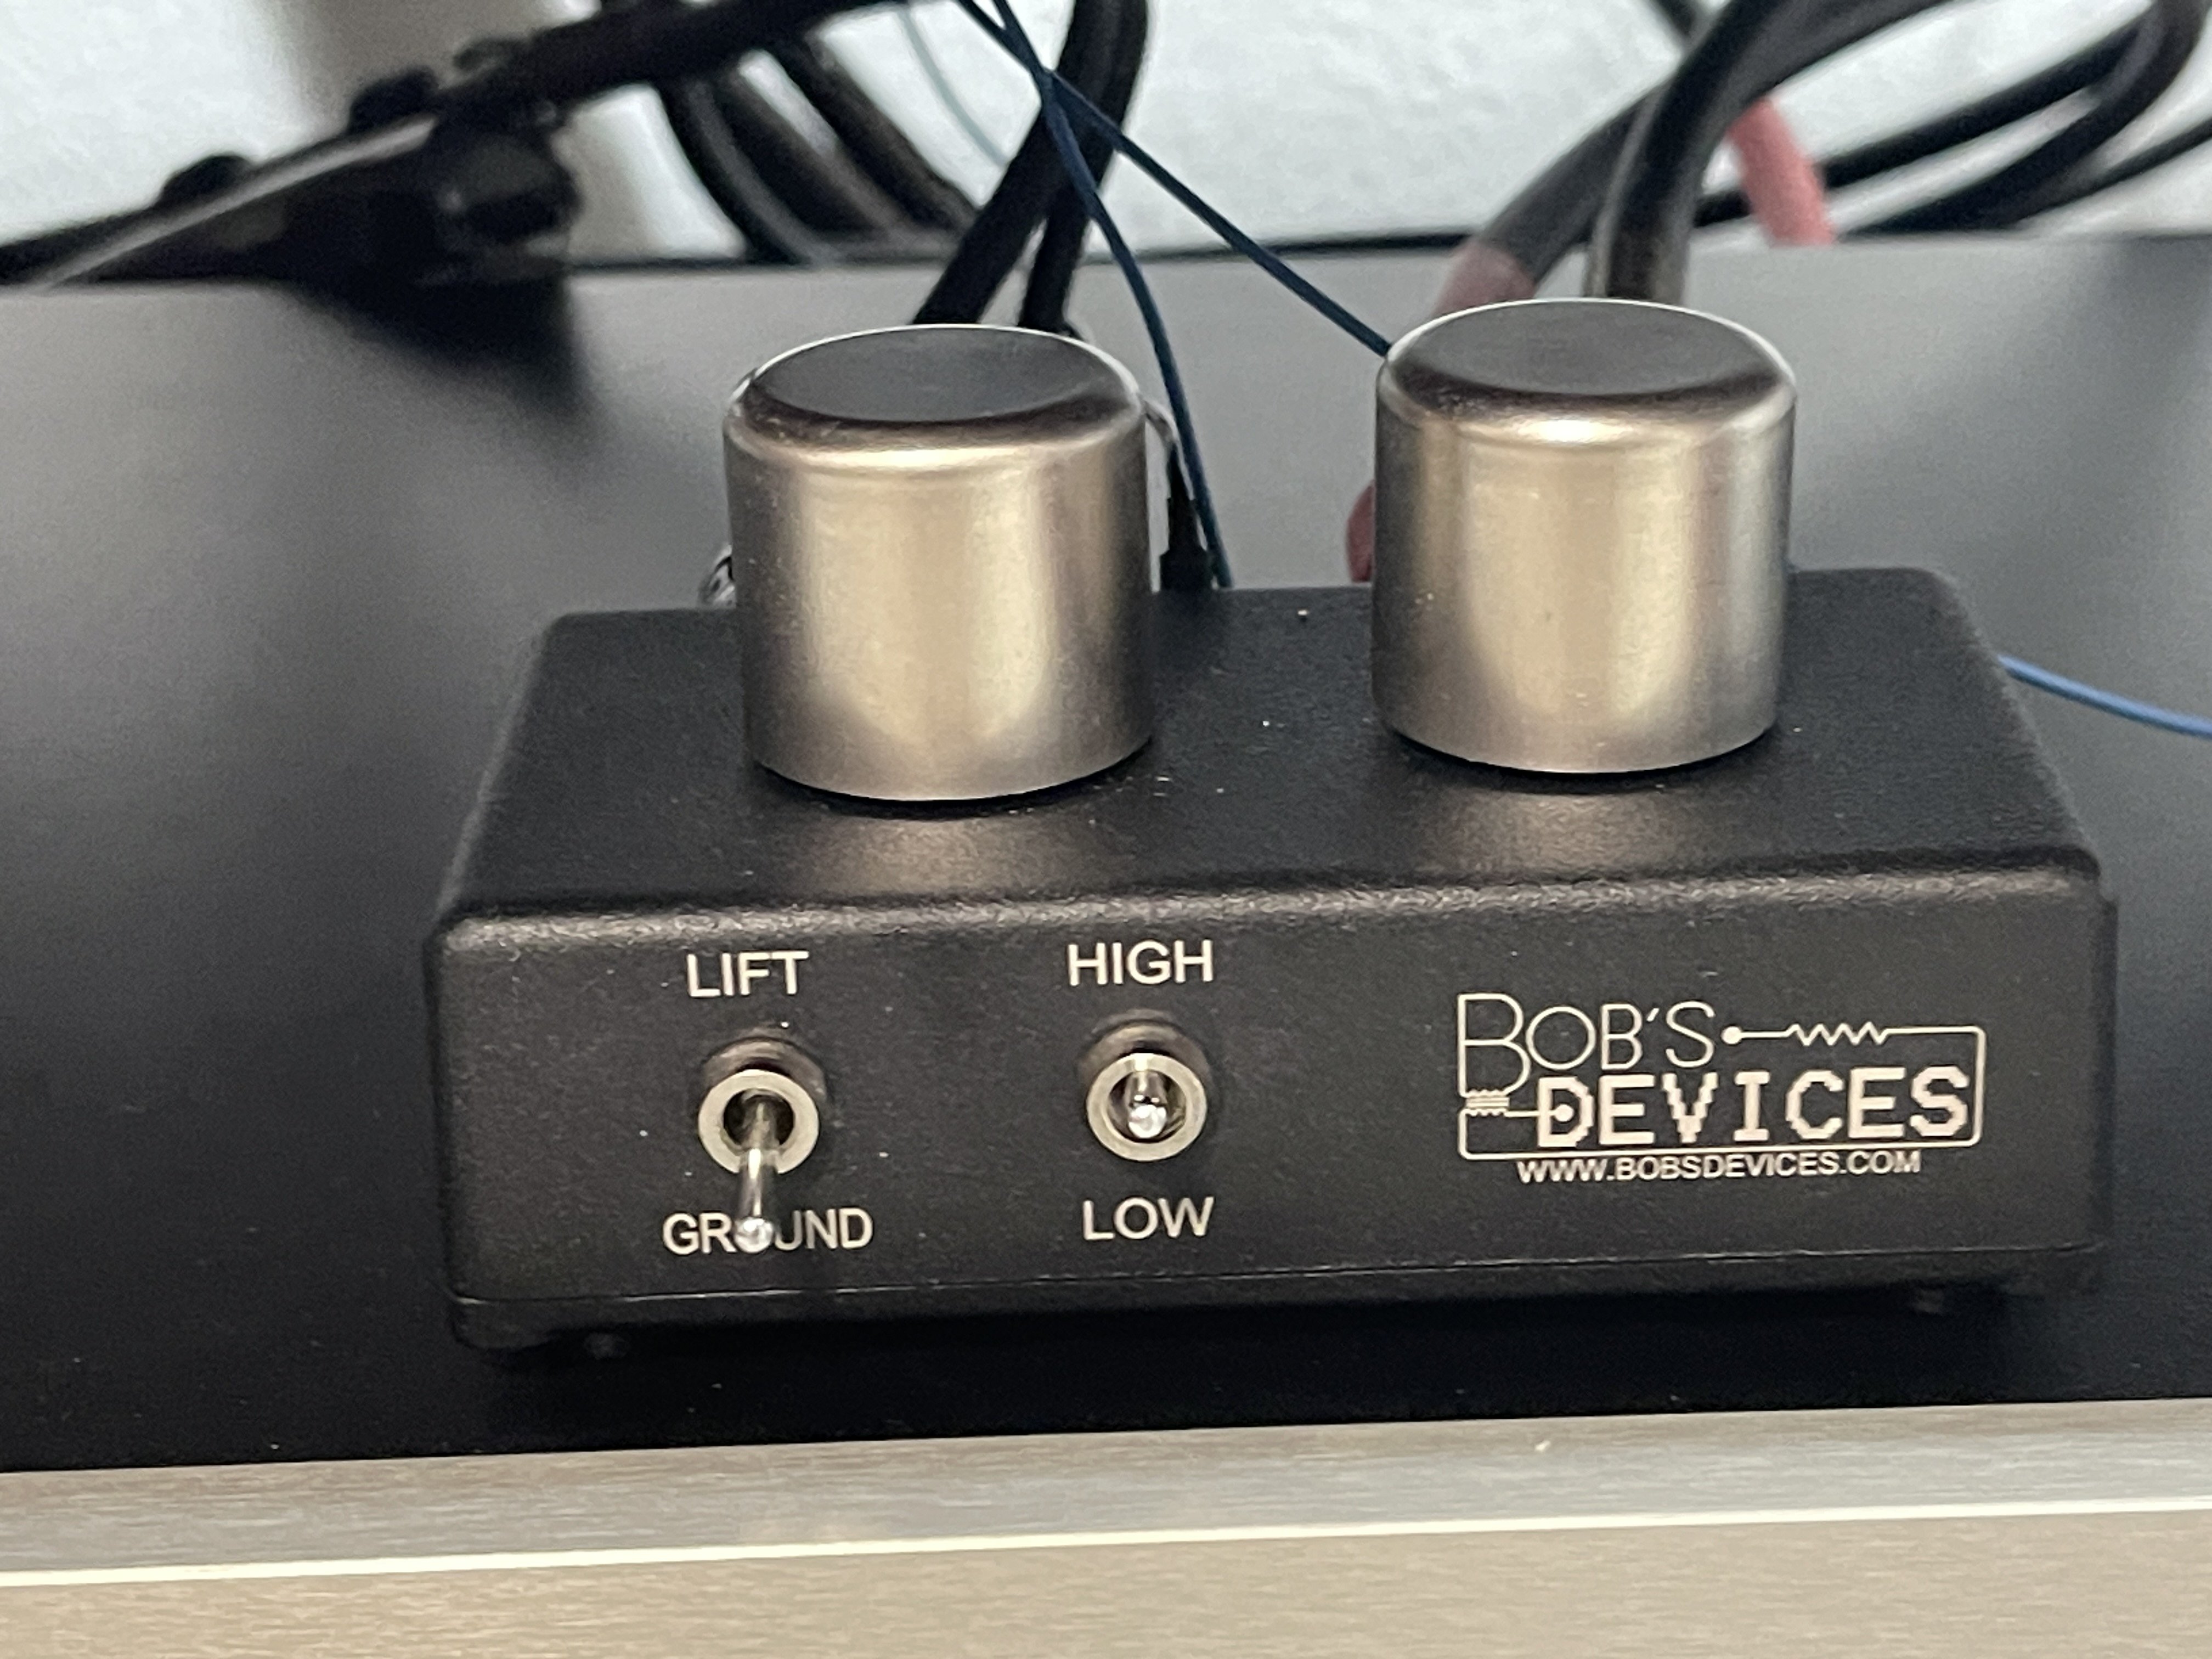
This thing is a bit of a hard sell. The restoration process does work. It’s not mind blowing, but I did two A/B comparisons, one with a random record someone brought in, and one of my own.
The problem is that it basically takes a minimum of 20 minutes for the full process.
If I ever do purchase this I’d likely get the Upscale one with the 3LP slots and just use it as a regular ultrasonic. Then save the full process for really stubborn records or my favorites.
Best Value: Chesky. These are made by David Chesky’s 17 year old son, they cost $1000/pair, sound great for the price point, and was displayed as a $3k total system.
And lastly, what did I come home with:
Bob’s Devices Sky 20-S SUT + Bob’s cables. I can’t believe I didn’t take a picture of his booth, but I guess I was pretty focused on potentially actually making a purchase. Bob had a Brinkman table with Hana Umami Blue, Sky 20-S, tube phono, tube headphone amp, and 800S headphones. On Sunday I used my own Arya headphones for final demo.
 displayname
3 ·

Kill Bill 1&2 4K karma
I received two sets of these for my birthday a couple weeks ago. I hate doing returns, so offering these up to a good home. They are new, unopened, and will still have the digital download codes in tact. The 4k restoration is fantastic, and the Atmos mix shines more than I would have thought.
Open to members in good standing with >100 posts. Pick a number between 1-100 AND throw out your favorite quote from one of the movies to be eligible. I’ll draw a winner mid-week and cover shipping to you.


Open to members in good standing with >100 posts. Pick a number between 1-100 AND throw out your favorite quote from one of the movies to be eligible. I’ll draw a winner mid-week and cover shipping to you.
 daddyjt
3 ·
Re: The Southwest Audio Fest 2025
And now my favorites!
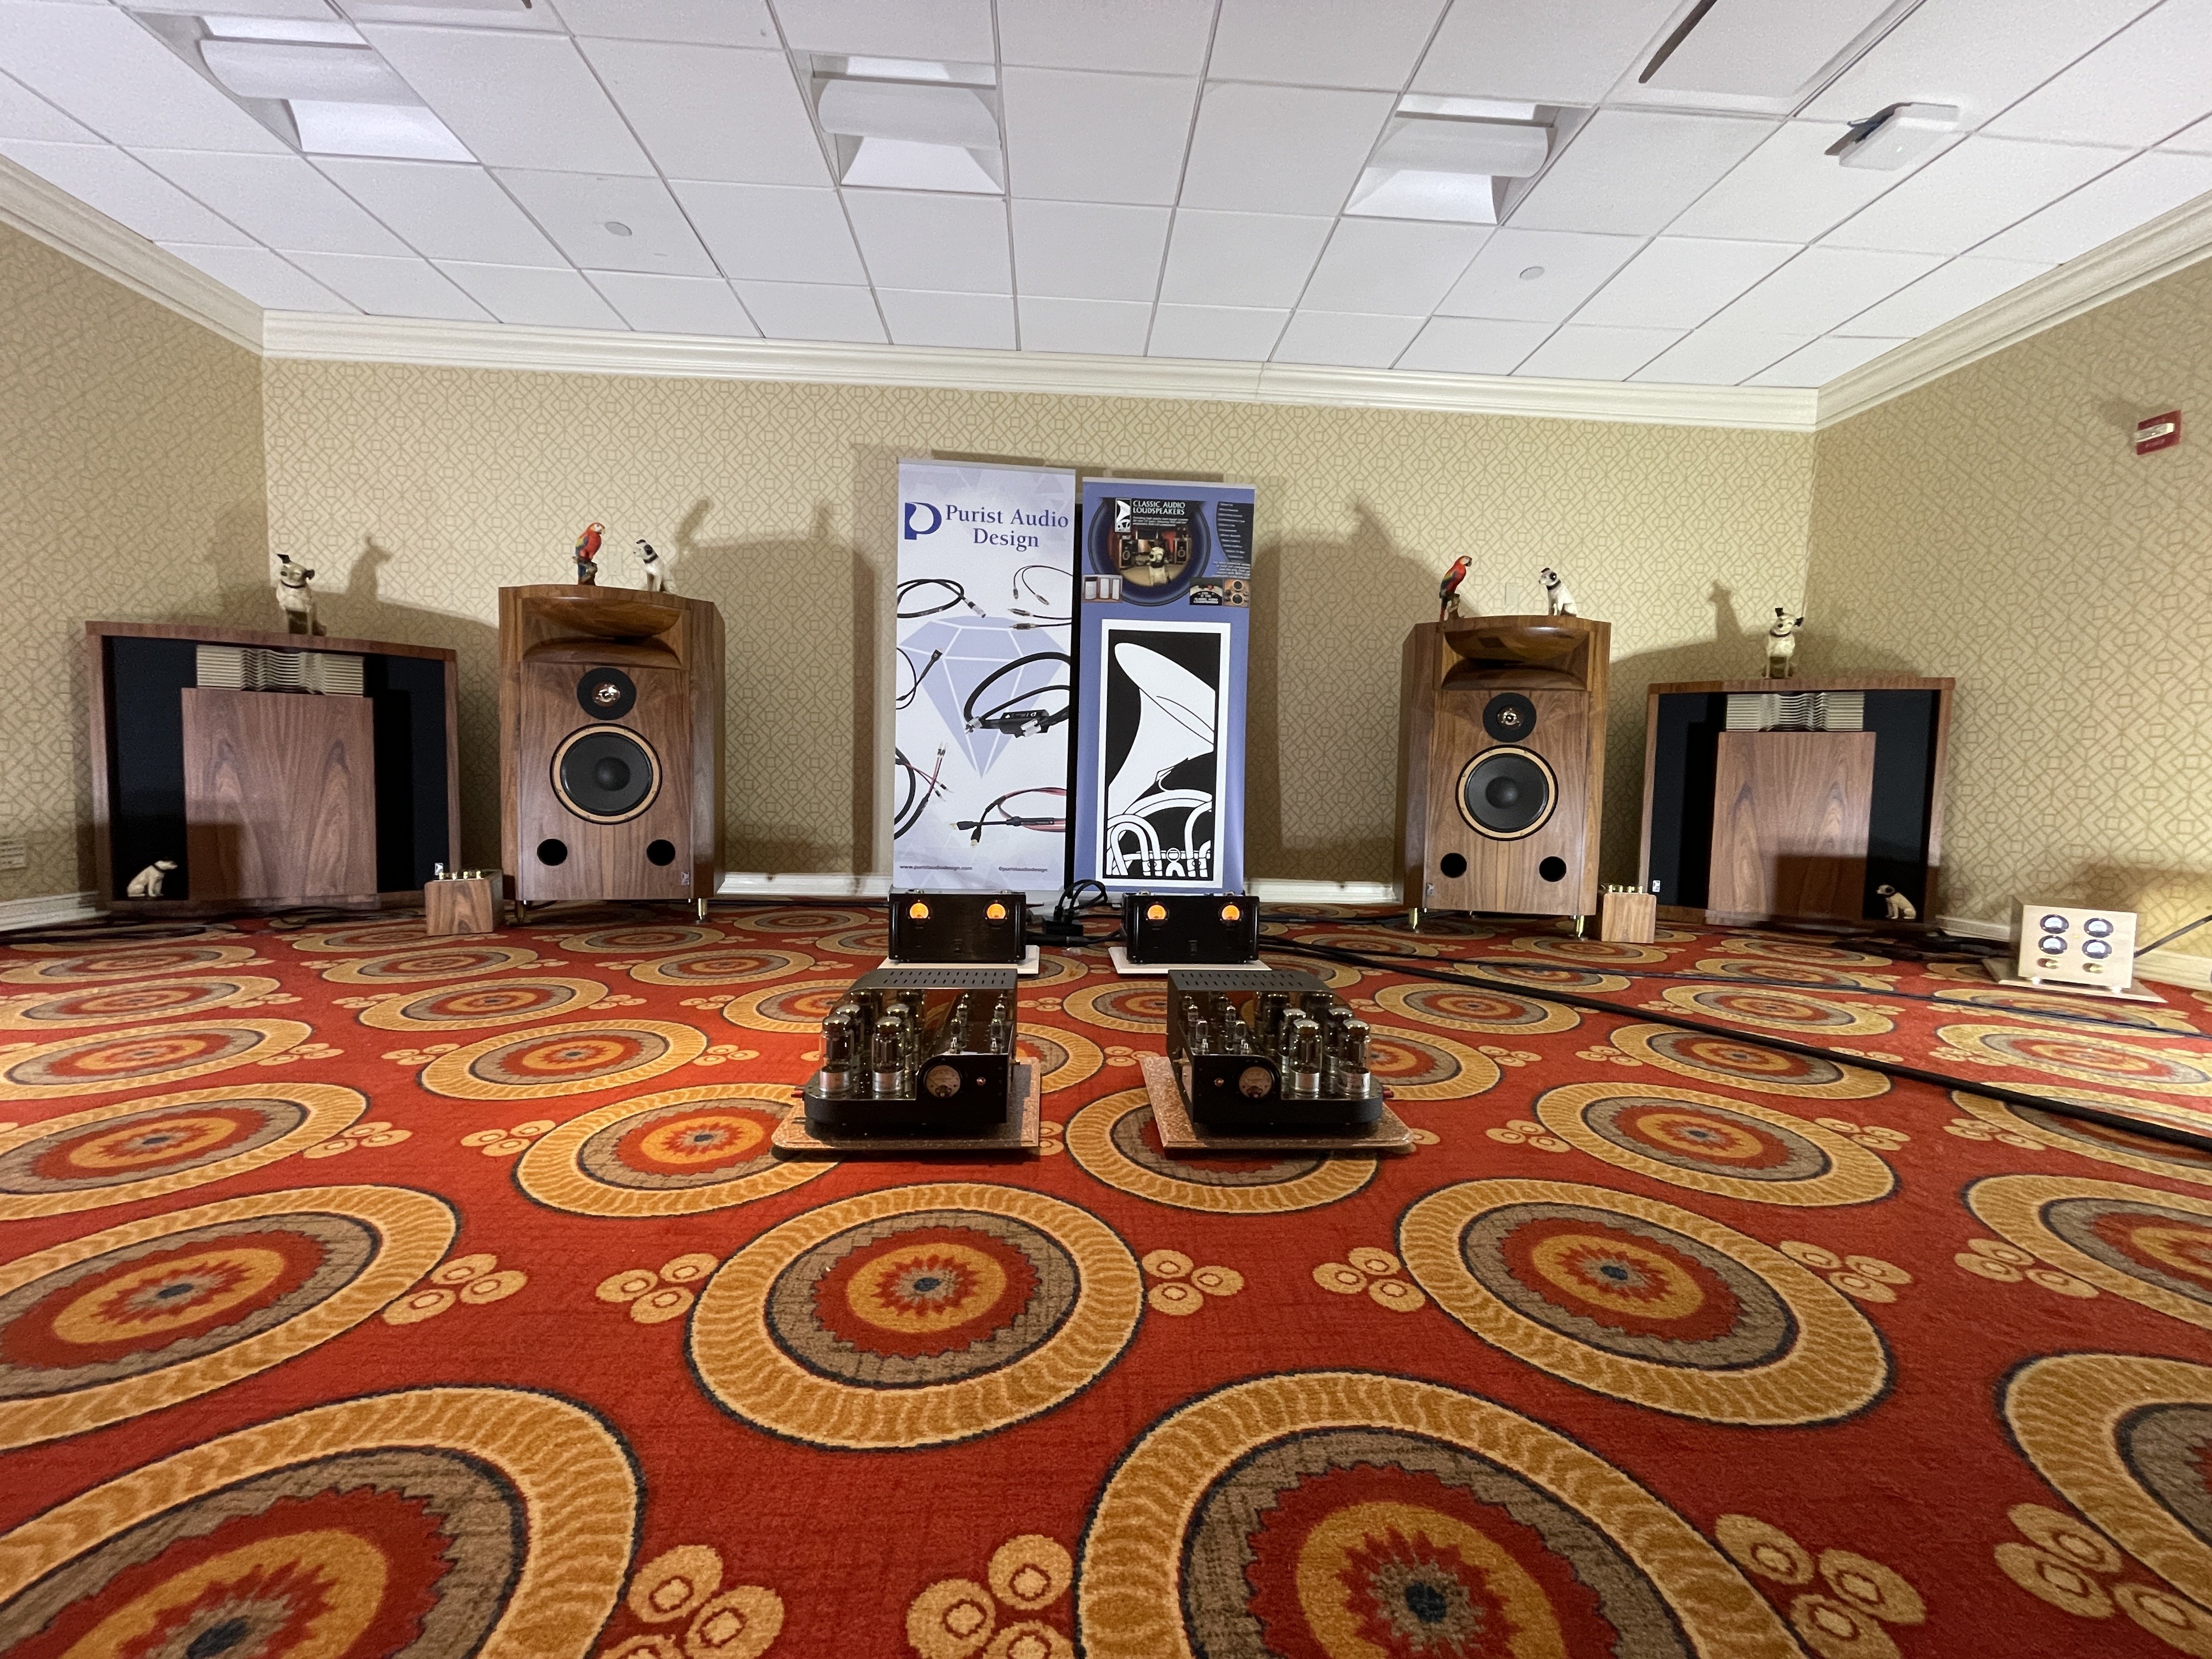
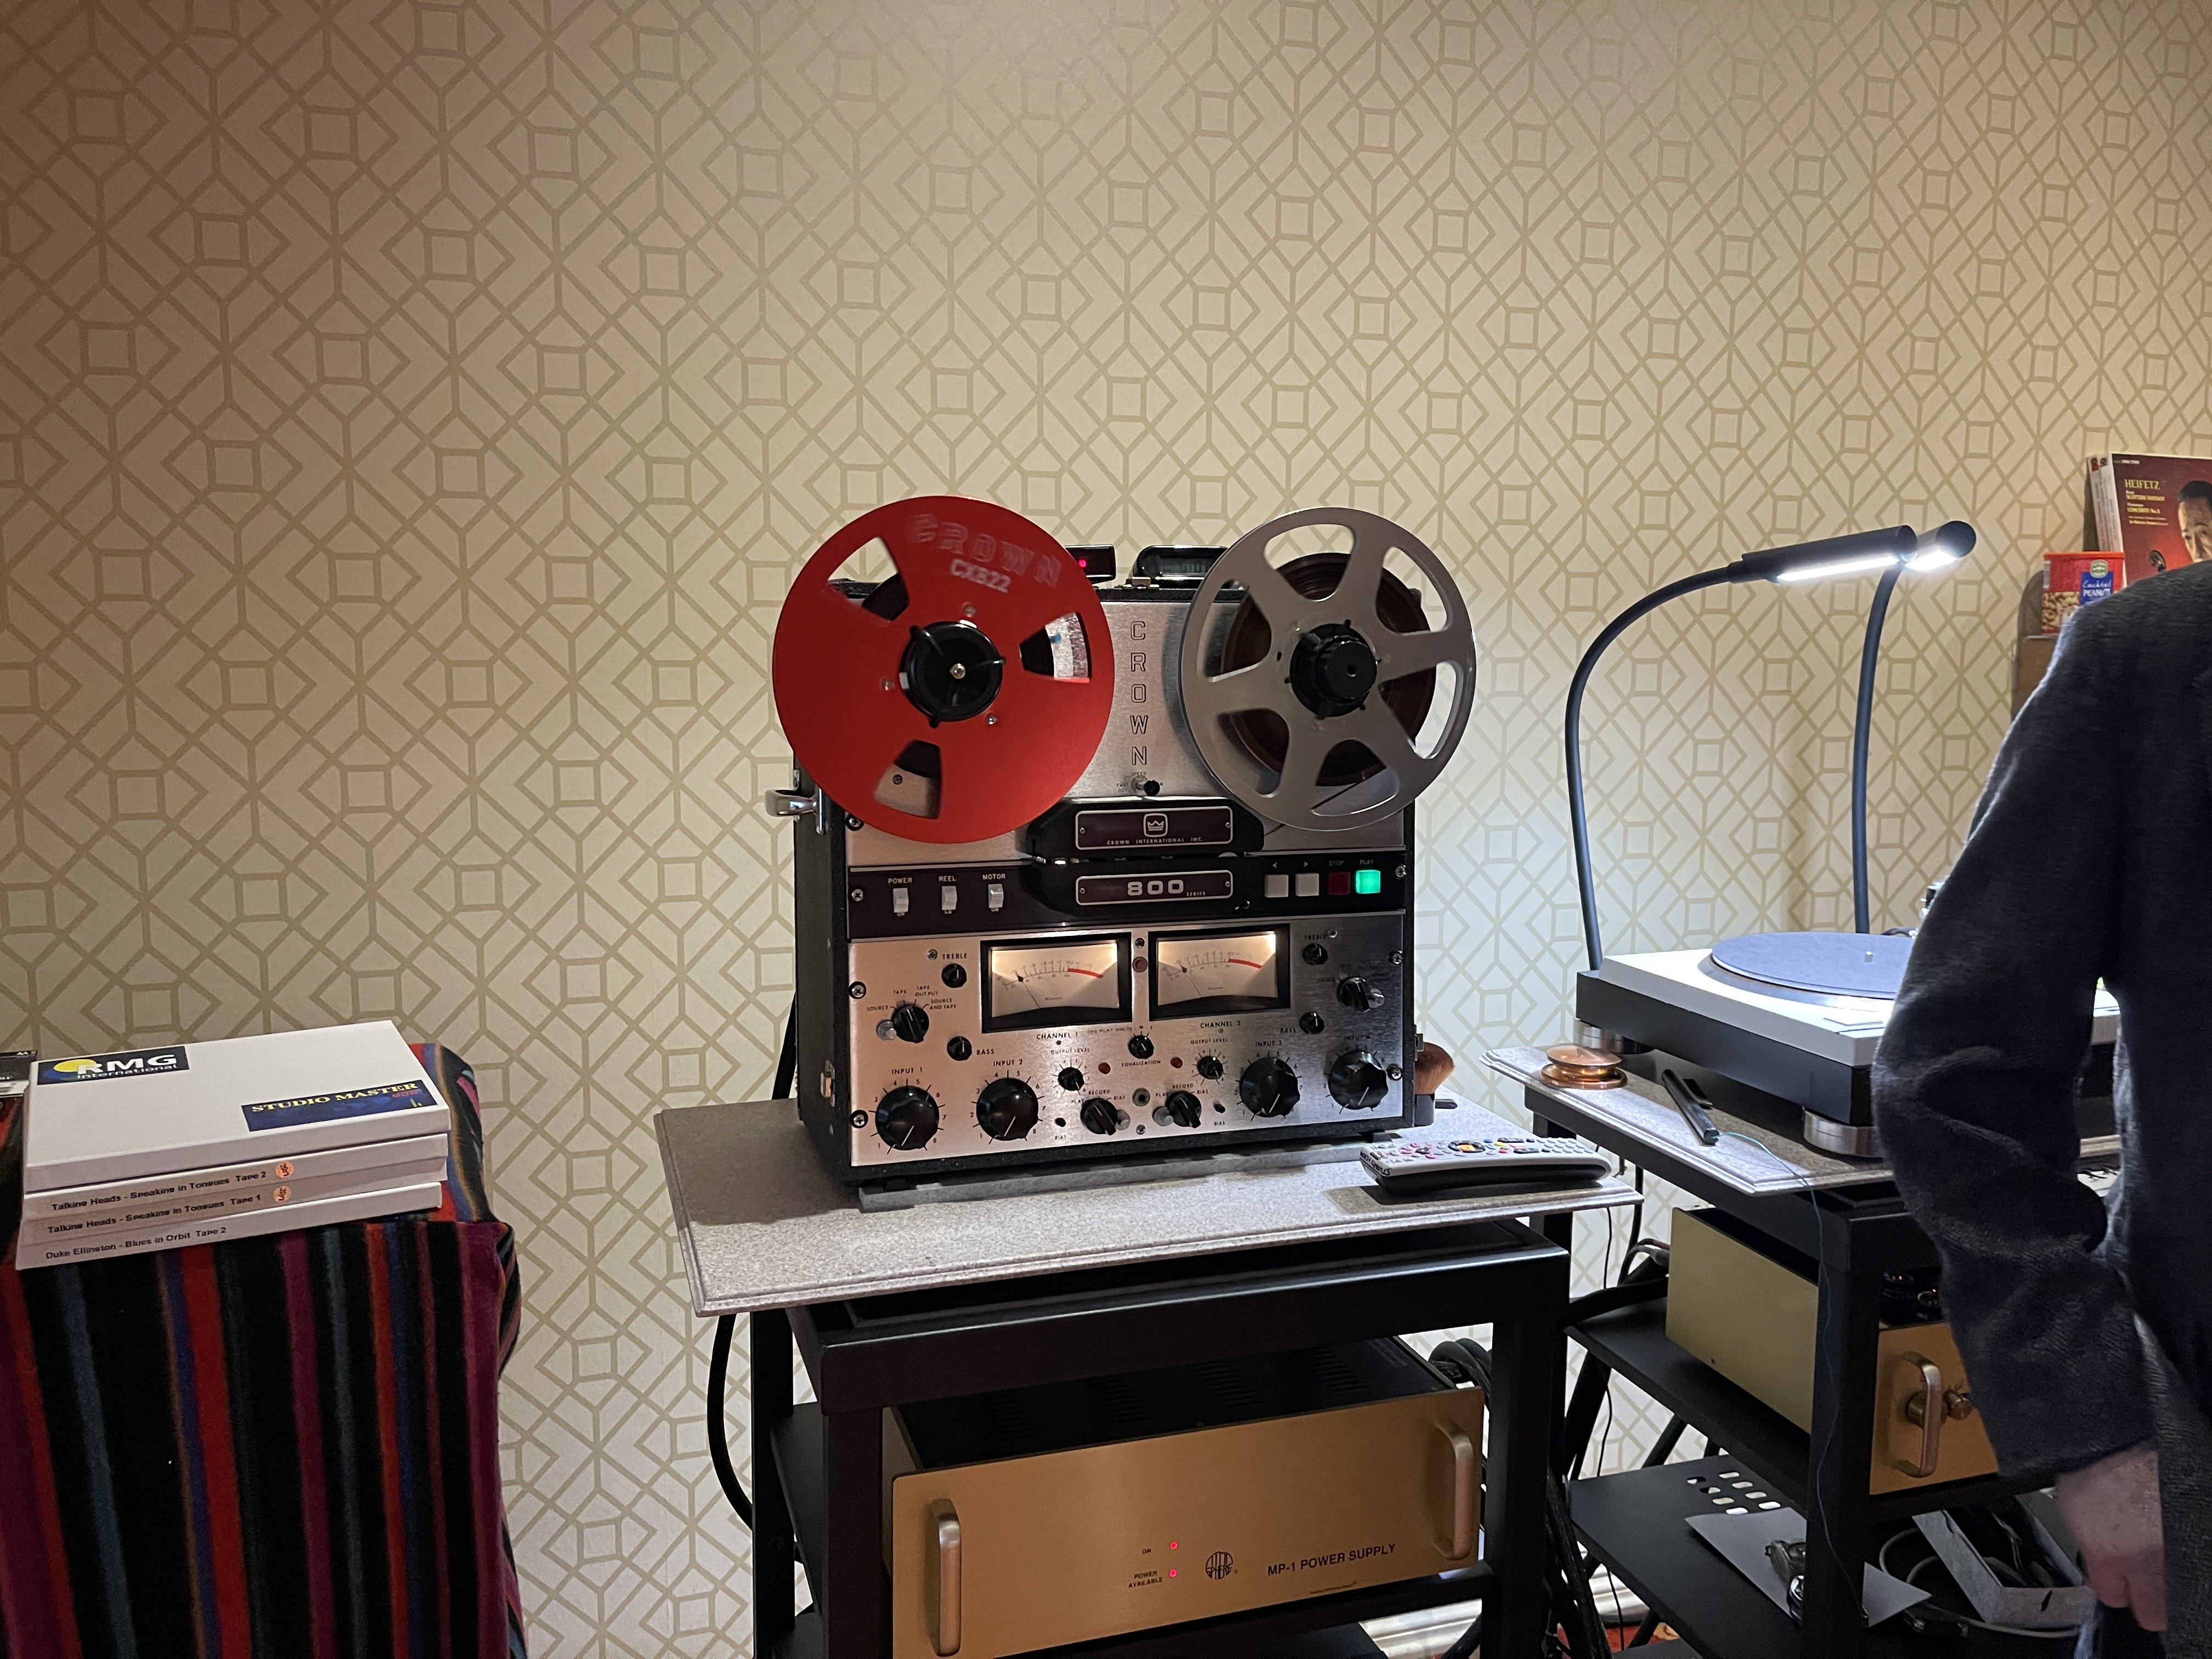
Favorite experience. Not the most refined sound, but they played In-A-Gadda-Da-Vida, on tape, and loud. It was undeniably fun and tape, big horns, tubes… it felt like this is how this was meant to be.
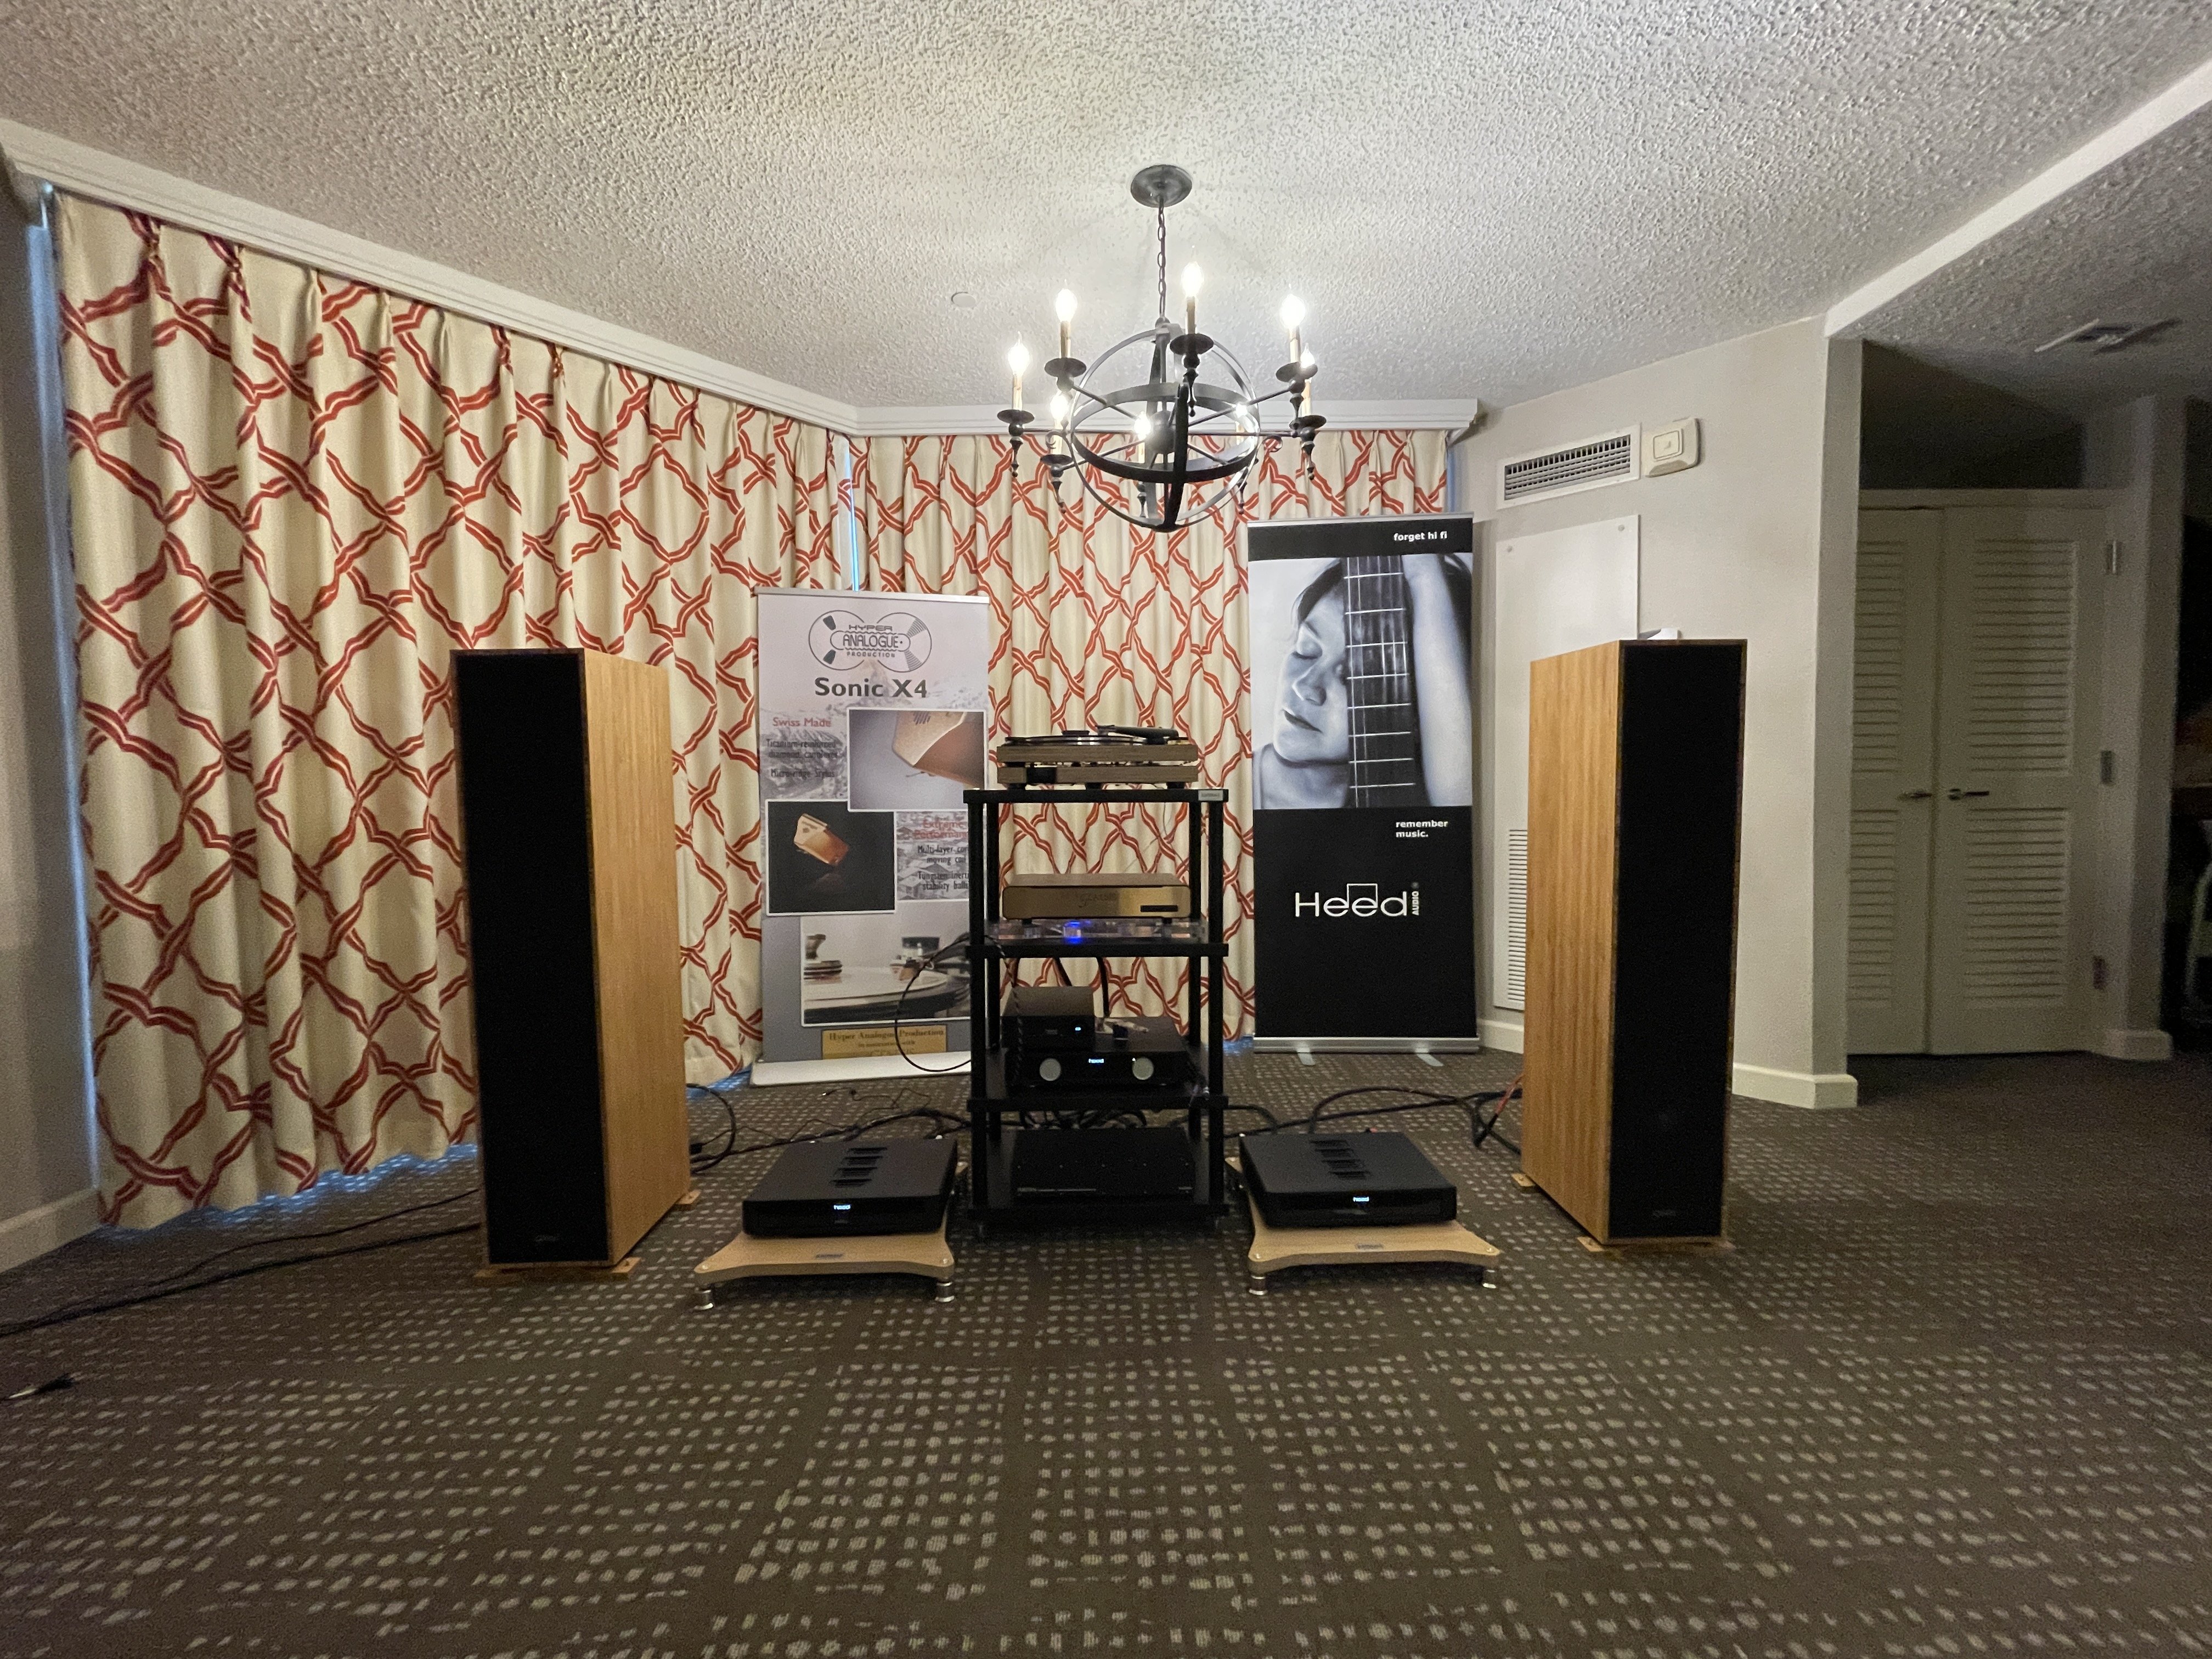
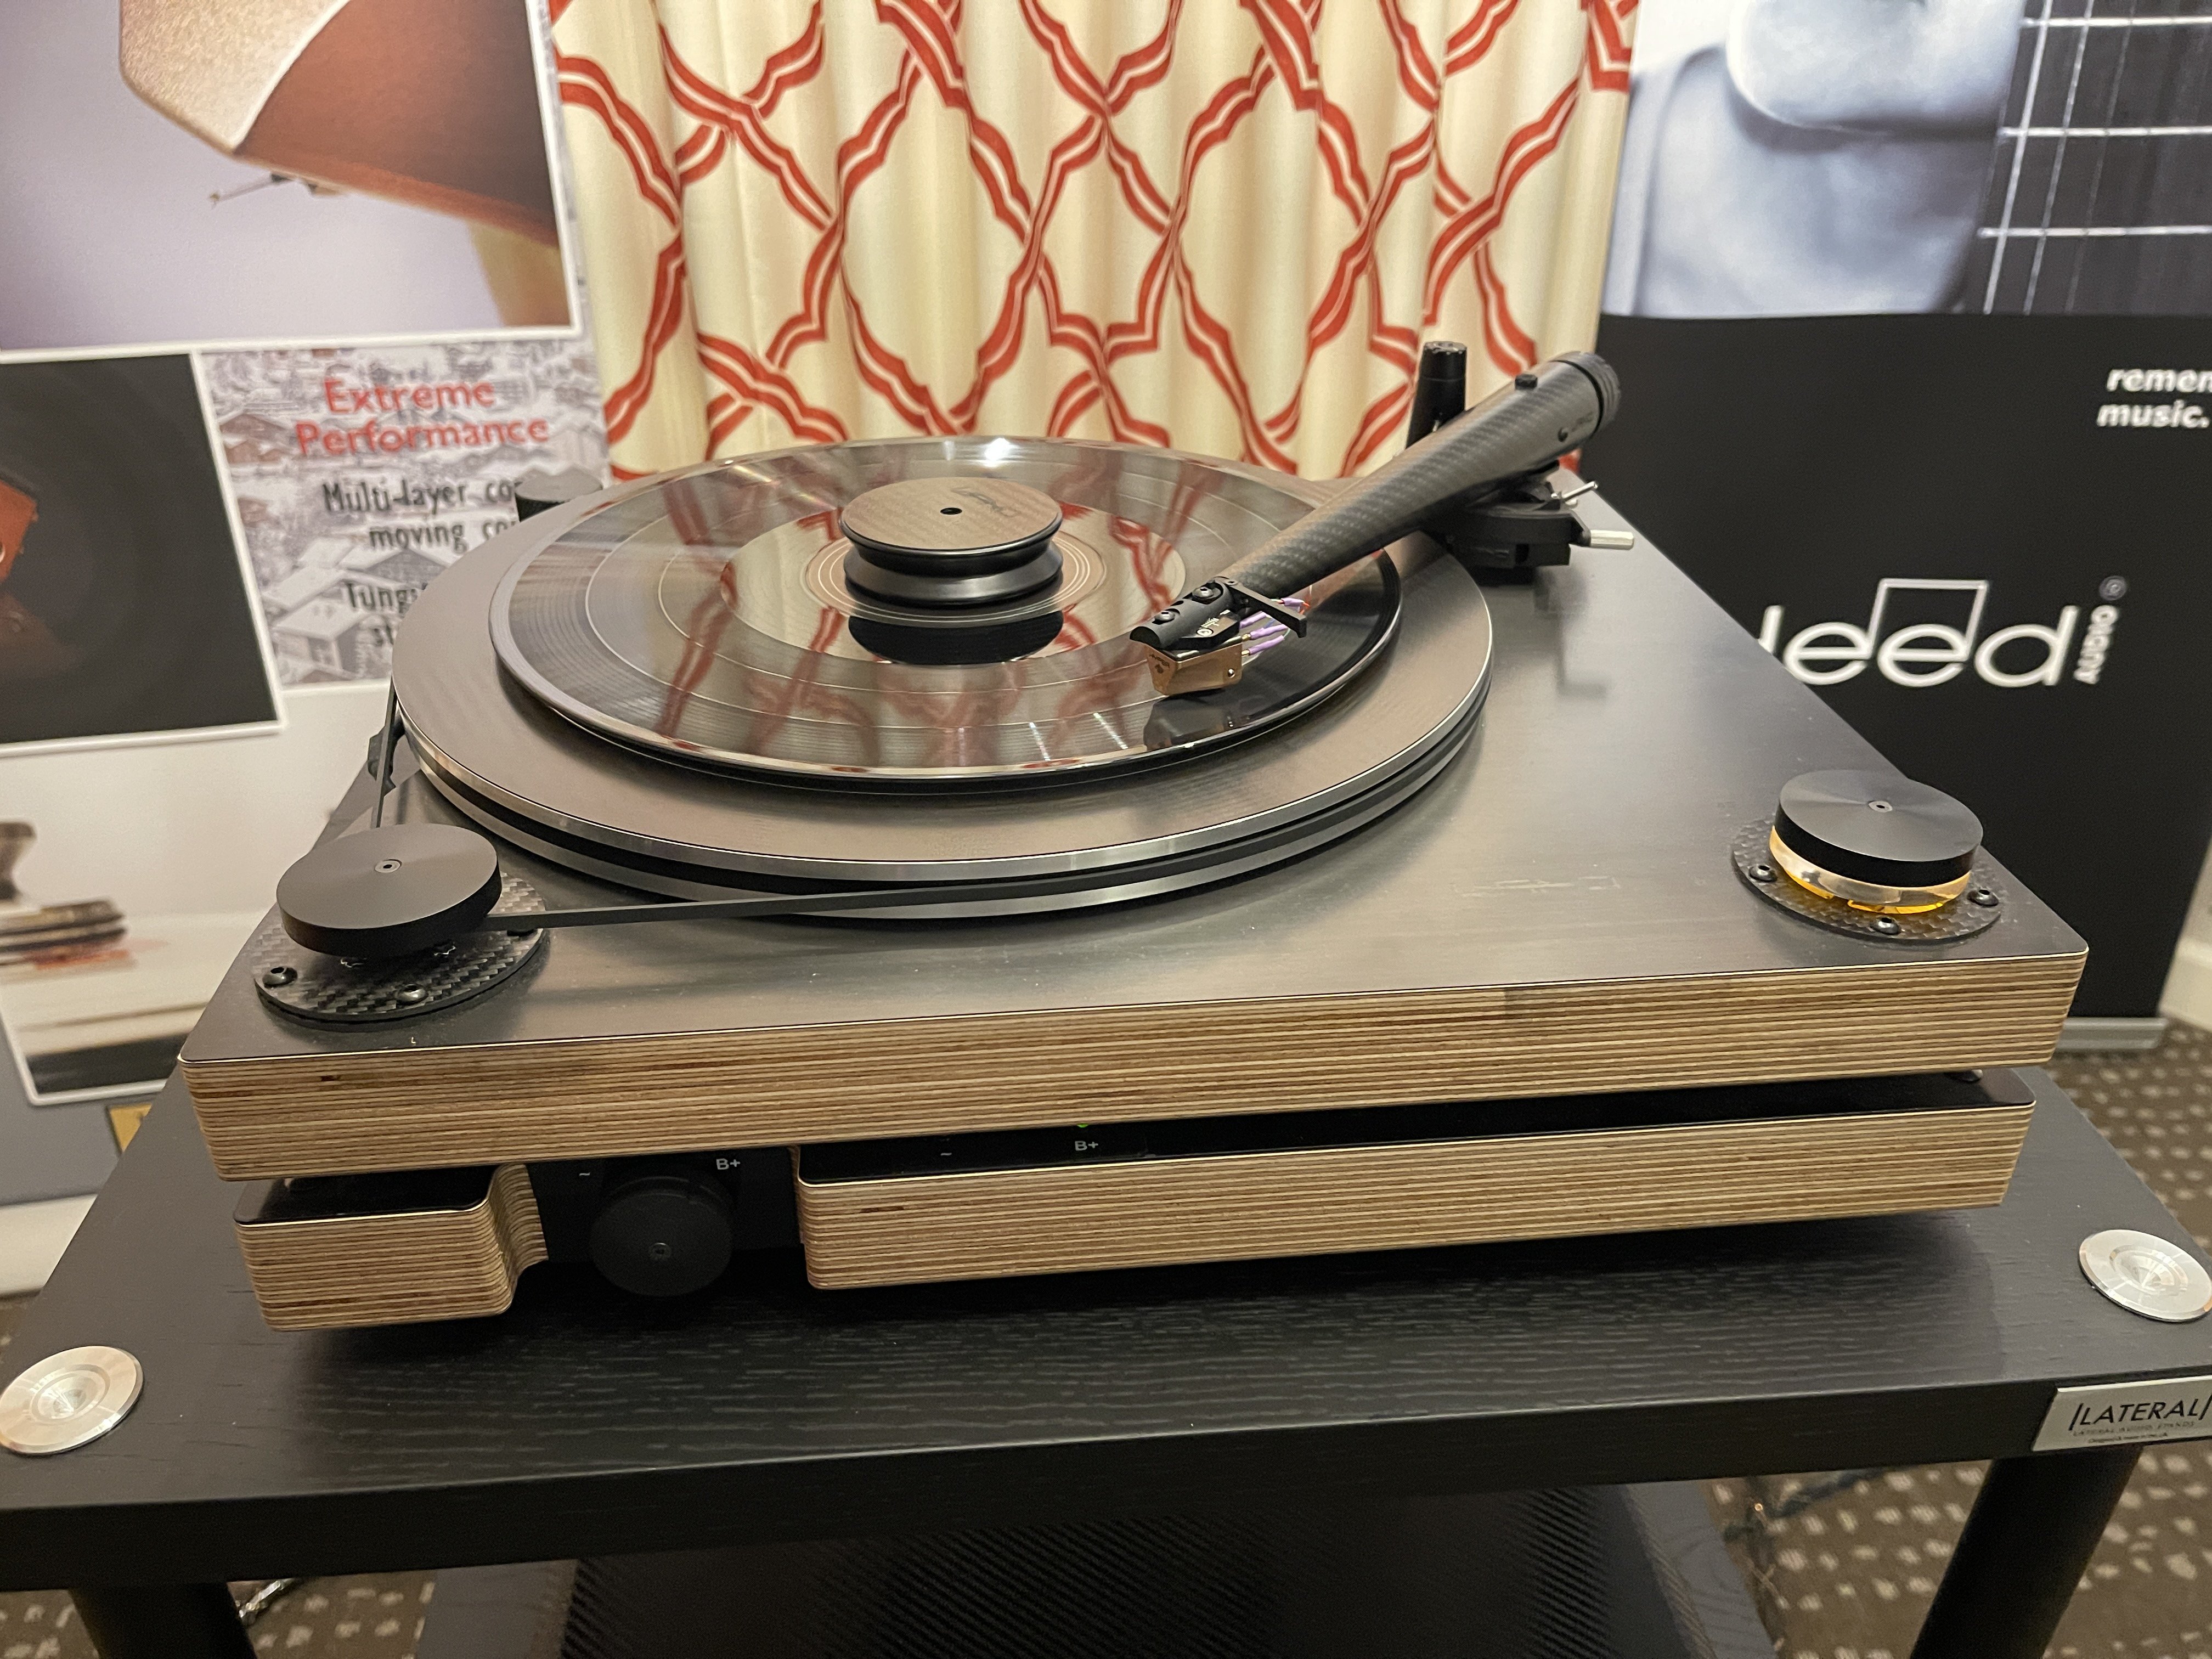
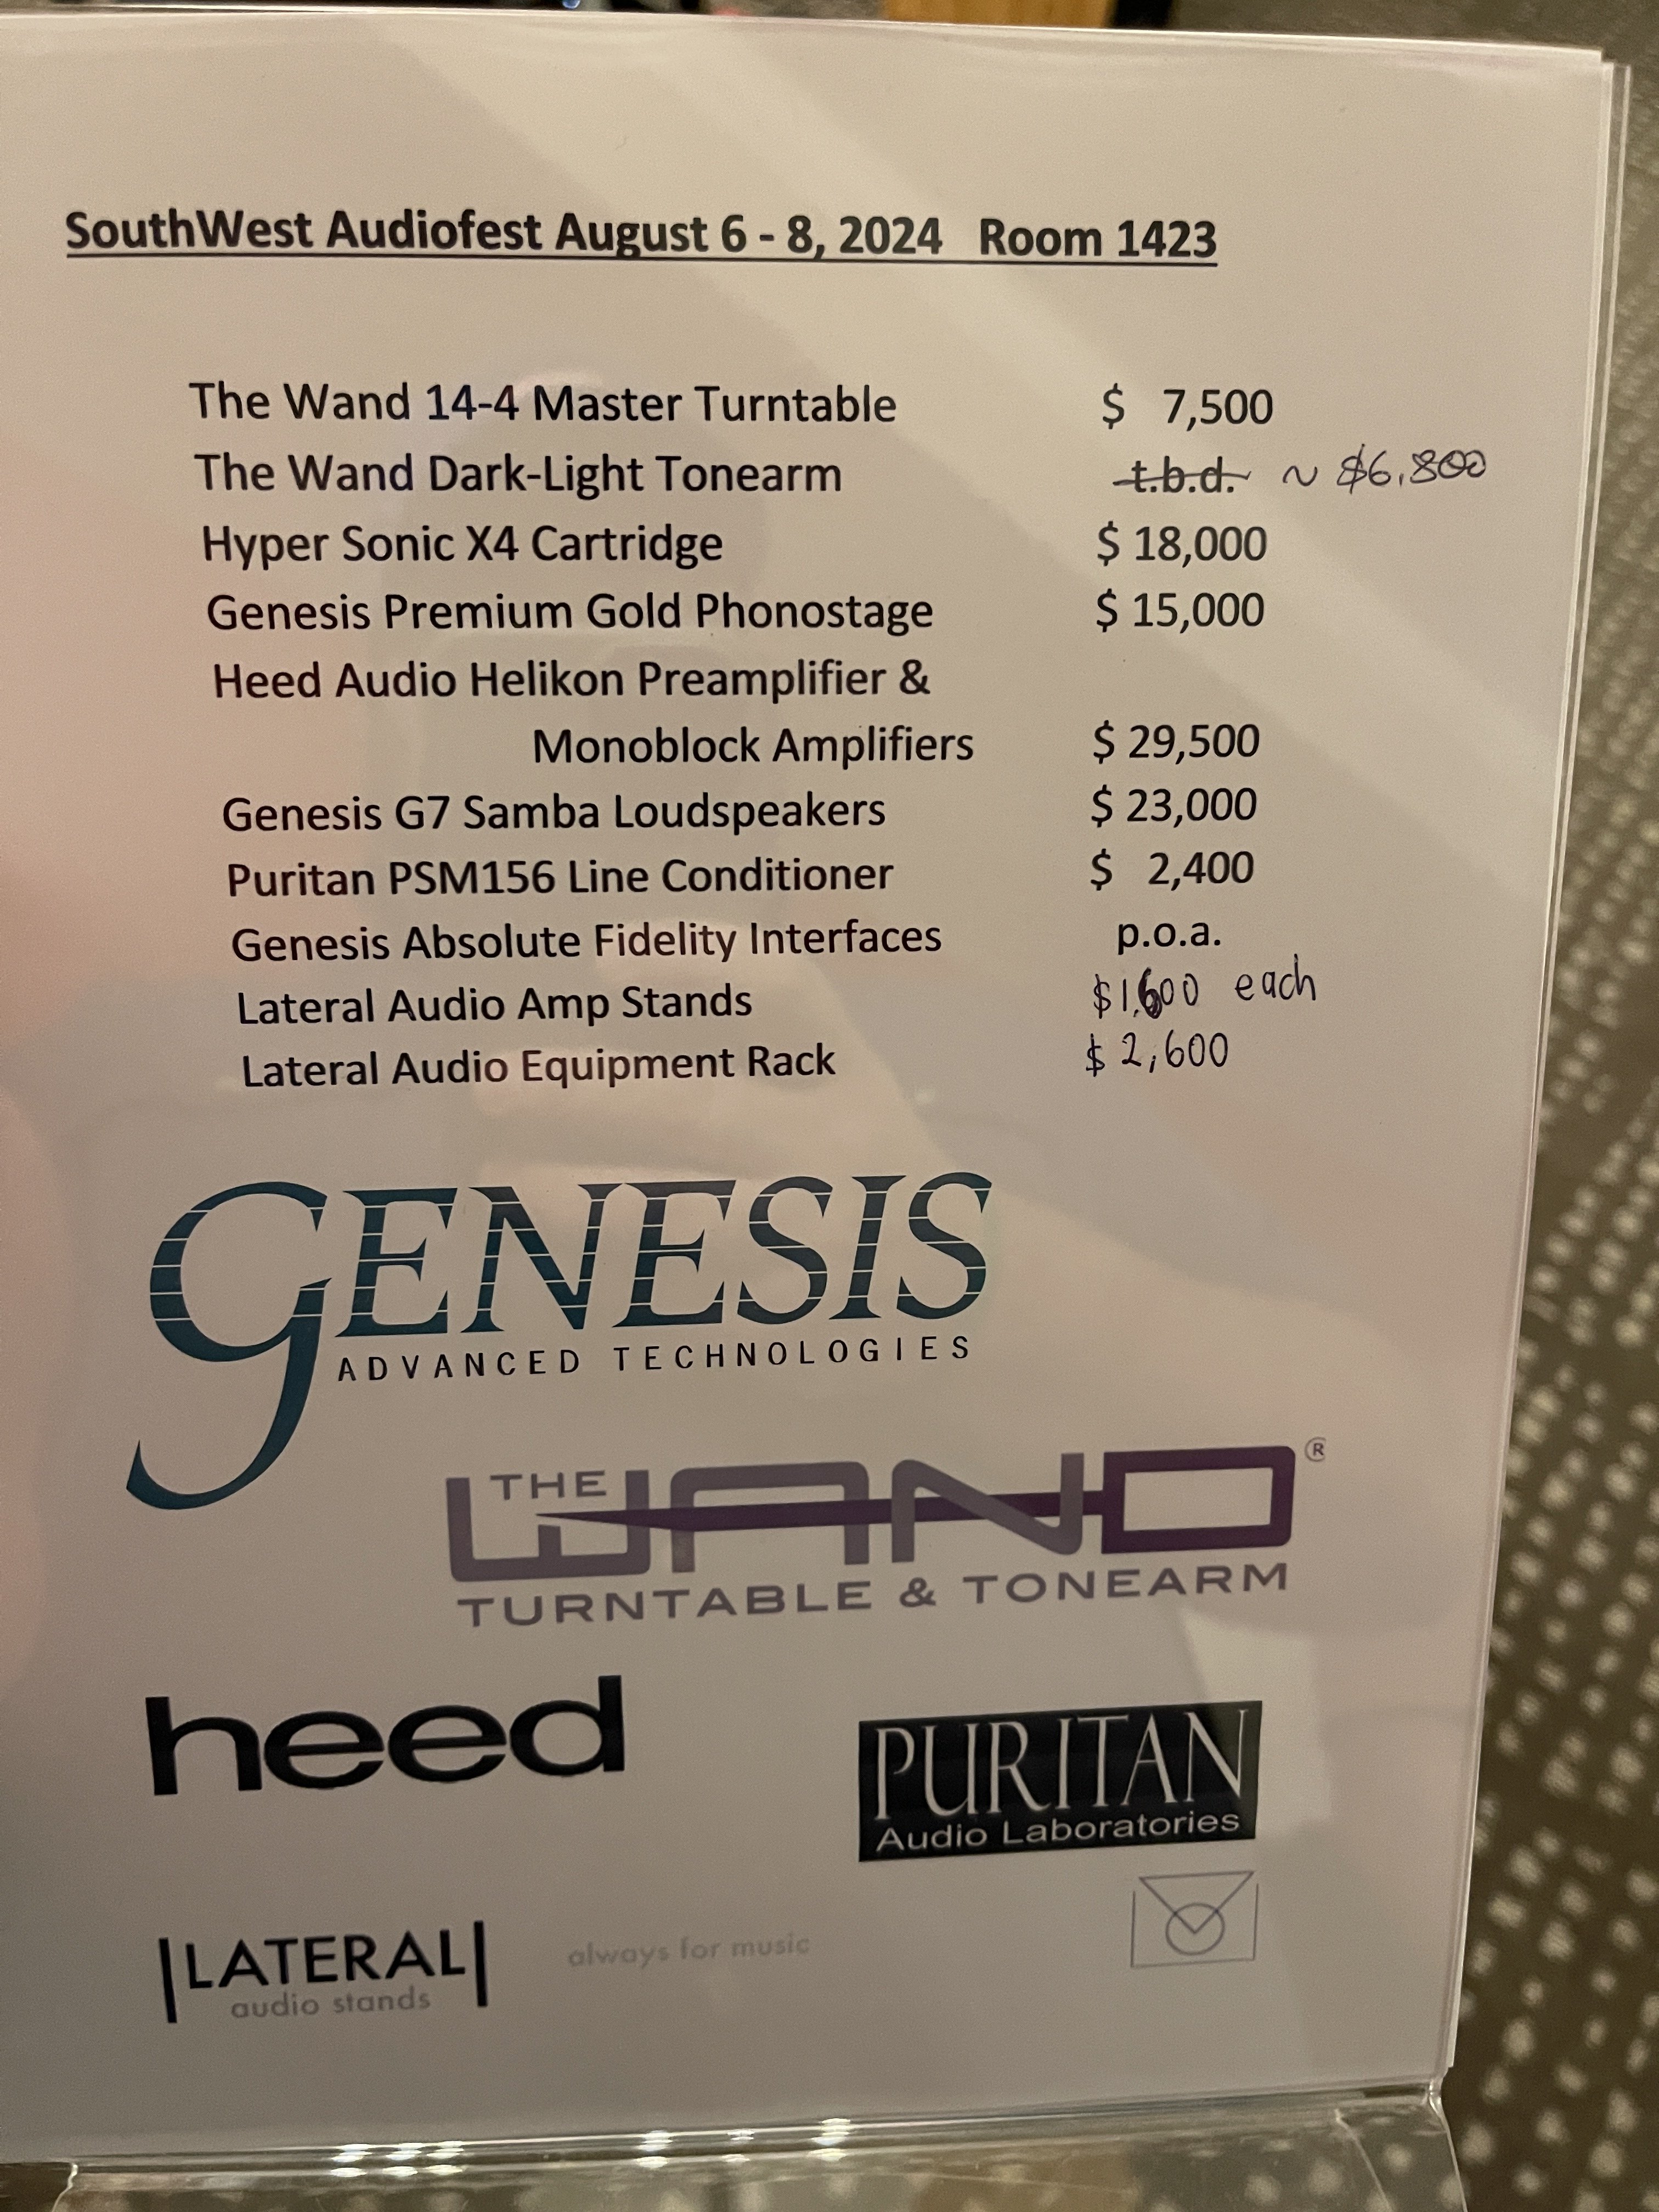
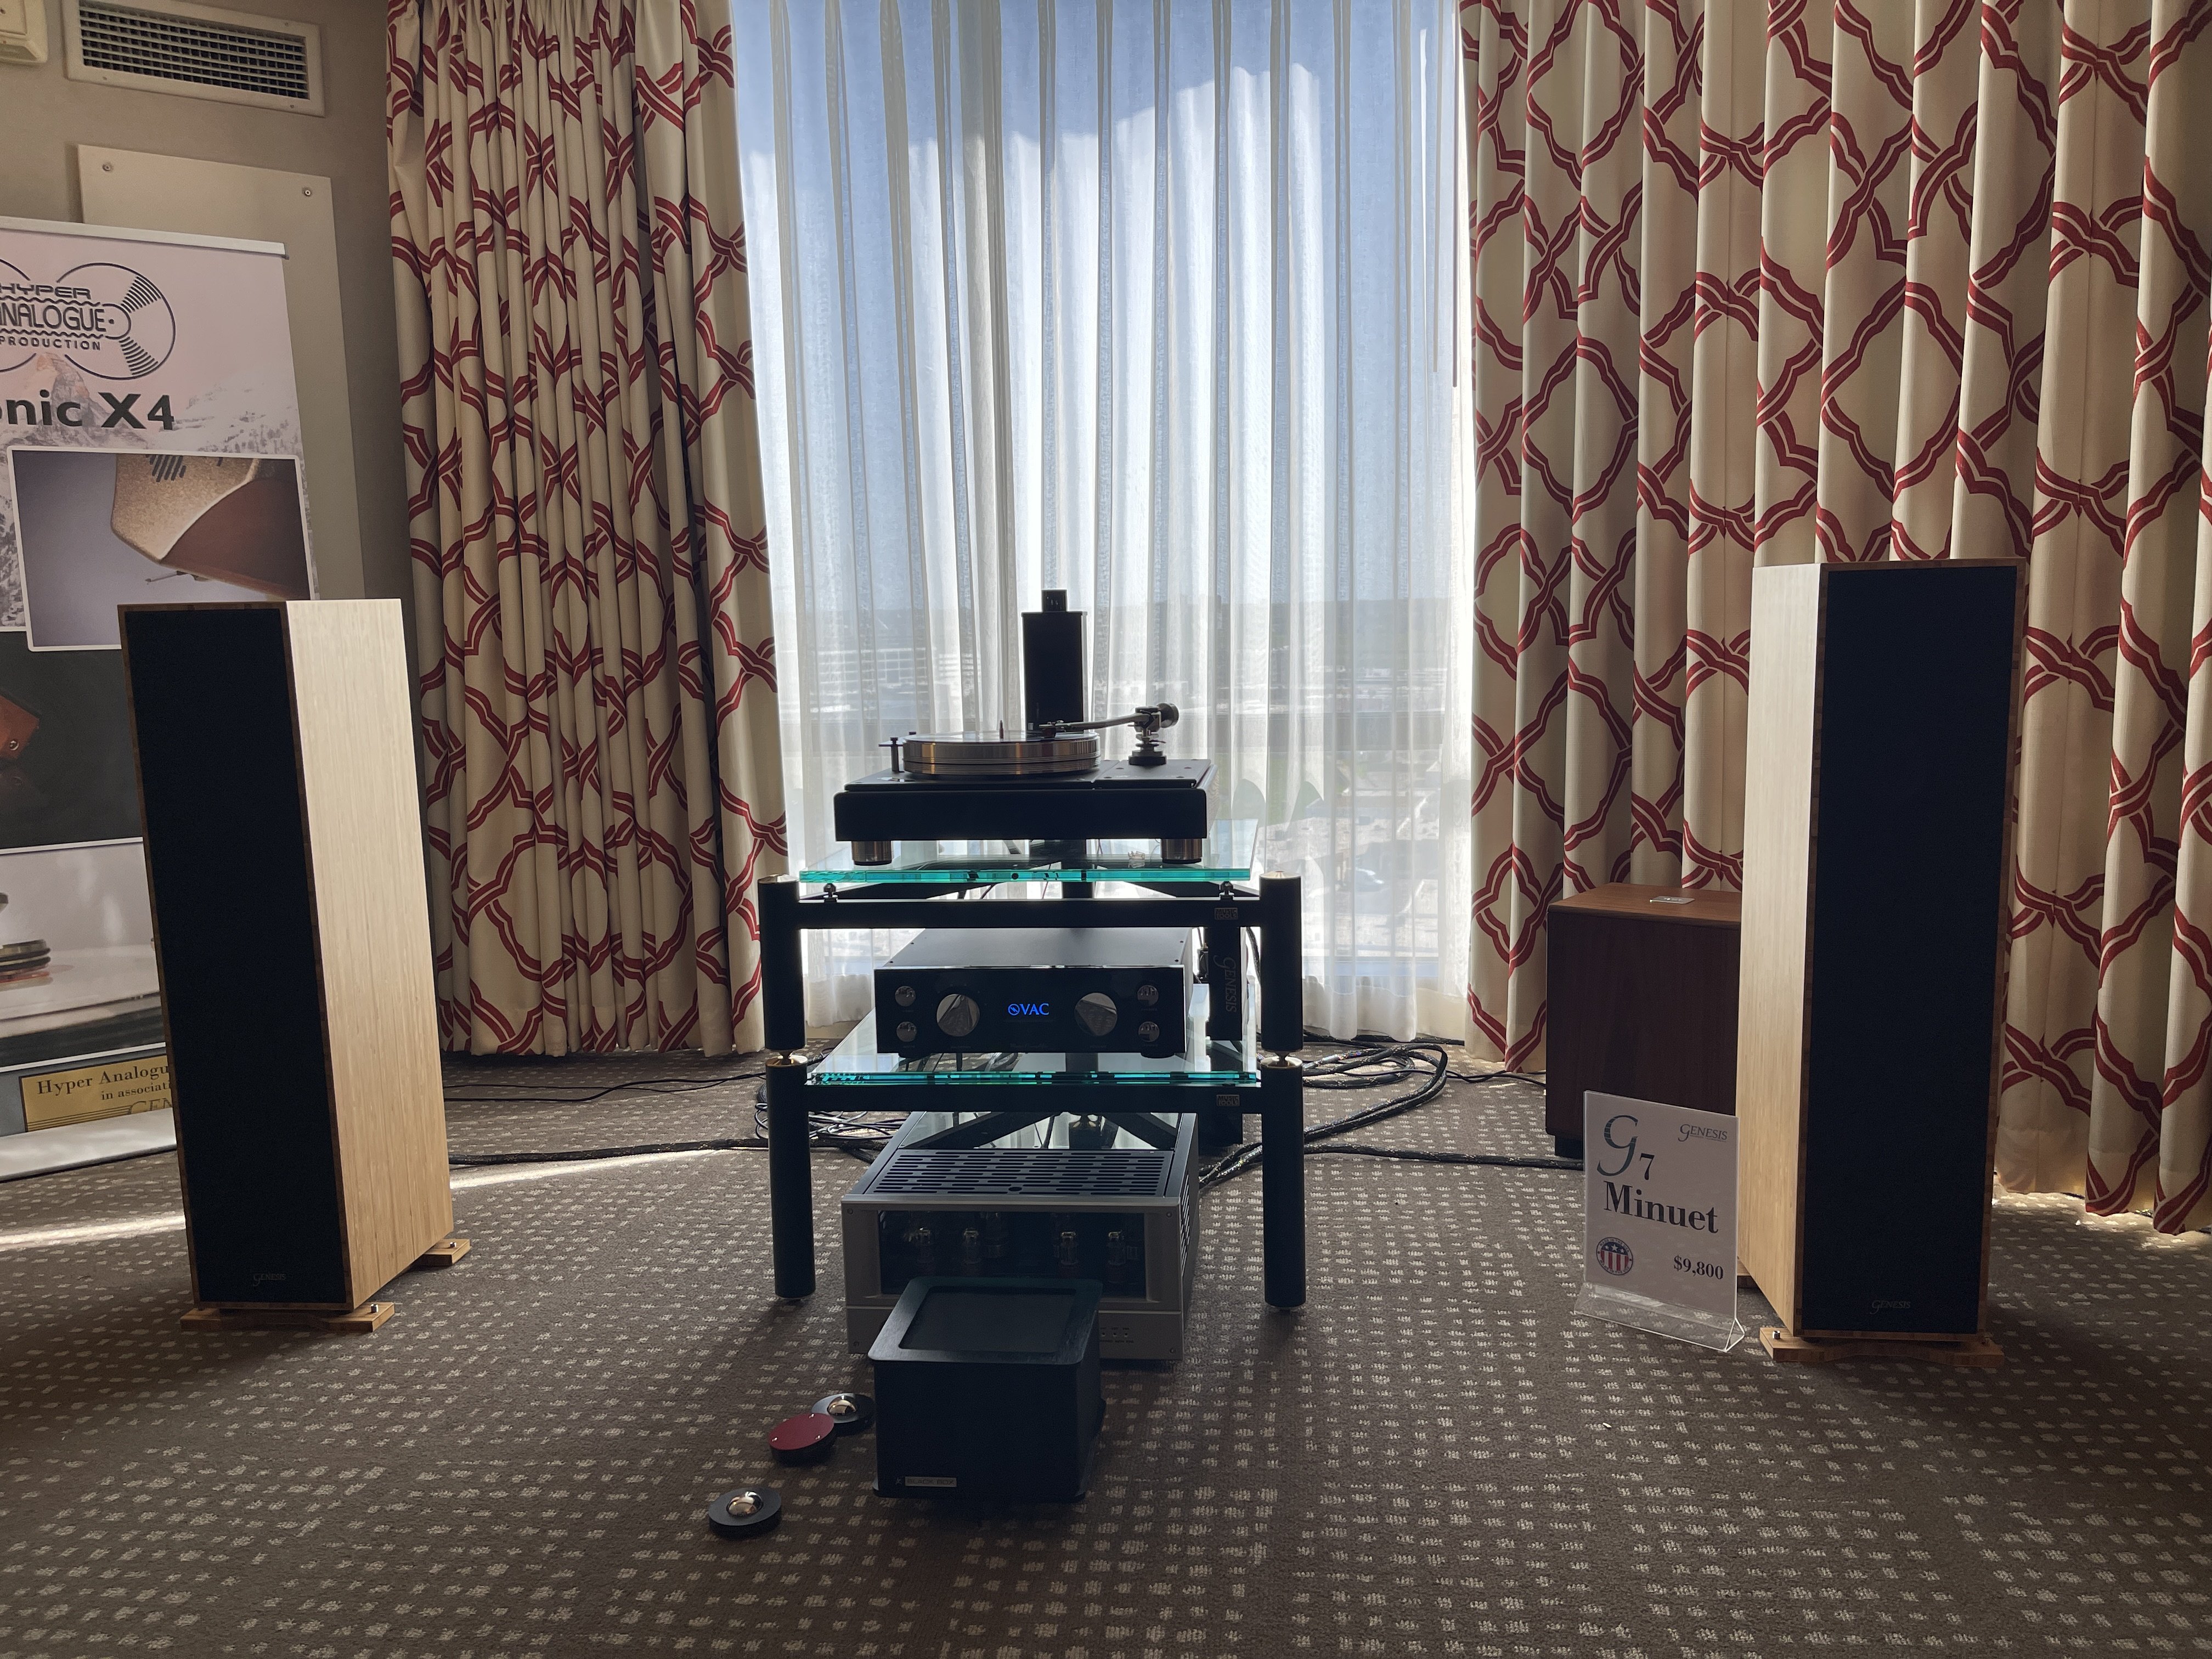
Favorite sound: Genesis, Heed, The Wand
Favorite Room with things I might actually buy at some point: I was very taken by the VPI Forever Model One. Joe with House of Stereo and Mat Weisfeld was there to talk through the table, play some tunes, and it was generally just a fun time! Between Saturday and Sunday I think I spent over an hour in this room.

Favorite experience. Not the most refined sound, but they played In-A-Gadda-Da-Vida, on tape, and loud. It was undeniably fun and tape, big horns, tubes… it felt like this is how this was meant to be.
Favorite sound: Genesis, Heed, The Wand
Favorite Room with things I might actually buy at some point: I was very taken by the VPI Forever Model One. Joe with House of Stereo and Mat Weisfeld was there to talk through the table, play some tunes, and it was generally just a fun time! Between Saturday and Sunday I think I spent over an hour in this room.
displayname
3 ·
Re: Monitor 5B crossovers

The old resistor measures 2.8ohm .. the new new mills resistors measured 2.7ohm.
The 3 Jantzen caps together measured 34.34uf
The Clarity cap measured 11.82uf
I’ll work on the second one tonight and check all the caps on that one as well.
 DeRod
DeRod
5 ·