New Polk SDA-2Bs: looking for Polk expert in Seattle area
Comments
-
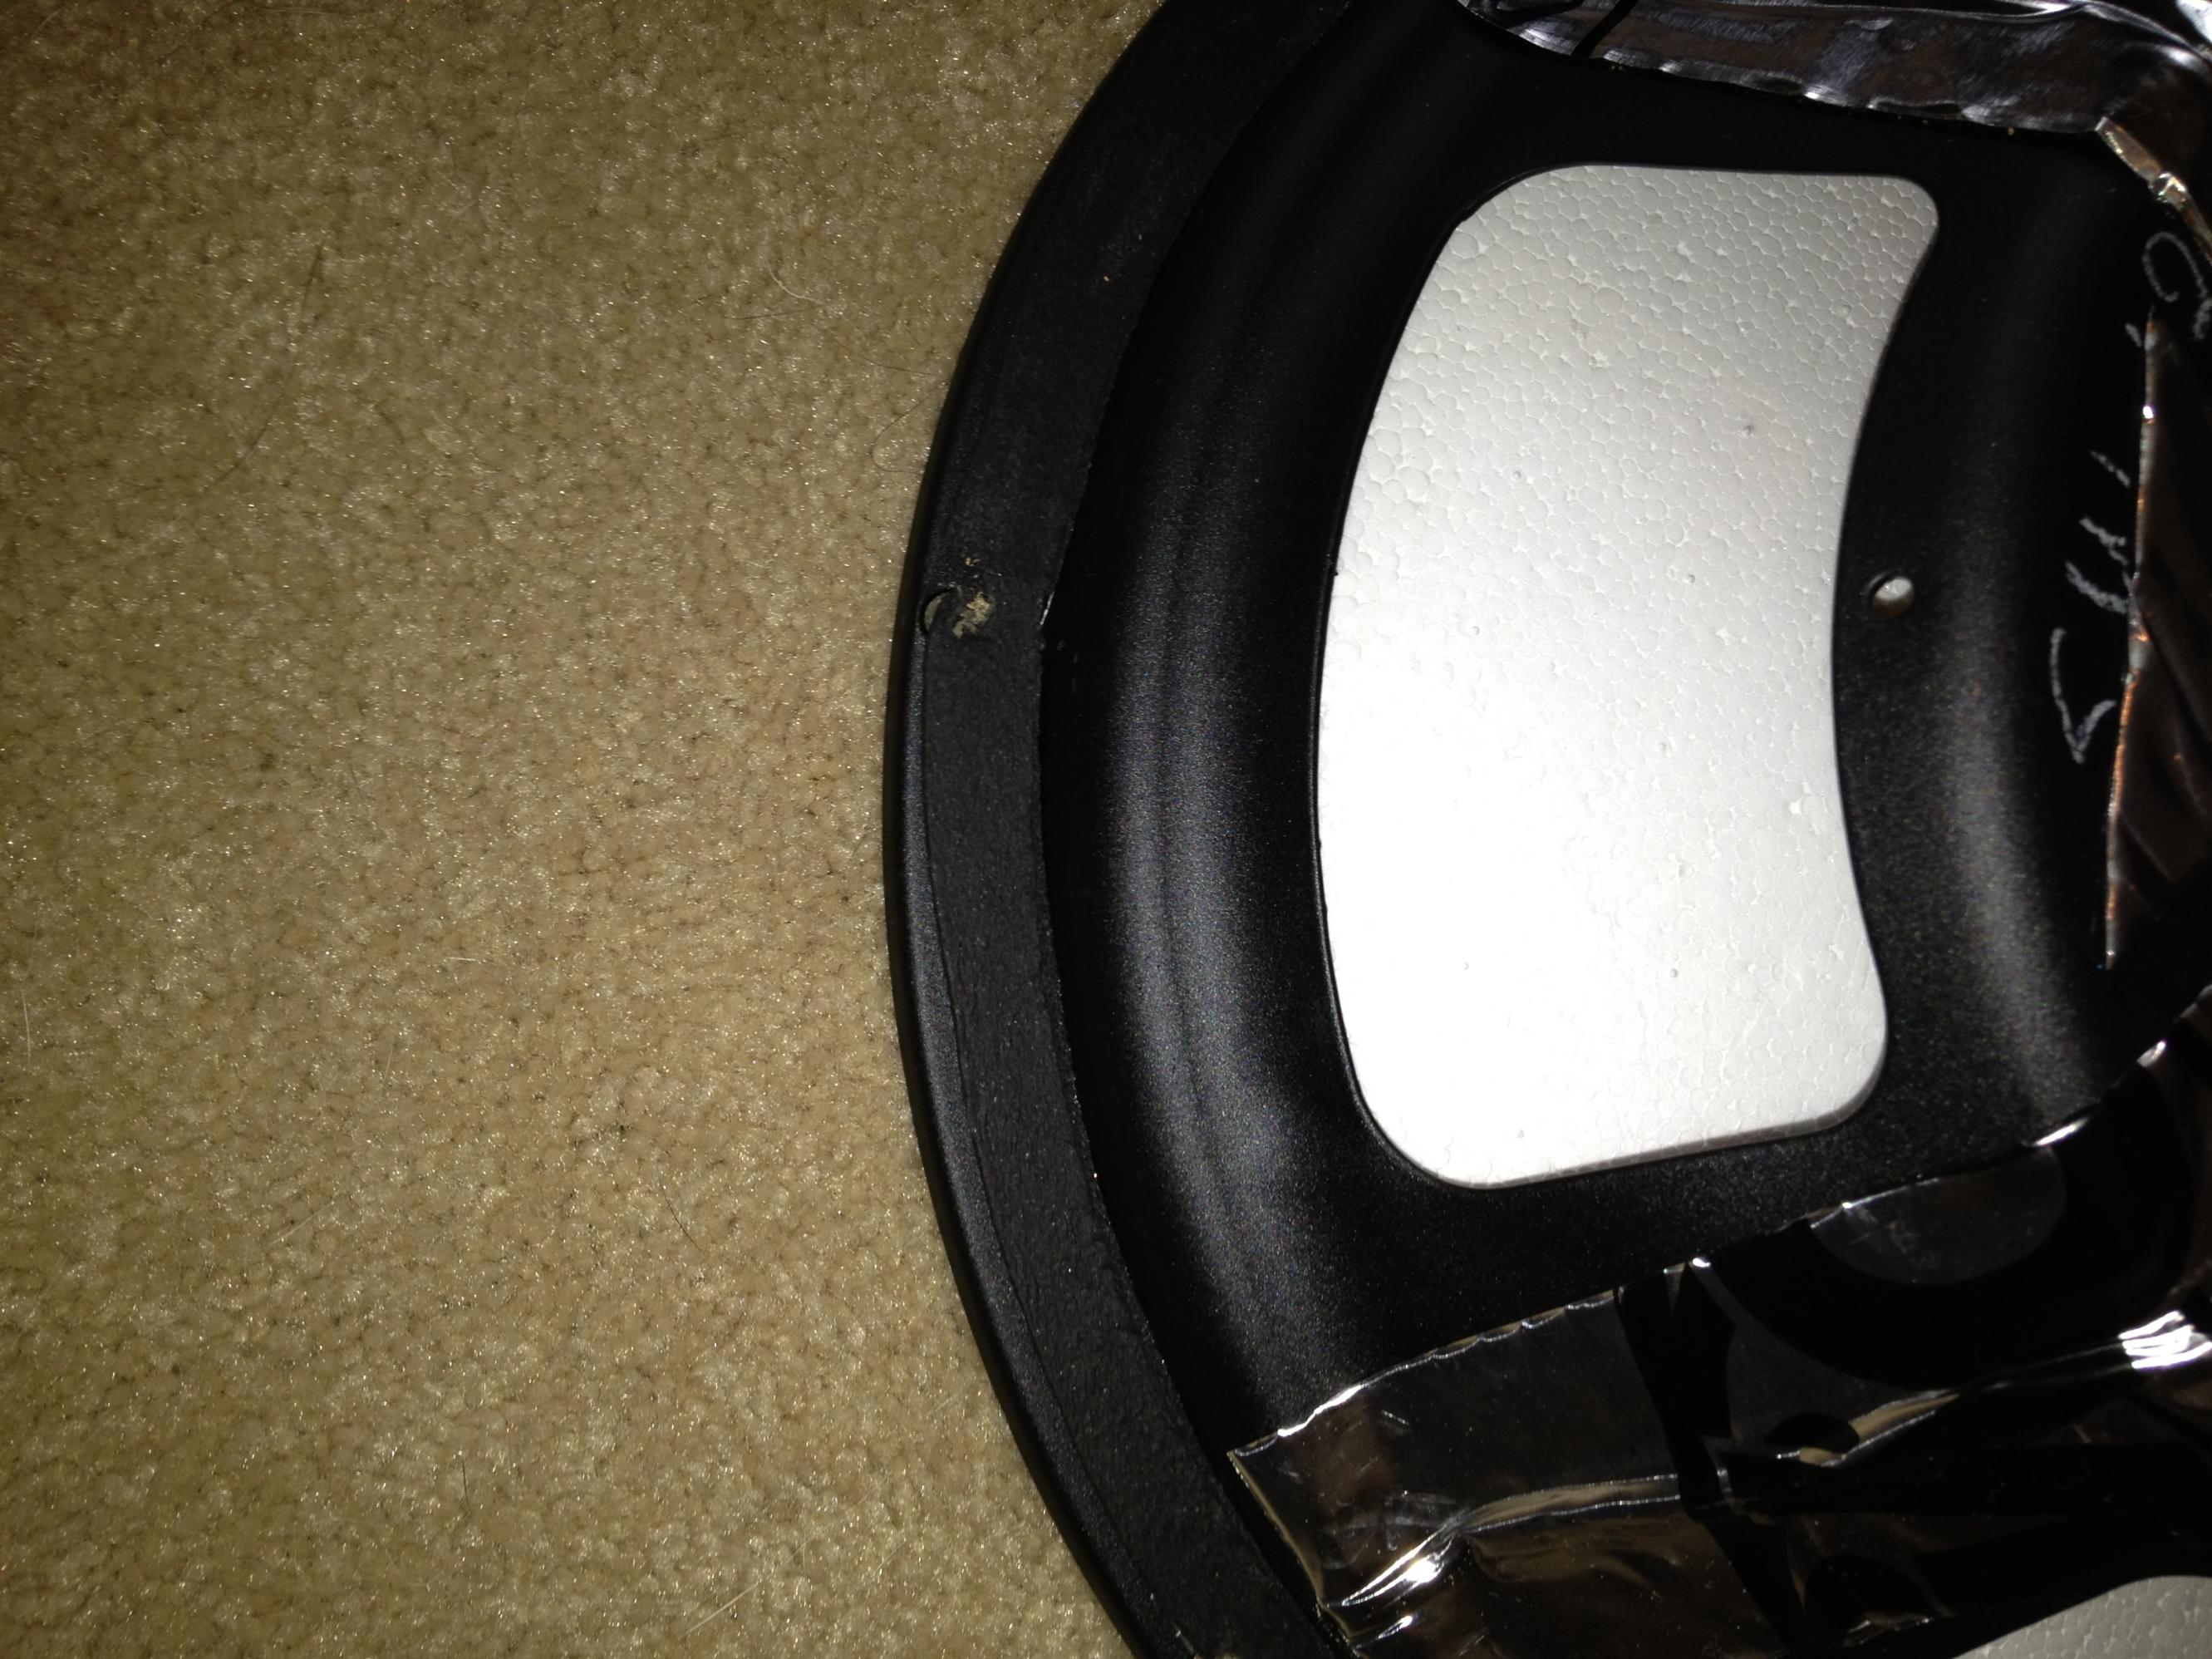
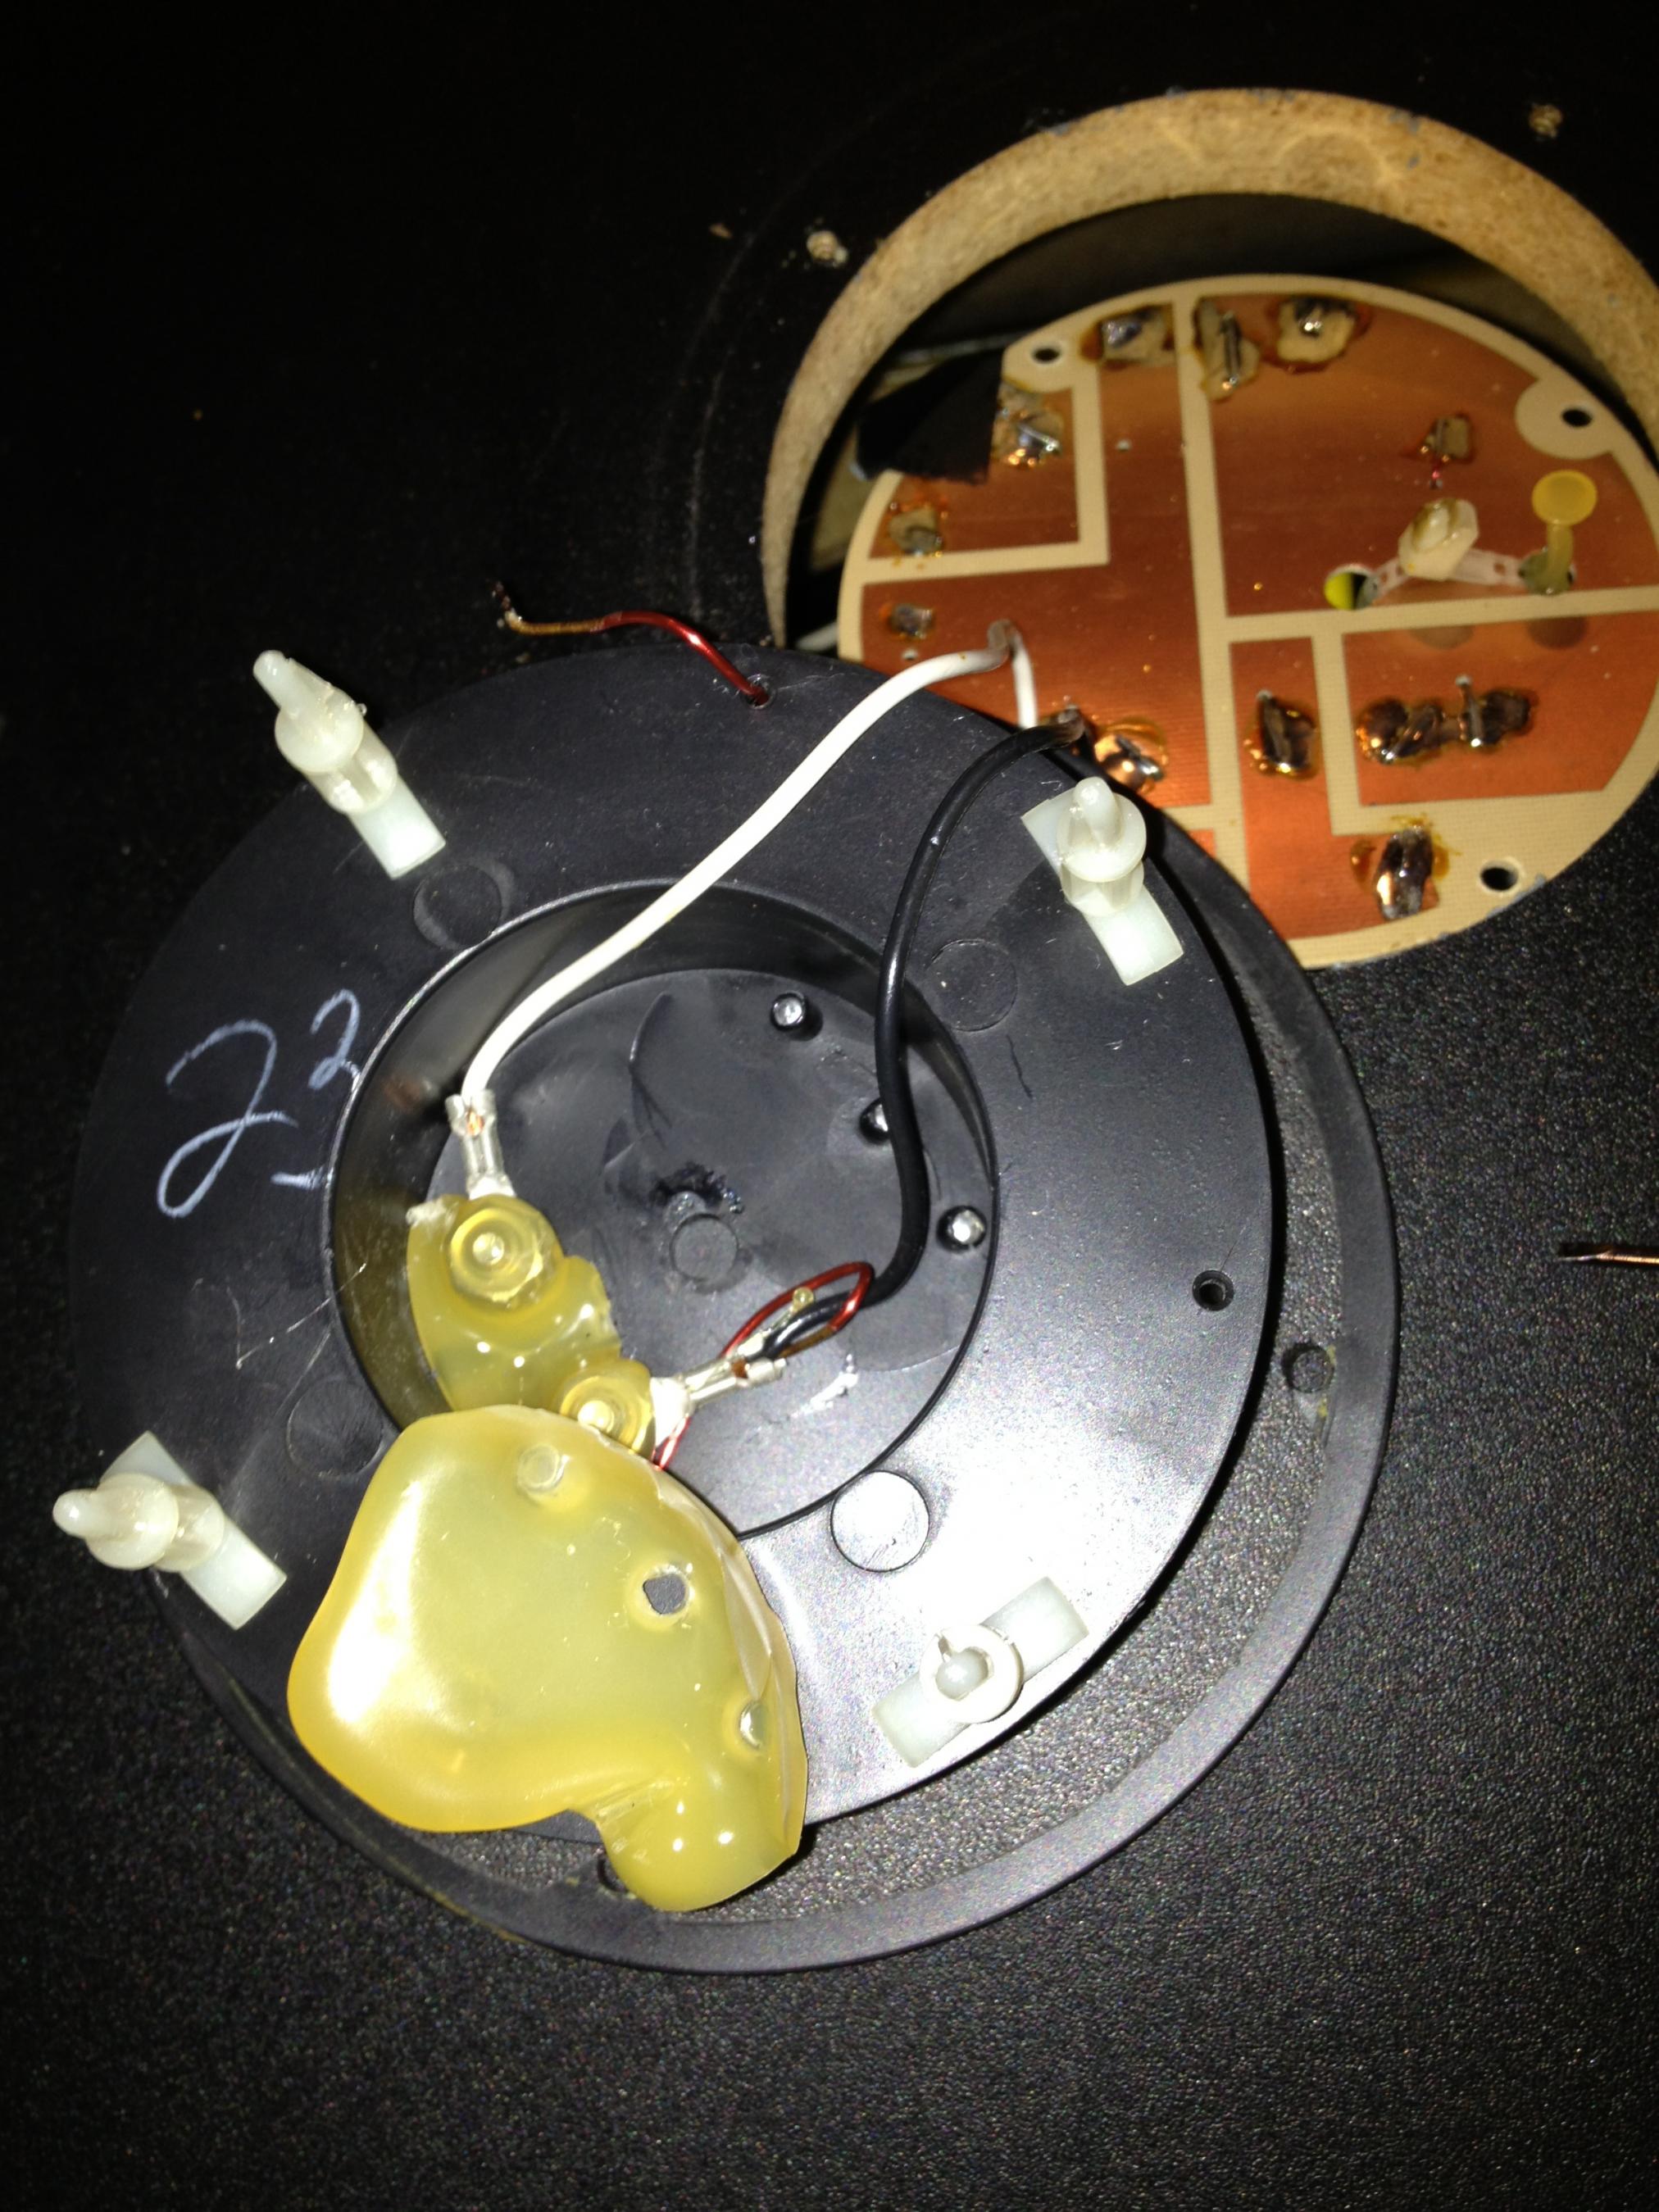
There will be a lot of glue removal involved. Polk was very generous with the glue when they assembled these speakers. As Trey and Jake both assured me, the innards are pretty robust. It would be hard to screw up too badly when removing the glue, but remove it you must. A small screwdriver did the trick for me. Again, just take you time, and pry it up little by little. You want to get the flat blade of the screwdriver up under the glue as much as possible. The glue can be tough to remove in spots, but keep at it. It's OK if it comes out in small pieces.
-
That's all for today. I hope someone finds this useful.
Seth -
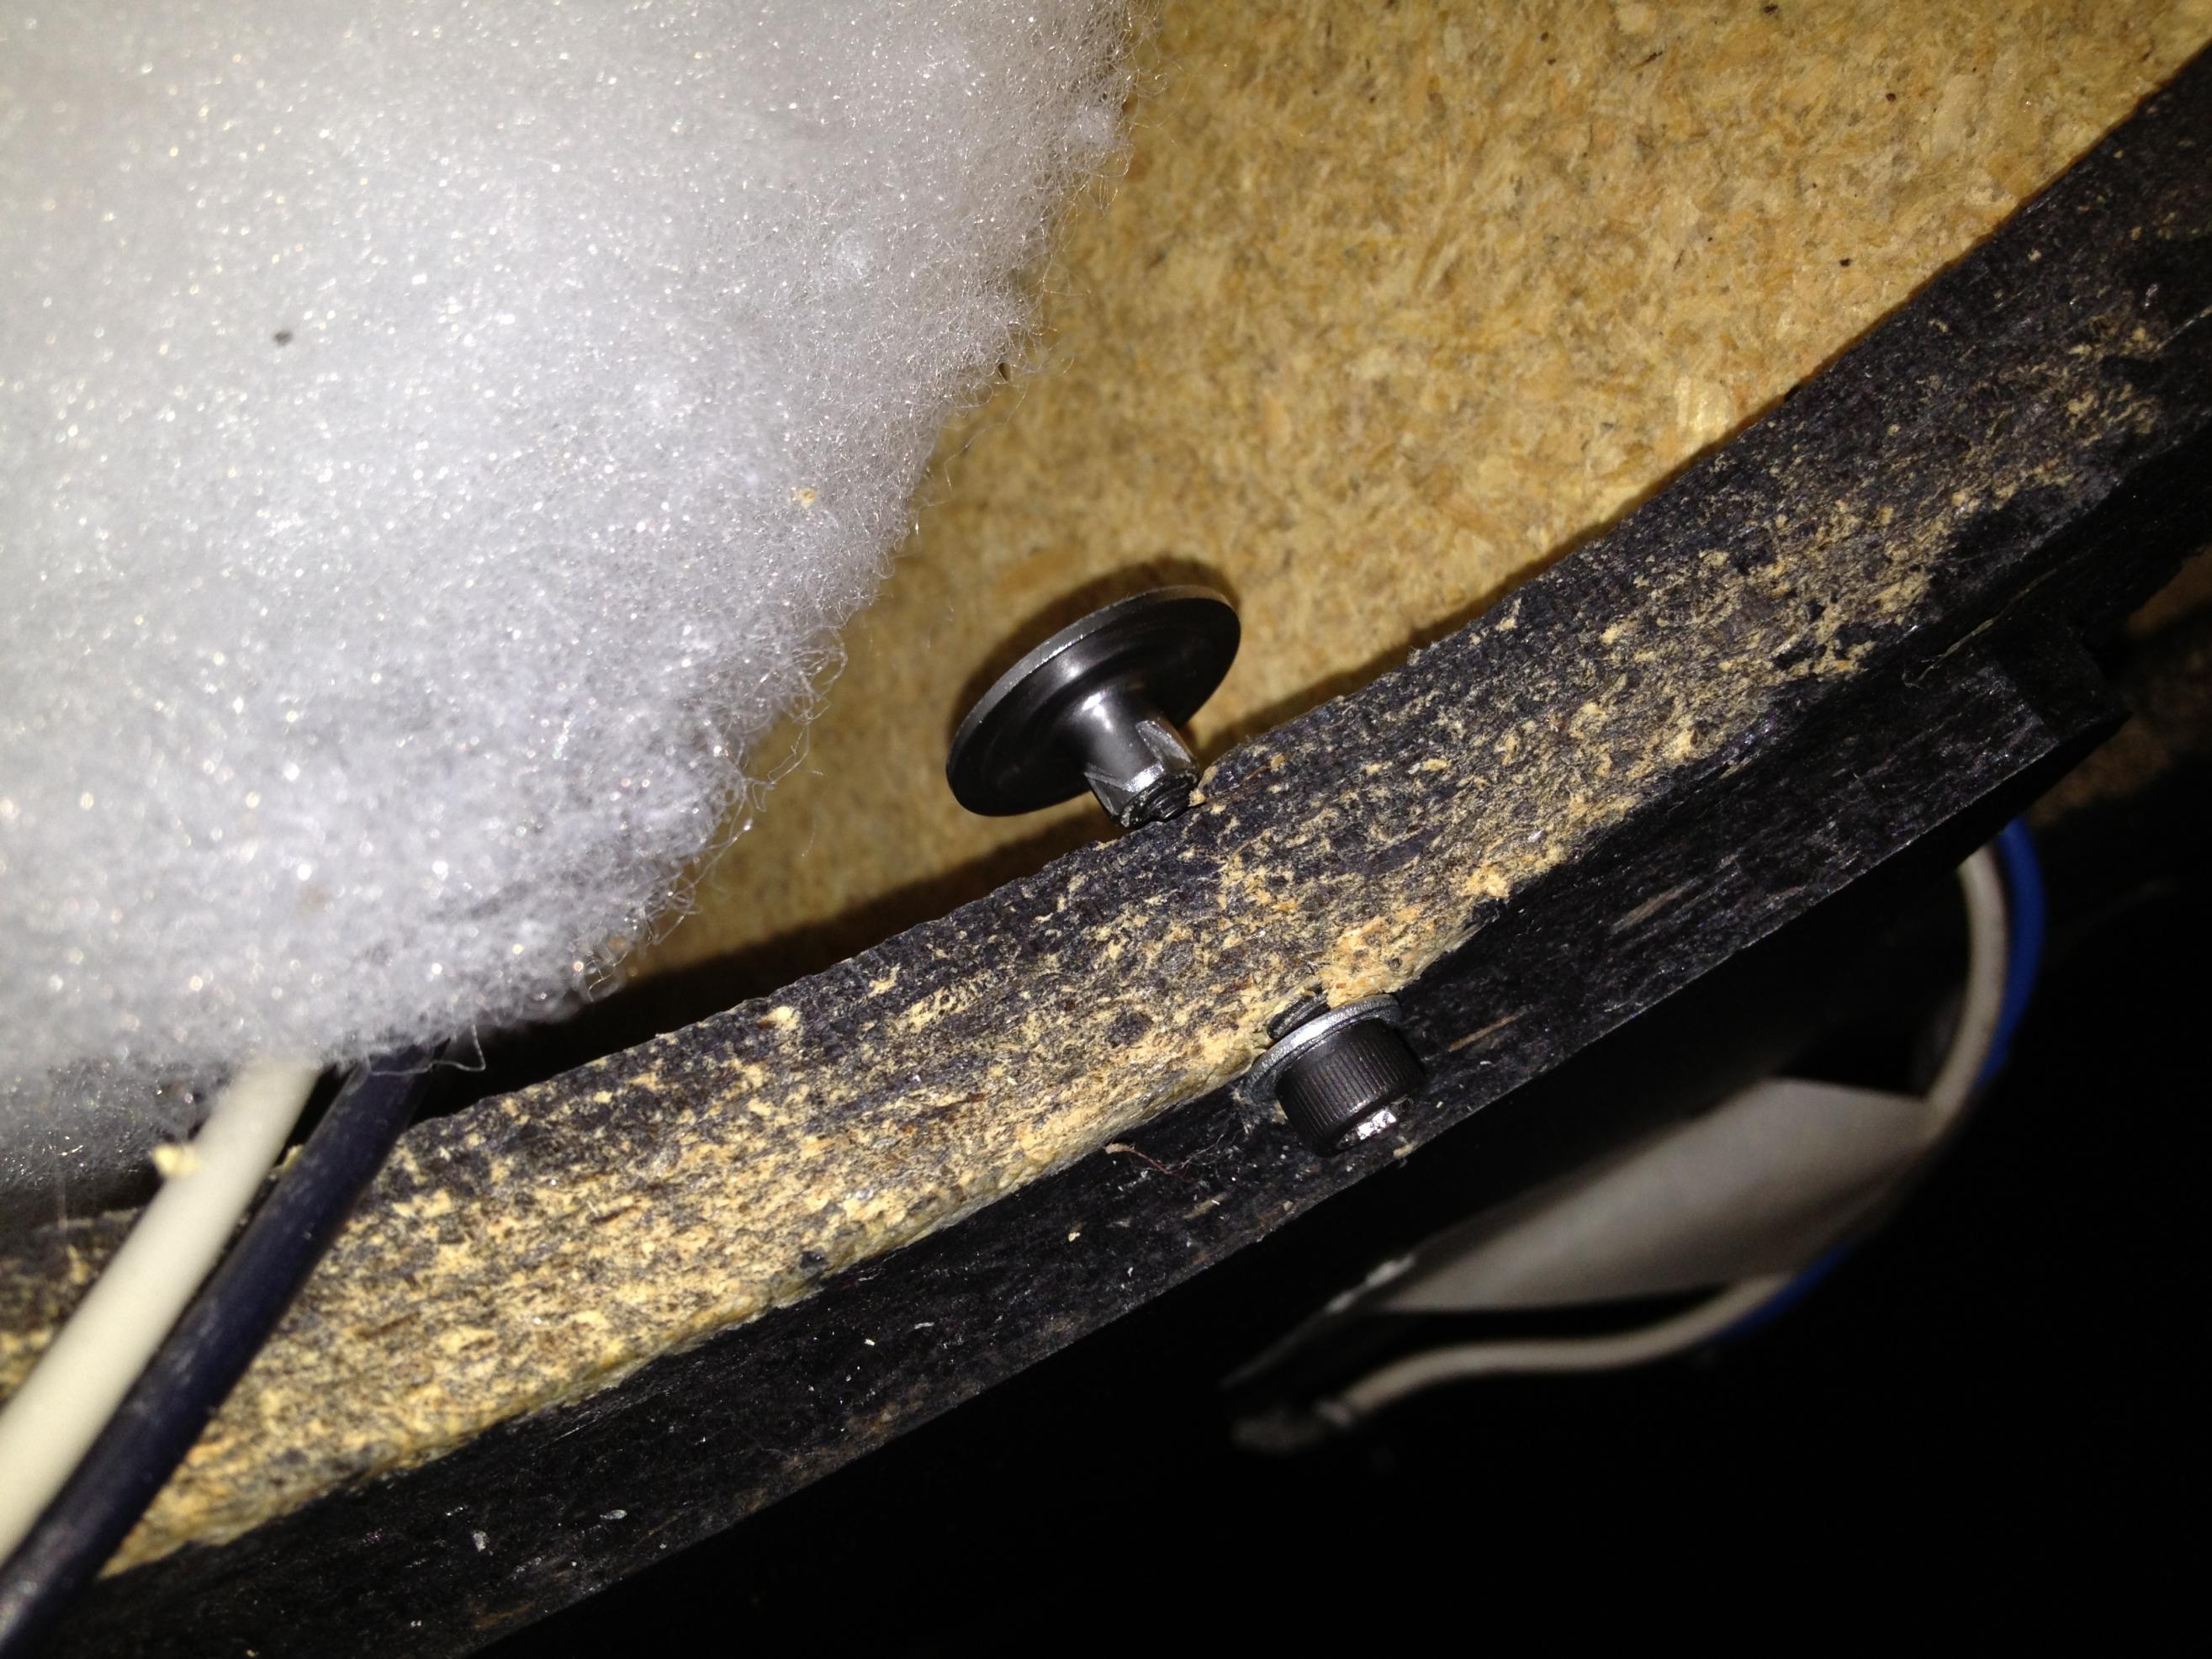
yea those are just for shipping to keep the grille from abrading and rubbing against the cabinetThose cardboard stand-offs came with the speakers. I guess they are supposed to help the fit between the grill and the cabinet. As you can see, one is missing. I guess it's unusual to have even as many I have.POLK SDA 2.3 TLS BOUGHT NEW IN 1990, Gimpod/Sonic Caps/Mills RDO-198
POLK CSI-A6 POLK MONITOR 70'S ONKYO TX NR-808 SONY CDP-333ES
PIONEER PL-510A SONY BDP S5100
POLK SDA 1C BOUGHT USED 2011,Gimpod/Sonic Caps/Mills RDO-194
ONKYO HT RC-360 SONY BDP S590 TECHNICS SL BD-1 -
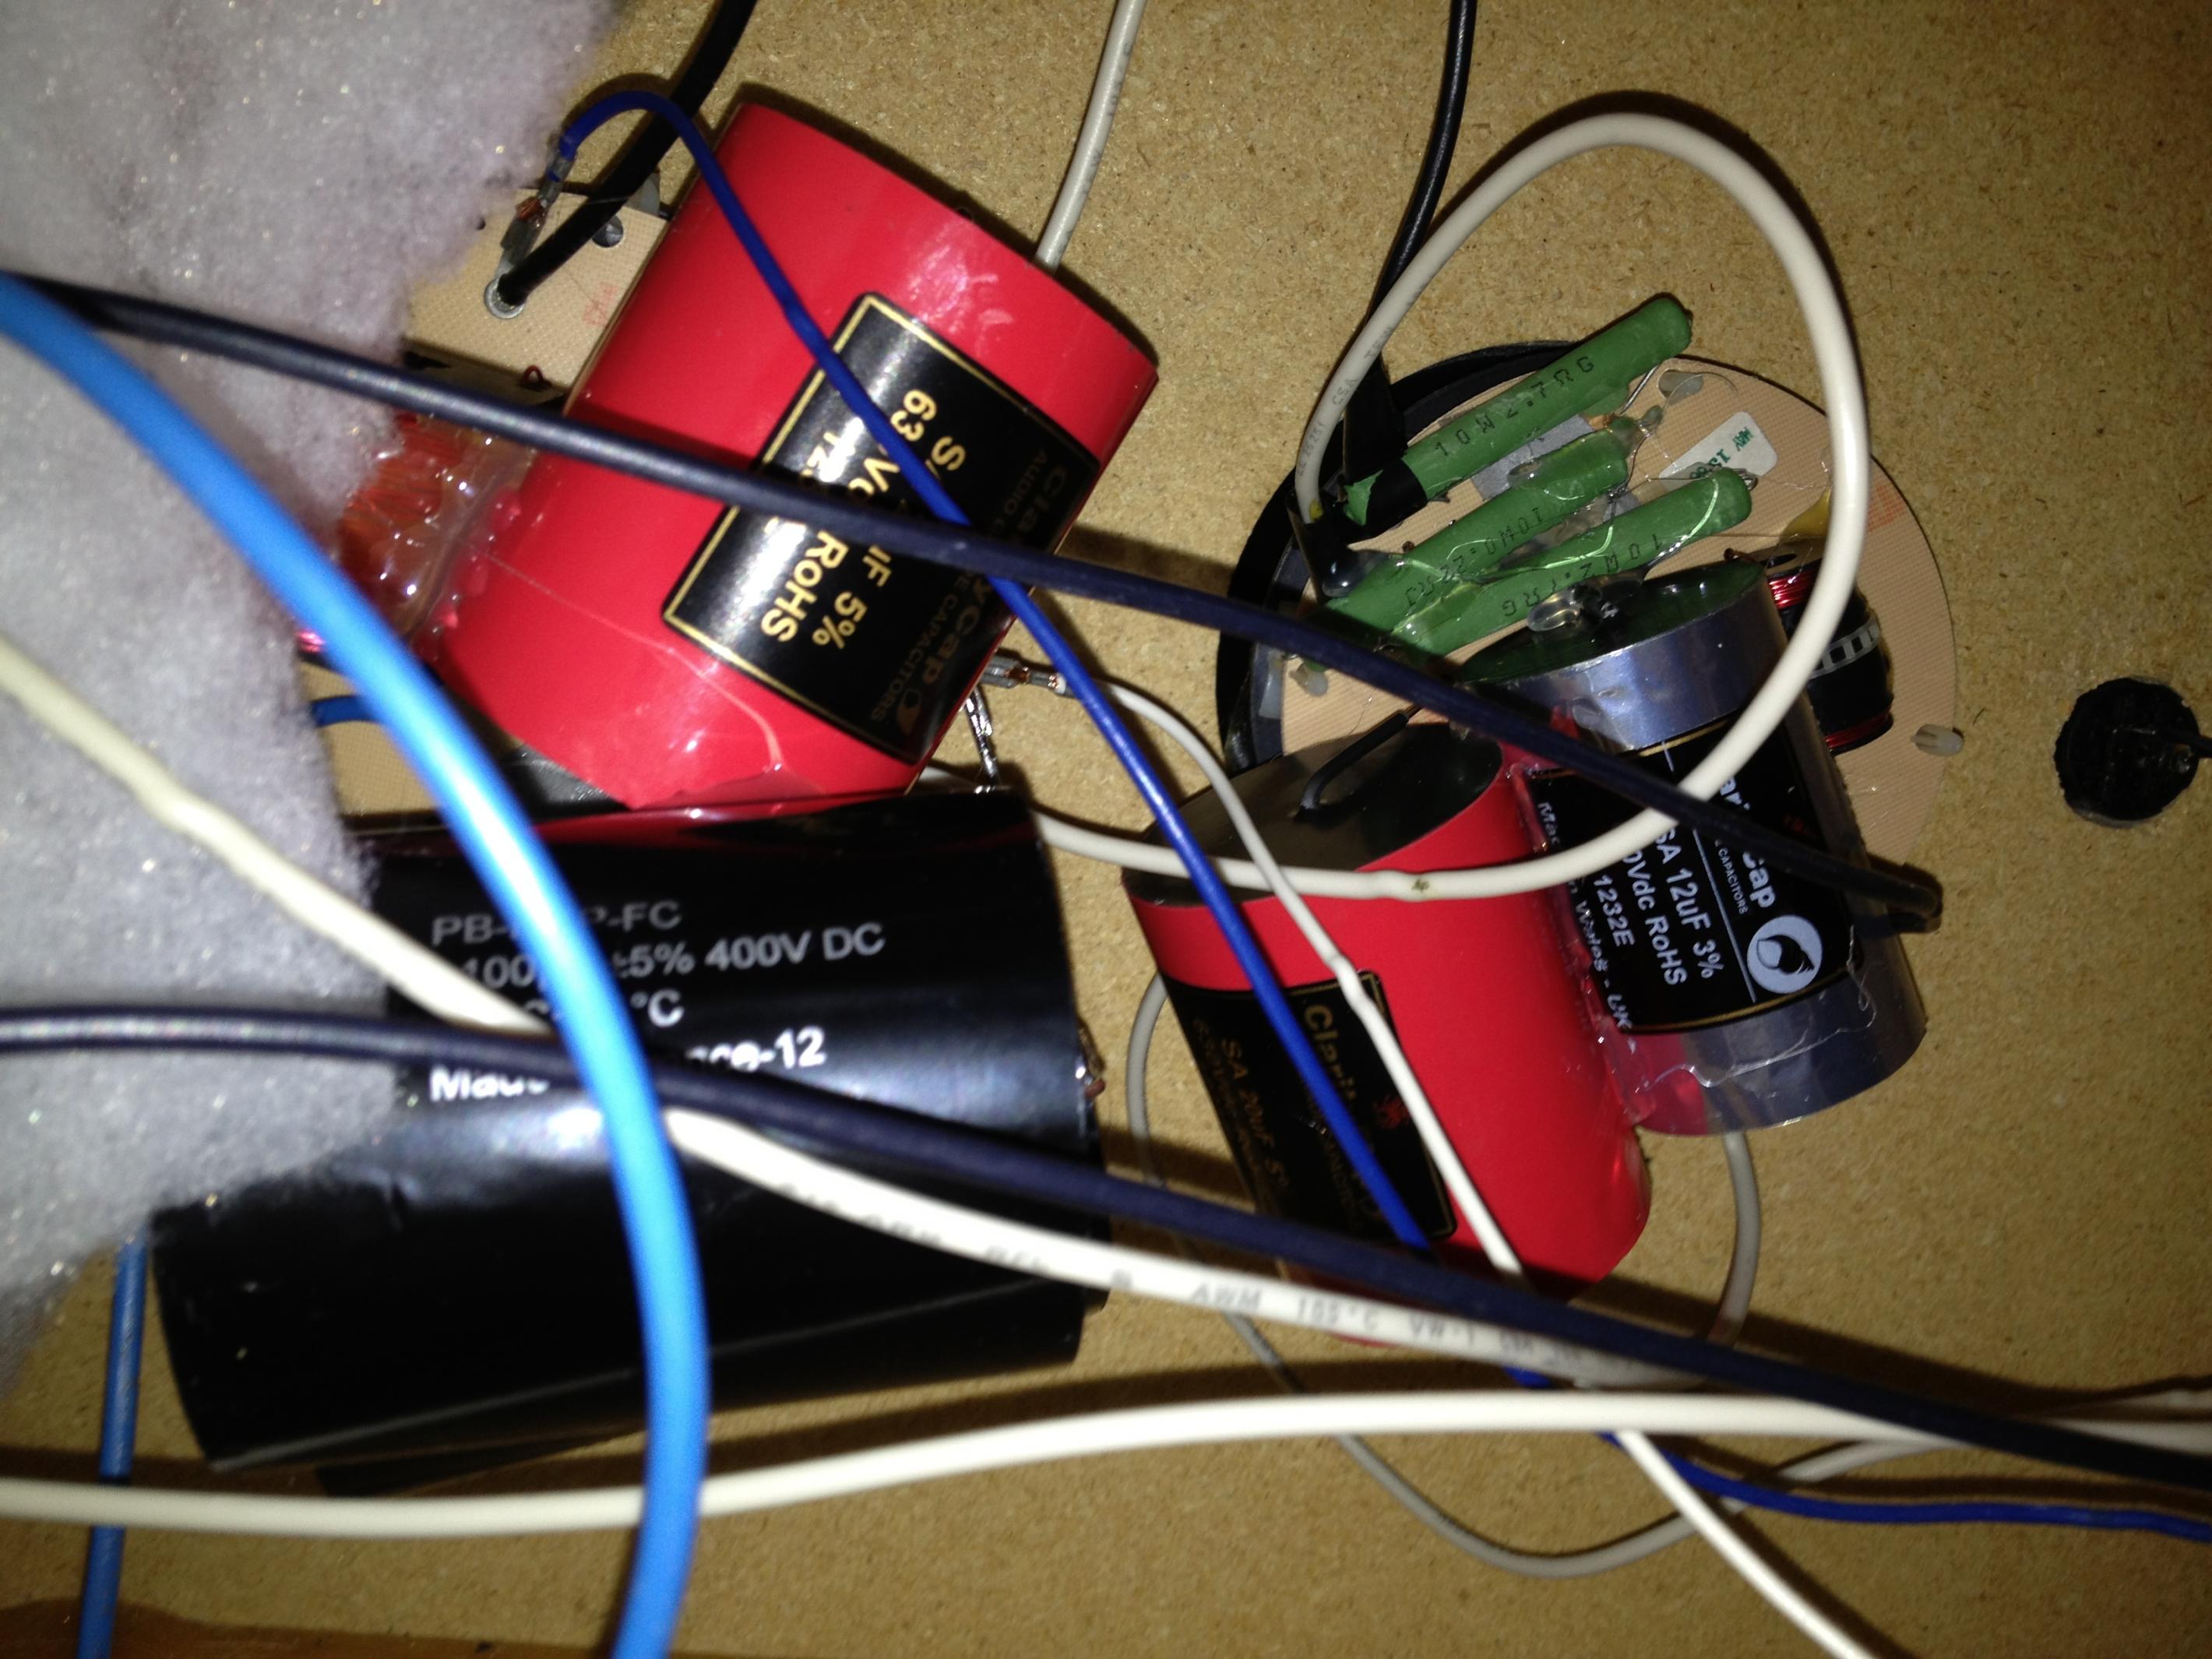
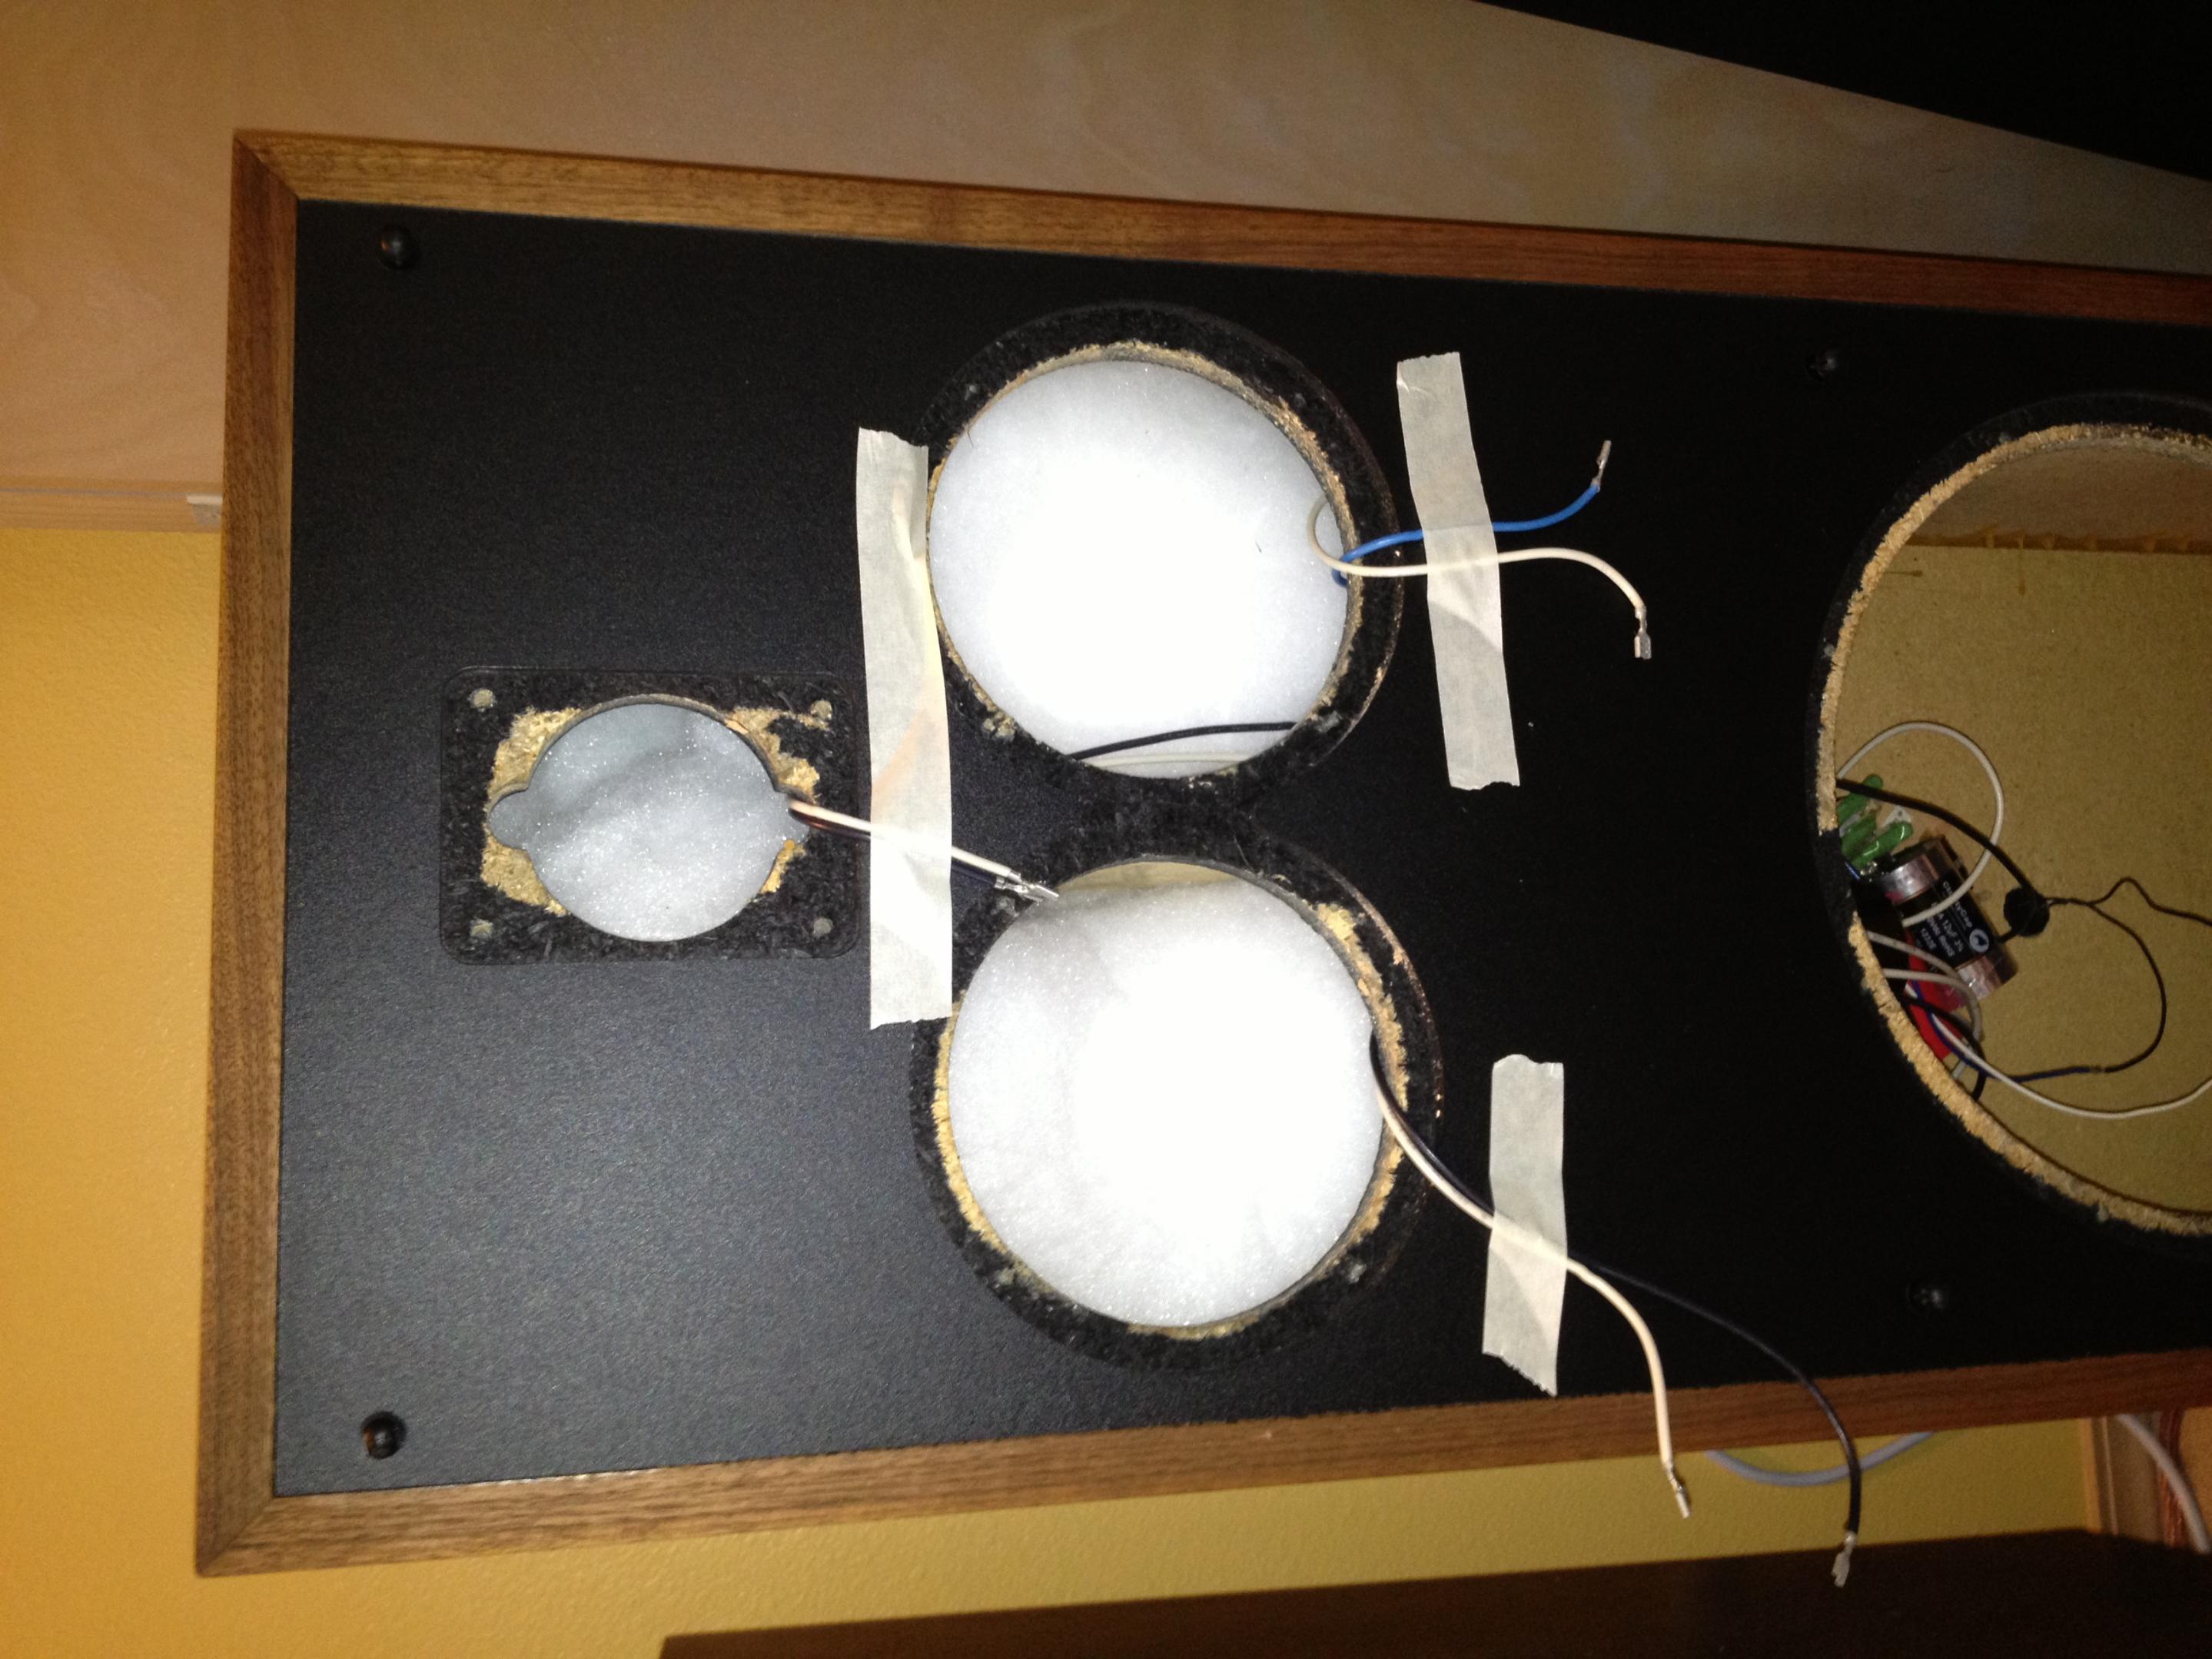
The tape was to mark where the big inductor was soldered to the crossover board for no hassle replacement.
-
-
-
-
-
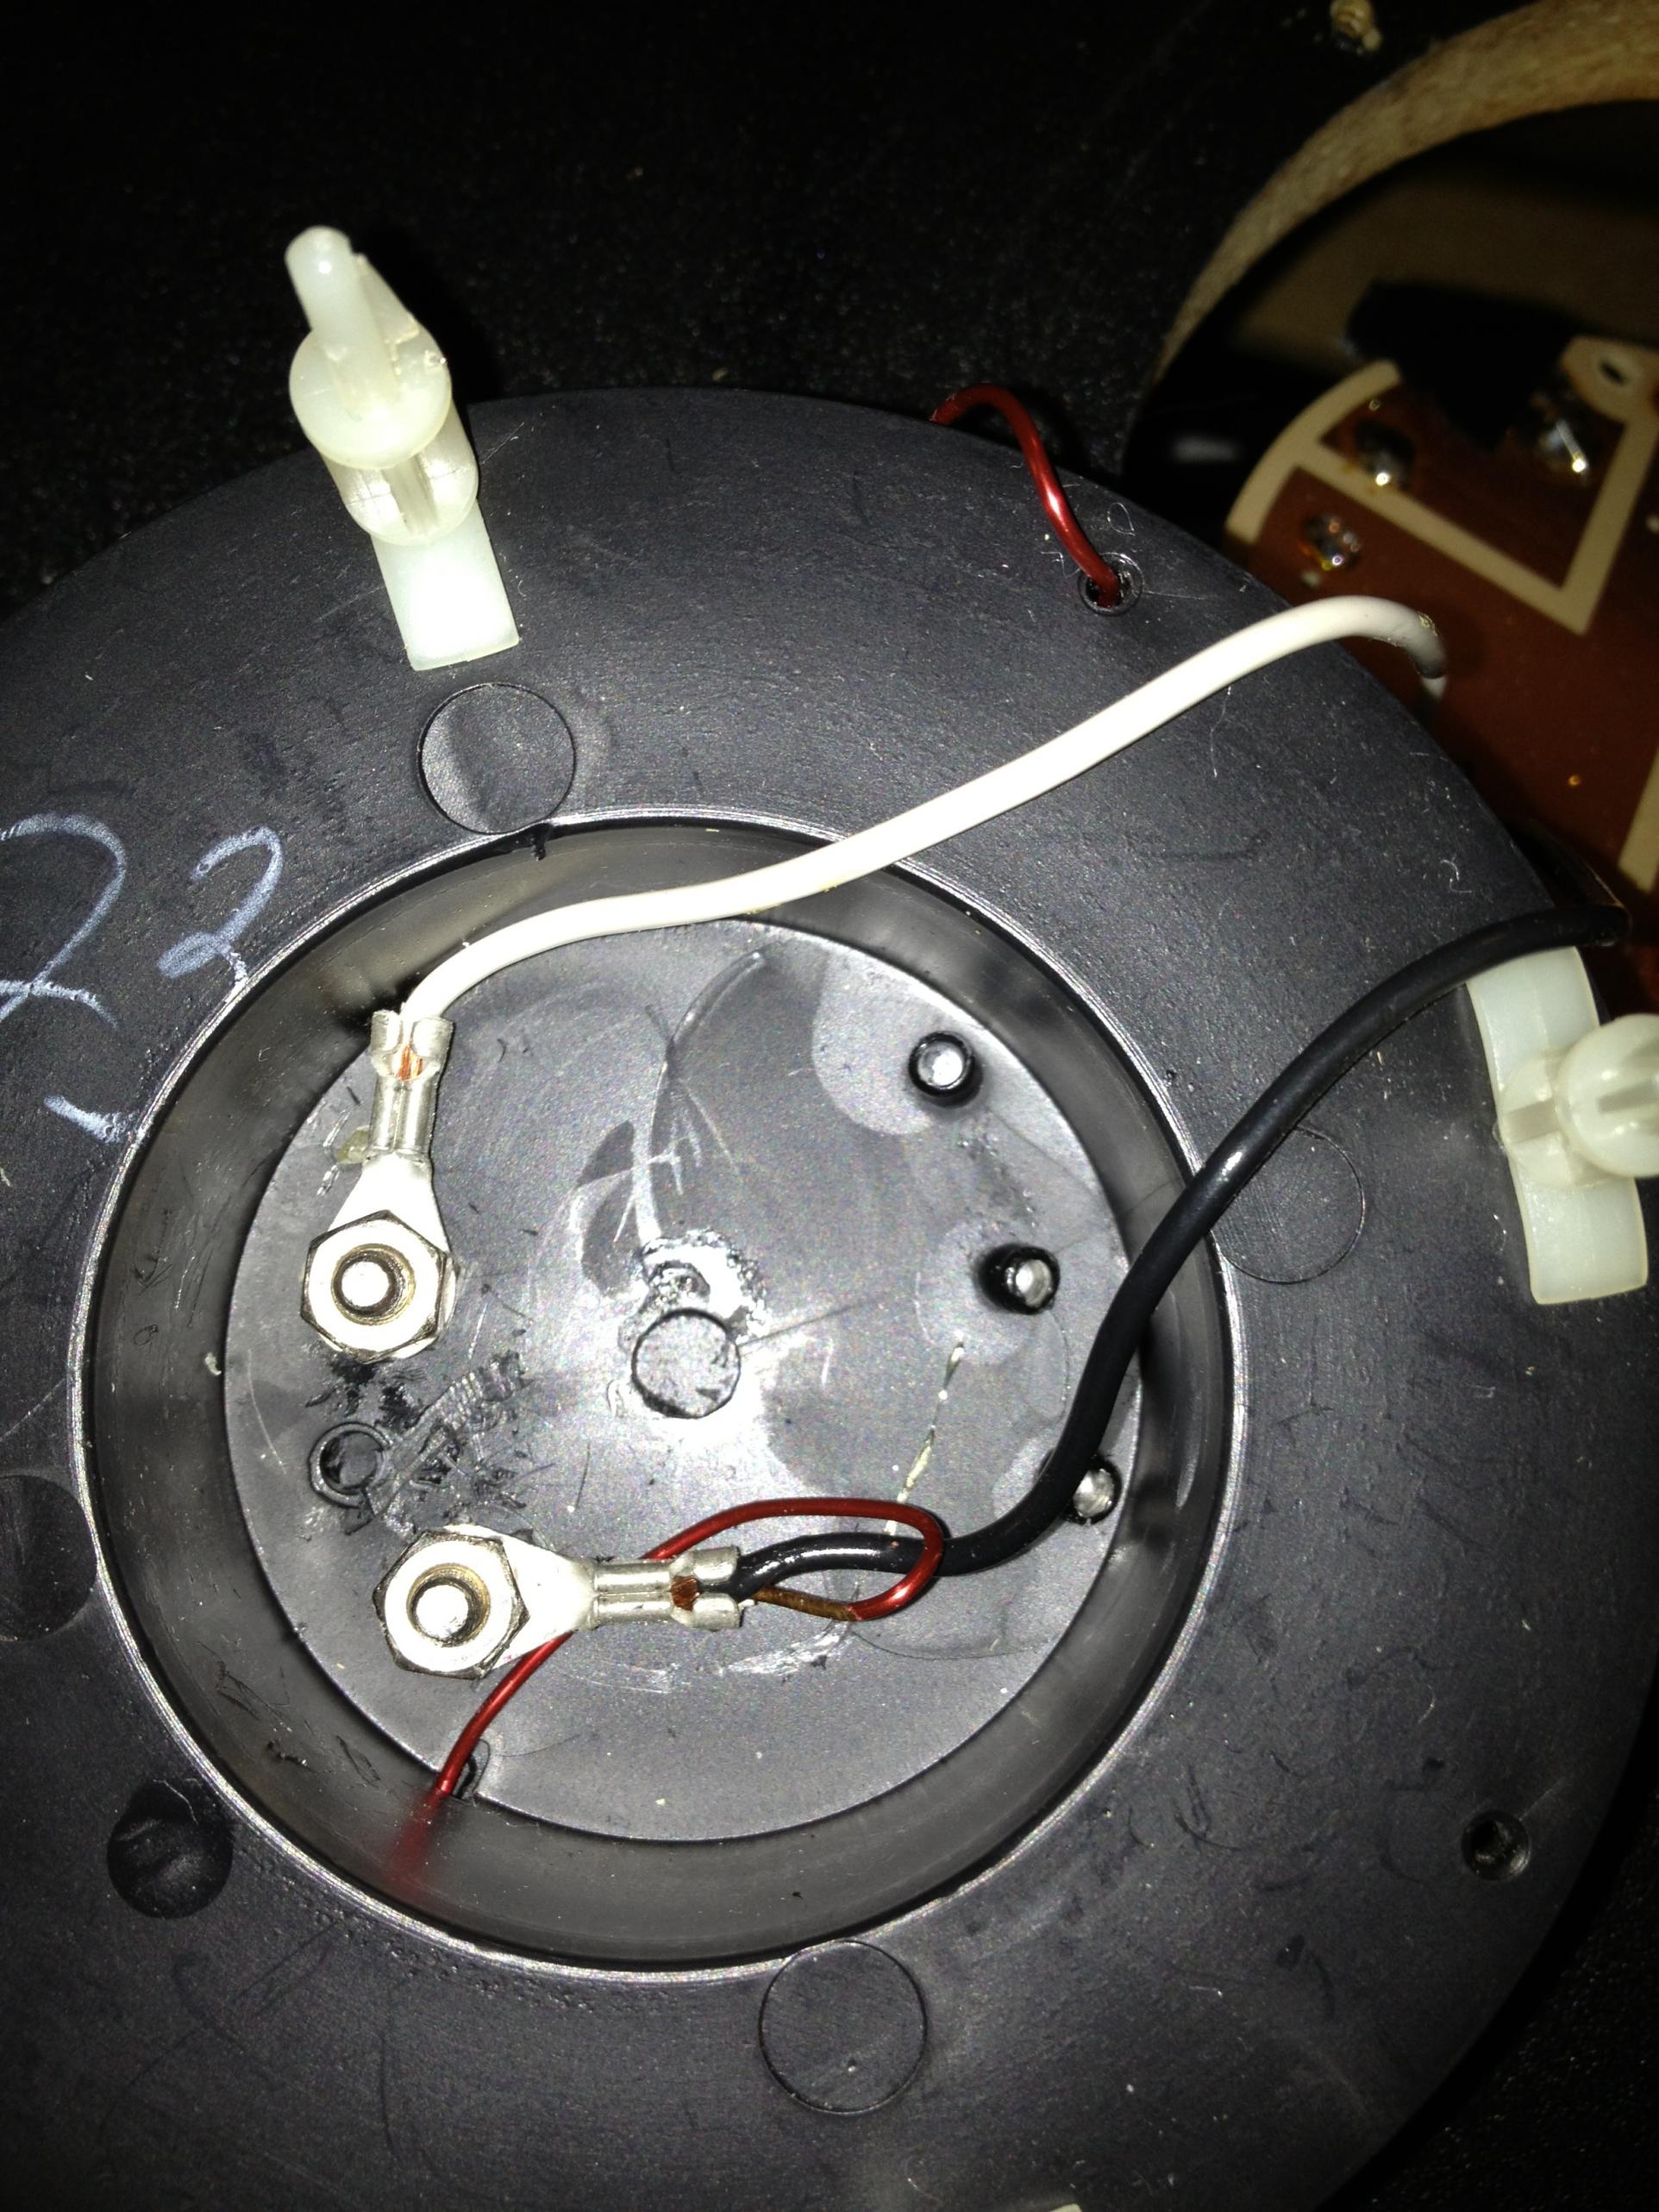
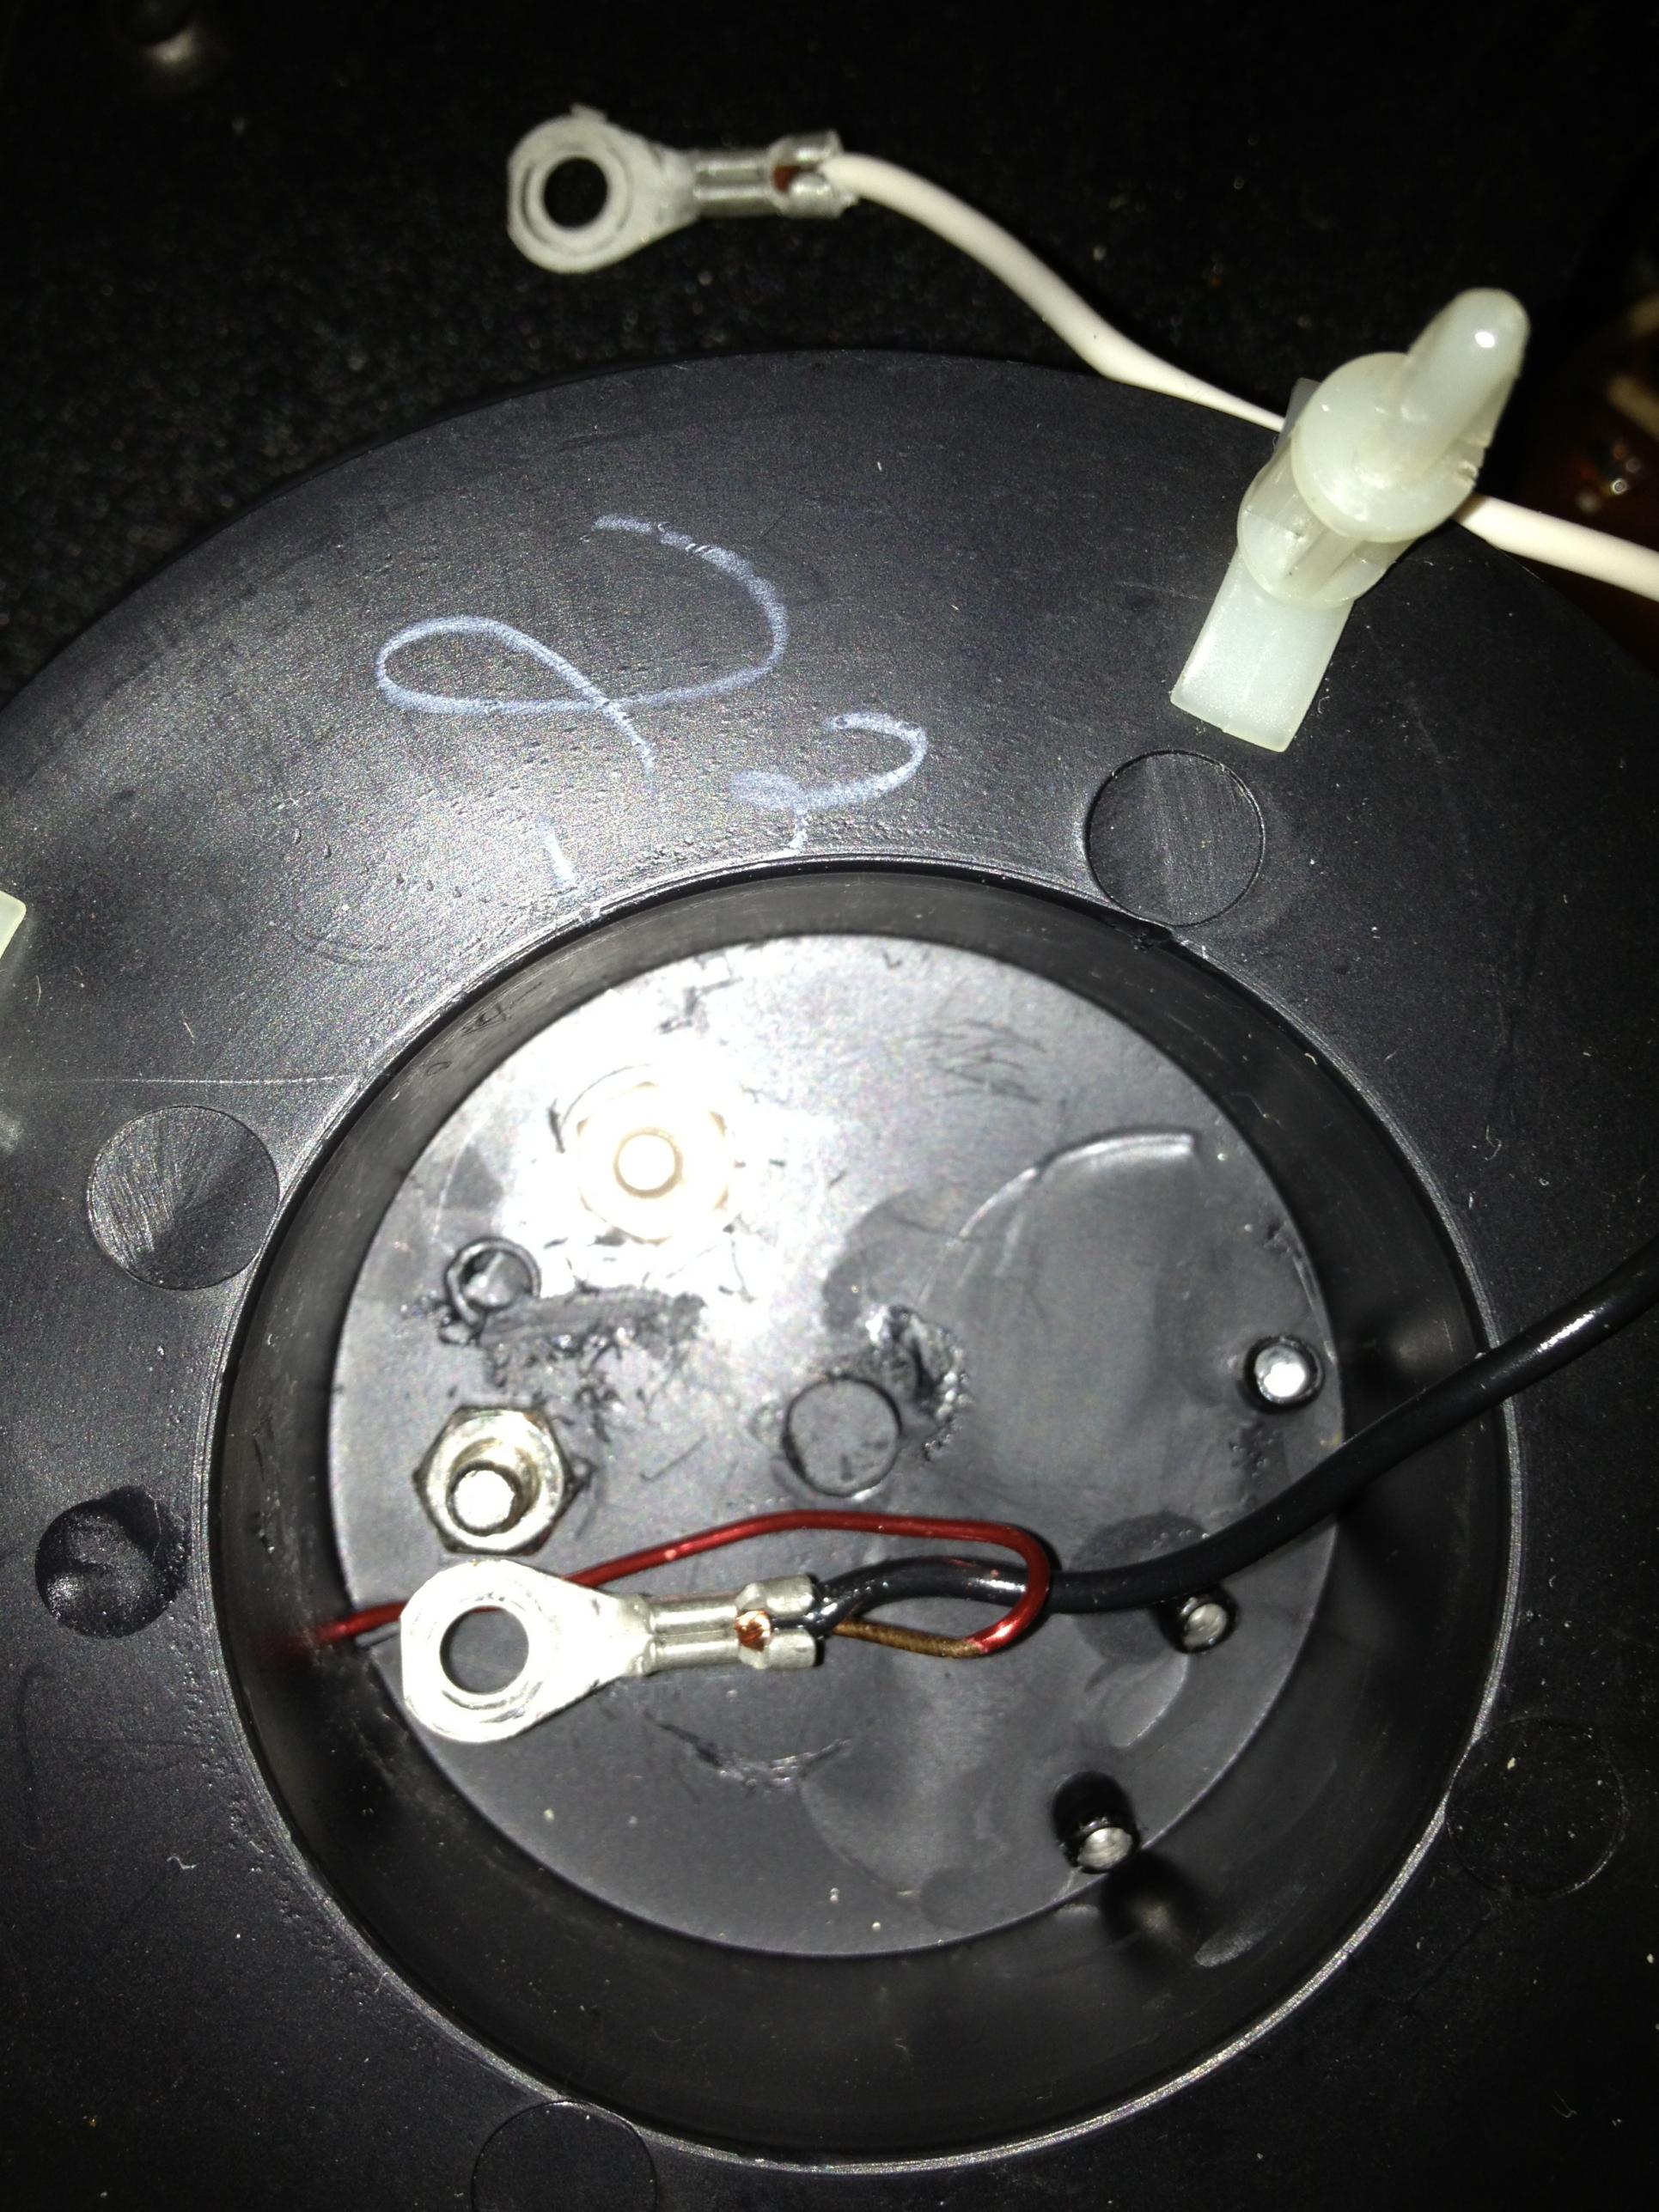
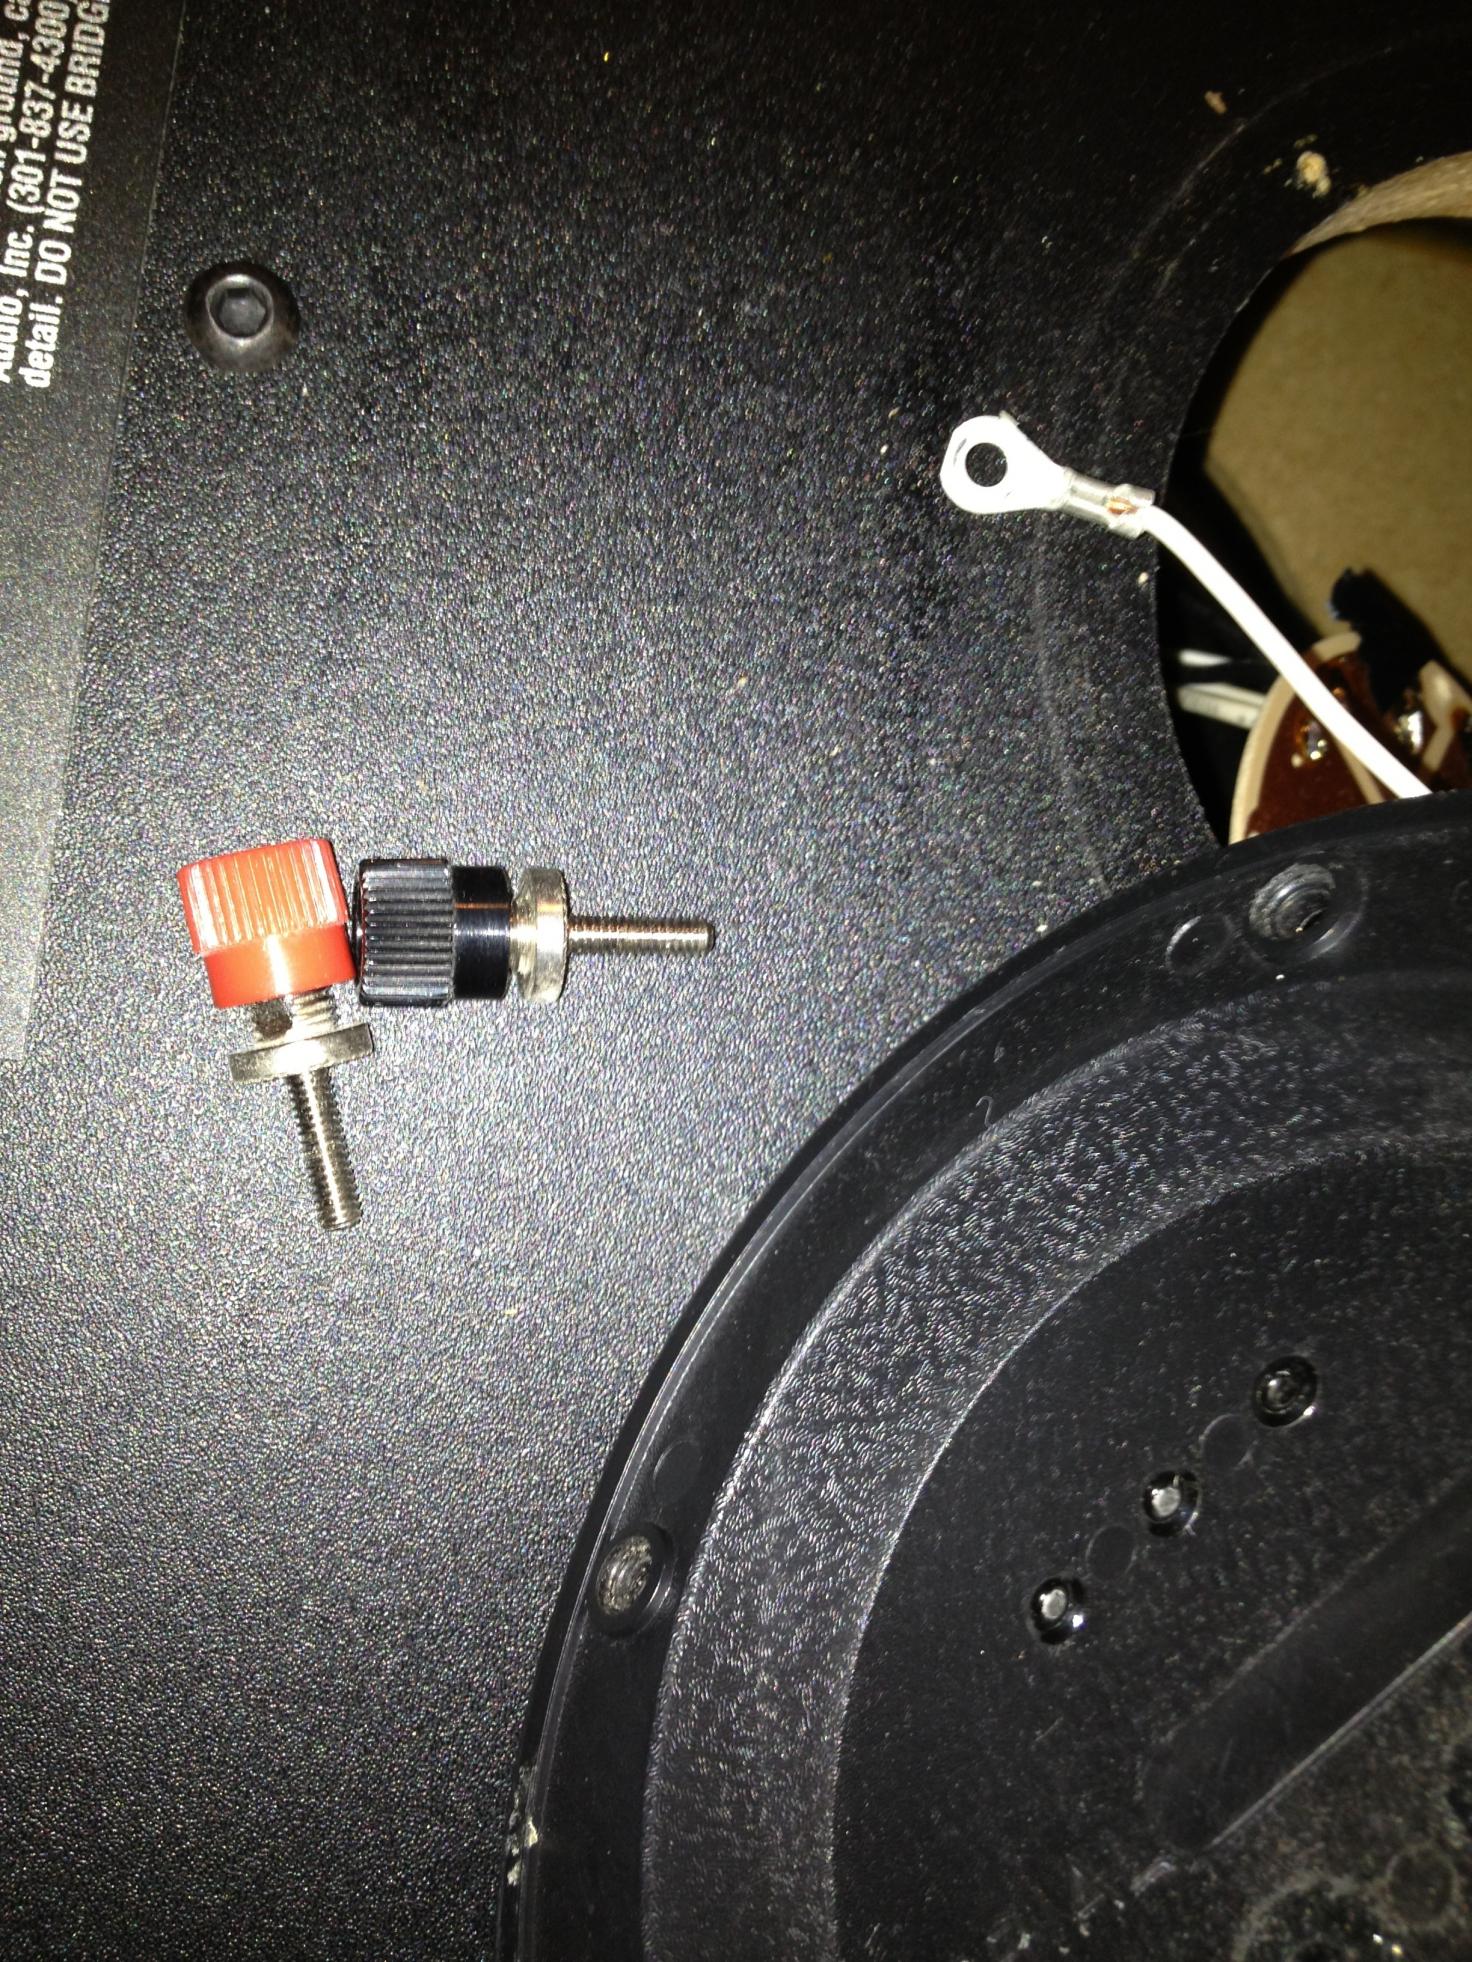
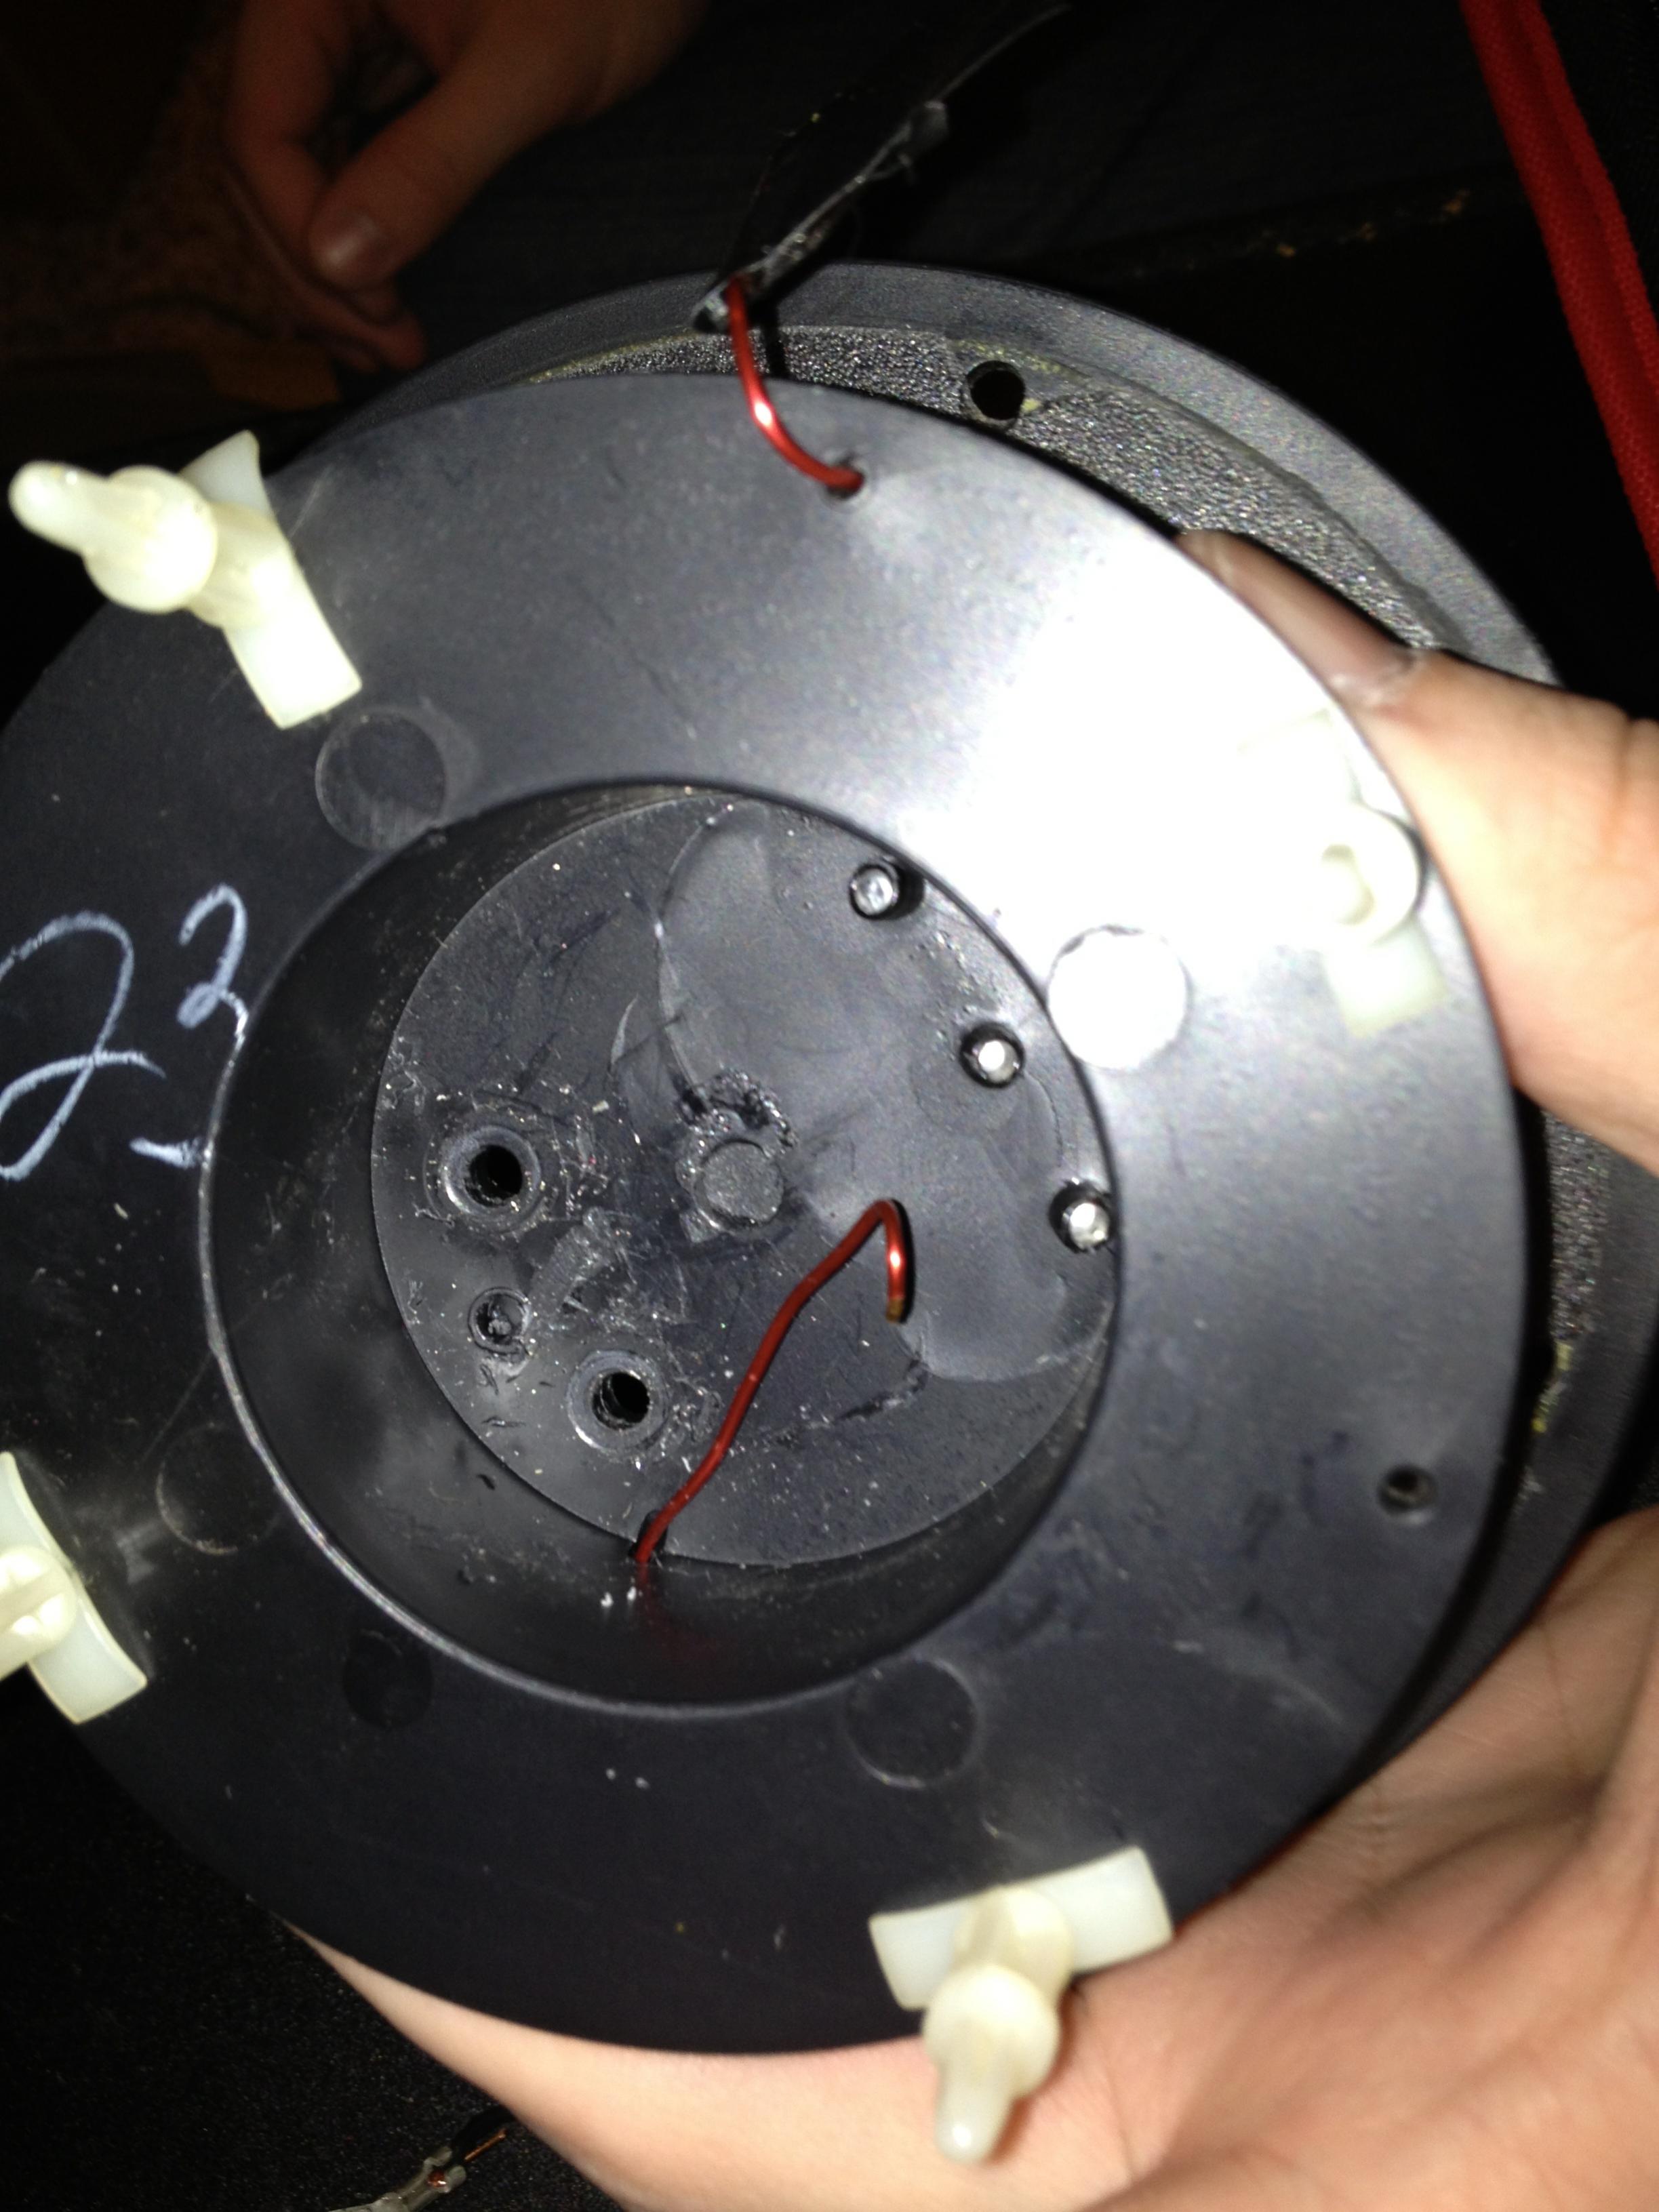
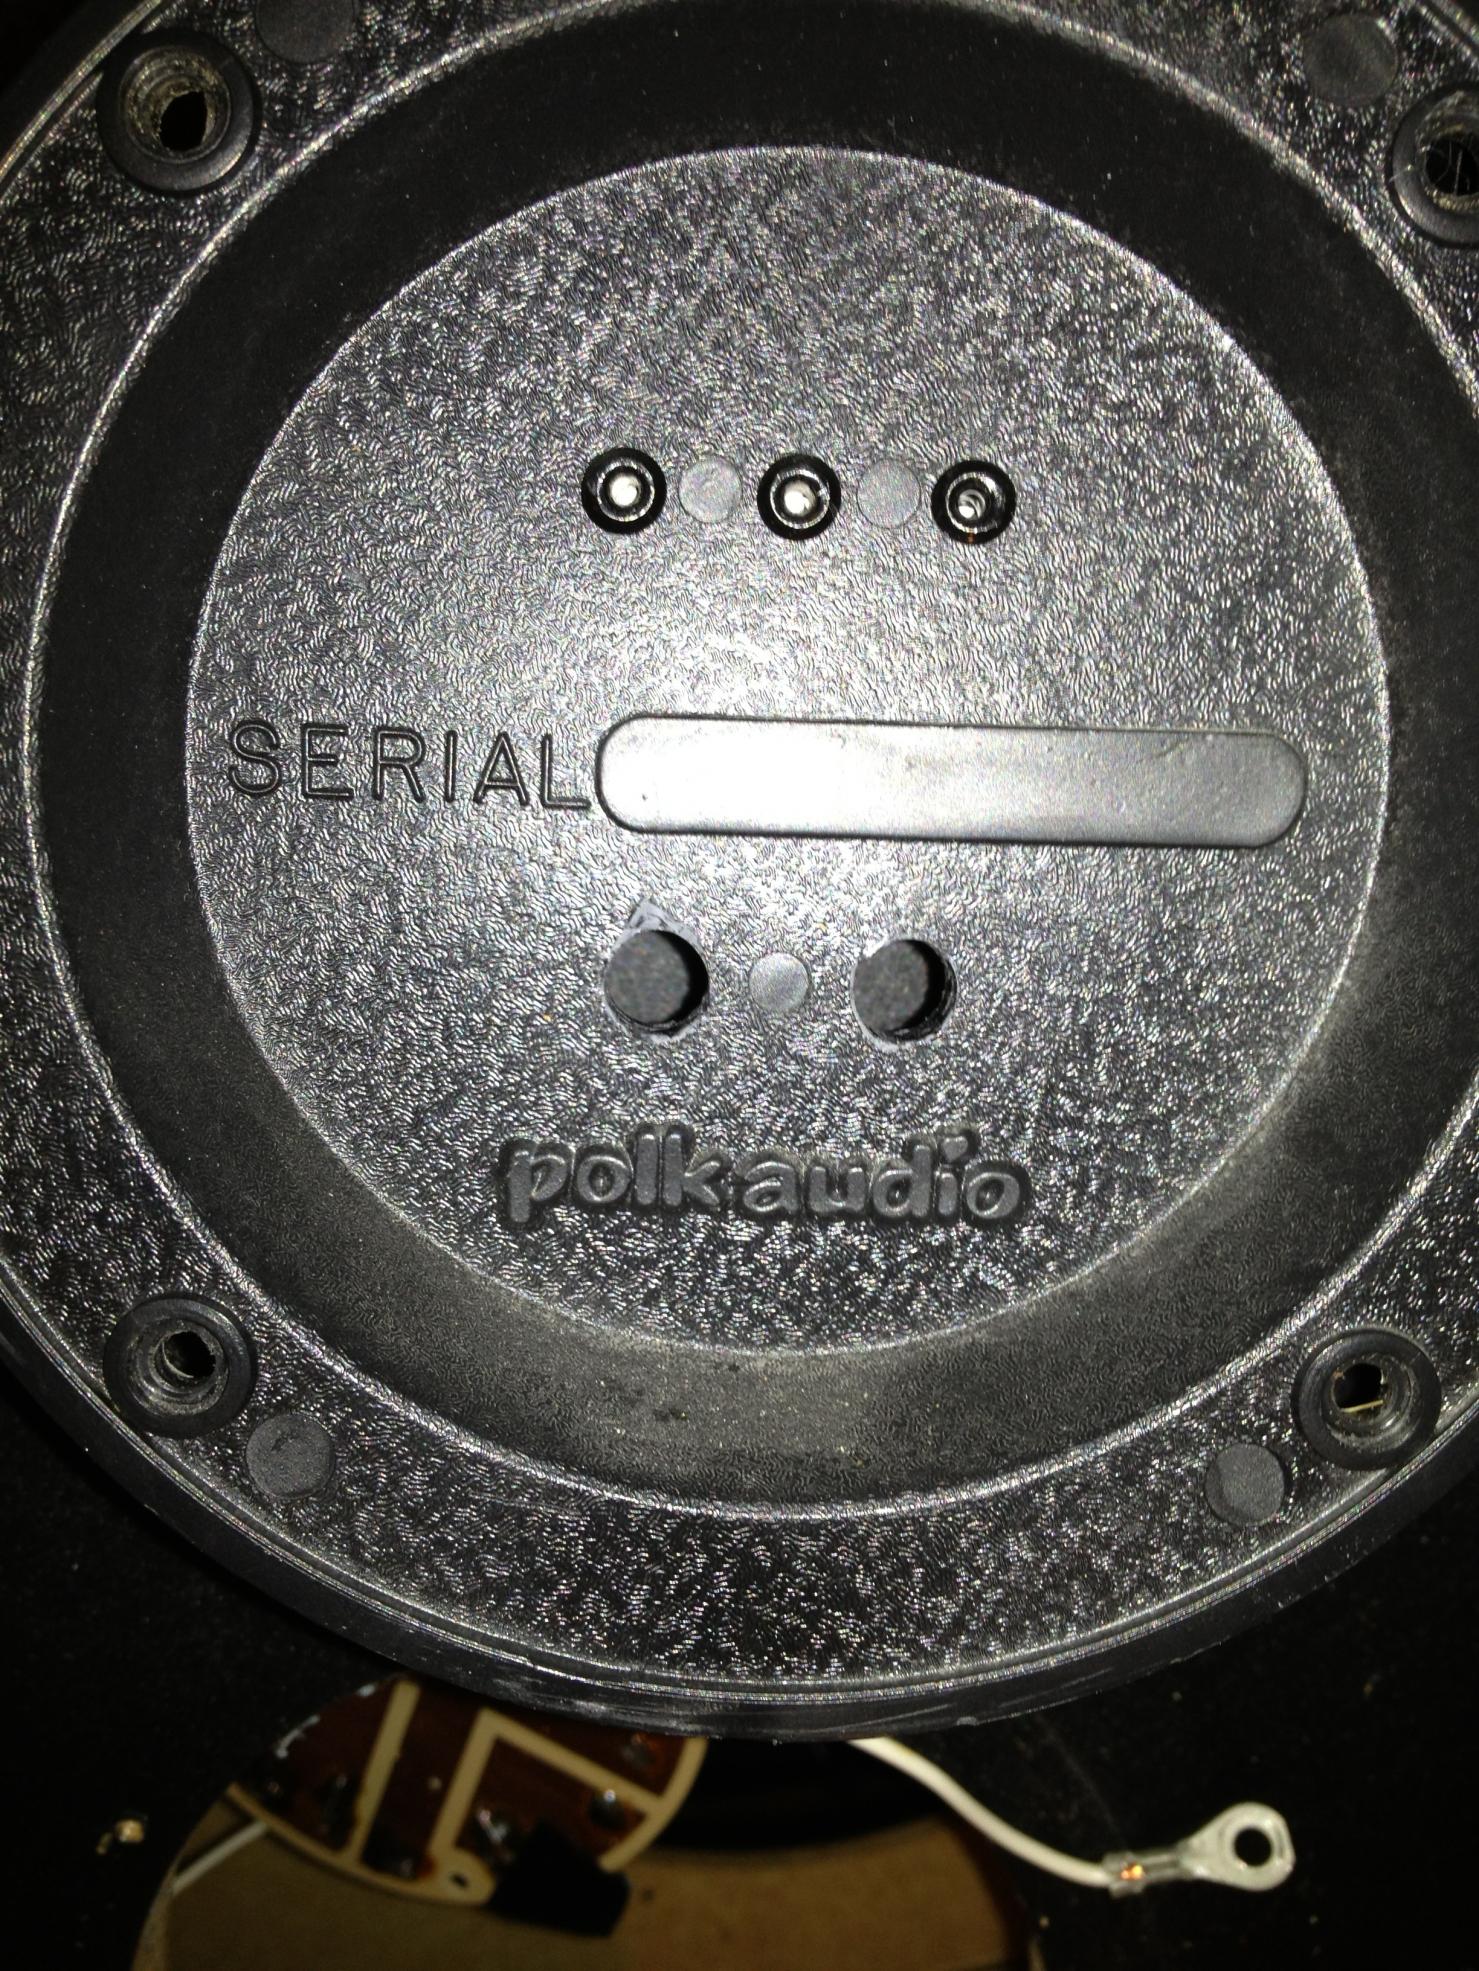
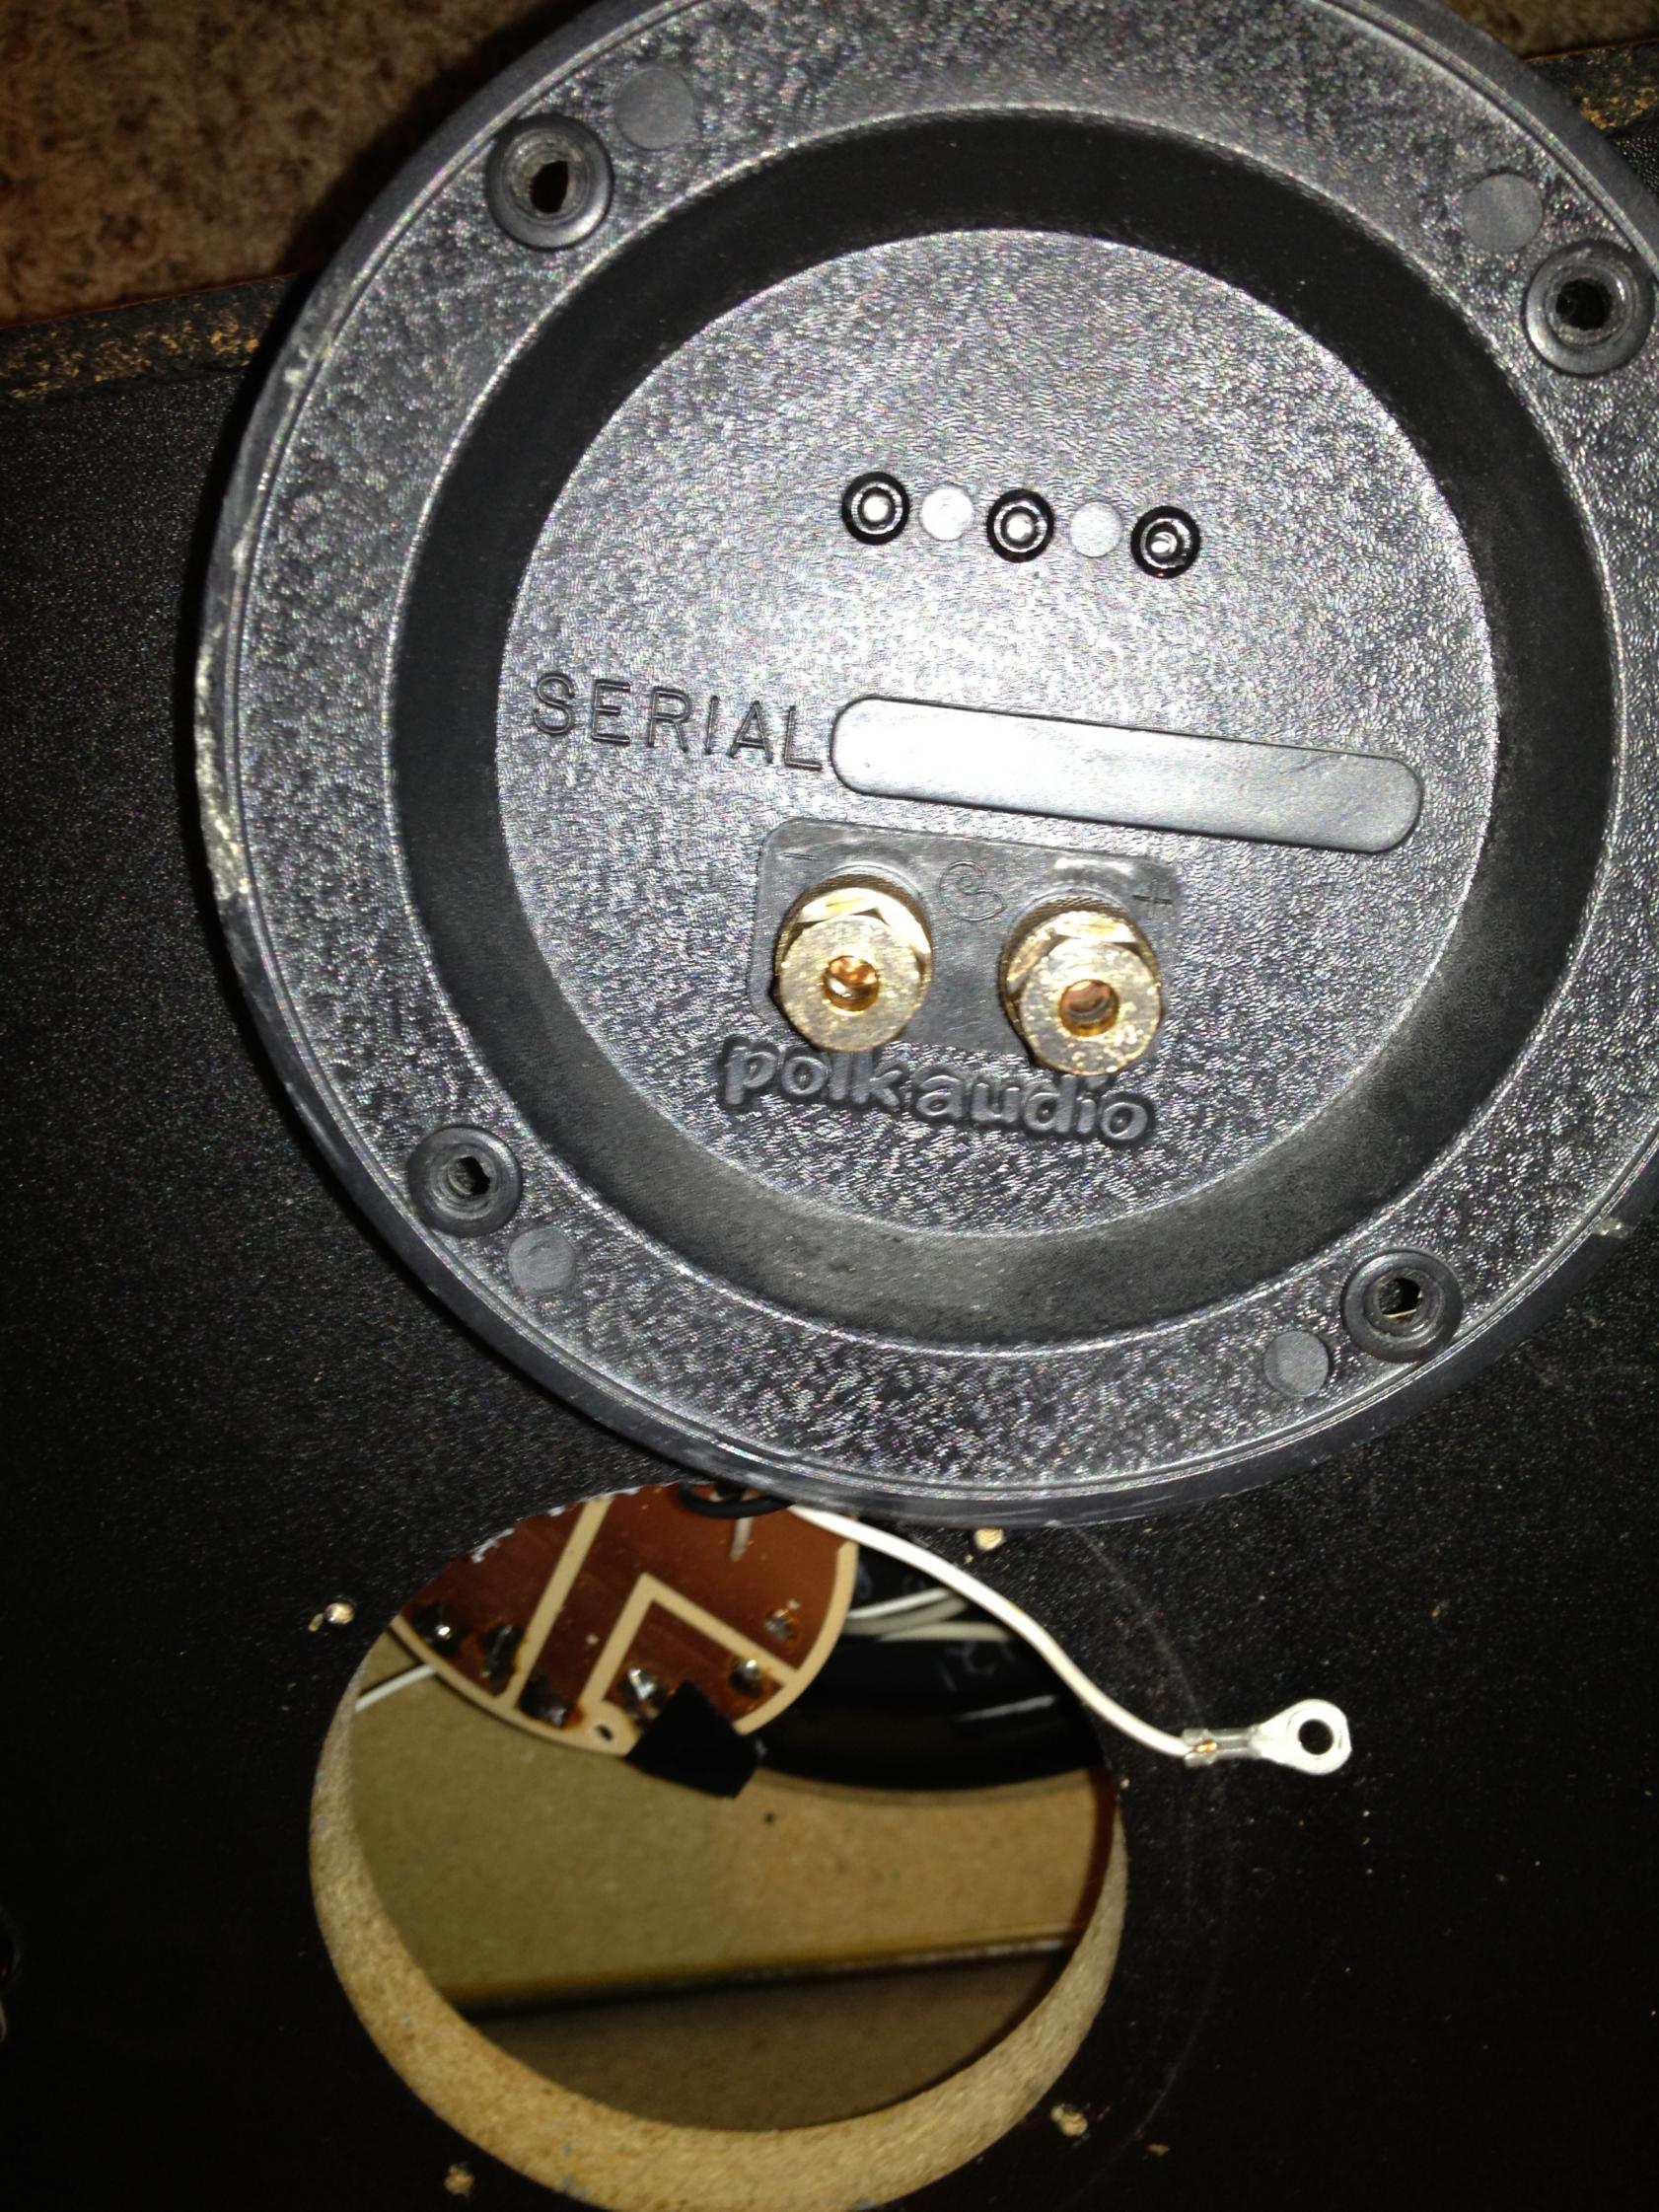
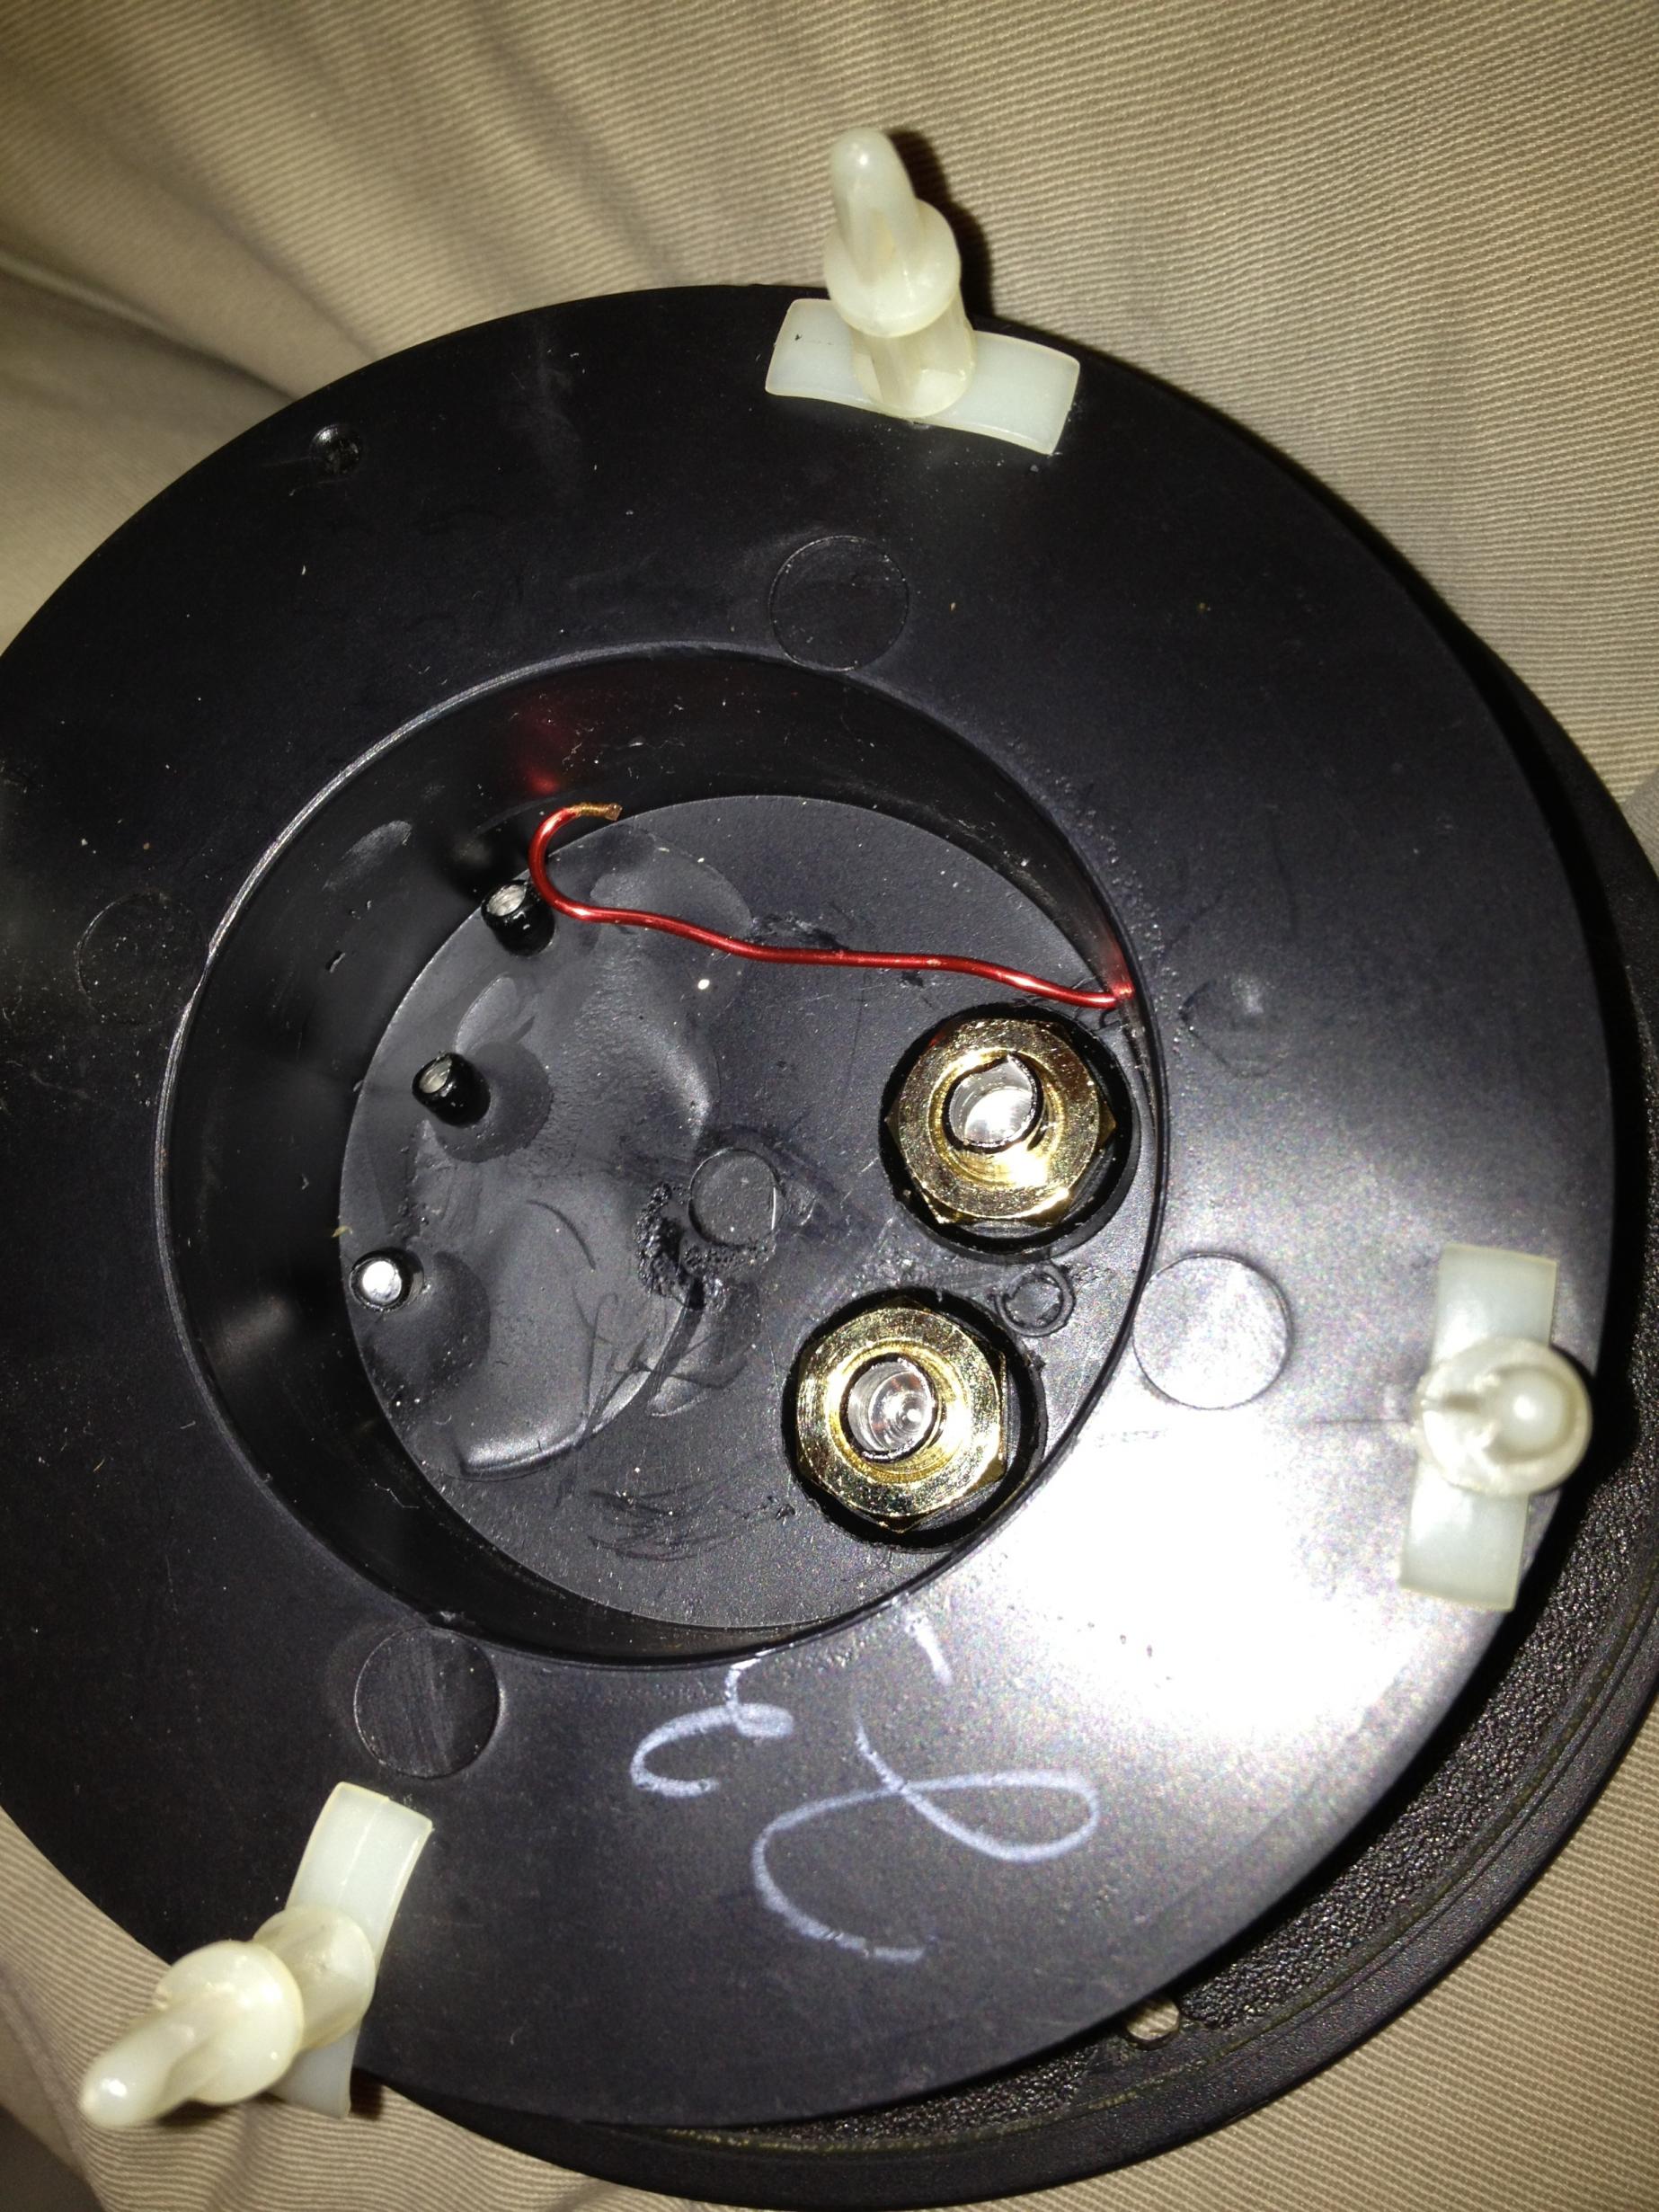
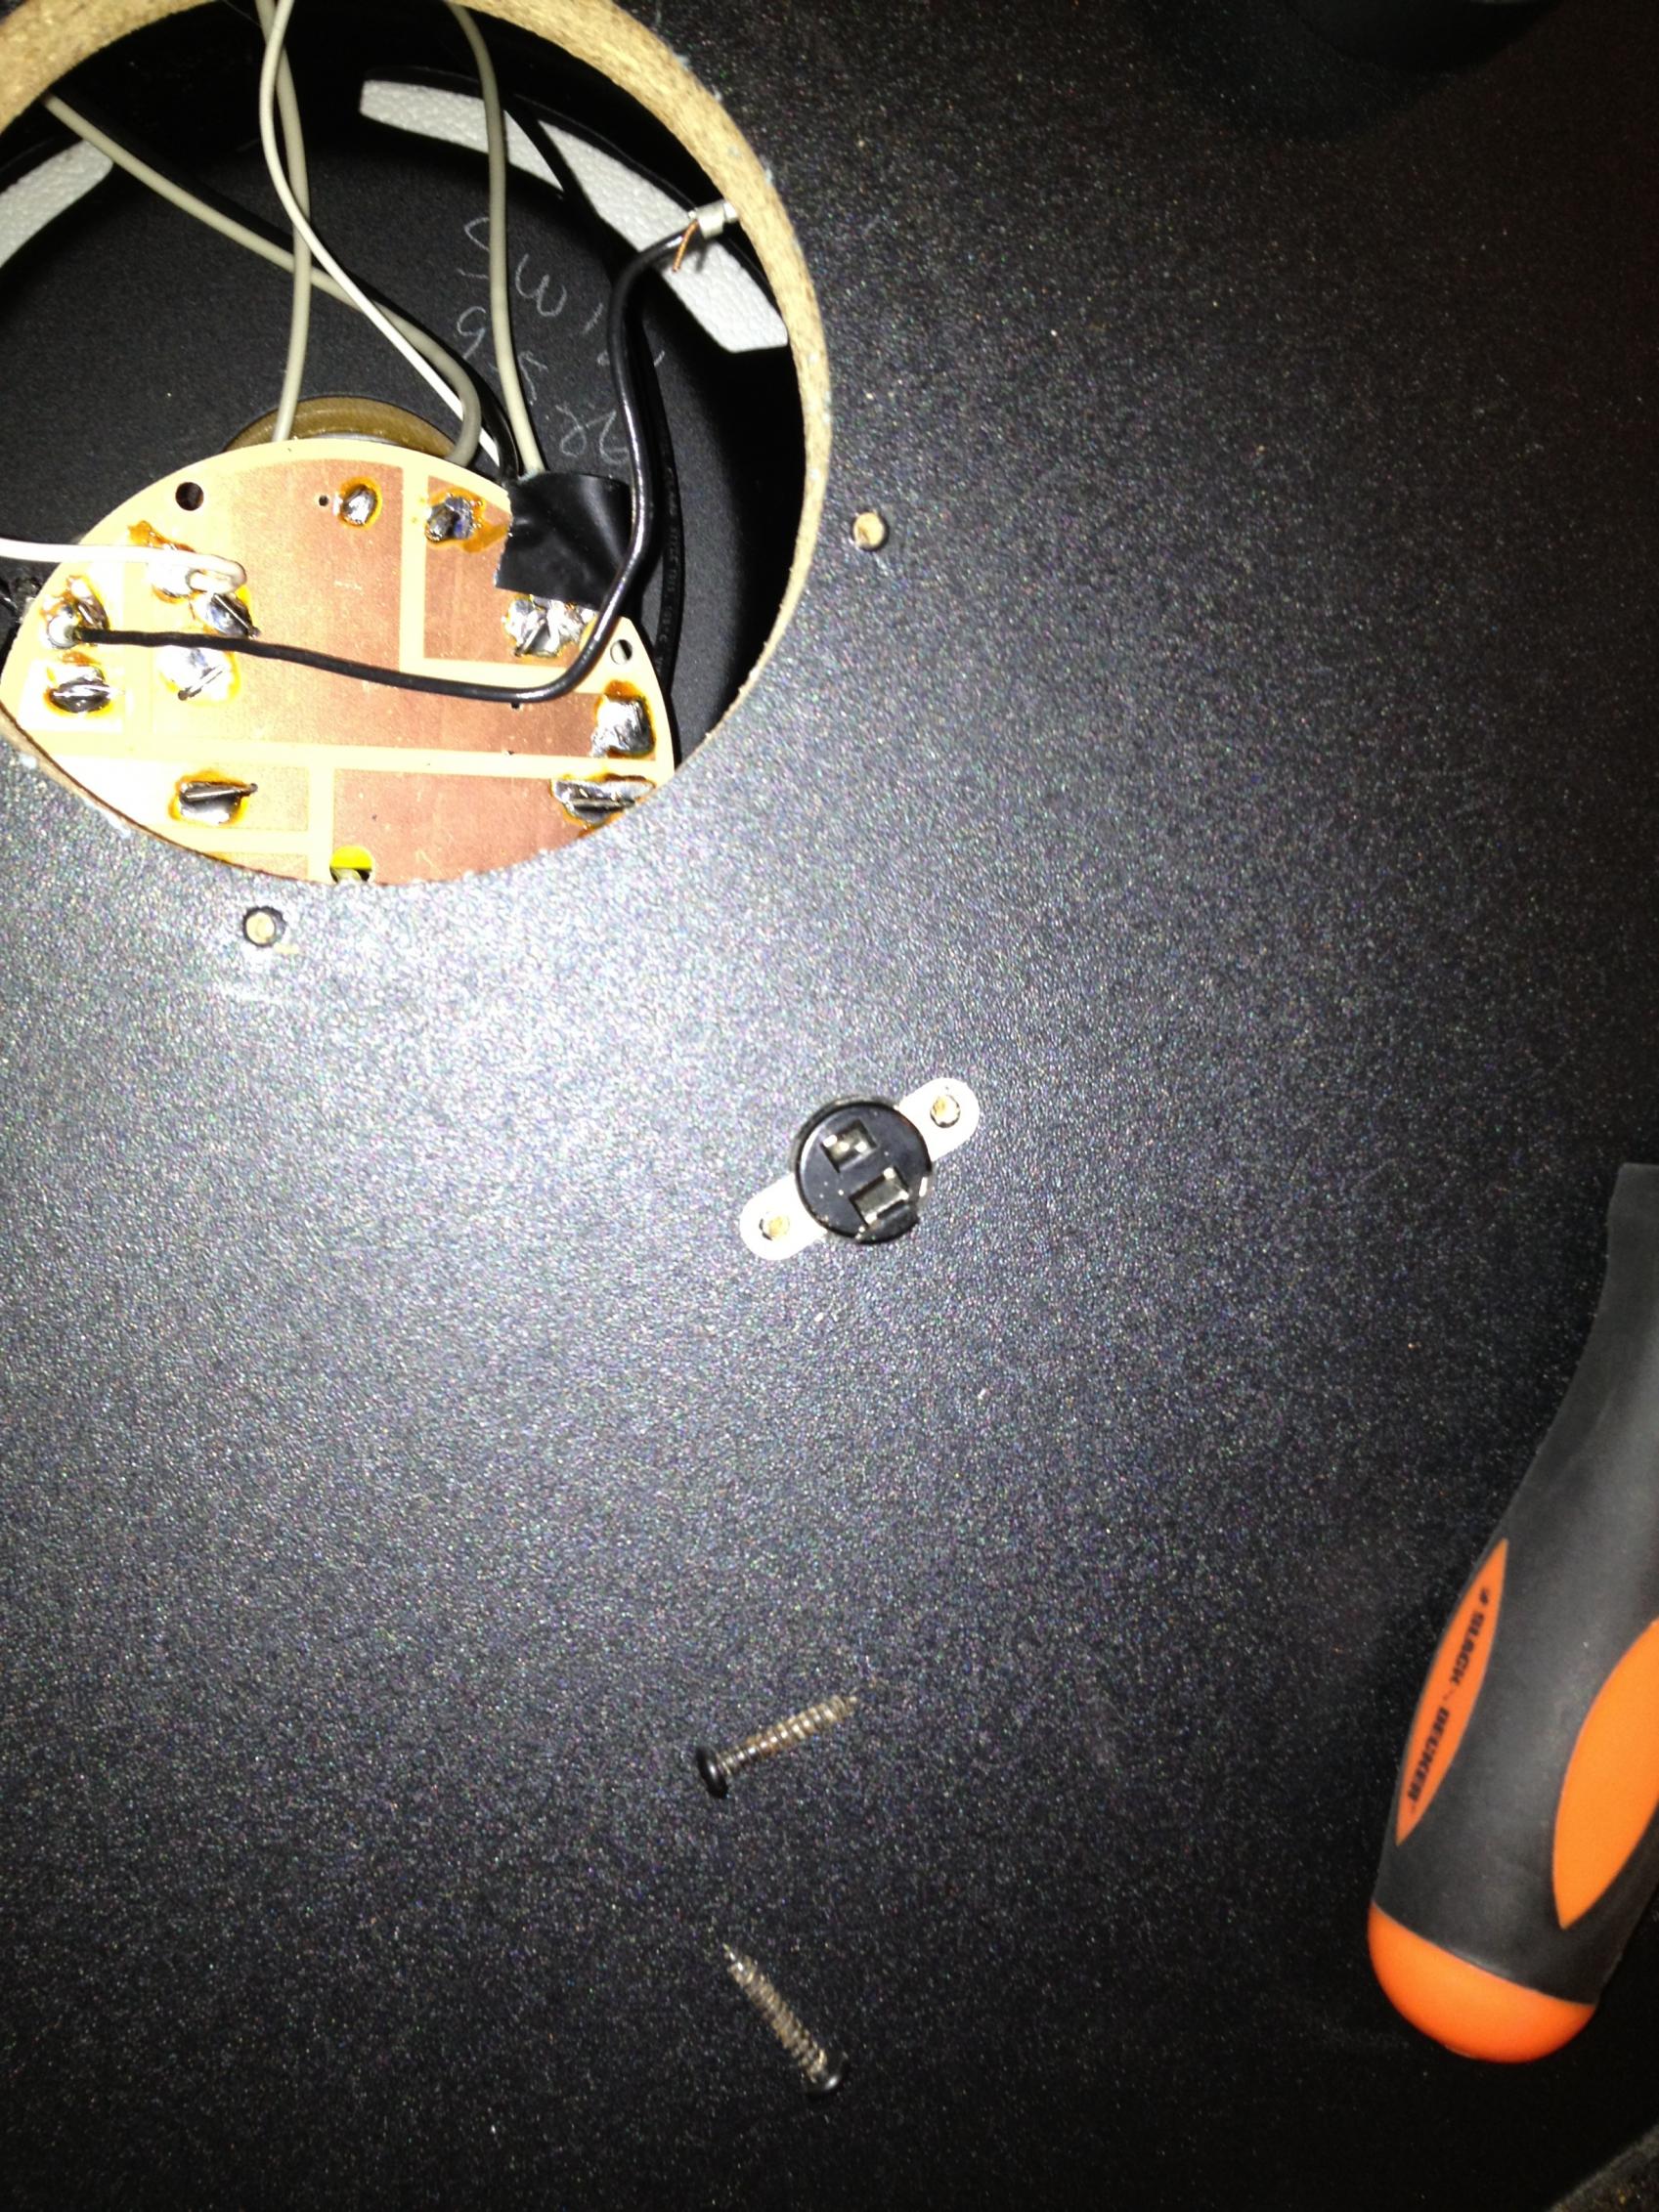
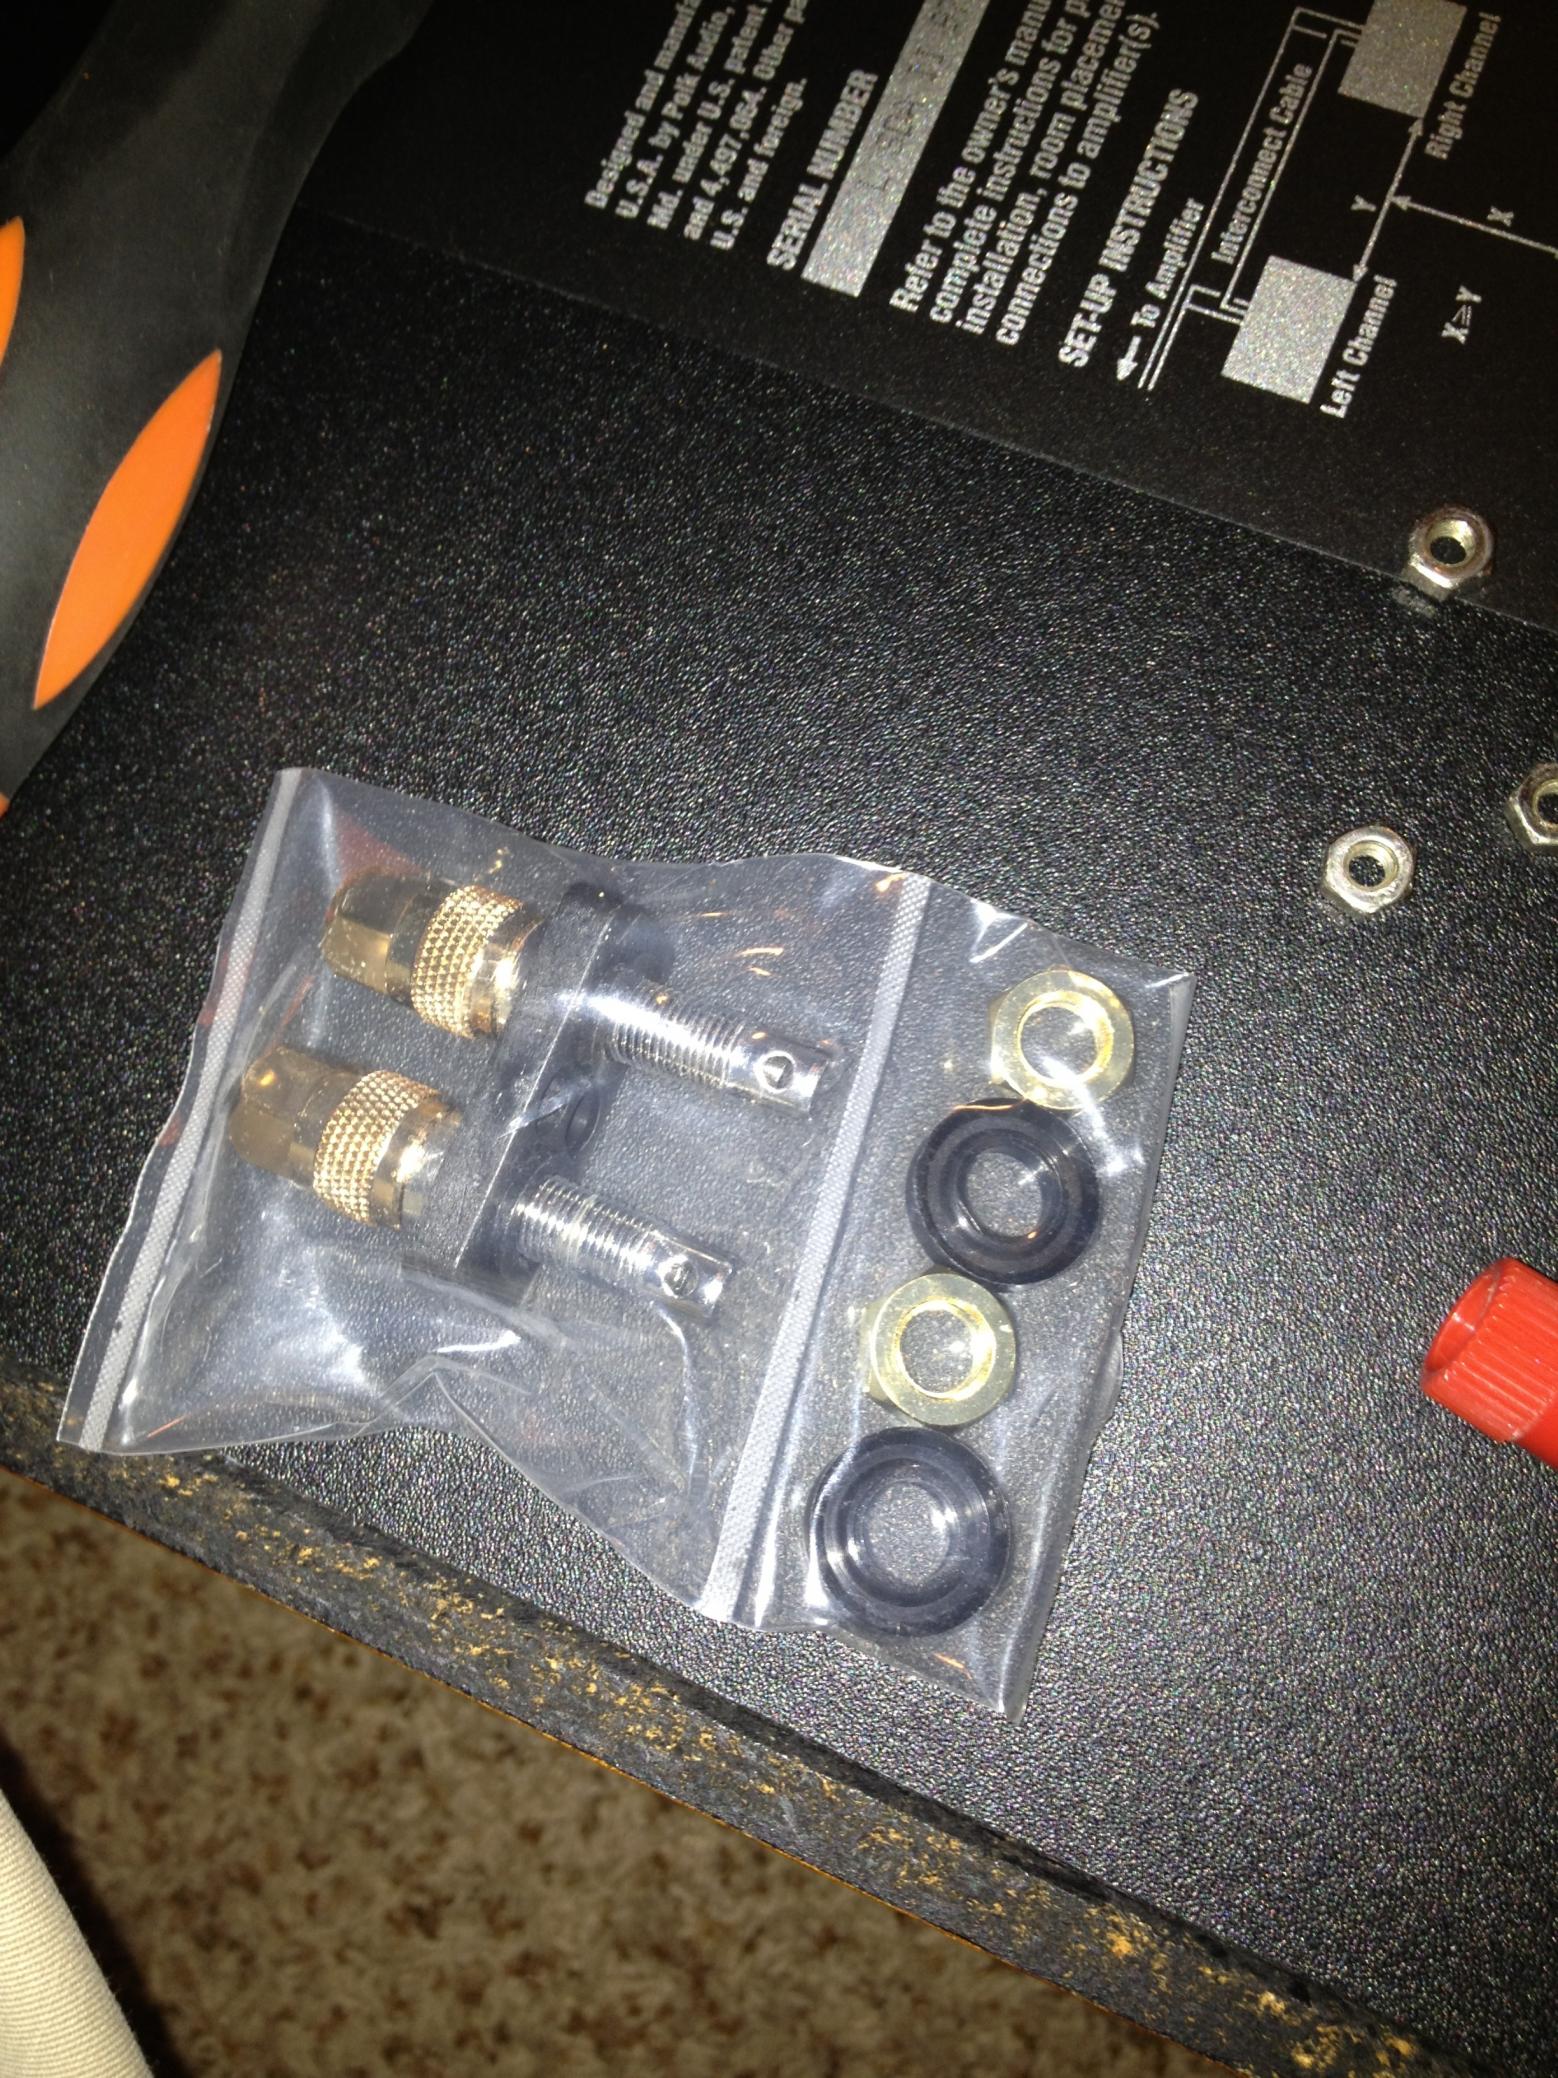
These are supposed to be 5-way posts, but I can't figure out how to connect my pins!
-
-
-
-
-
-
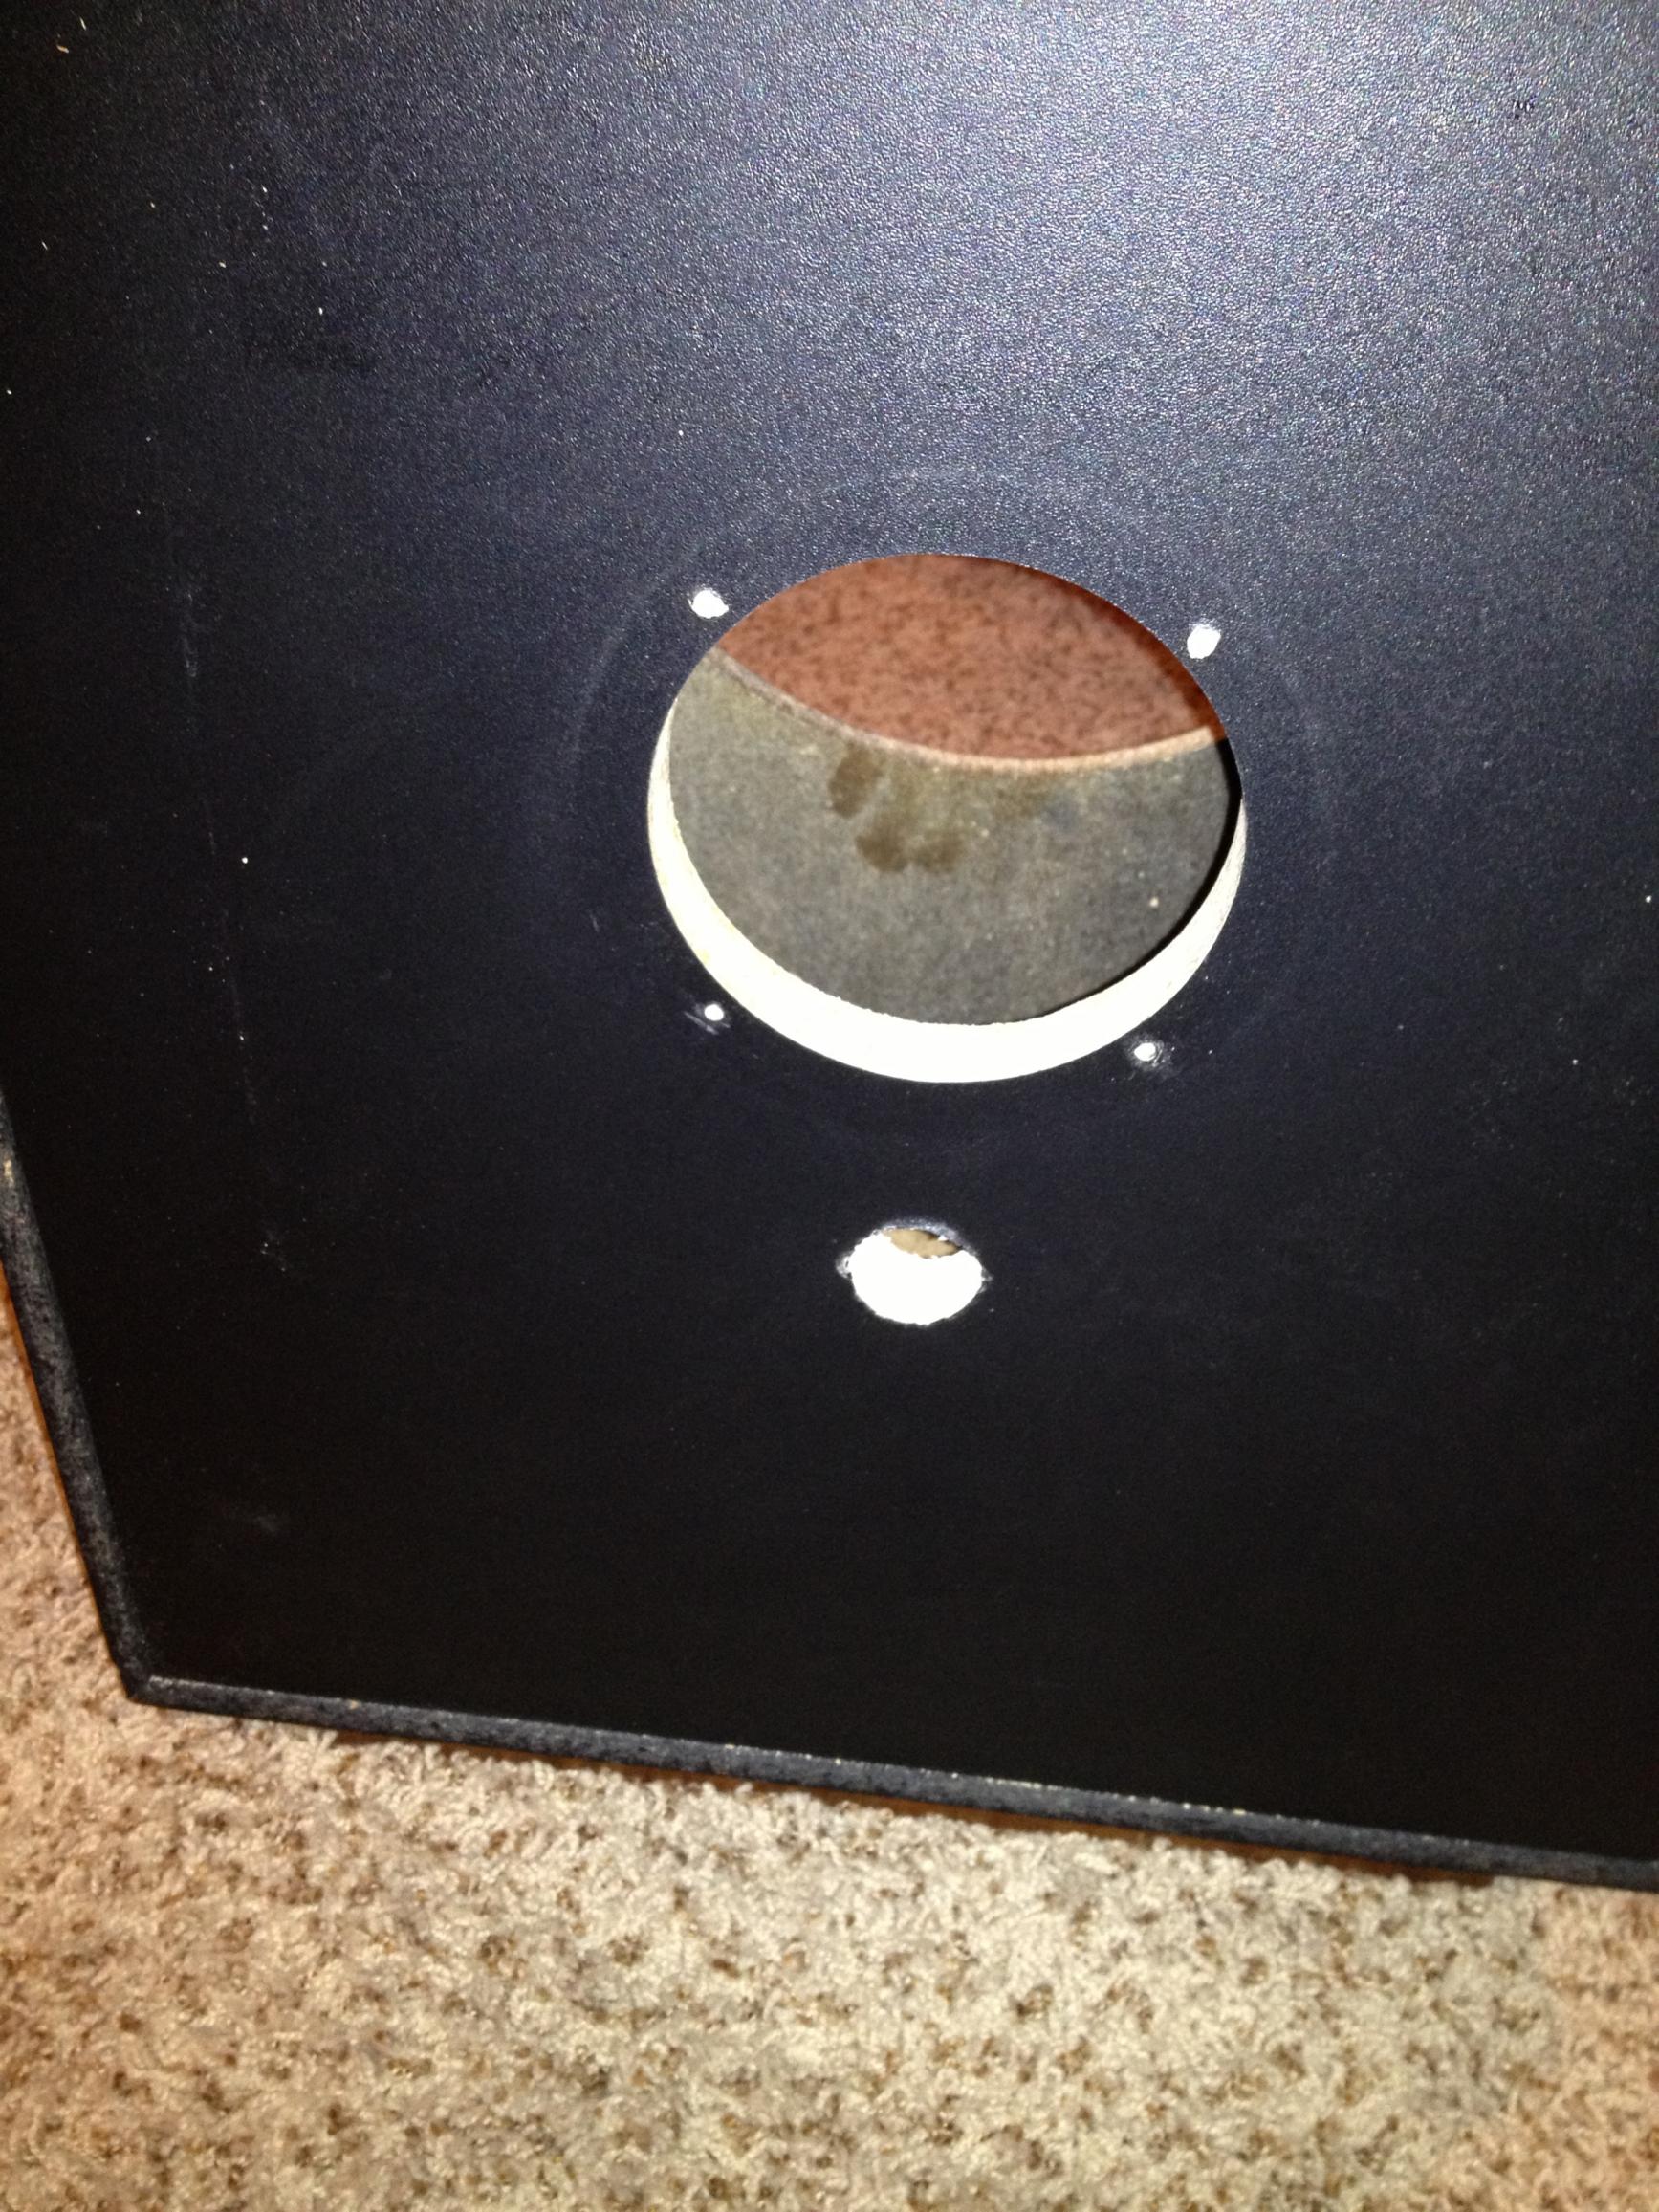
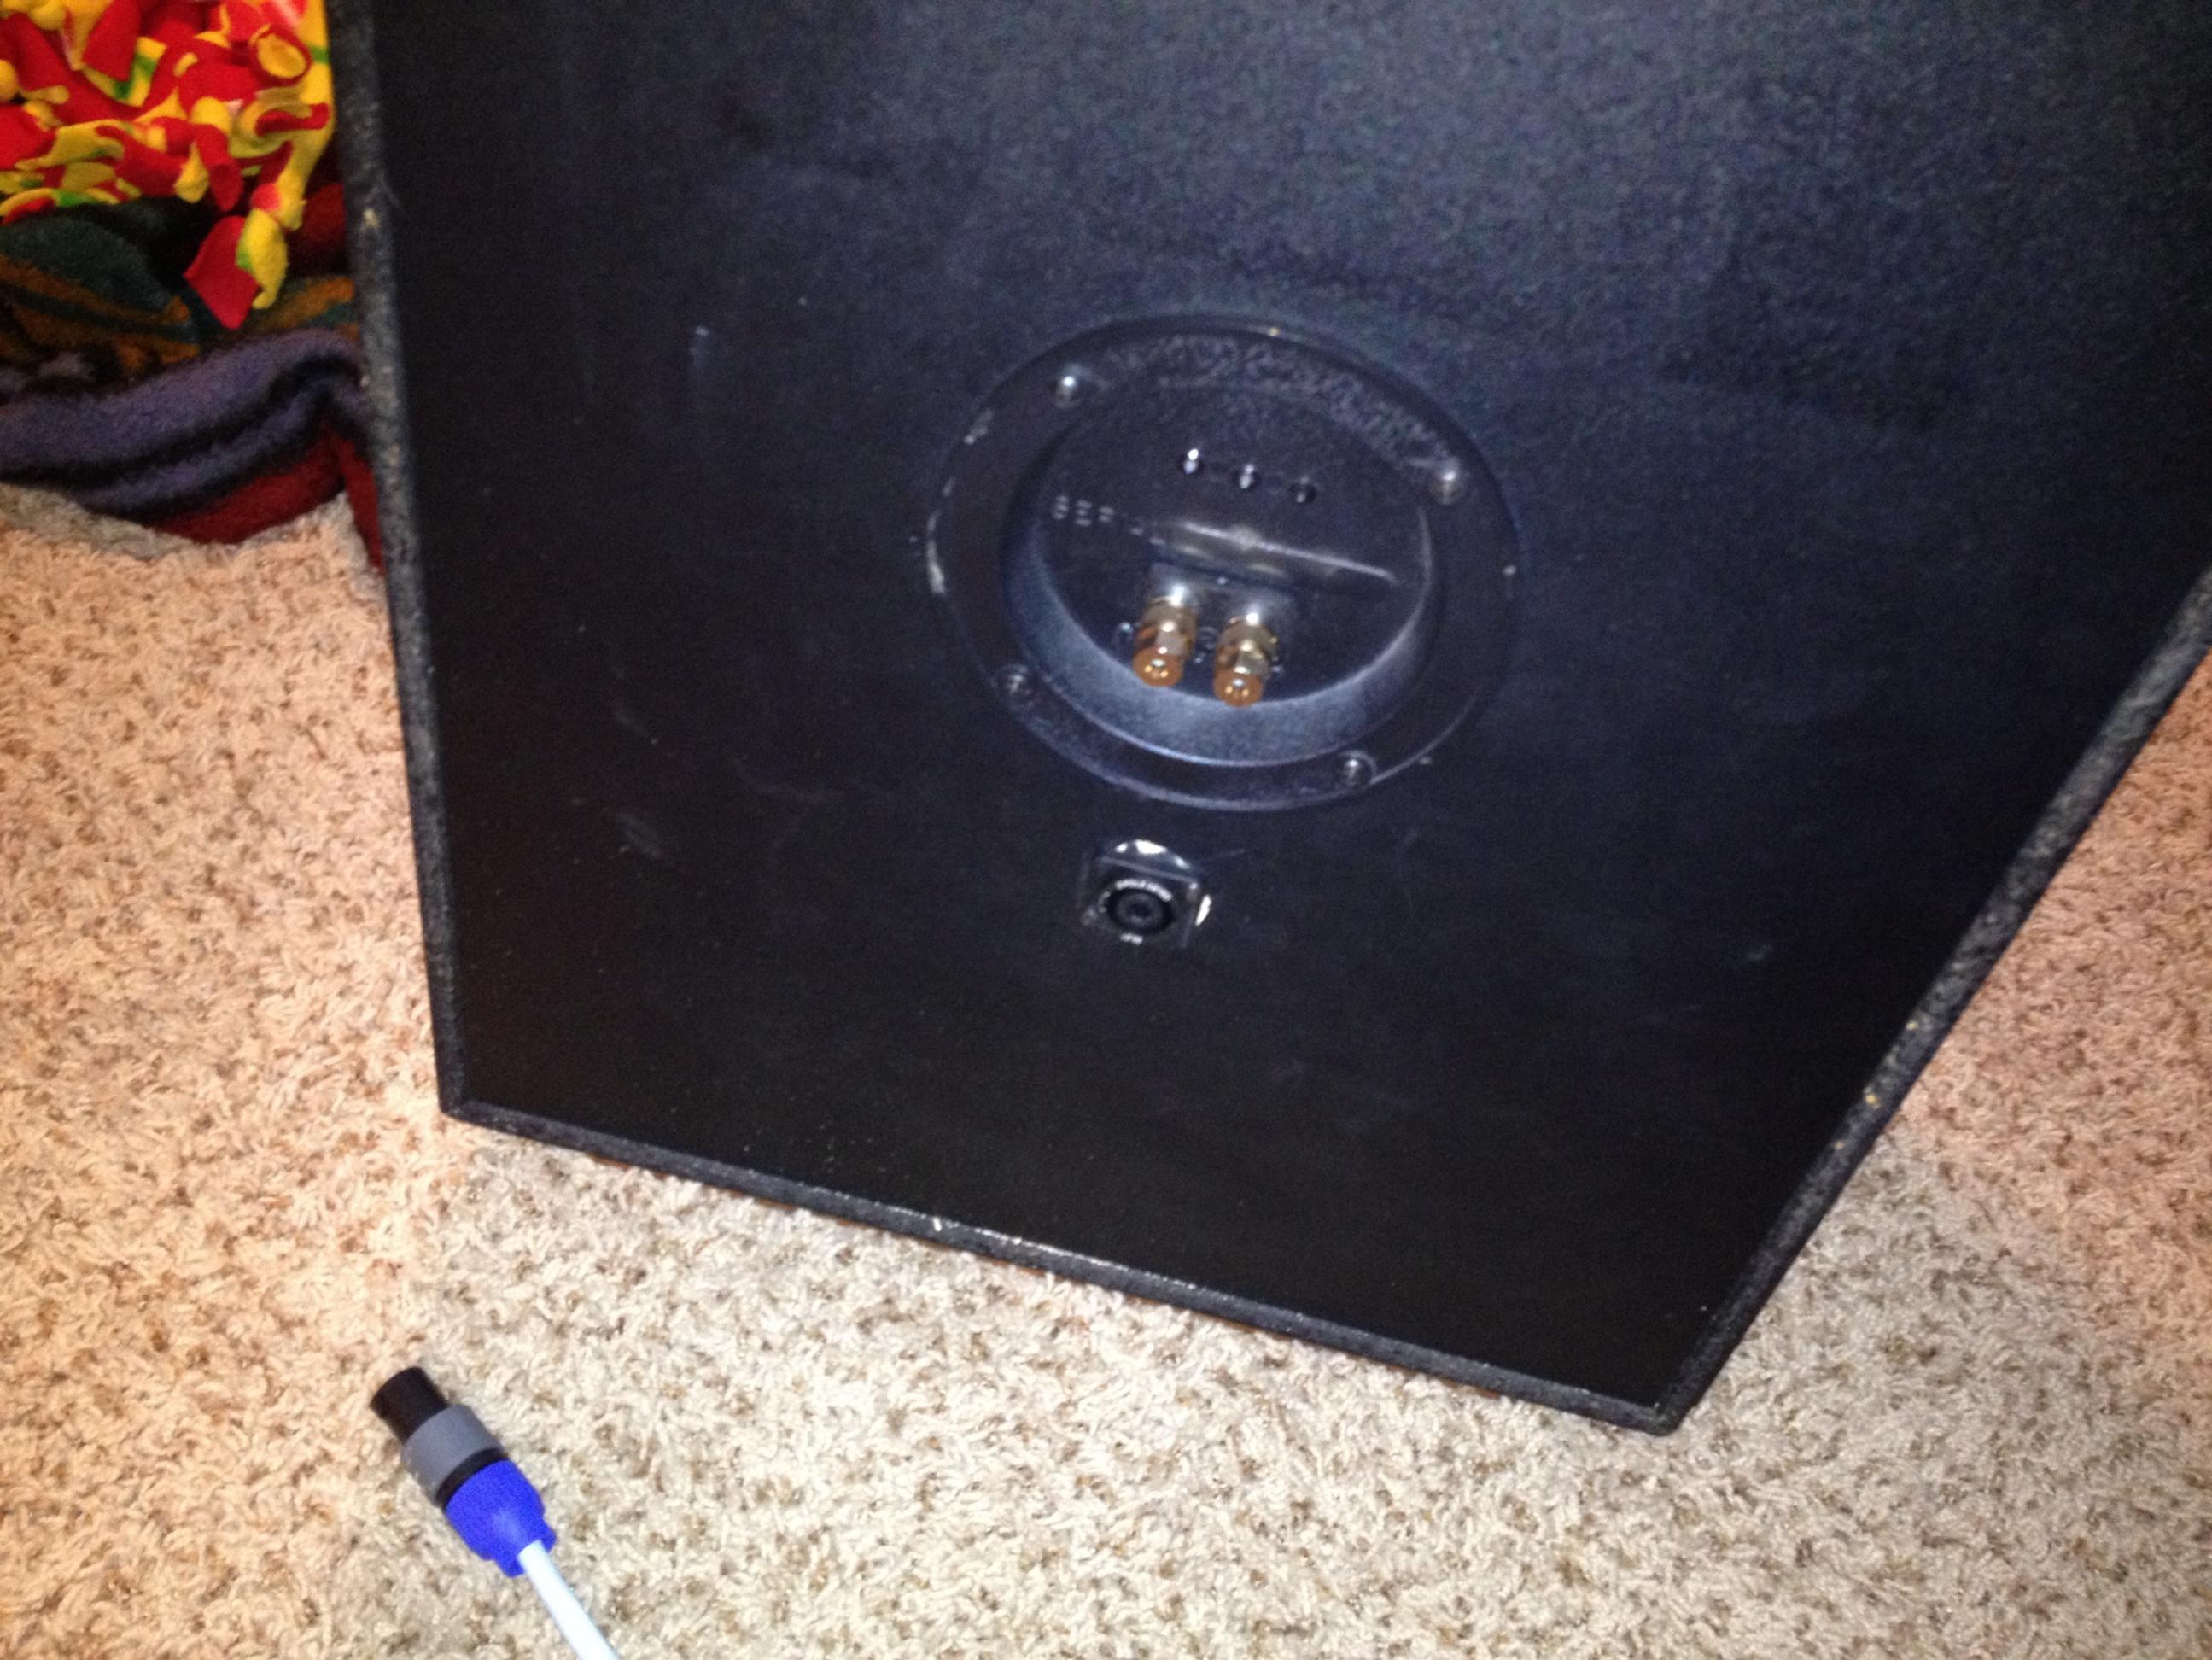
This is one of the hairier parts of the mod. Make sure you use a jig when you drill the holes for the new connectors. I drilled a pilot hole in a piece of scrap 2x4. On the first one, I had my knee on the jig, but it moved a little, which caused the bit to dance around a little and mar the black coating around the hole. As OCD as I am, this killed me! On the second one, I sat on the jig, and it didn't budge - a perfect hole!
-
-
-
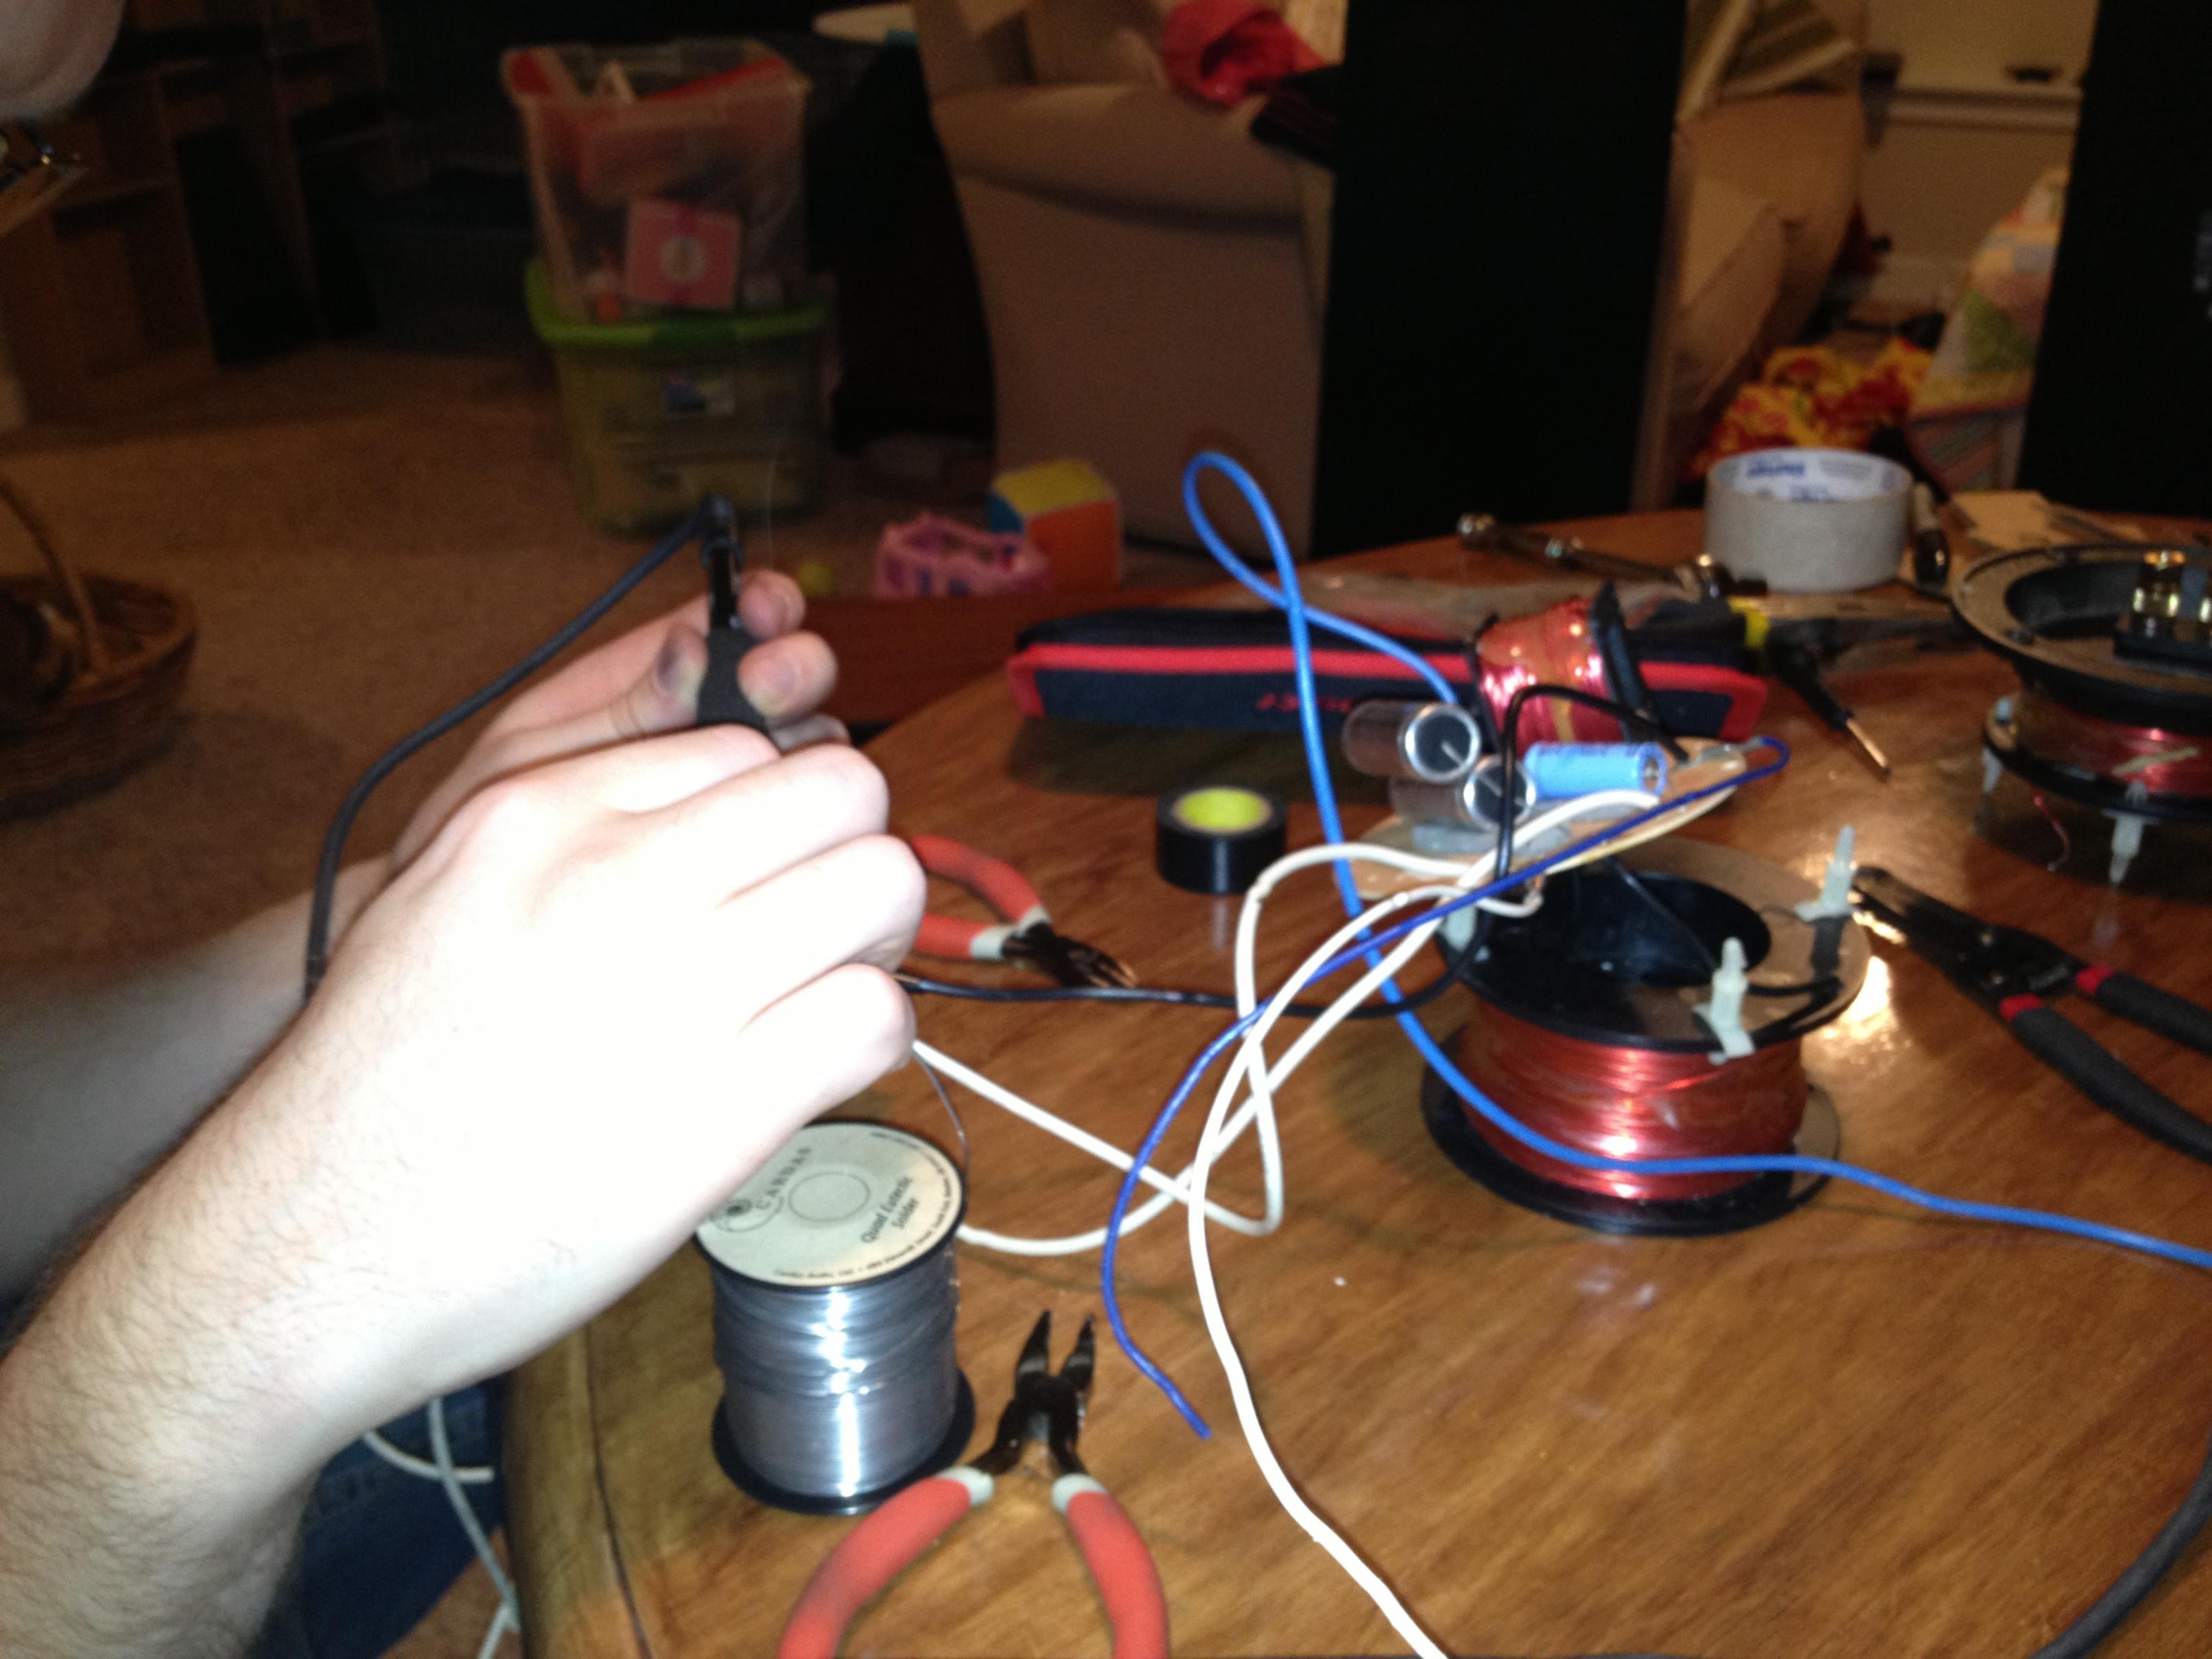
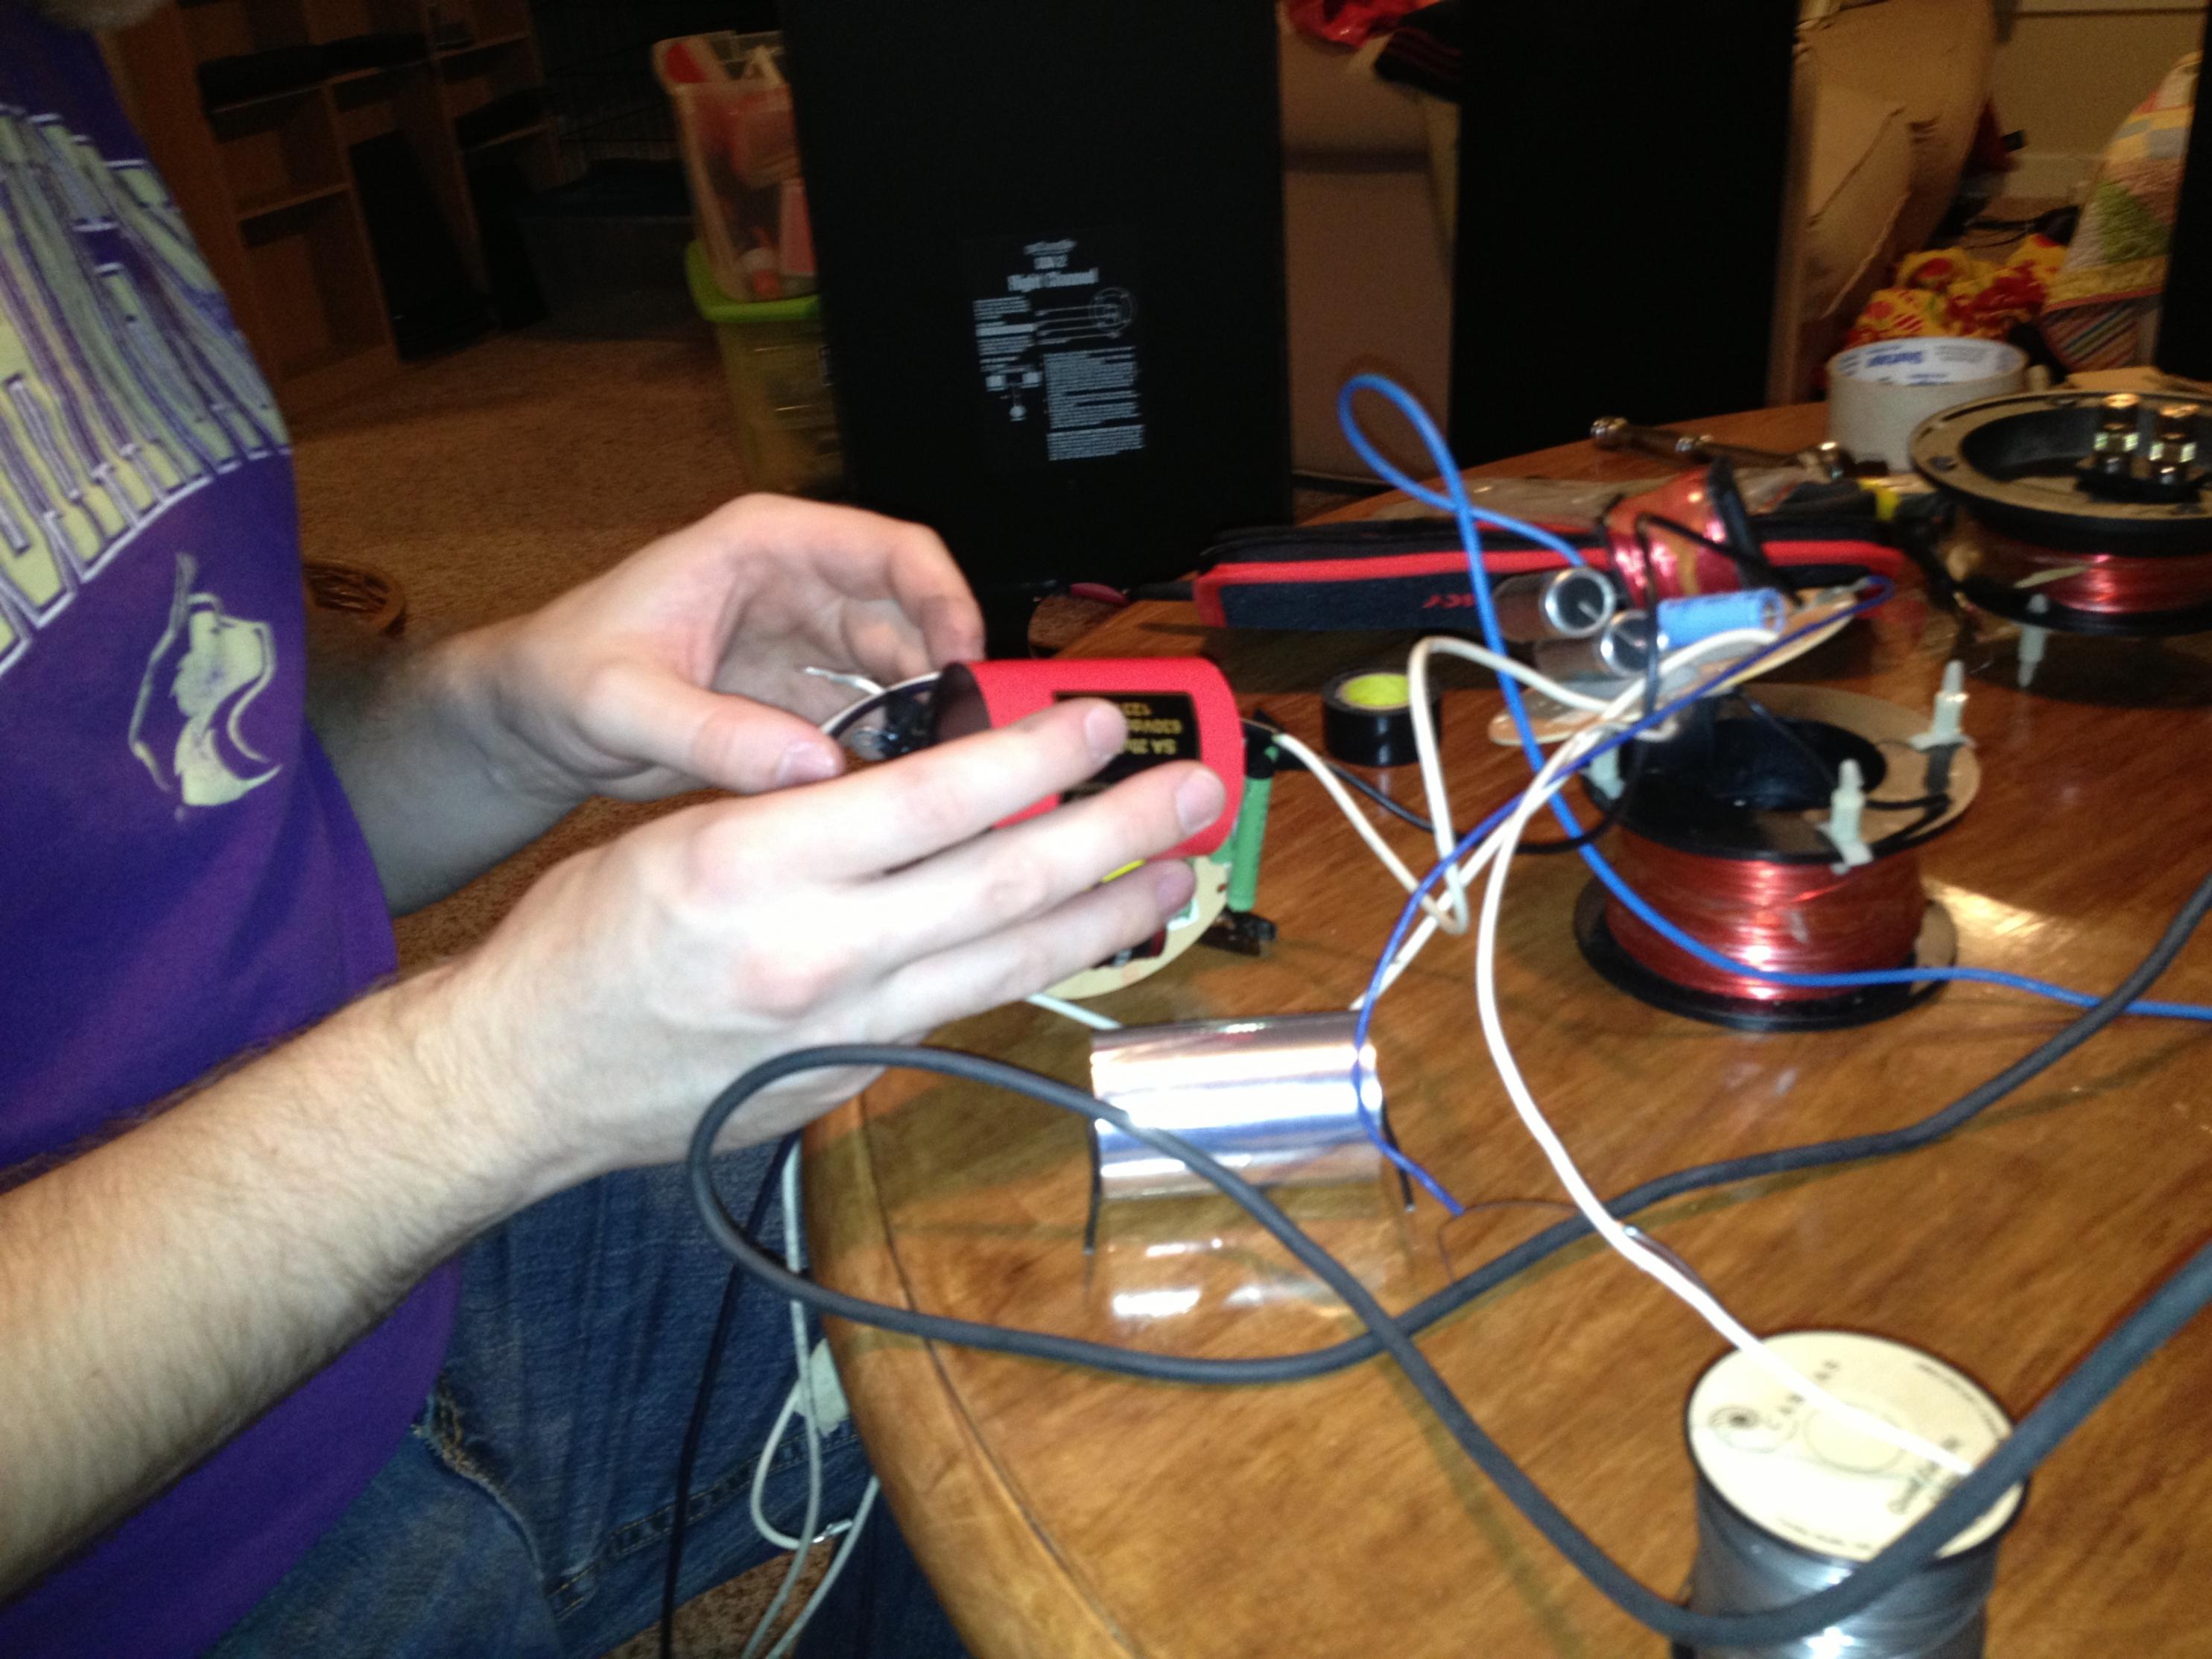
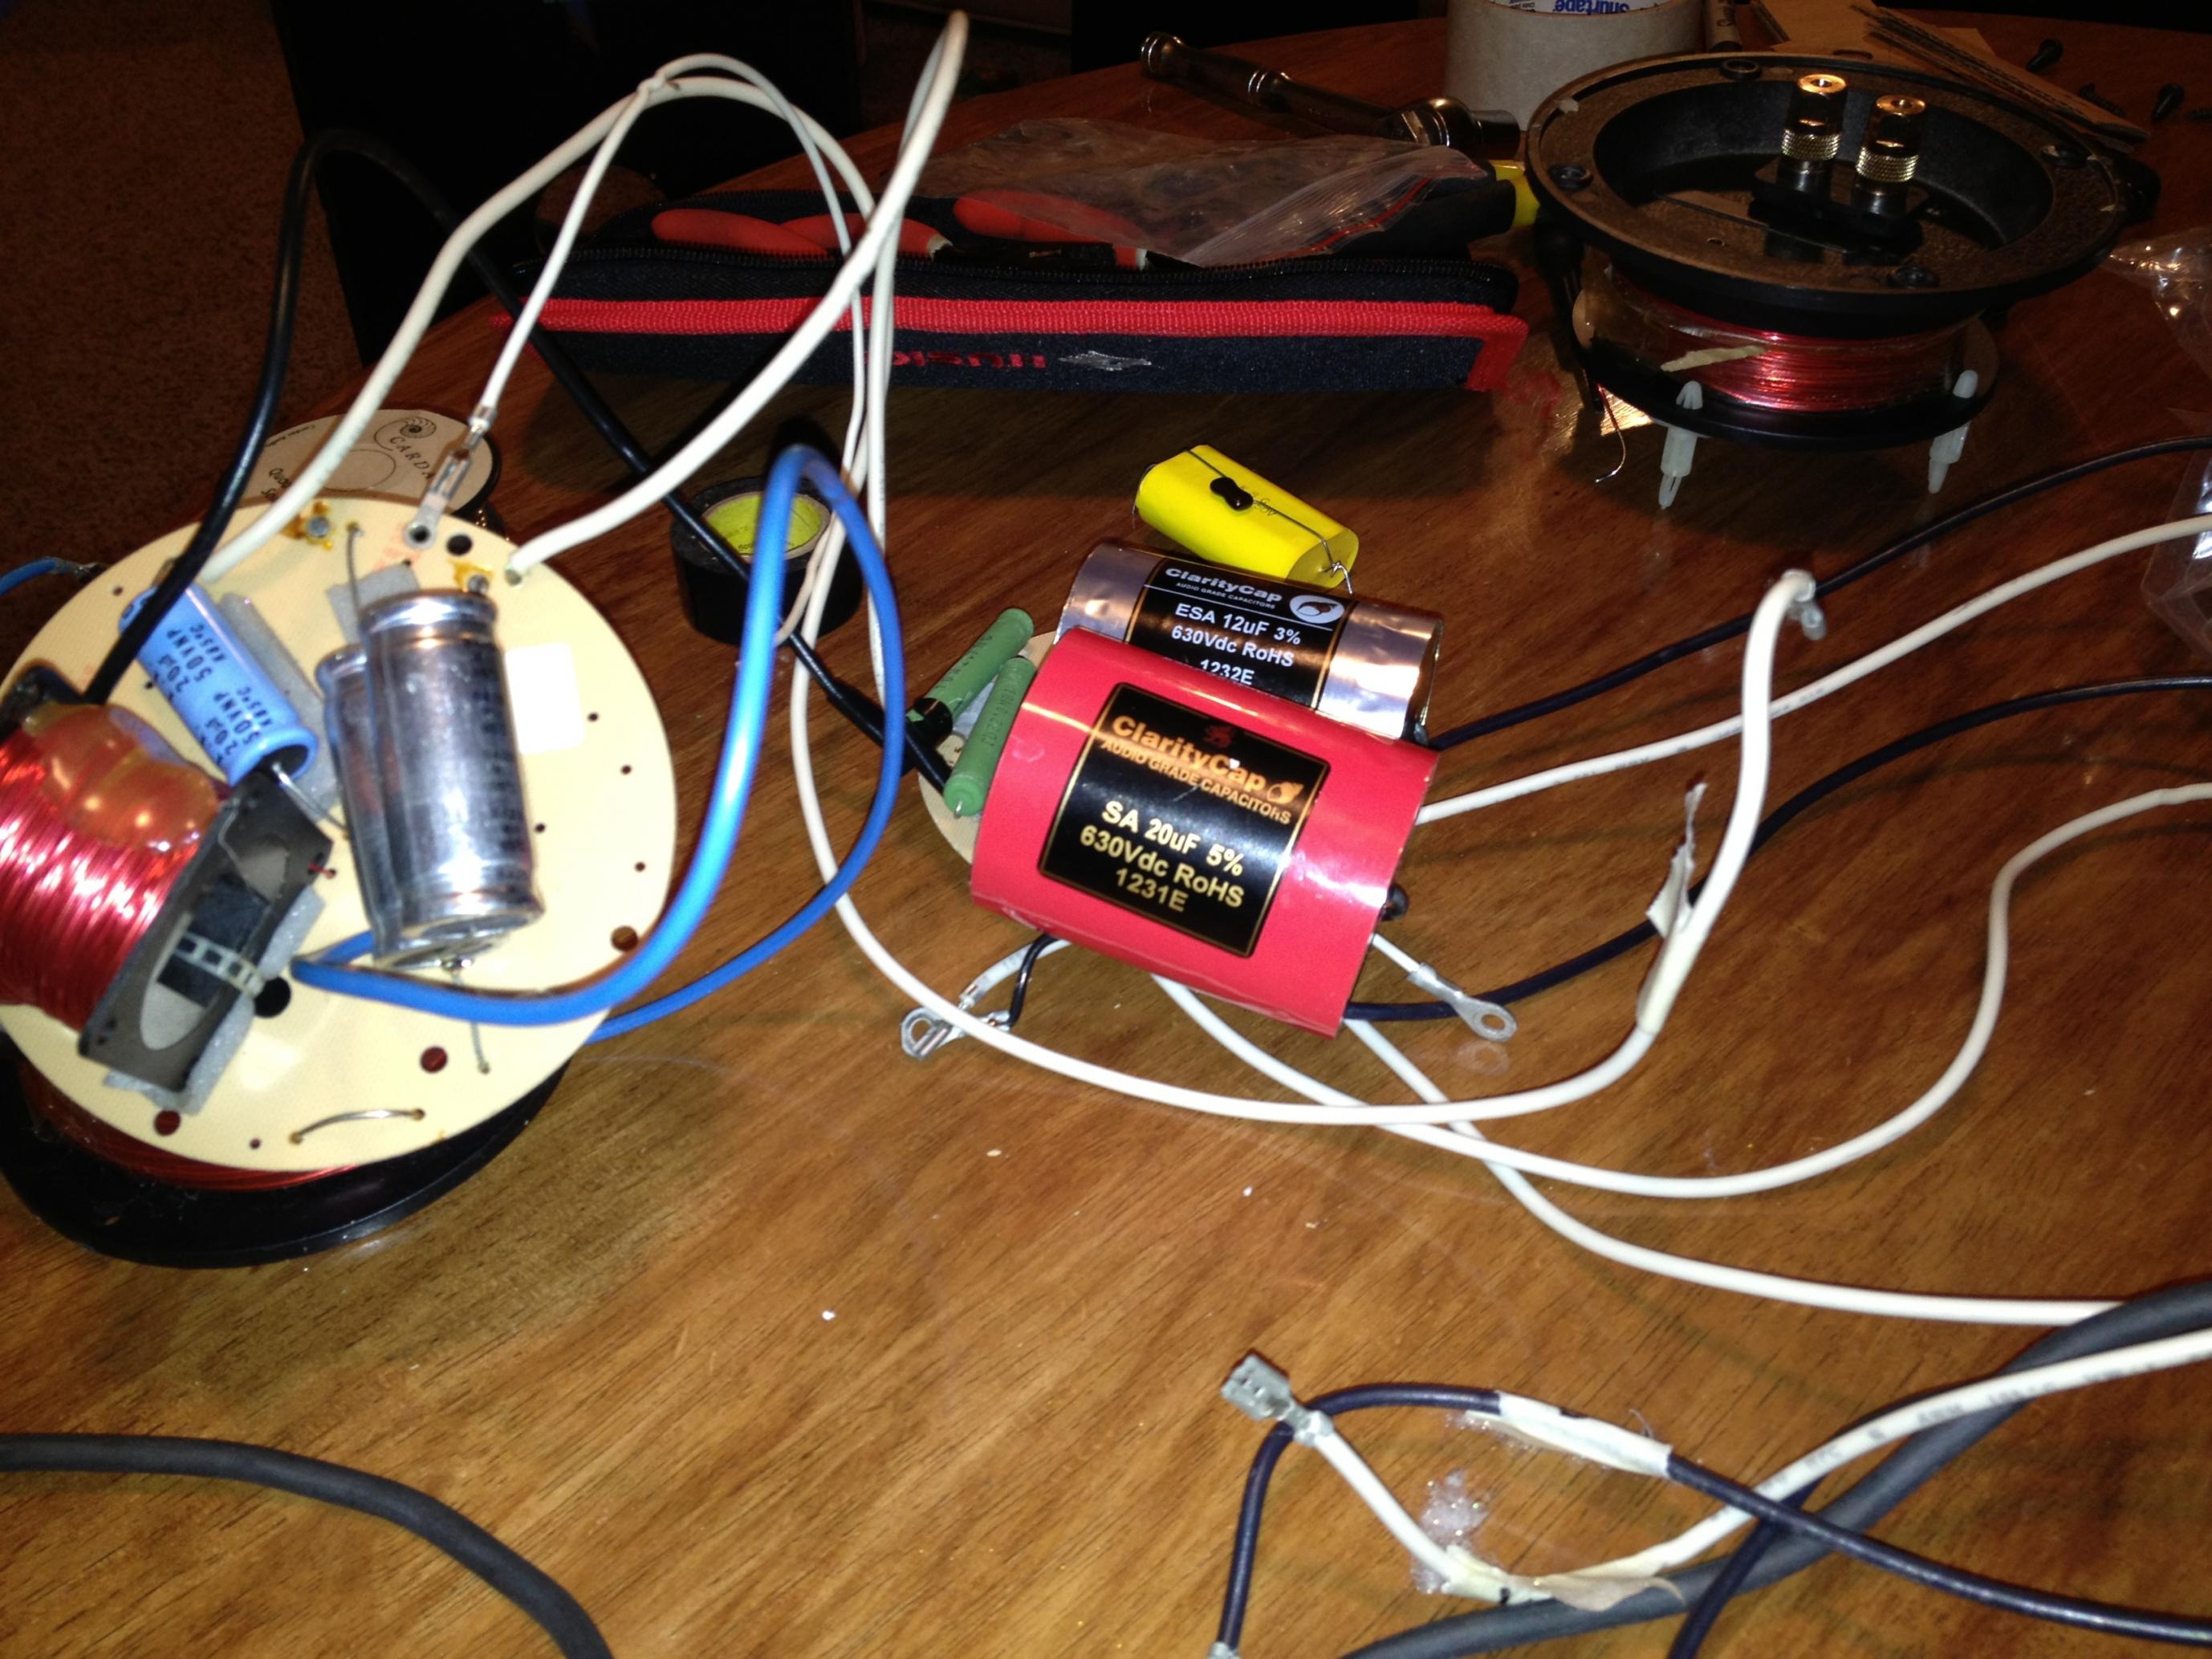
We decided not to use the "pure" Castle design. Jake assembled/soldered everything and tied it together with hot glue. Worked like a charm.
-
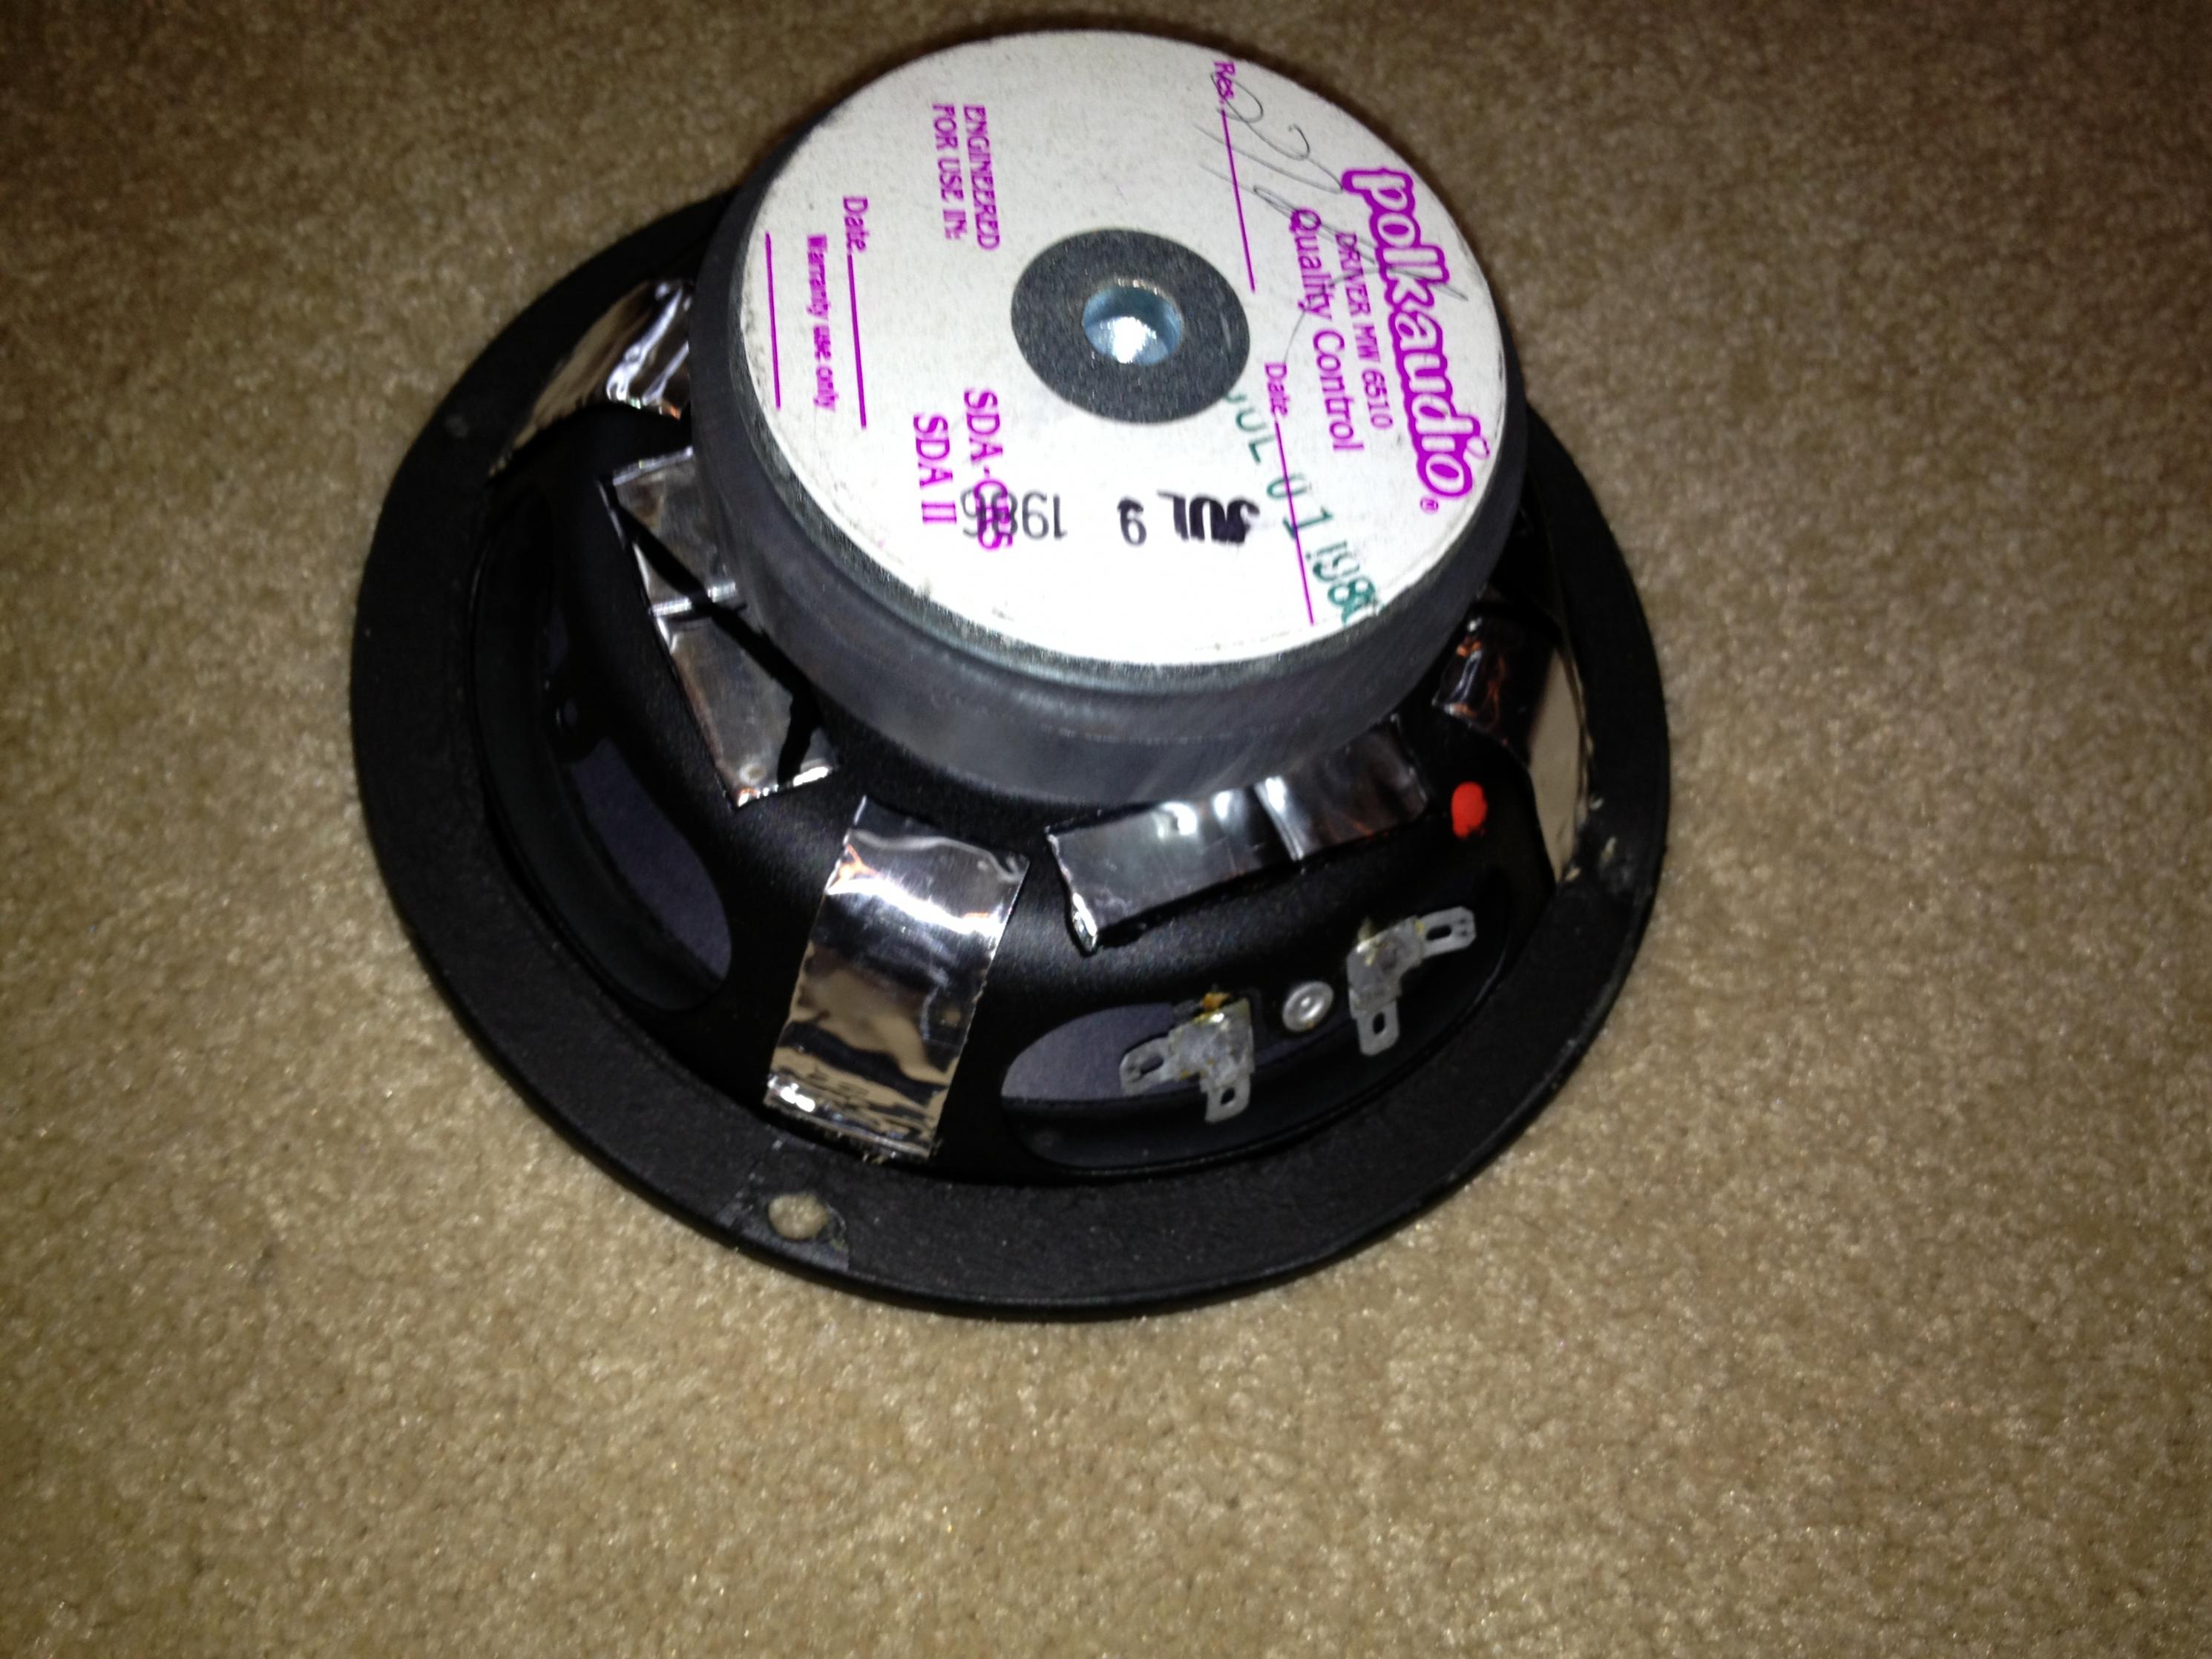
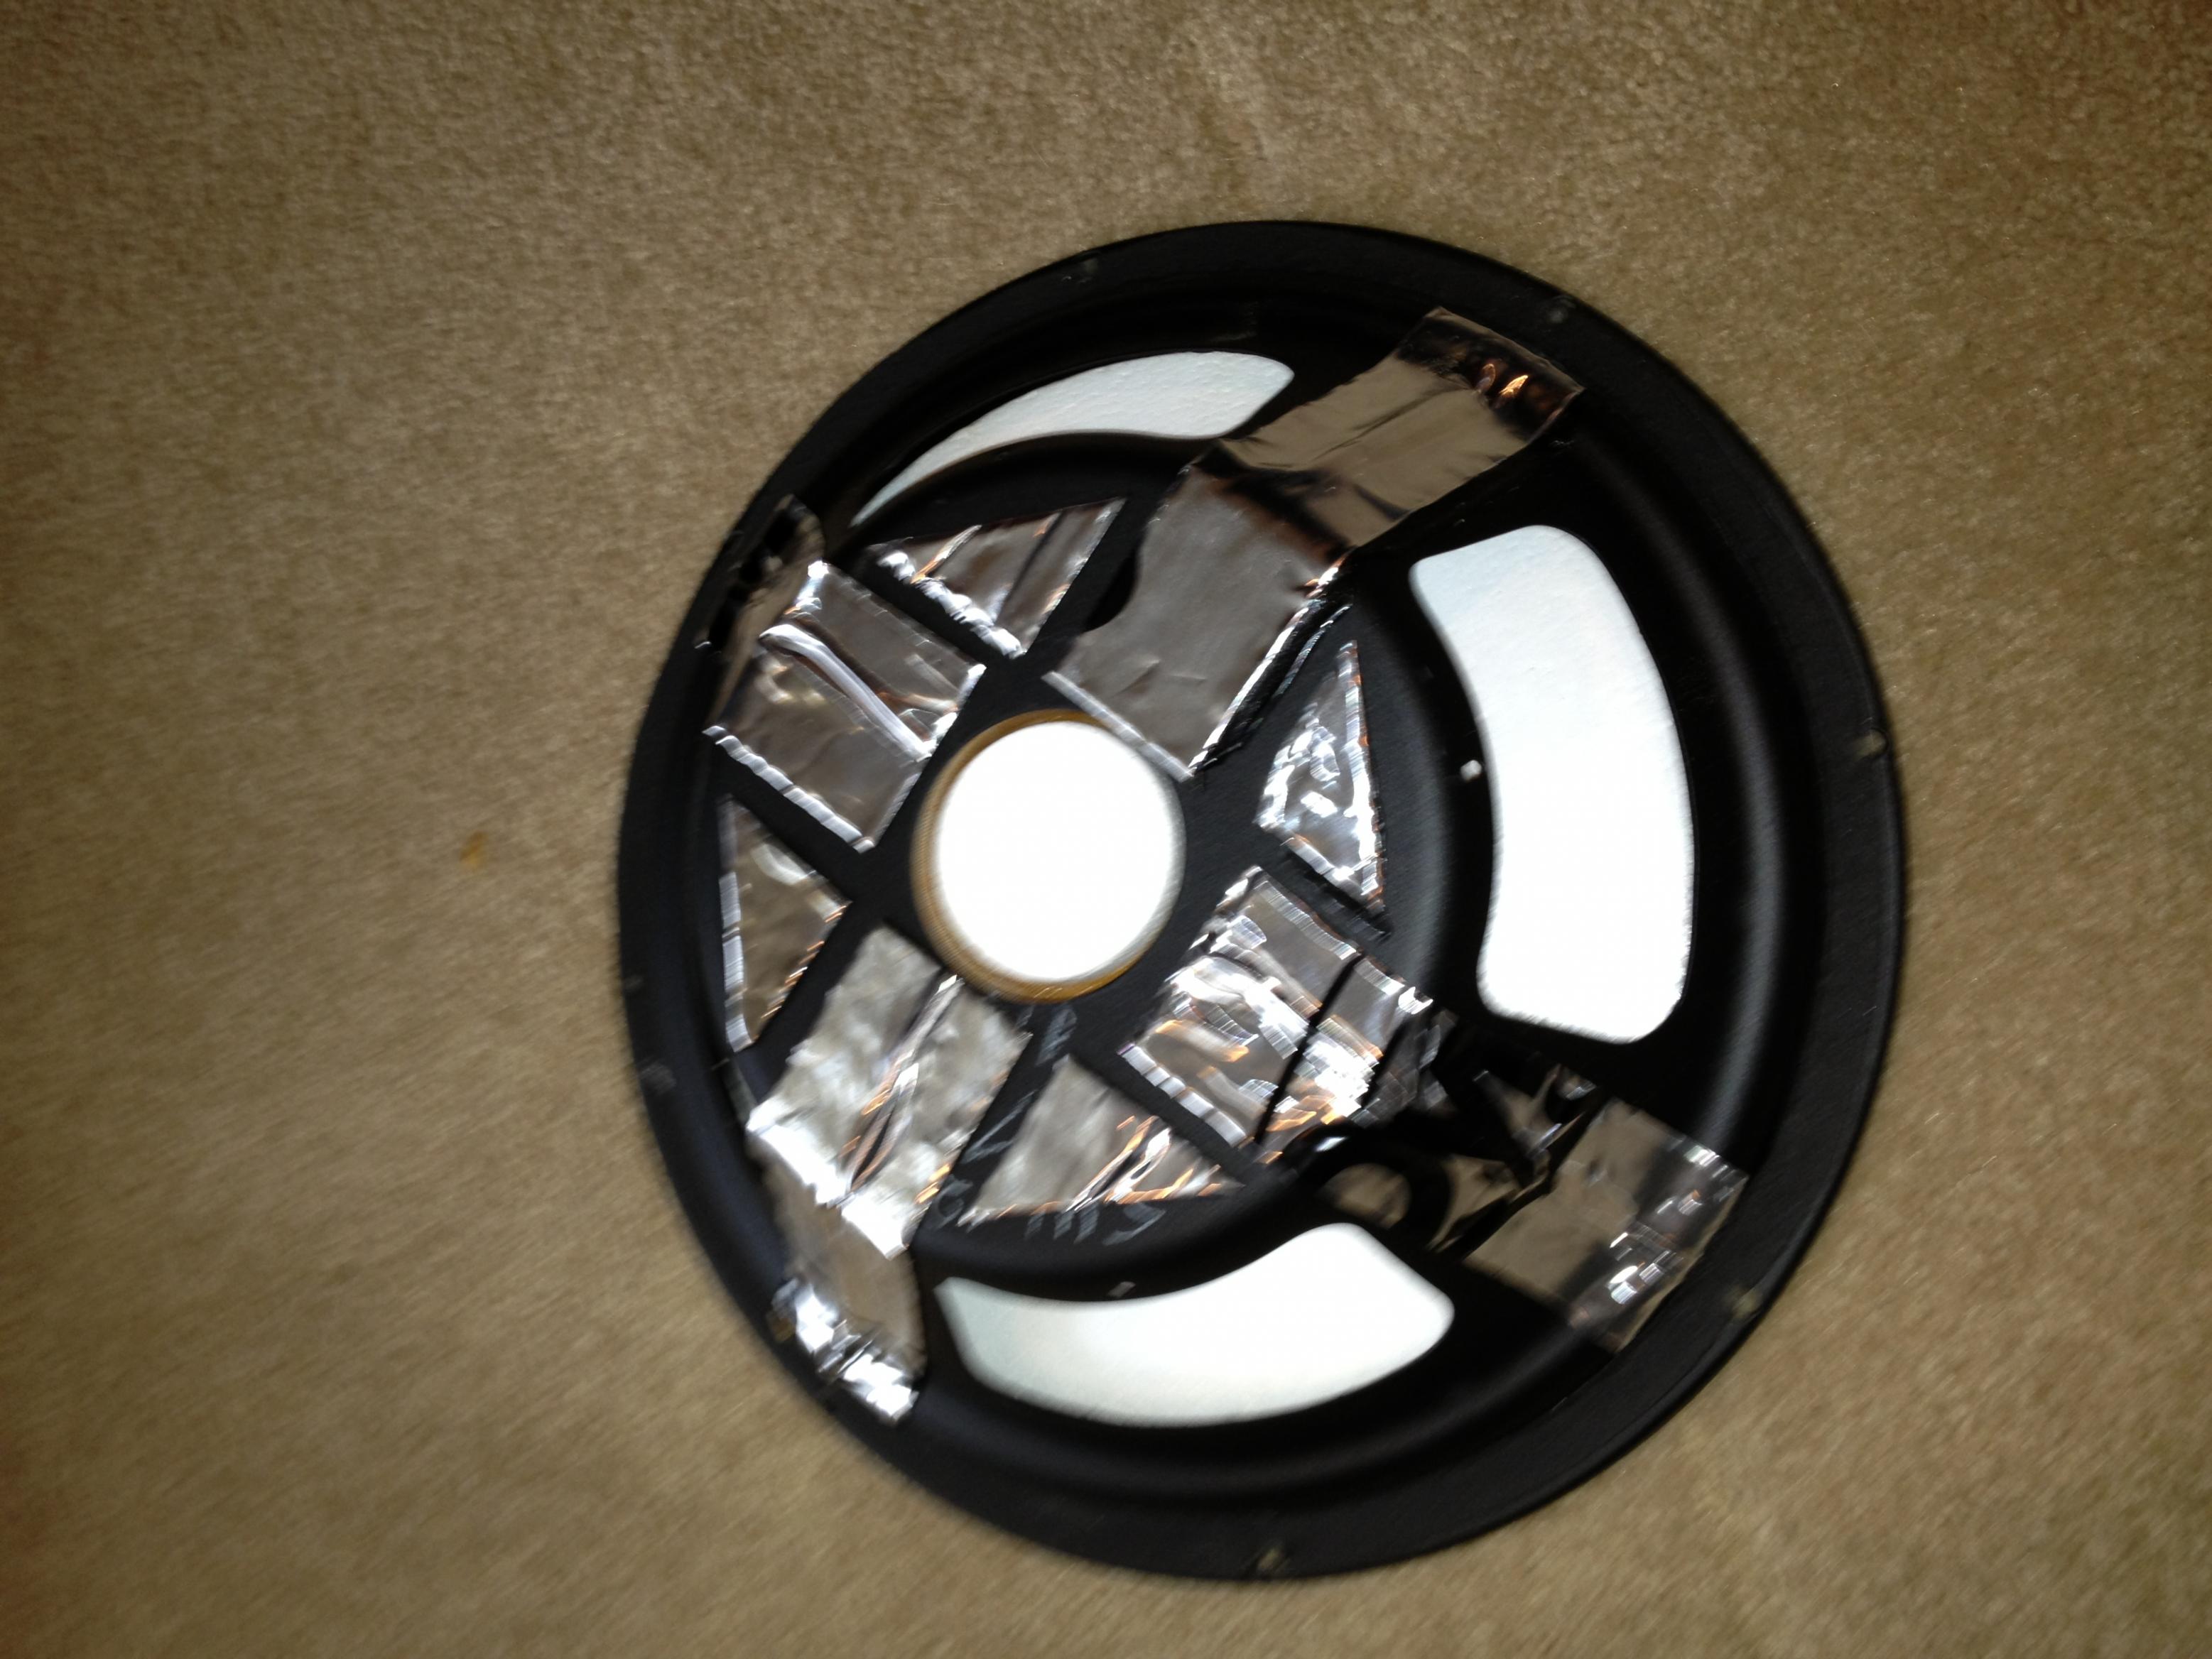
I read up quite a bit on Dynamat and wasn't sure what to expect. It works like a charm. Basic kitchen scissors cut it very well. Make sure you measure carefully to minimize waste. I wasn't planning on the "design" I ended up with, but I like it. I tried banging the frame of the PR with a wooden spoon before and after Dynamatting; the Dynamat makes a huge difference.
-
Looking good!! I remember my first and enjoyed every second of it..
-
-
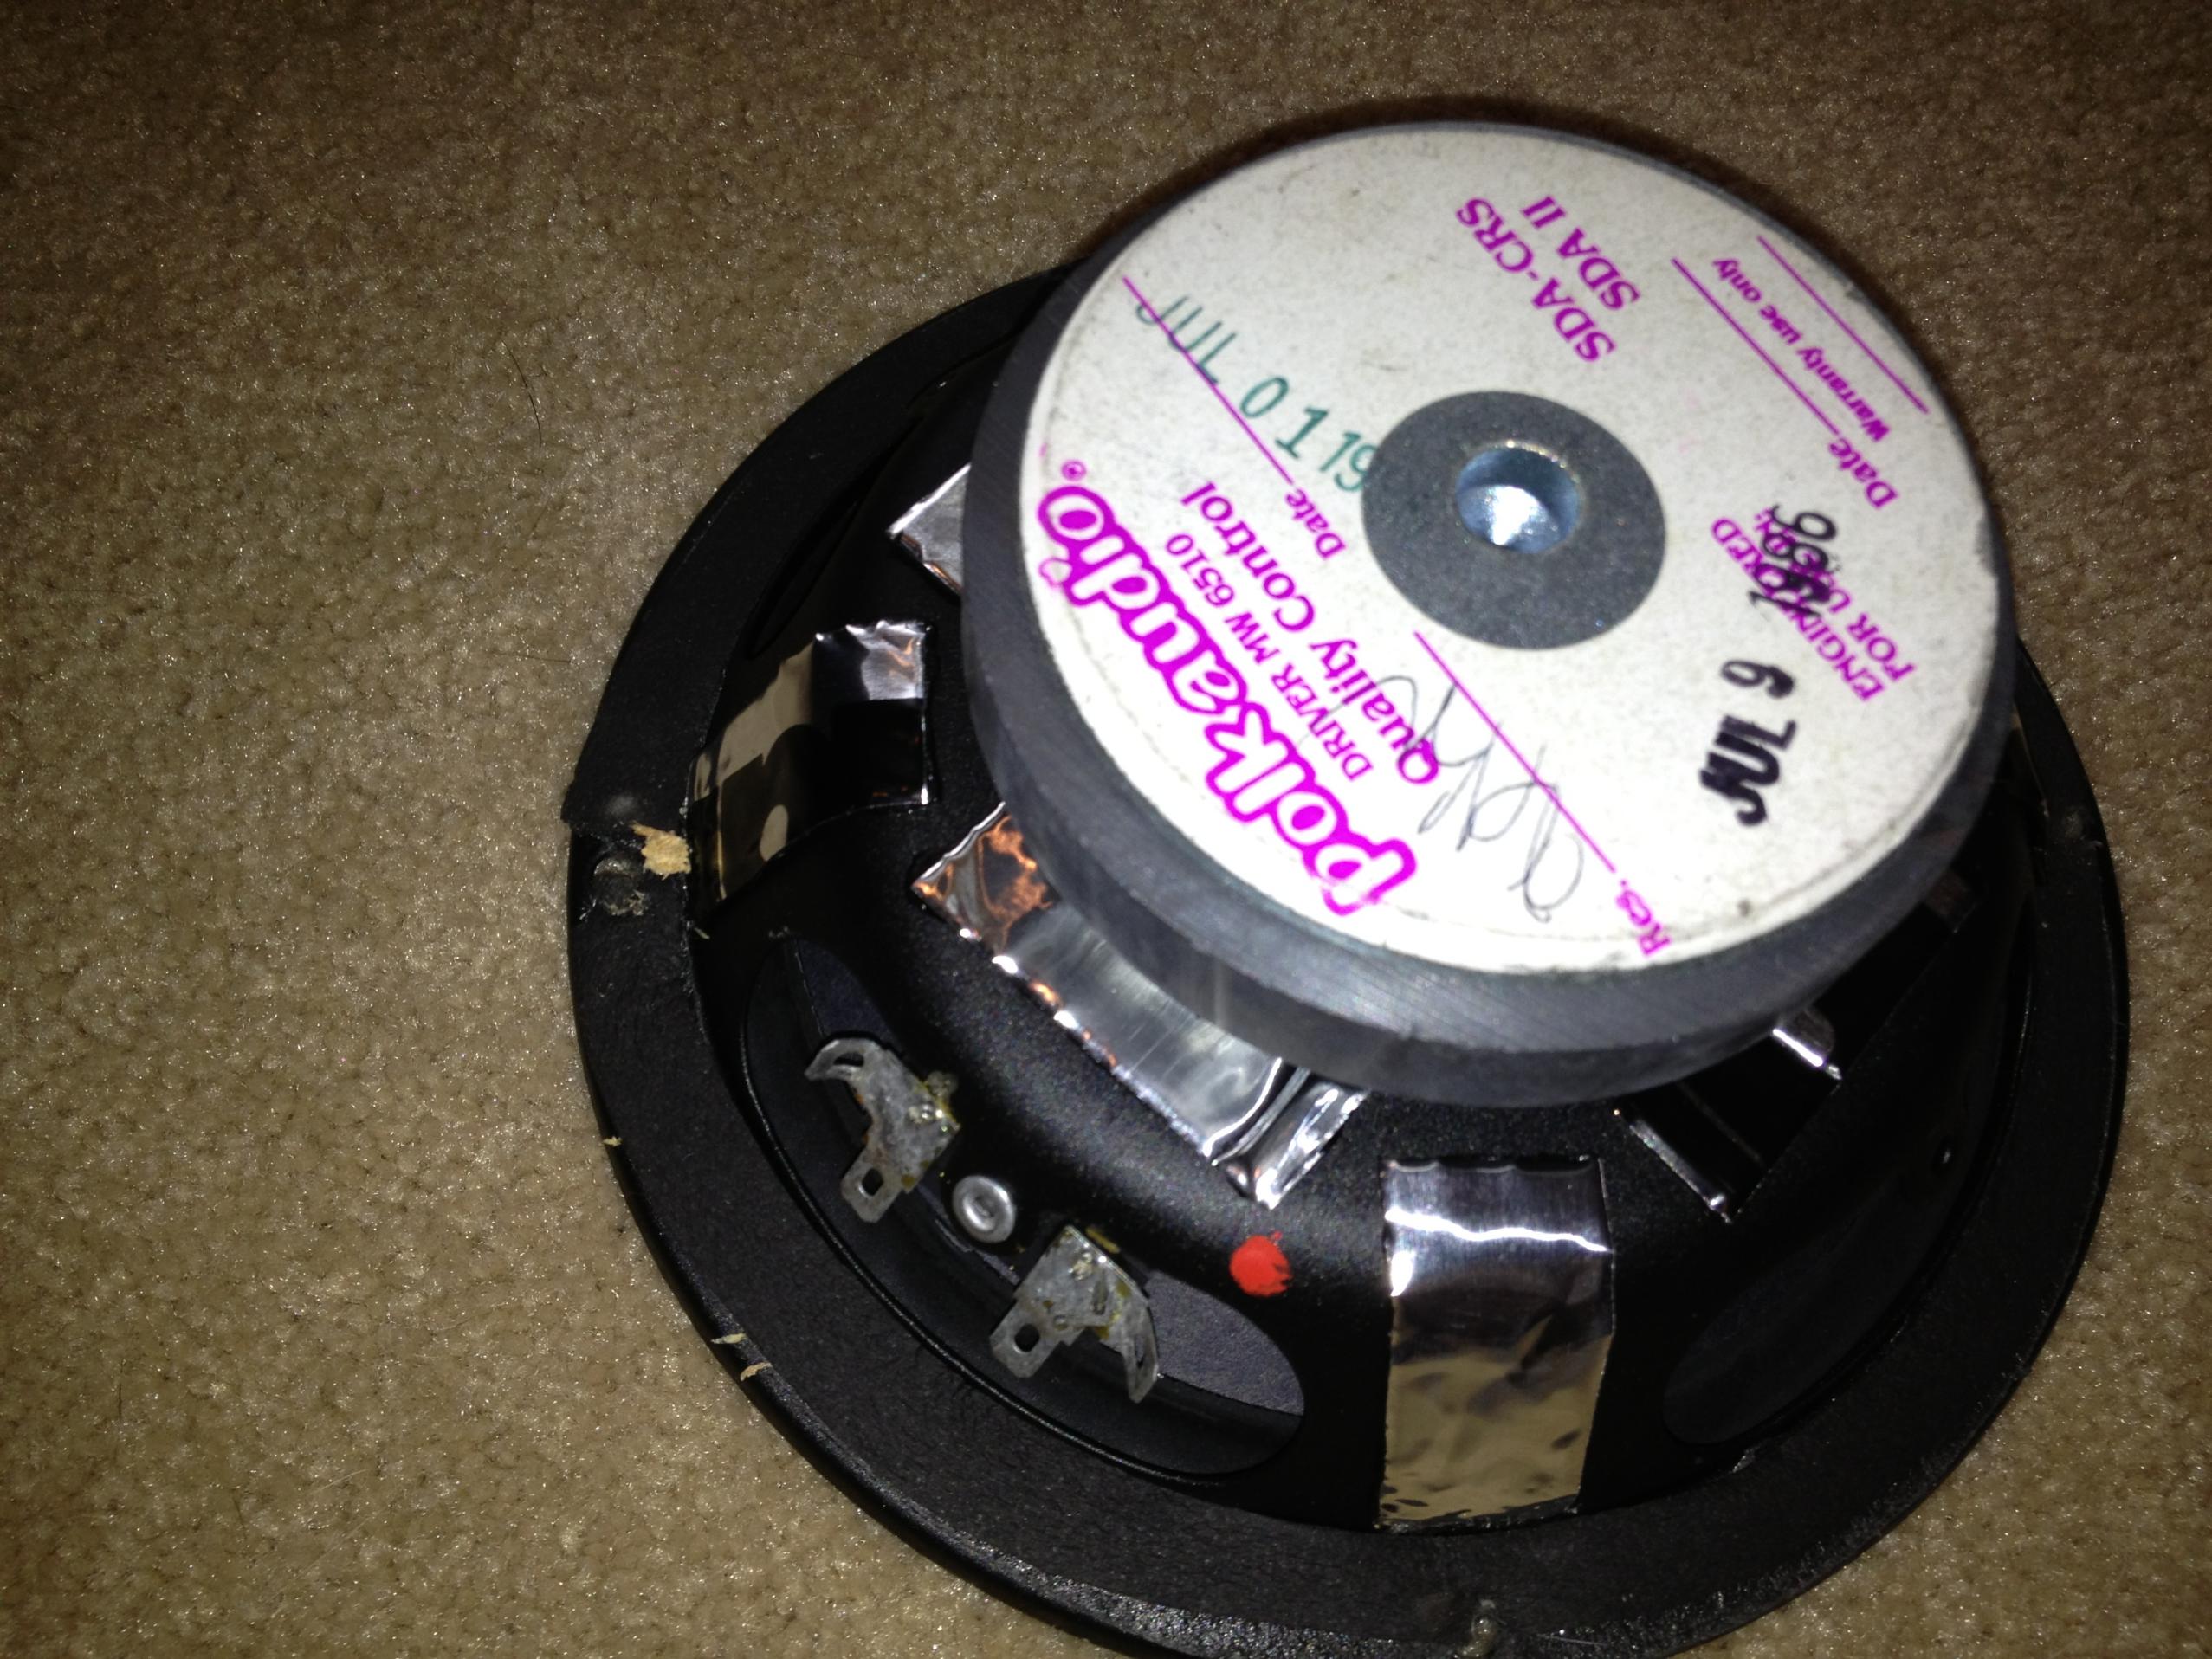
The Armacell was also easy with work with using only scissors. Good stuff.
-
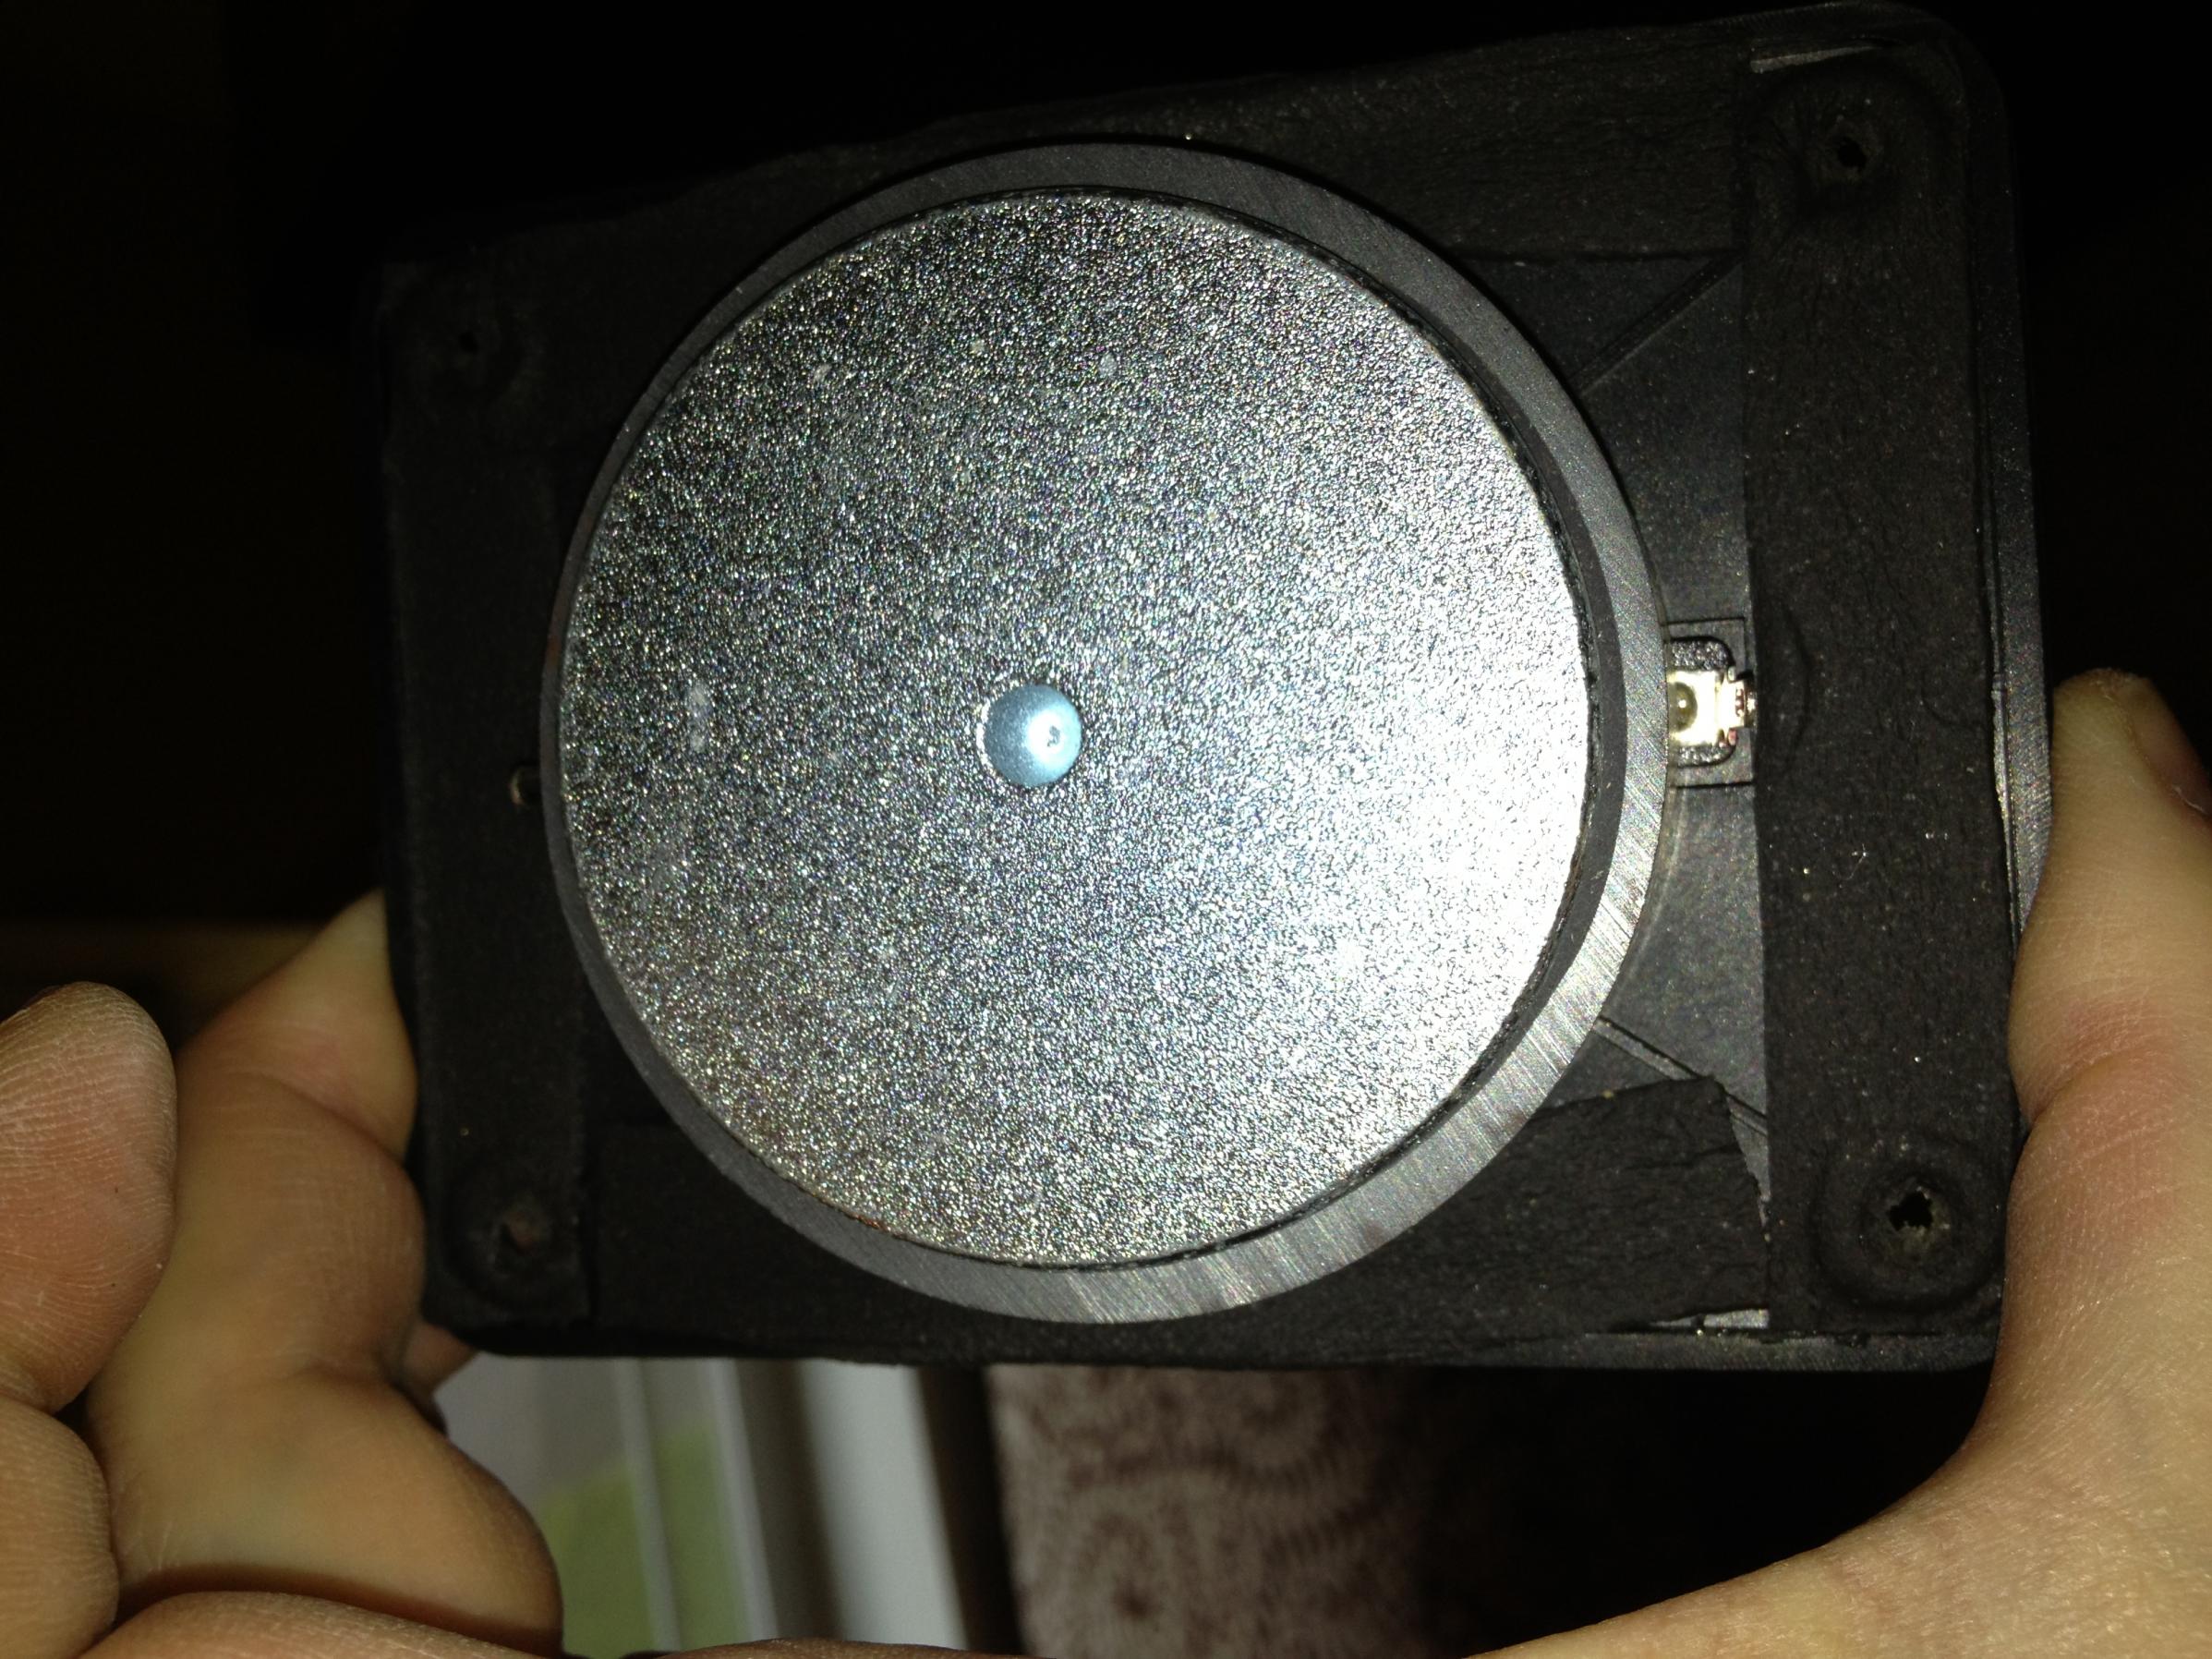
For the most part, 1/2" Armacell worked great. You'll need to cut it to that width. You can go a little narrower for the longer edges of the tweeters. (I used 1/2" all around, but you would get a better fit following my tip above.)
-
-
-
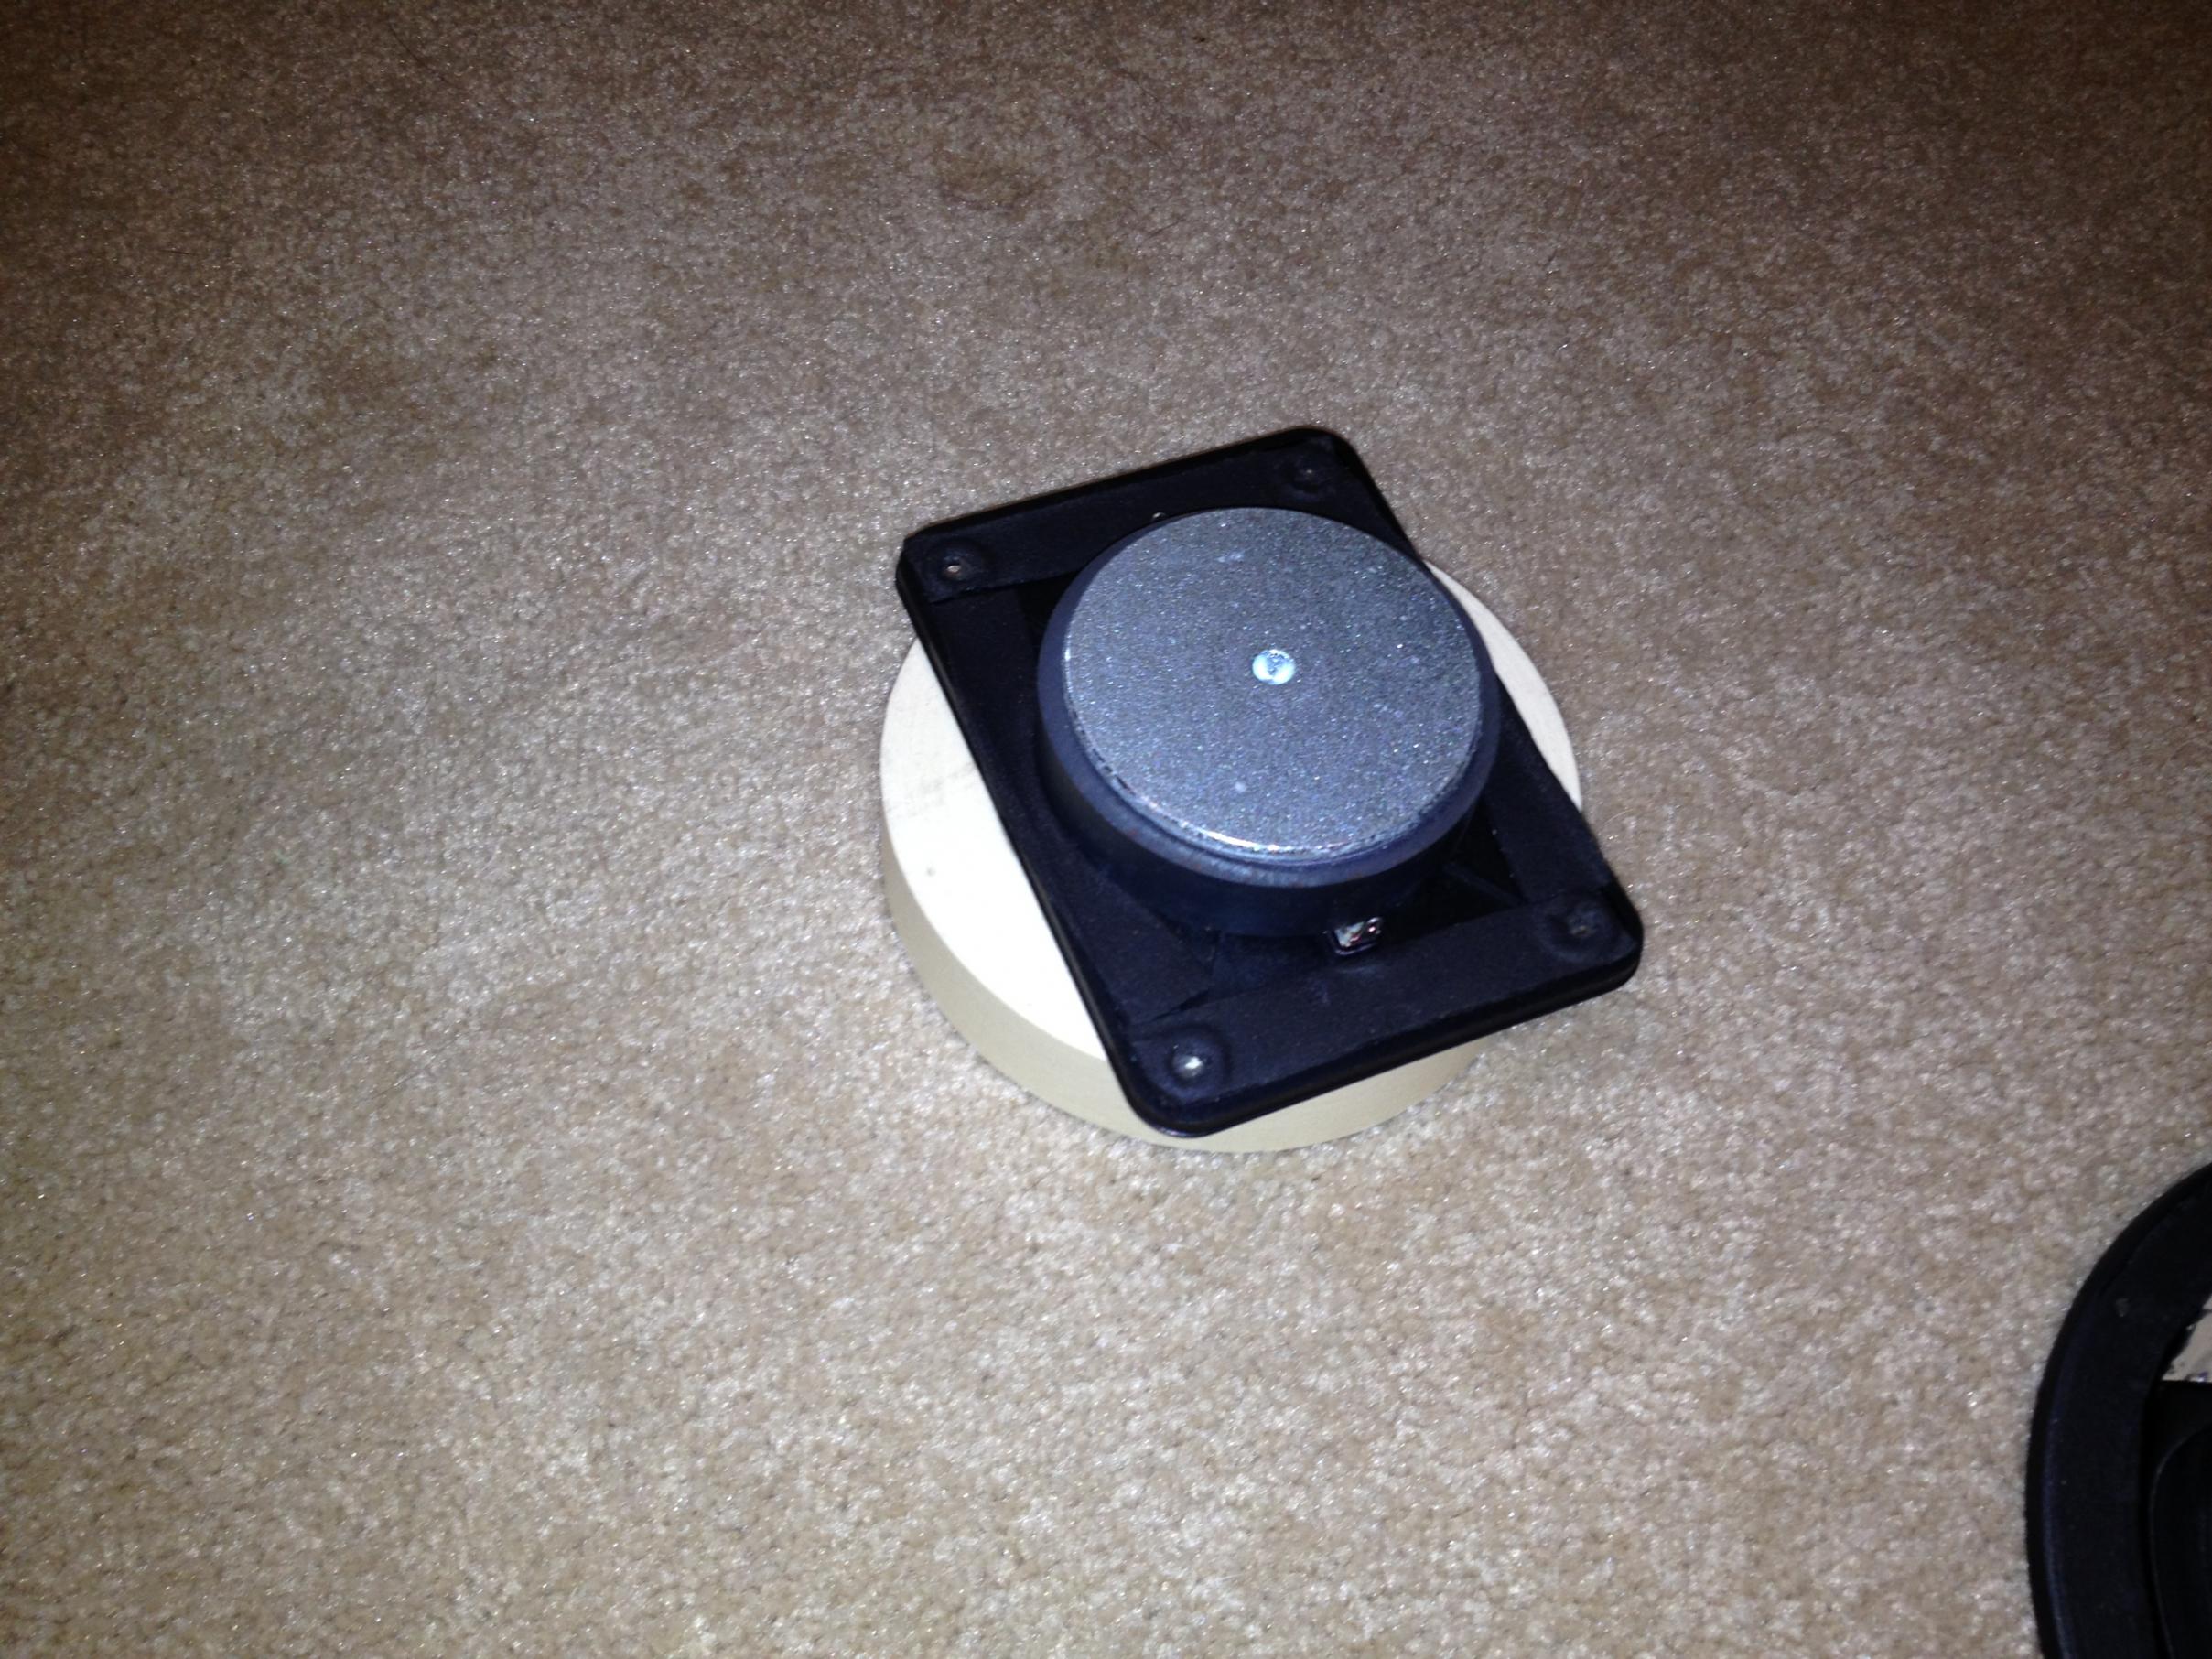
Another Polkie suggested this idea, and it works like a charm. When the tweeters are removed and you are working on their backs, place them on a roll of duct tape or masking tape. Safety first!
-
Hurricane nuts are available from Parts Express (50 for less than $10, I think). This is another product that has had mixed reviews on the various Fora. For me, they worked GREAT! I am not a skilled craftsman by a long stretch, but I got these installed with nary a hitch. If you take your time and be careful, you should have the same experience.
In the photo is a jig I rigged up to make sure the holes I drilled were square (perfectly perpendicular to the face of the speaker). I clamped the jig on with a large clip. I admit, after I completed the first tweeter and got my confidence up, I tossed the jig aside and drilled freehand. It's not hard. I guess I wanted to test Jake's theory that "everyone has a right to screw up their own speakers"! -
It's not essential, but I used masking tape to hold the connectors in place...just wanted to be sure I didn't mix anything up.
-
-
I used the screws (with 3mm washers) to draw the Hurricane nuts into their holes. Some folks apparently use a clamp to push them through. My way worked great, but may be more time consuming than the alternative. I used 8-32 x 1 socket cap screws for the MWs and PRs, and 8-32 x 1 screws with 82 degree heads for the tweeters. I also used 3mm washers for the MWs and PRs. I don't suppose the washers are essential, but I like 'em.
BTW, I got the screws and washers at a local company called Tacoma Screw. They were about 1/10 the price of Lowe's or Home Depot. Shop around.