My SDA CRS+ Upgrade Thread
Options

Toolfan66
Posts: 18,292
I have stated in a few threads that I have been working on my CRS's. I have taken many photos and I was going to wait till I was done to even start this thread but since I have so much to post I figured I would get started.
These are/were 1986 CRS's that I picked up from Harry some time ago last year,I picked up a set of 2B/CRS+ pin/blade Crossovers off eBay for $25 with wire harnesses as well (not a bad buy) as I wanted to do the 4.1tl upgrade.I have the SW120 PR's that I got off eBay as well,and I have the MW6511's in my goodie closet.
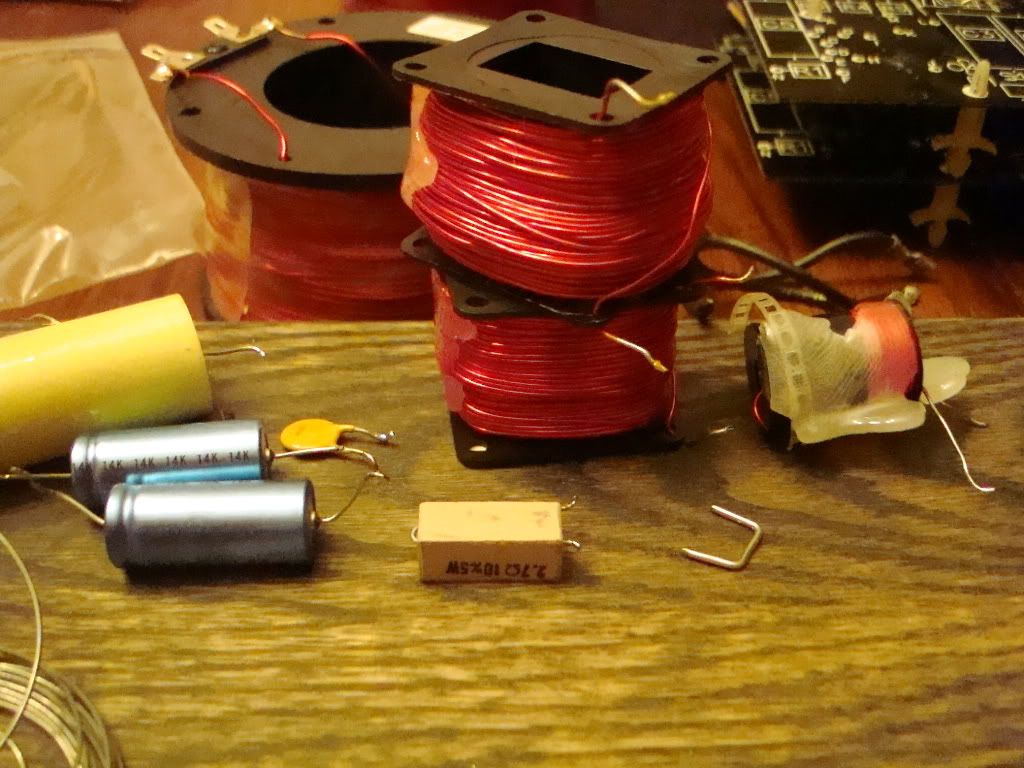
I am using Sonic Caps, Dueland Resistor 2.7, Cardas Binding Posts, Tonys boards, My Rings for the Passive, Drivers, Tweeters, and the Binding Post Cups. I am putting in a little Sonic Barrier on the side walls as well as Mortite and Dynamat. I will be JB Welding the magnets while they are out,and of course the RDO-198's.
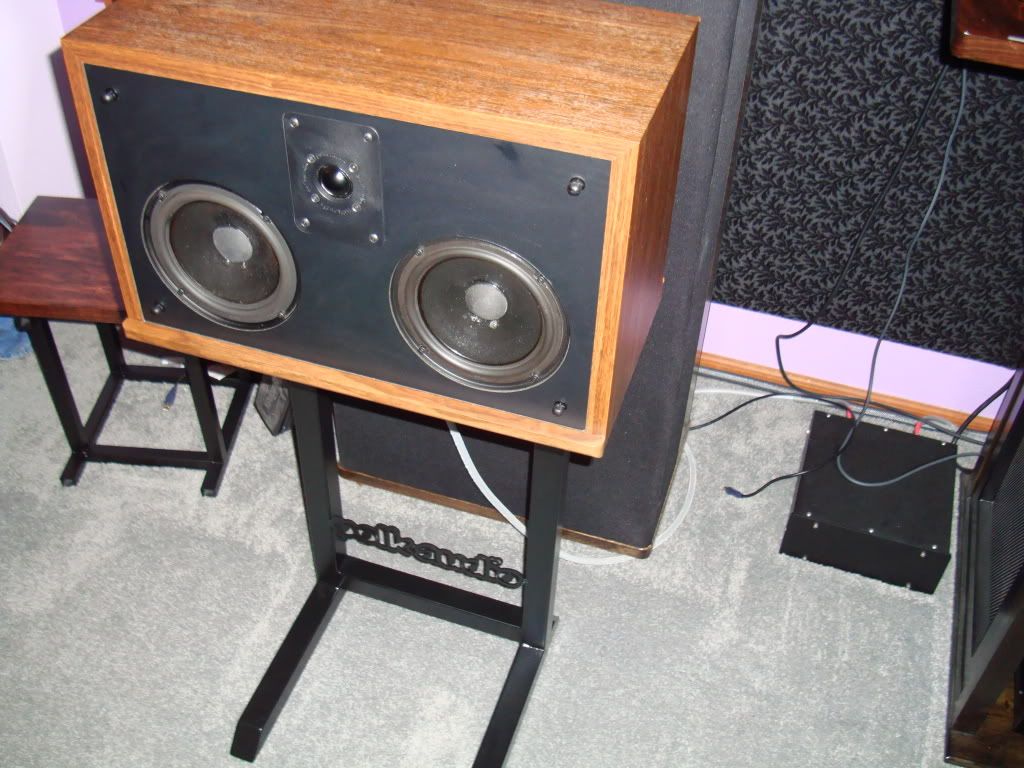
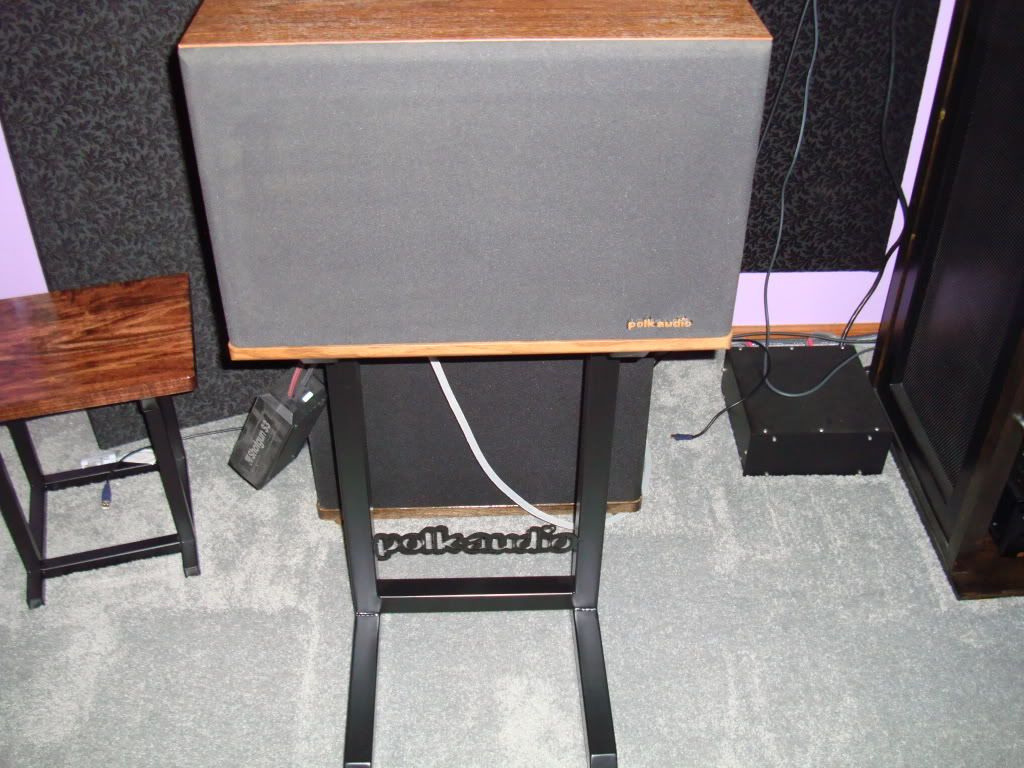
There is a thread on my custom stands for these little BadBoys,I will post pics of them as well in this thread just to keep it all together.
Well hope you enjoy the transformation.:cool:
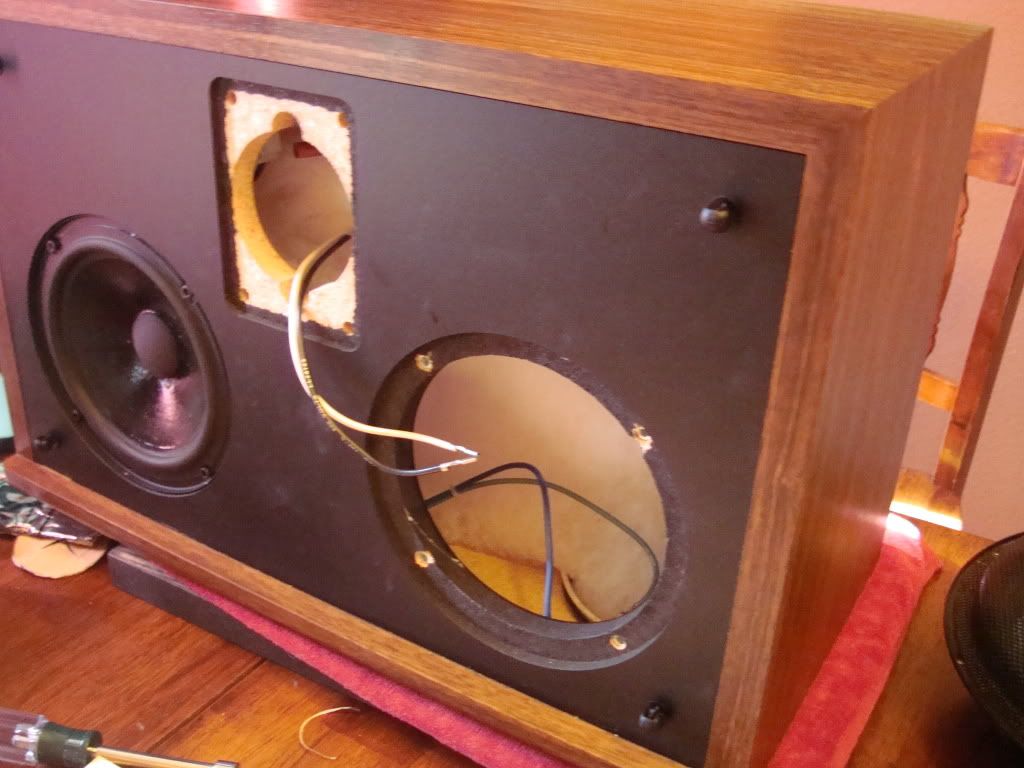
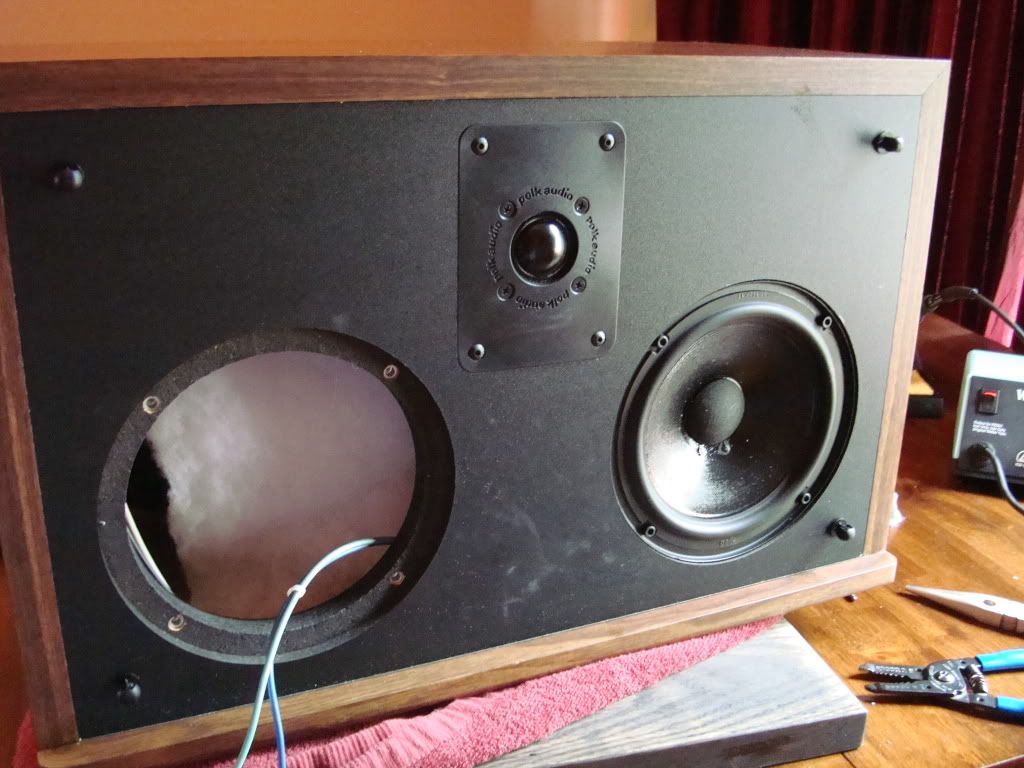
Putting in the rings.
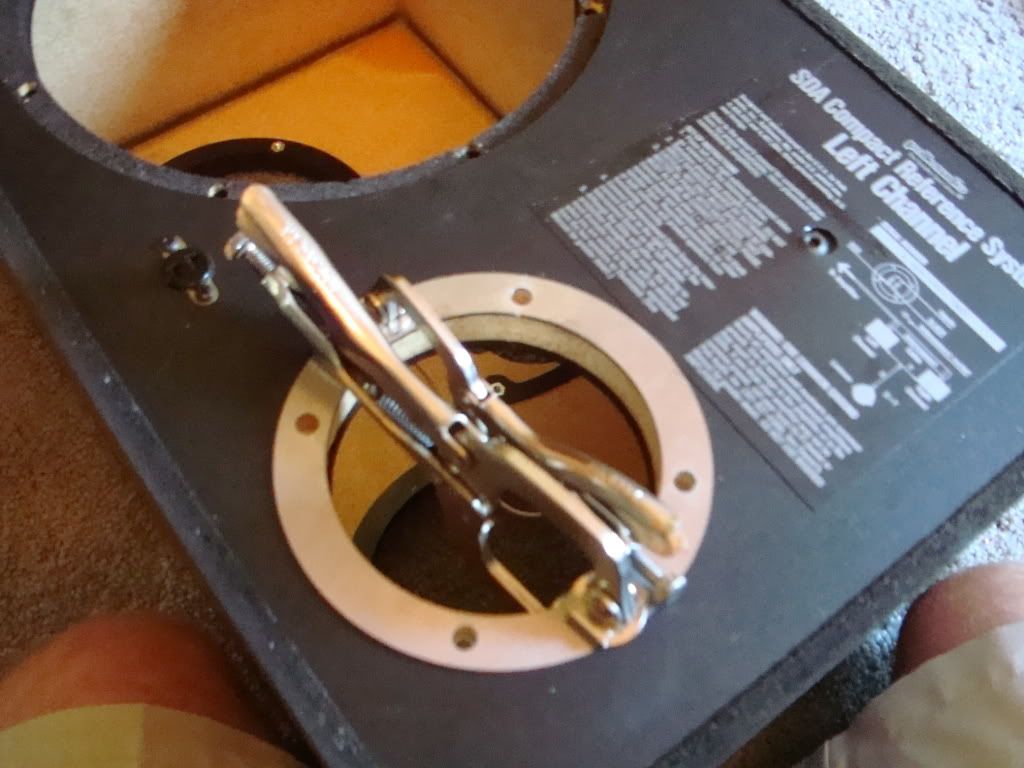
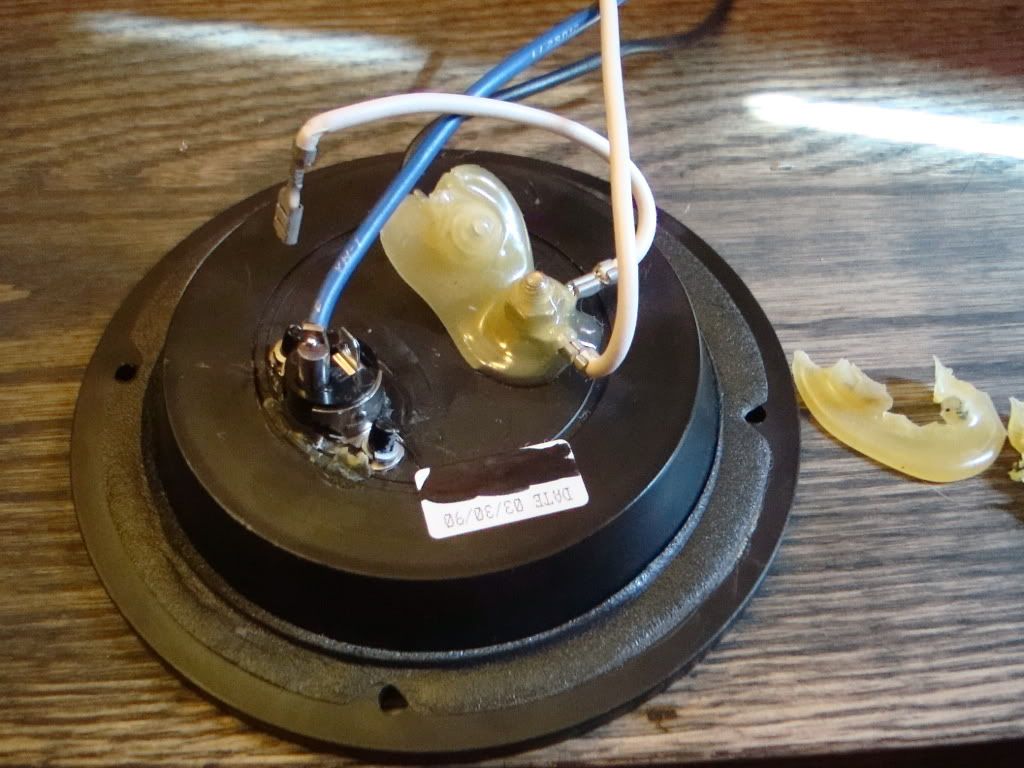
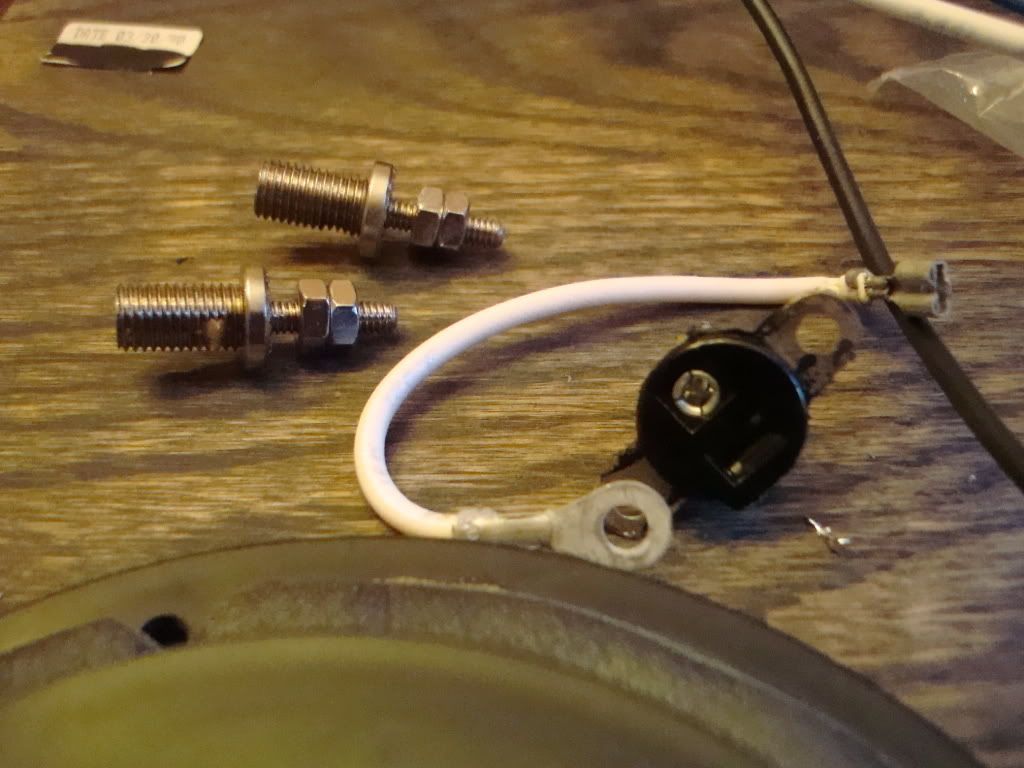
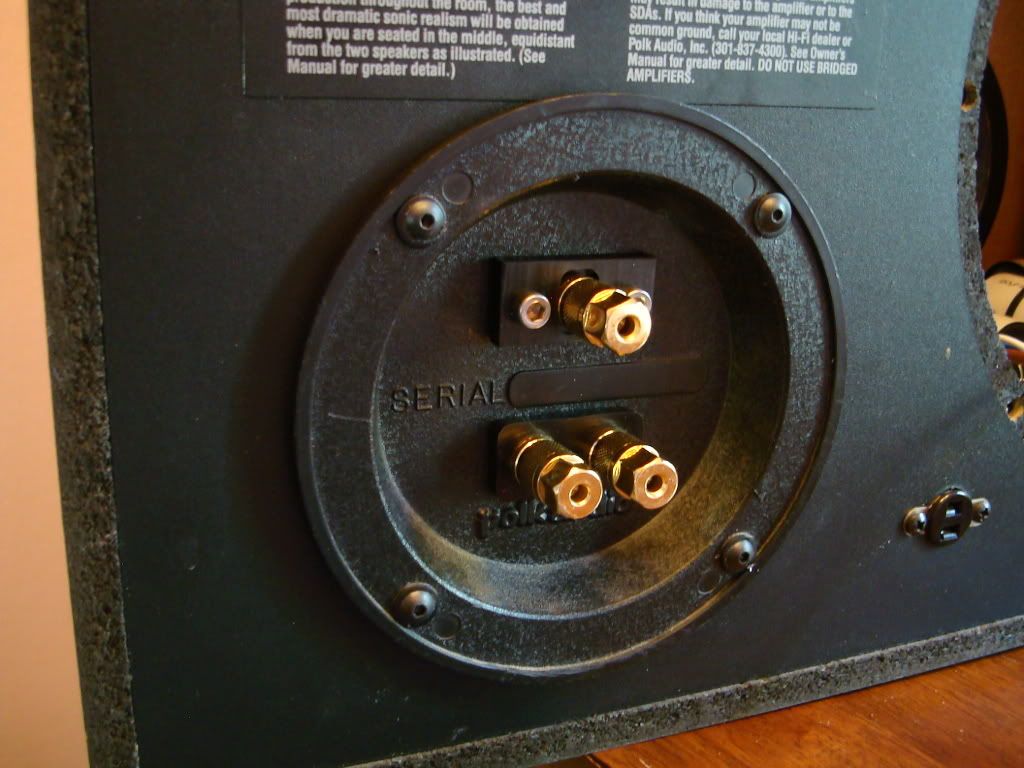
Stripping out the Binding Post Cups.

These are/were 1986 CRS's that I picked up from Harry some time ago last year,I picked up a set of 2B/CRS+ pin/blade Crossovers off eBay for $25 with wire harnesses as well (not a bad buy) as I wanted to do the 4.1tl upgrade.I have the SW120 PR's that I got off eBay as well,and I have the MW6511's in my goodie closet.
I am using Sonic Caps, Dueland Resistor 2.7, Cardas Binding Posts, Tonys boards, My Rings for the Passive, Drivers, Tweeters, and the Binding Post Cups. I am putting in a little Sonic Barrier on the side walls as well as Mortite and Dynamat. I will be JB Welding the magnets while they are out,and of course the RDO-198's.
There is a thread on my custom stands for these little BadBoys,I will post pics of them as well in this thread just to keep it all together.
Well hope you enjoy the transformation.:cool:
Putting in the rings.
Stripping out the Binding Post Cups.
Post edited by Toolfan66 on
Comments
-
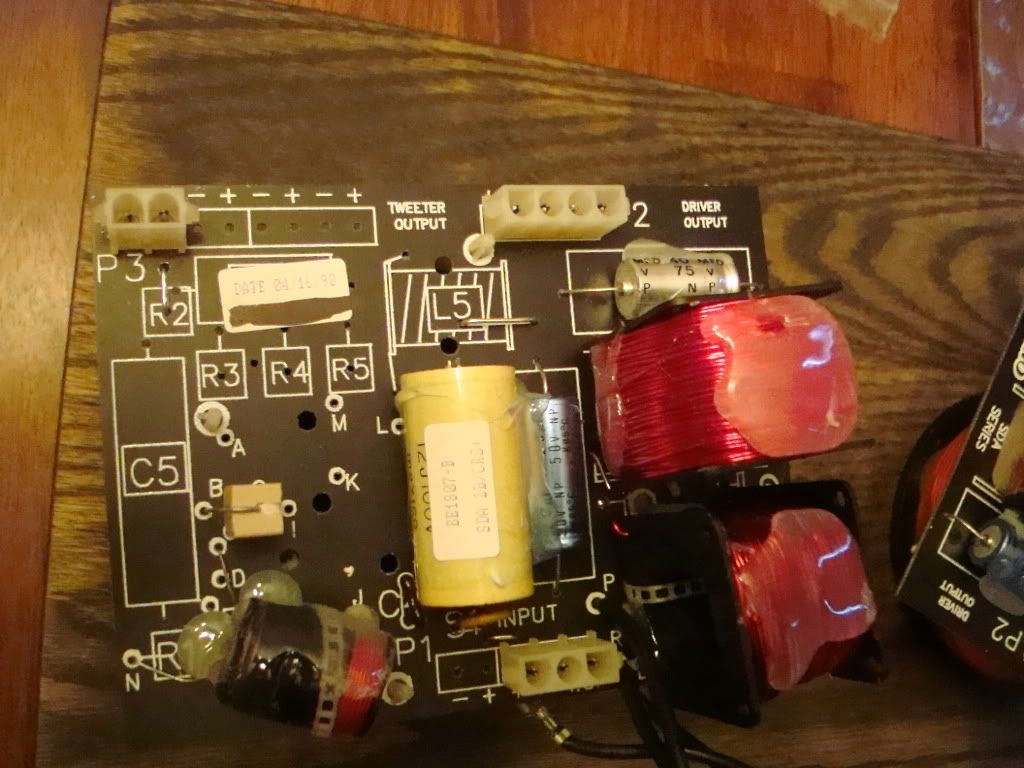
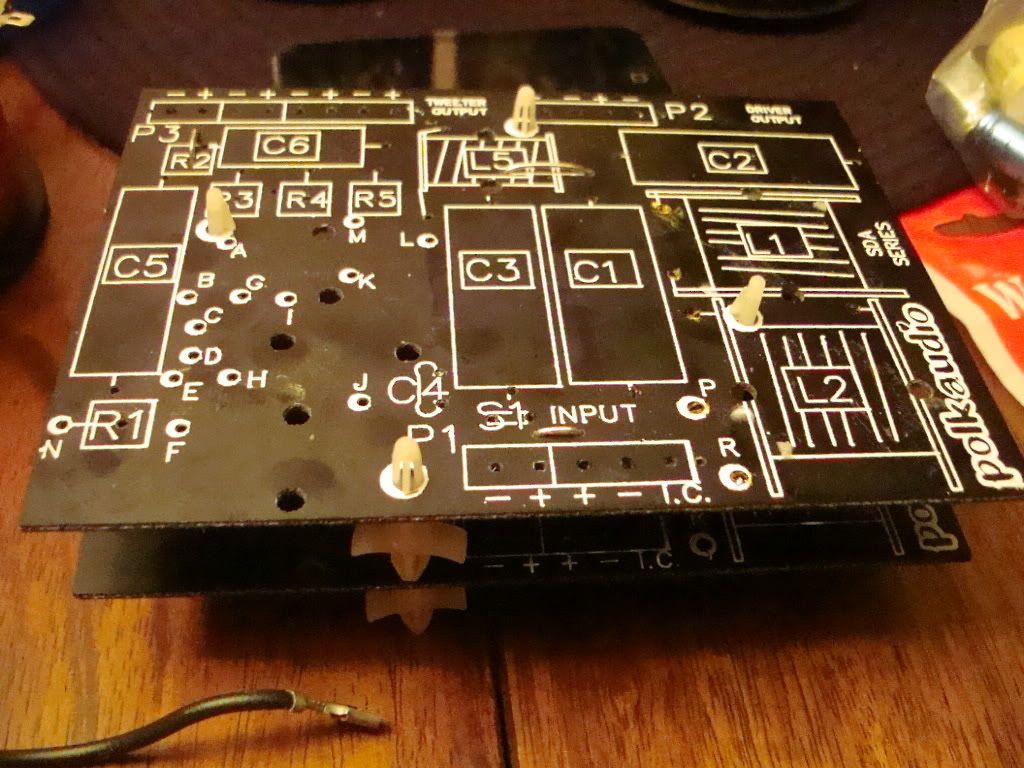
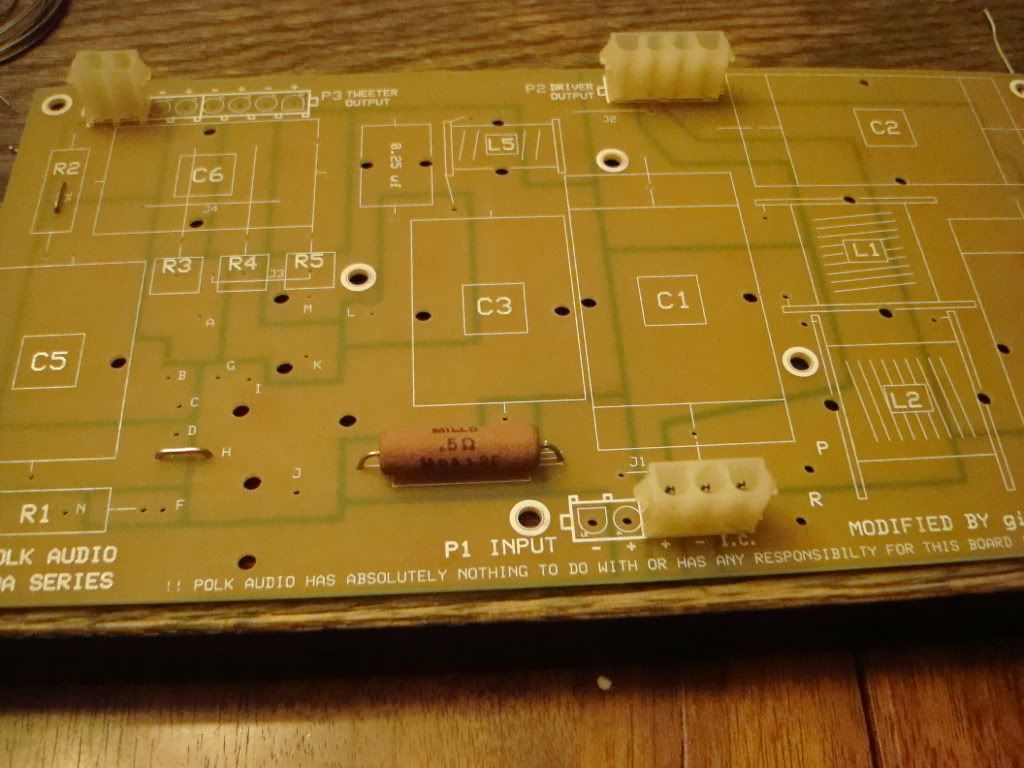
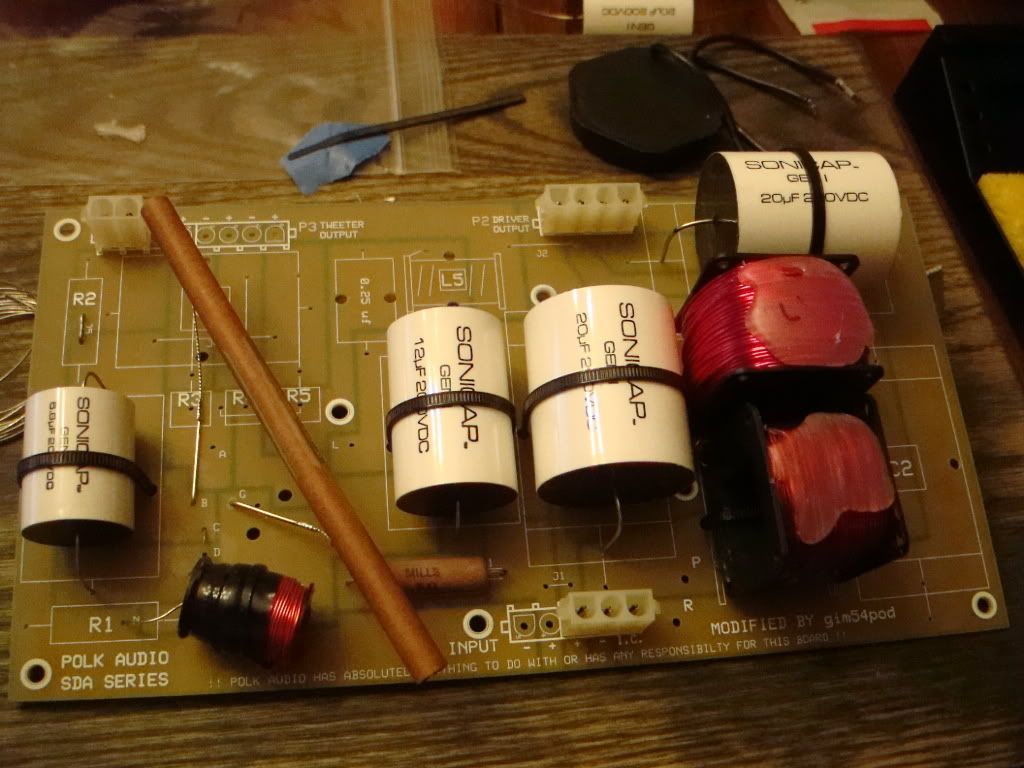
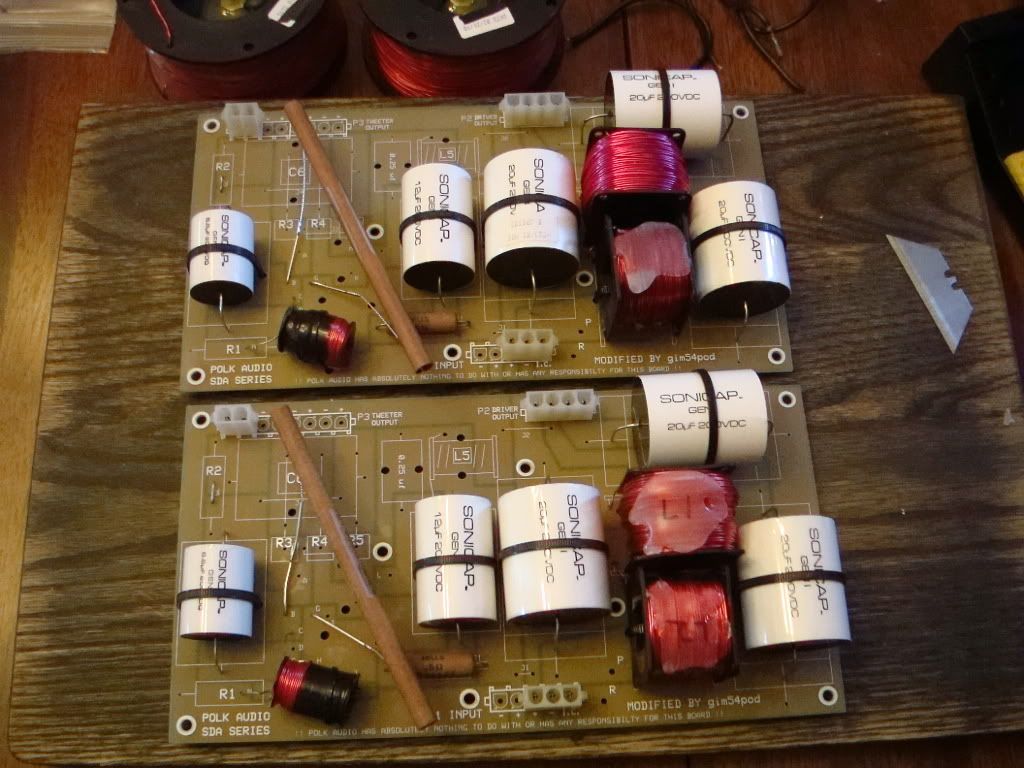
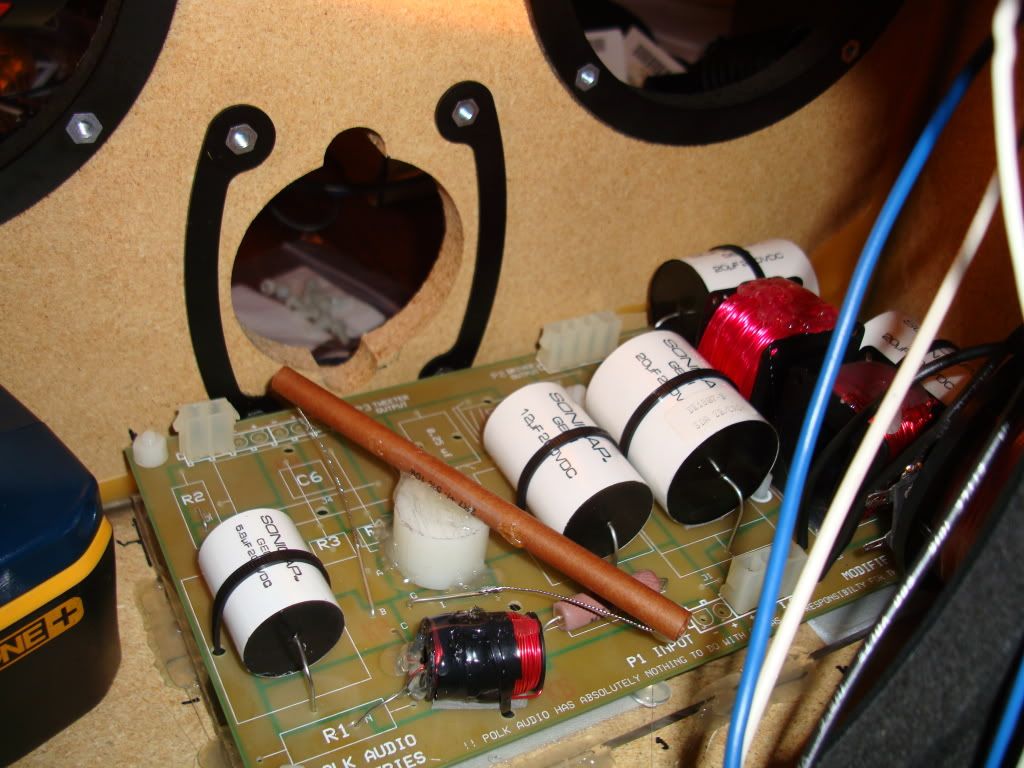
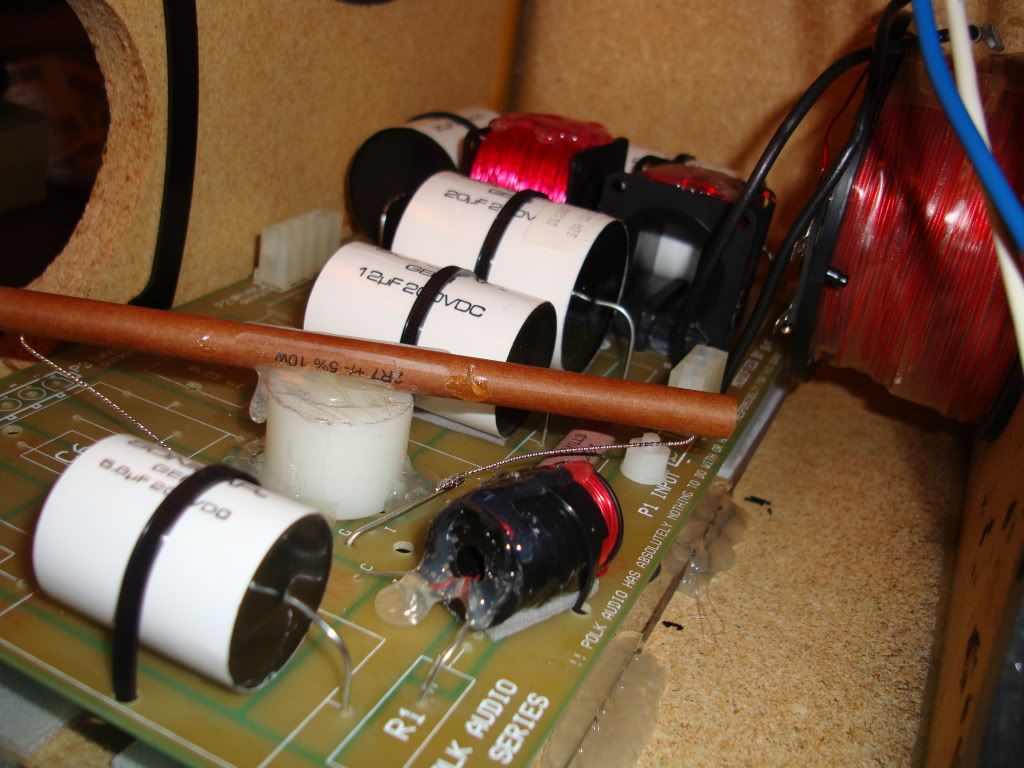
Gutting The old boards and putting together Tonys Boards.


-
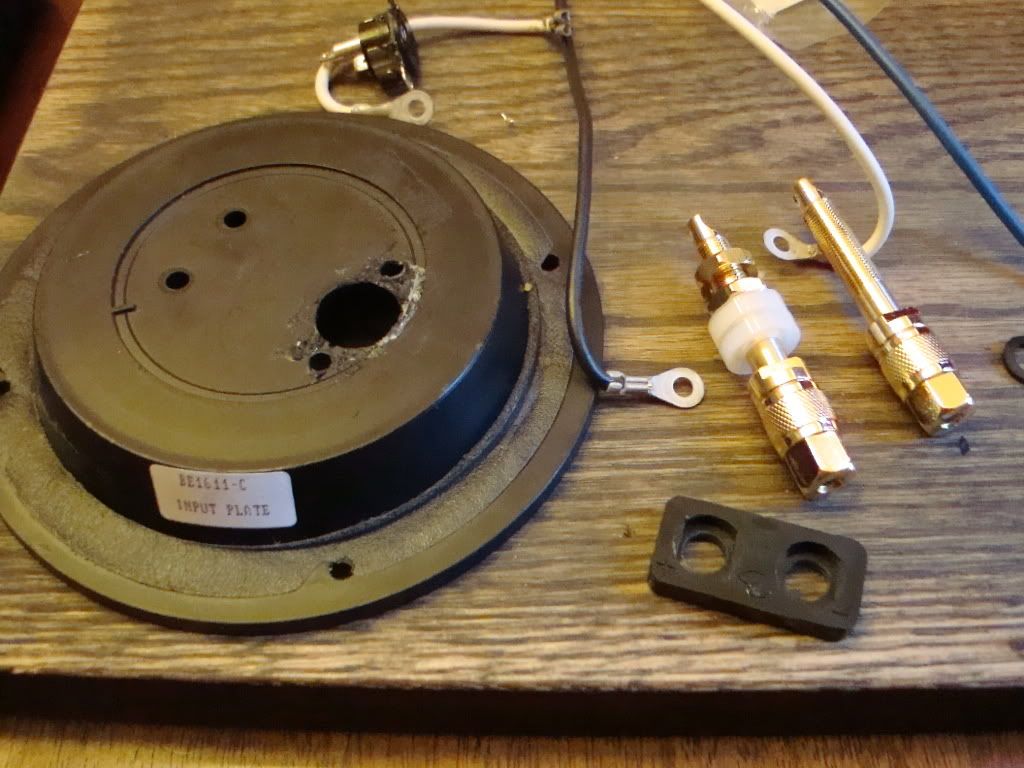
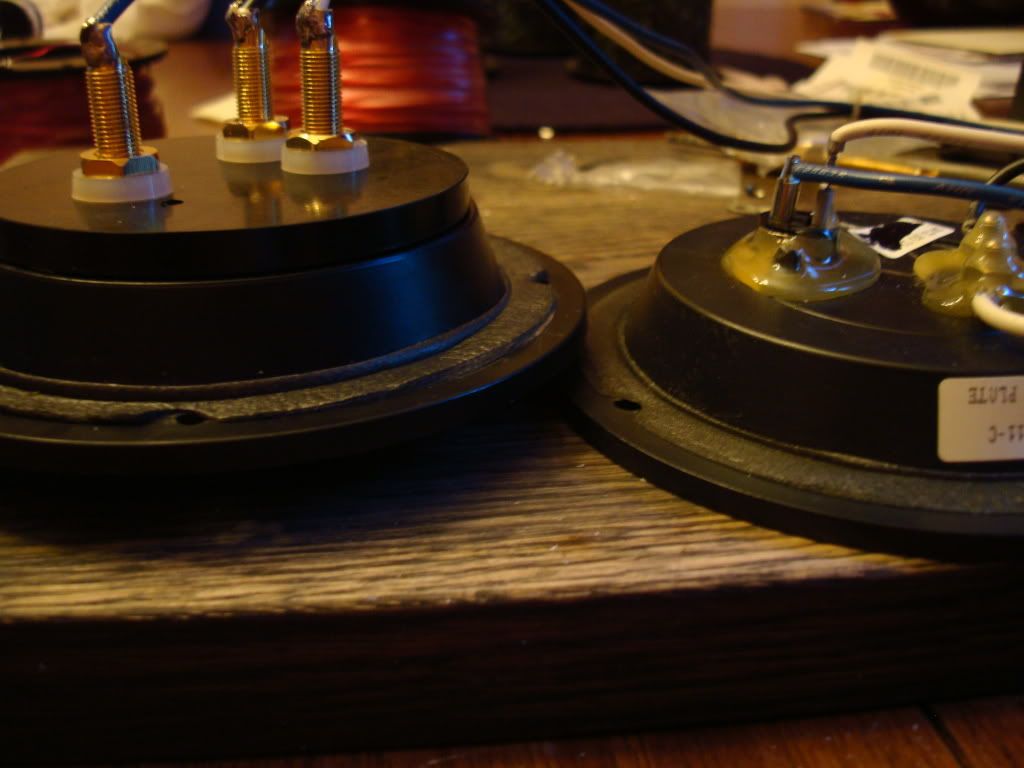
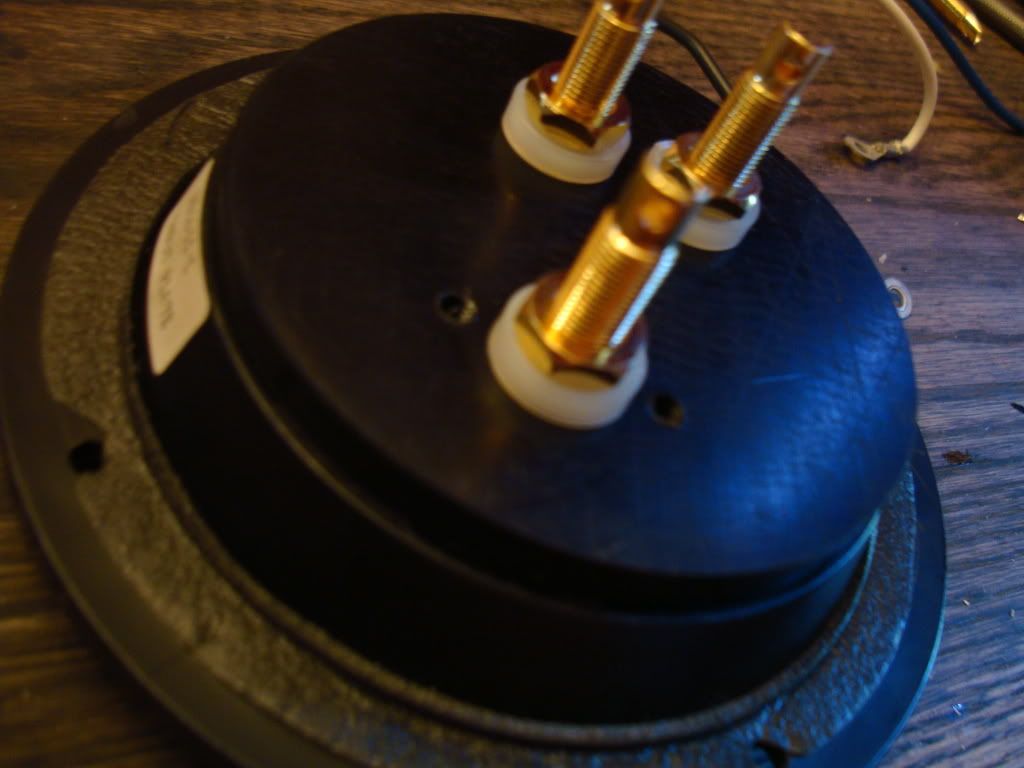
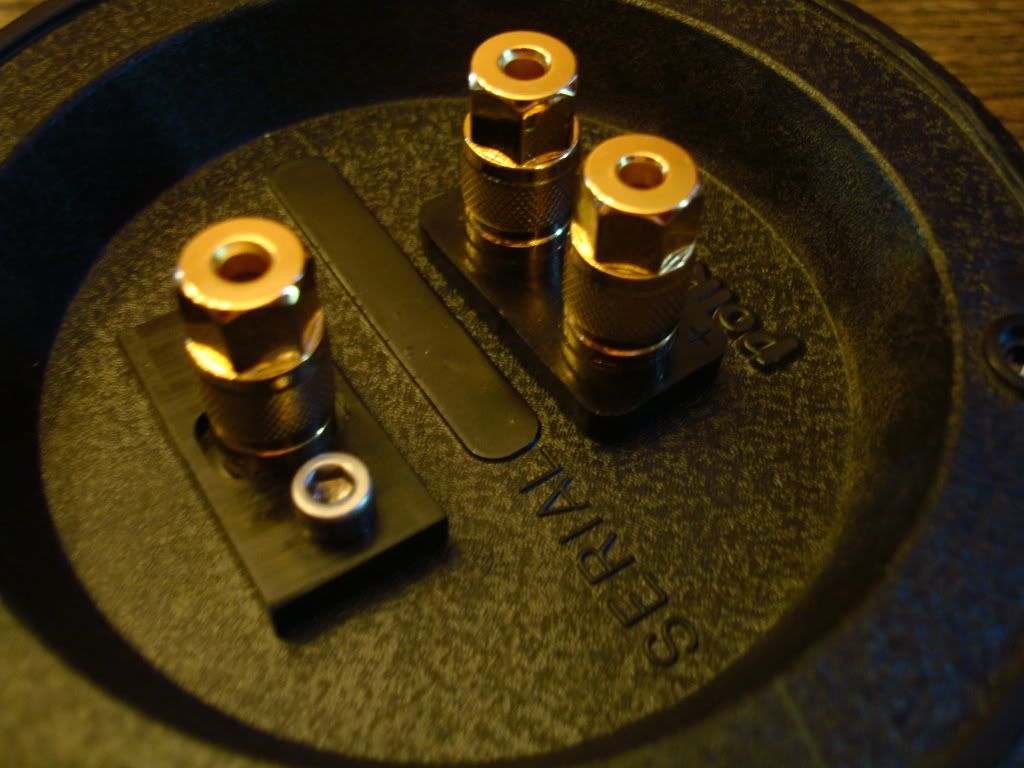
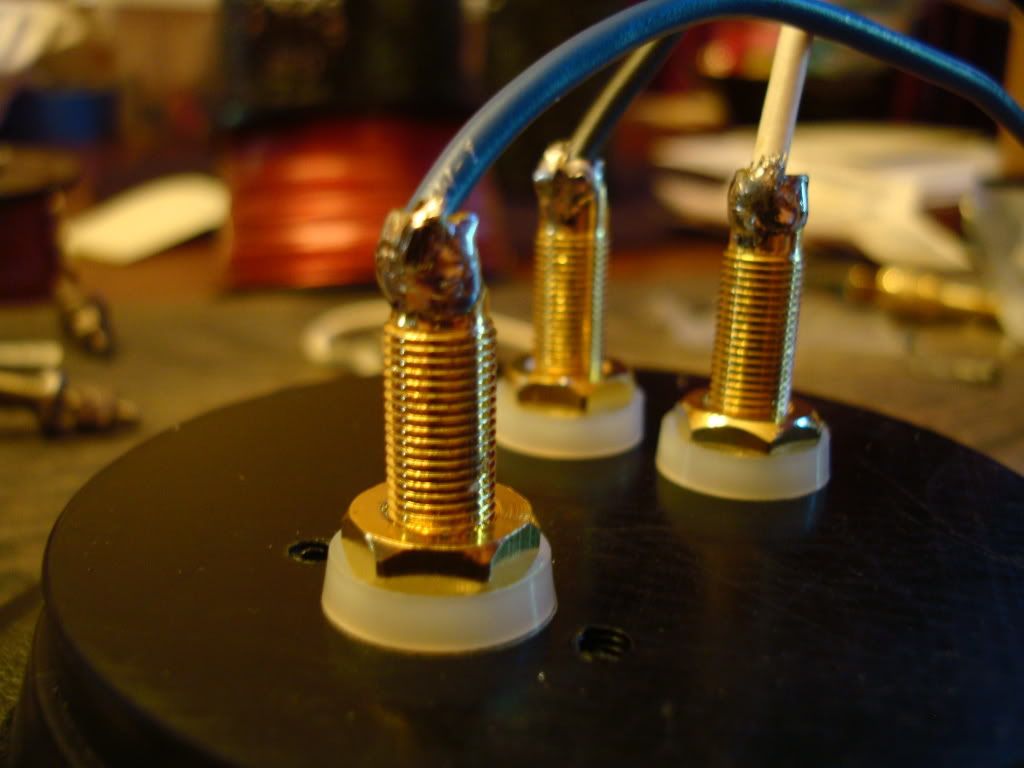
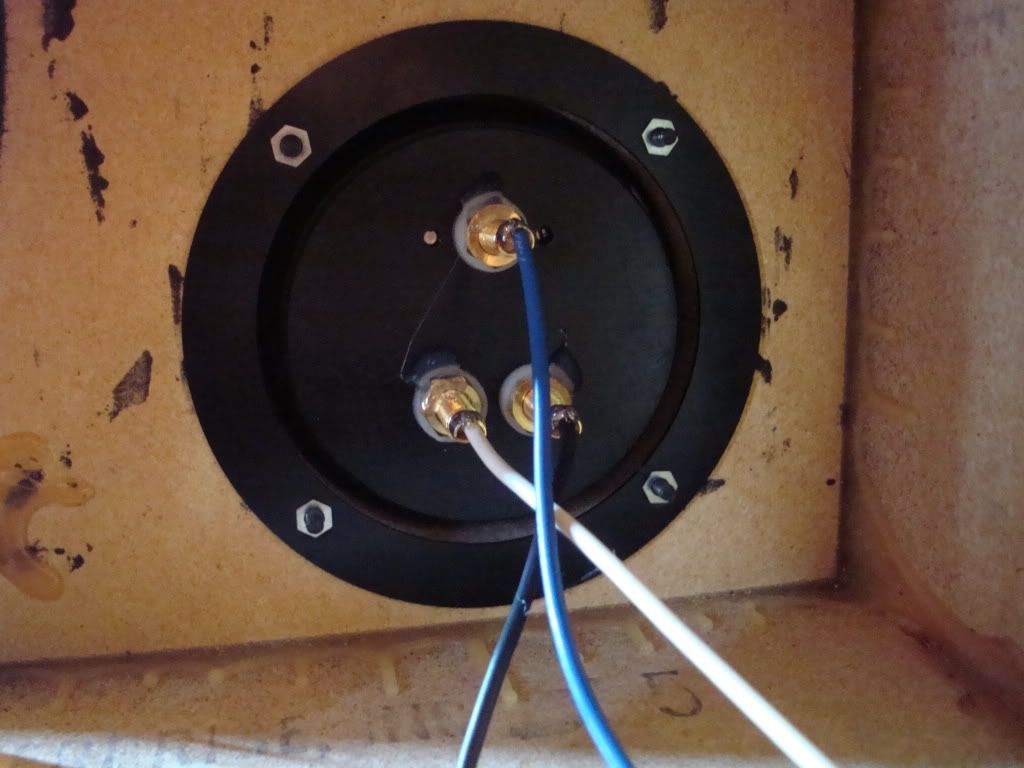
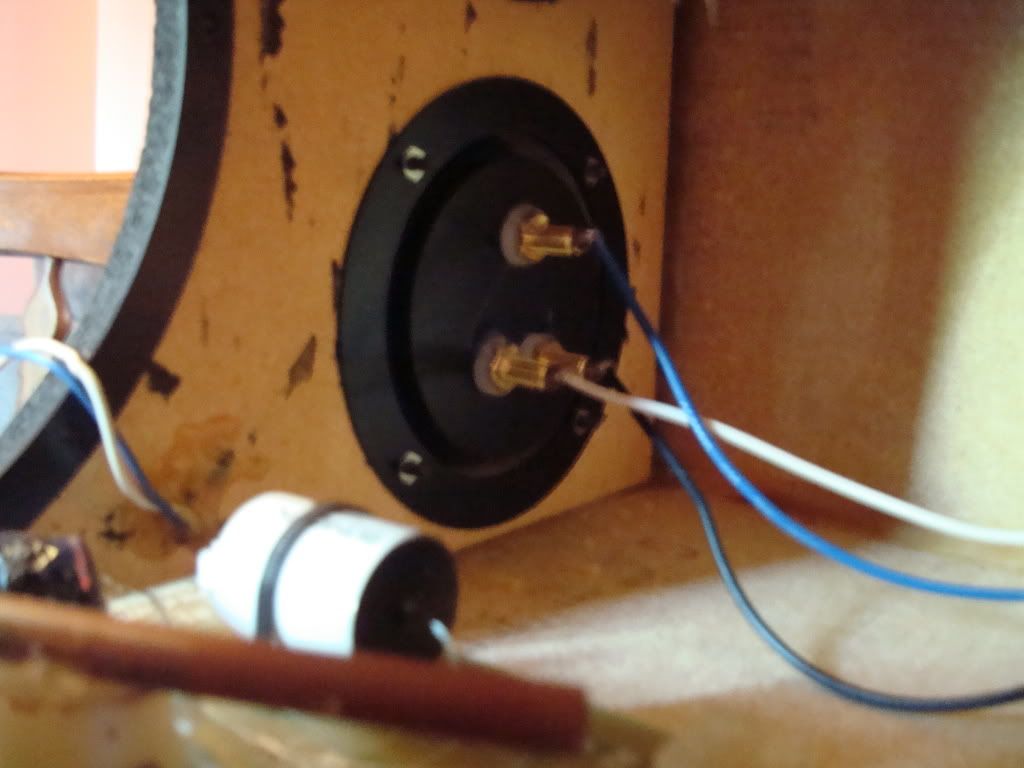
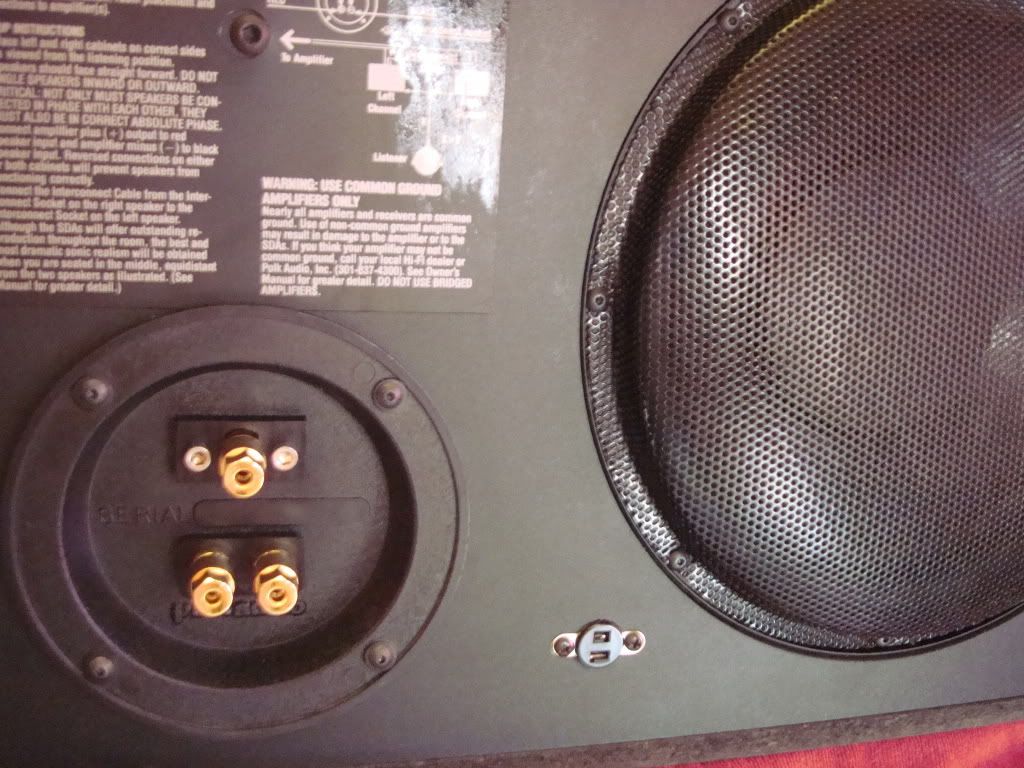
You can see I added a 1/4" thick delrin to the back of the binding post cups, I have done this to all my SDA's as I find it better to mount the new Cardas Binding Post's, it also helps to add the new binding post for the SDA cable.

-
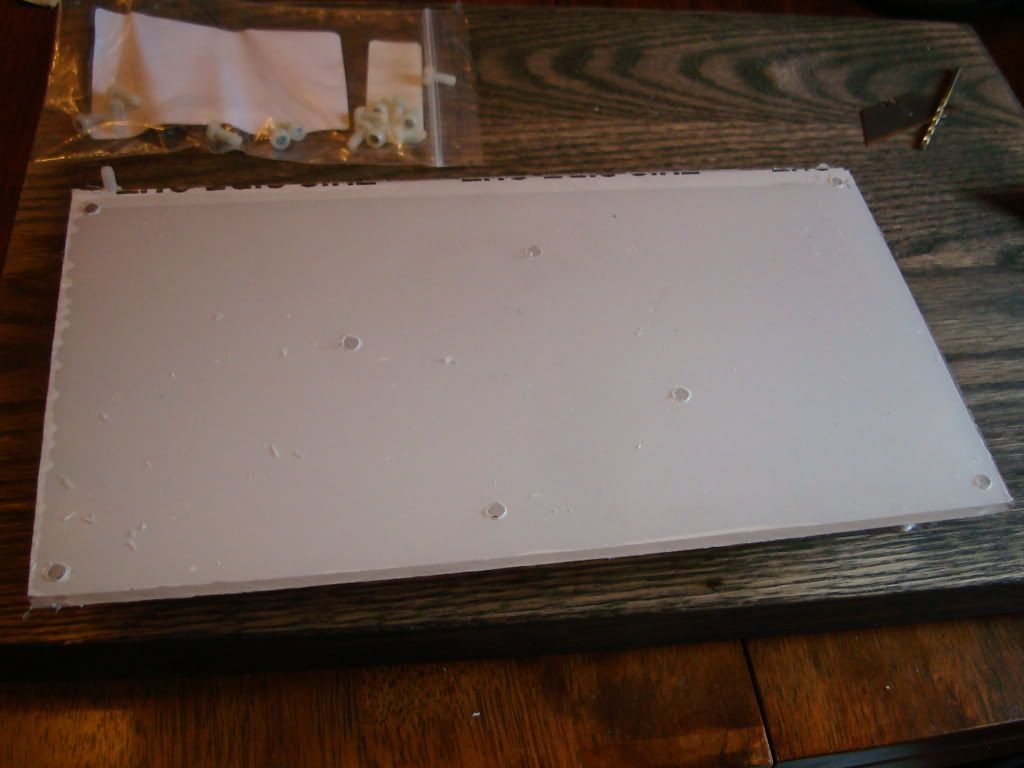
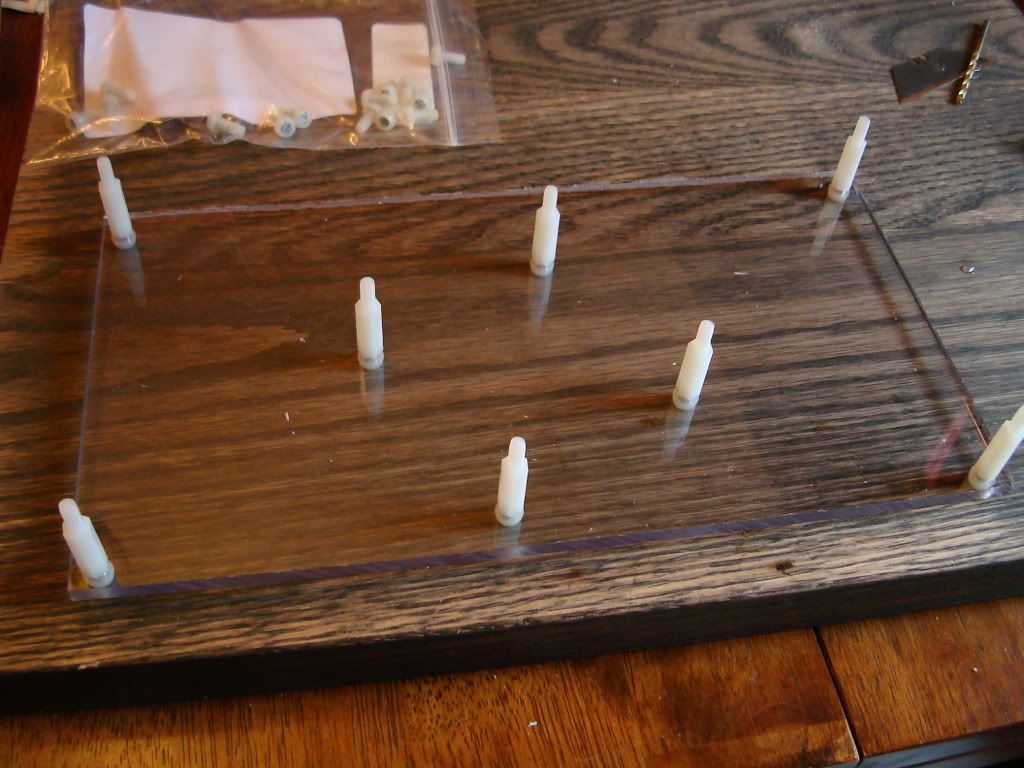
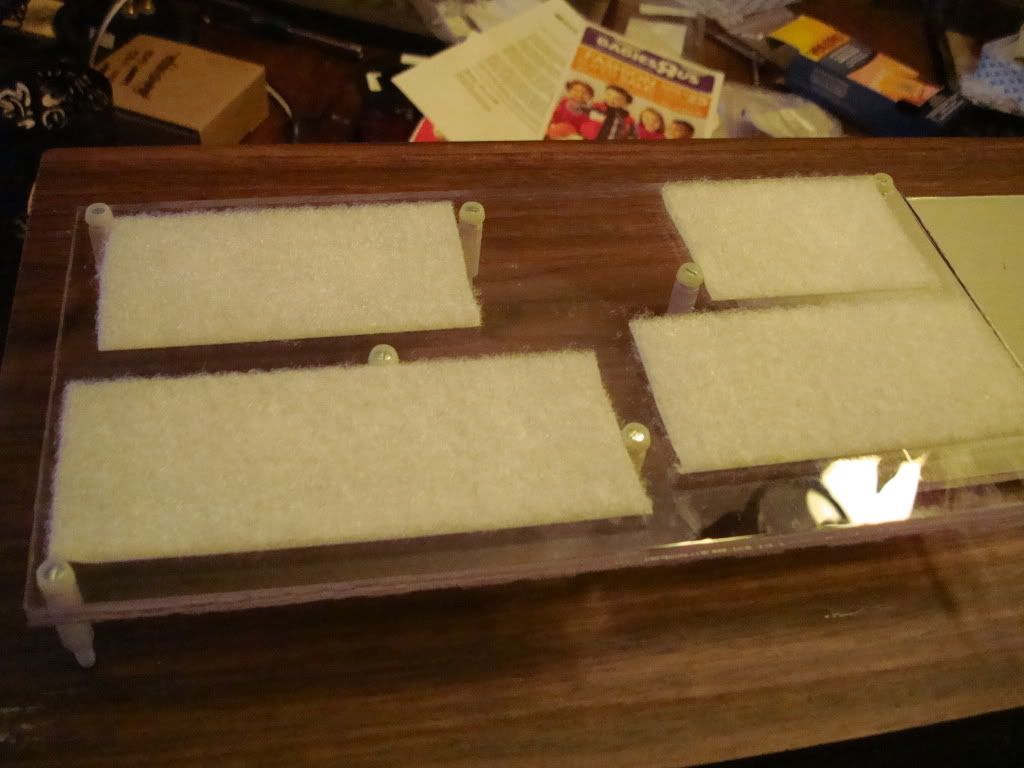
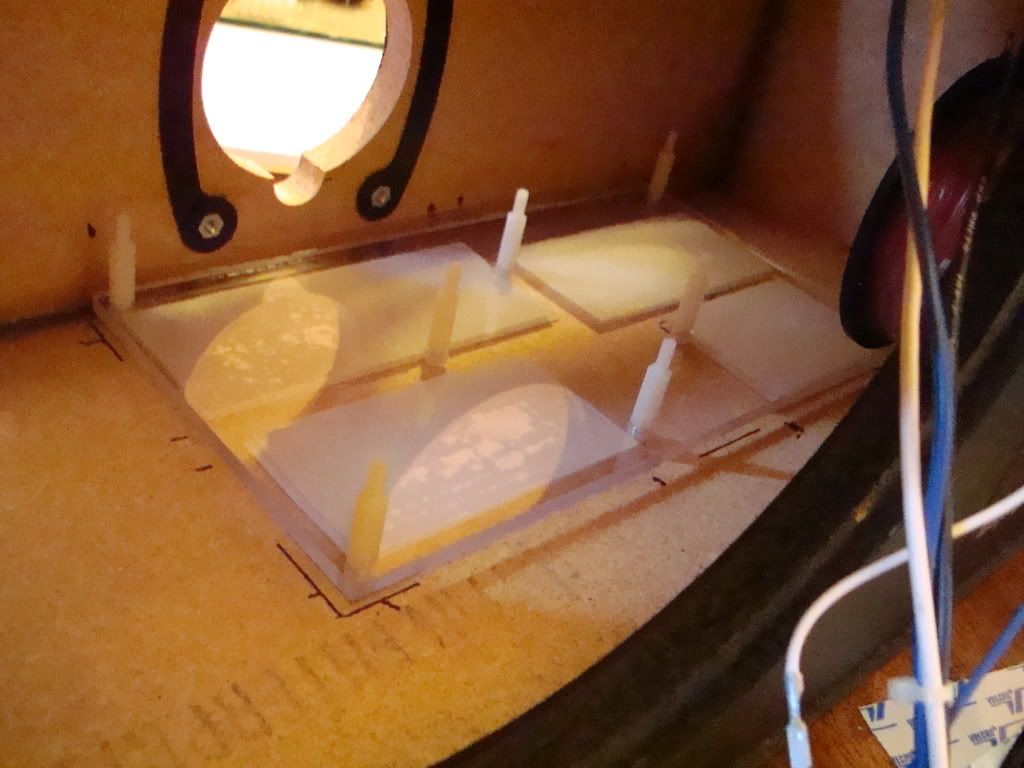
I ordered the 8-32 standoffs,and screws from Mouser. I used the crossover boards to mark and drill the holes in the lexan..

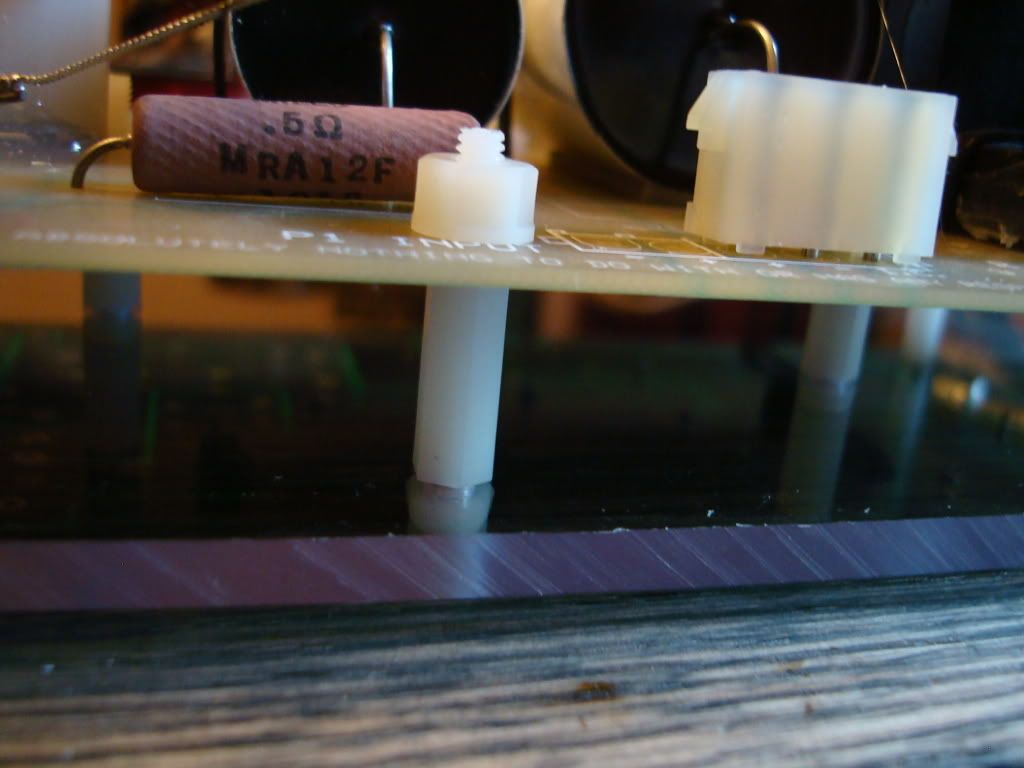

If you notice I put a little piece of round Nylon to put under the Dueland resistor,and hot glued it down to secure it from vibration as much as possible. -
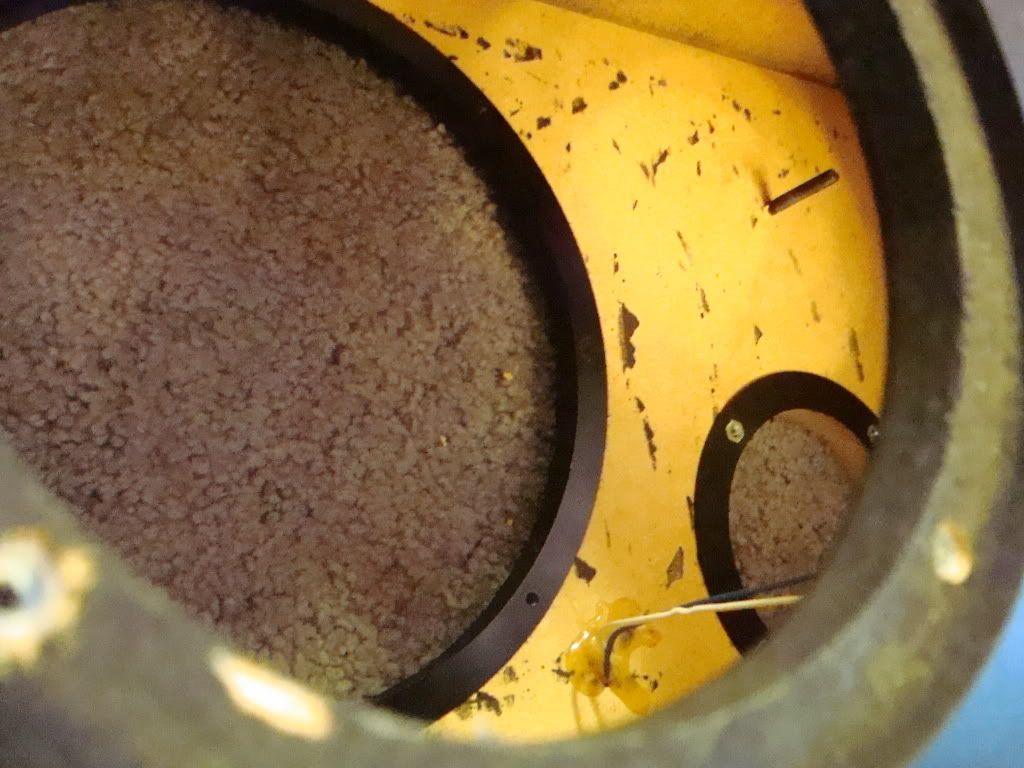
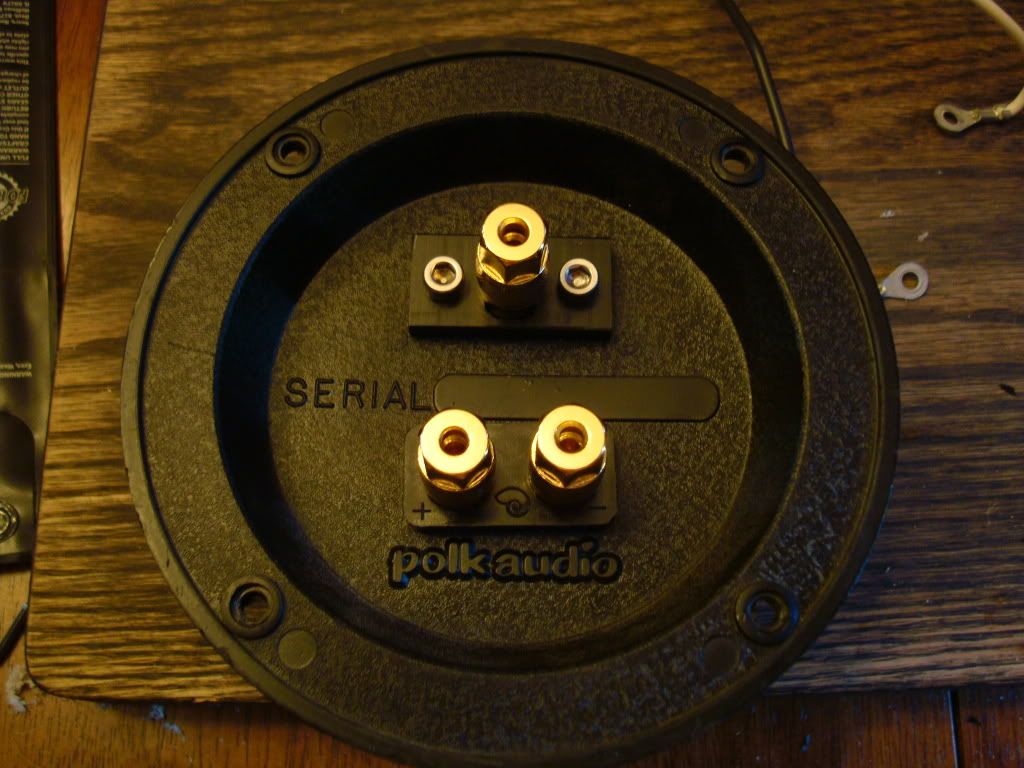
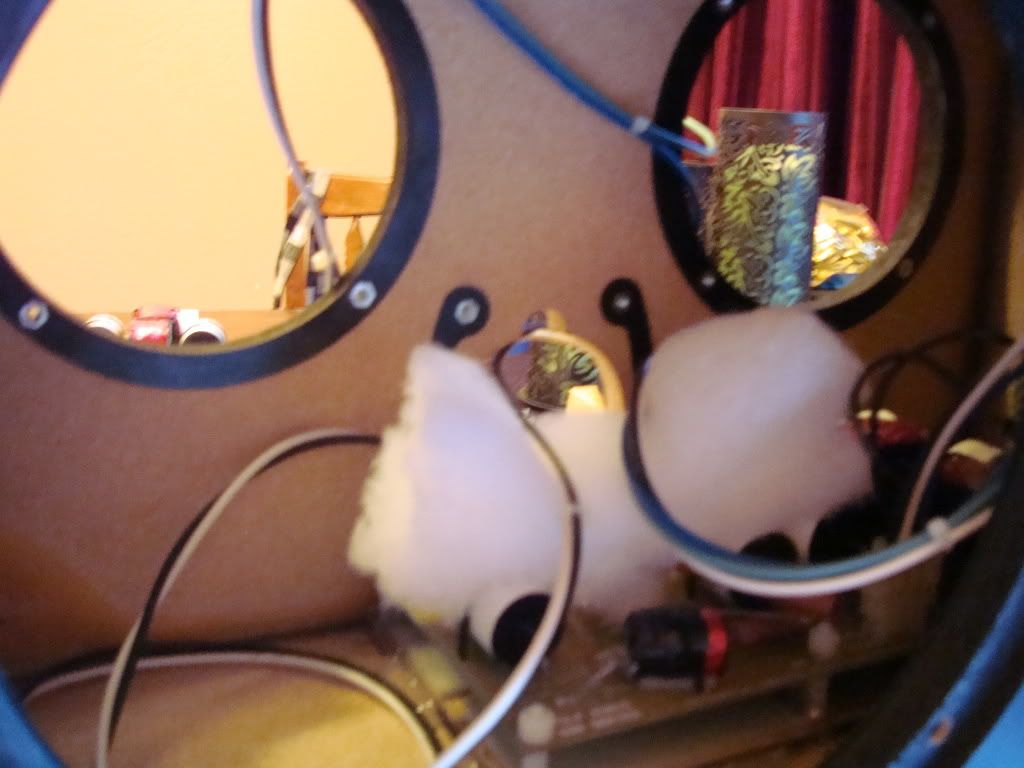
This is a great pic seeing the binding post cup from the inside with the ring installed.
-
Amazing! You guys are truly talented!I got static in my head
The reflected sound of everything -
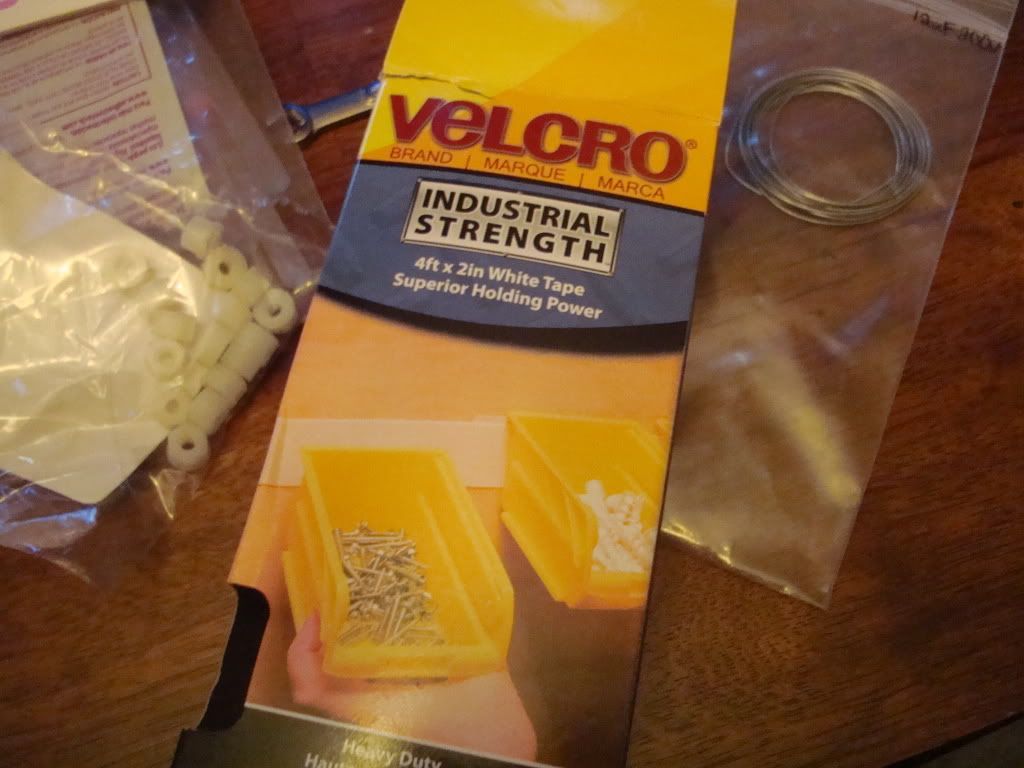
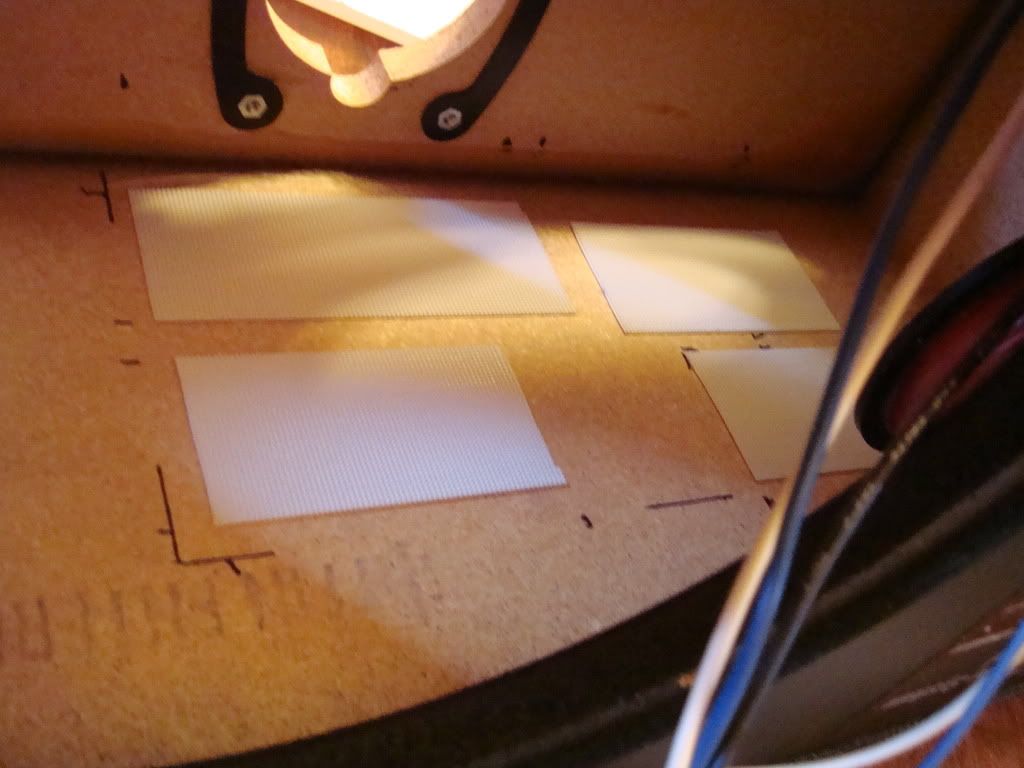
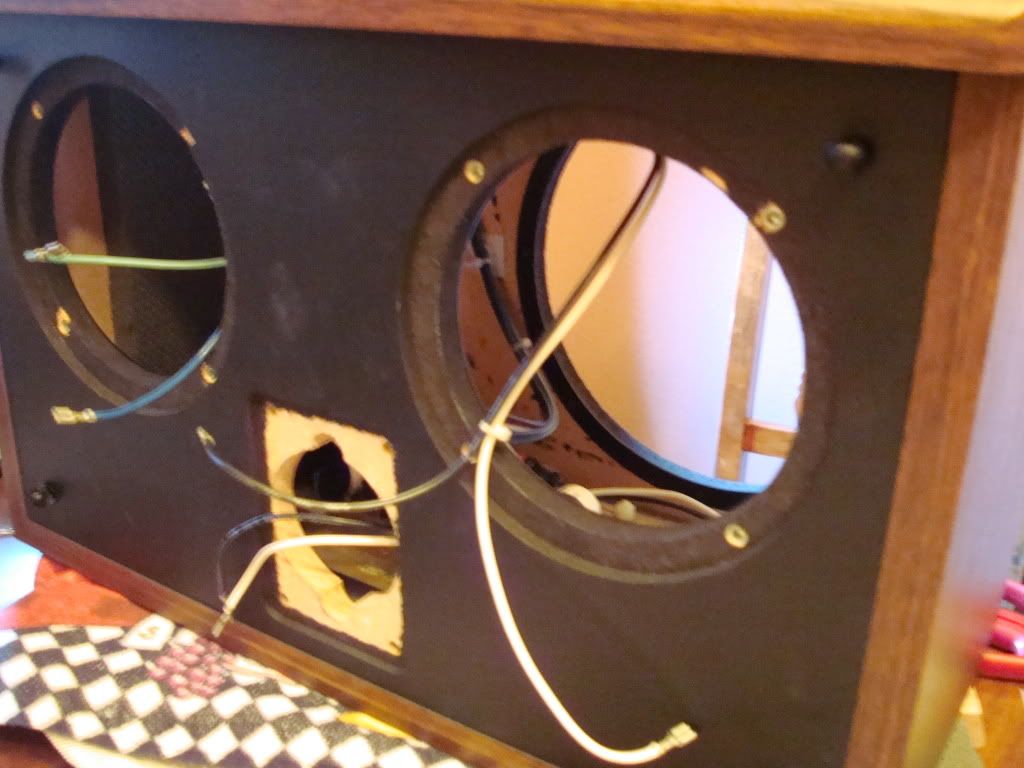
I mentioned in another thread about installing the crossovers on the top side of the inside of the cabinet with Tonys boards, well thats the direction I decided to go with. I went to Home Depot and picked up some Velco to secure the board with Hot Glue around the sides of the backing boards, This worked very well and is very secure.
-
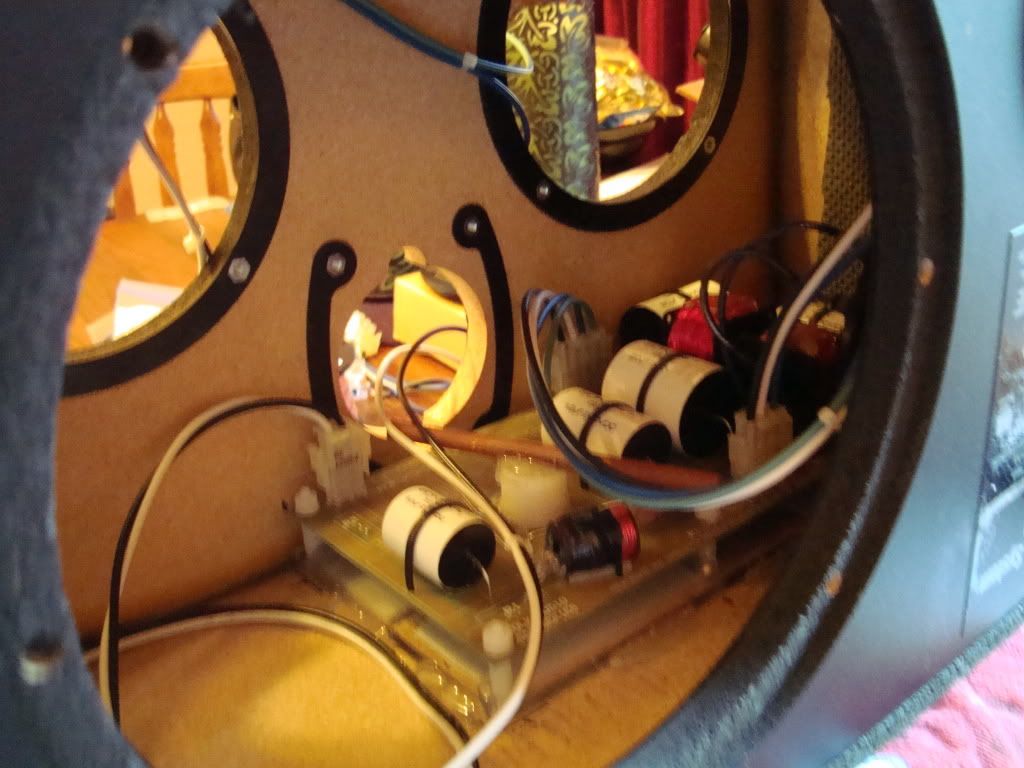
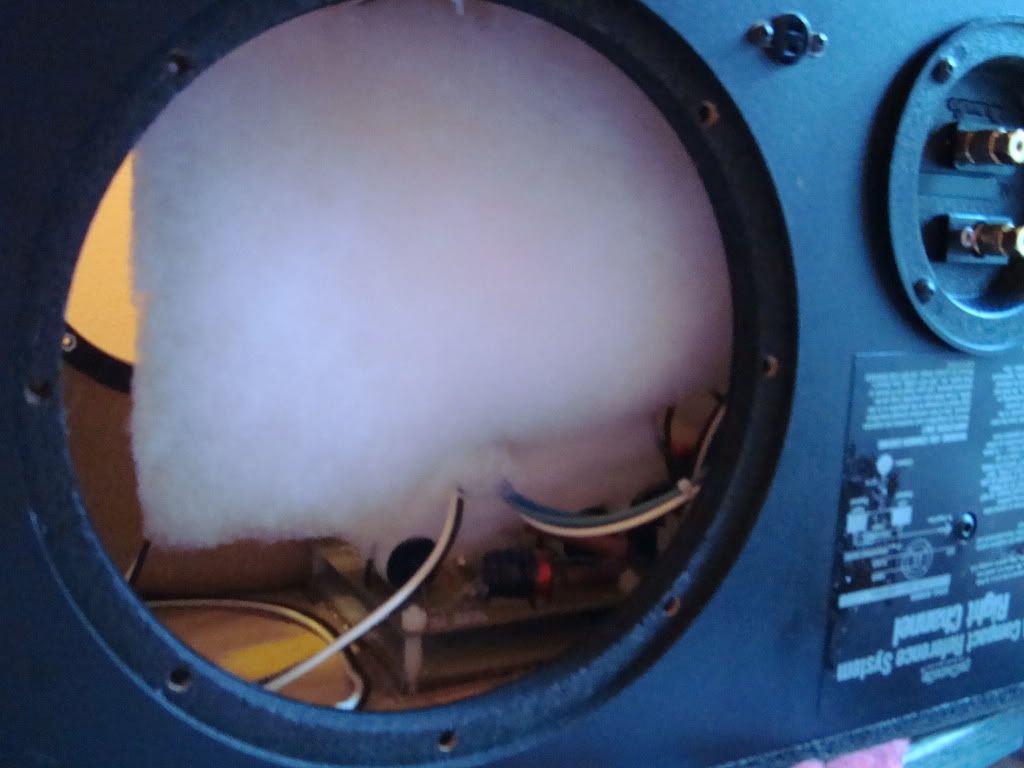
A little Sonic Barrier on the sides!!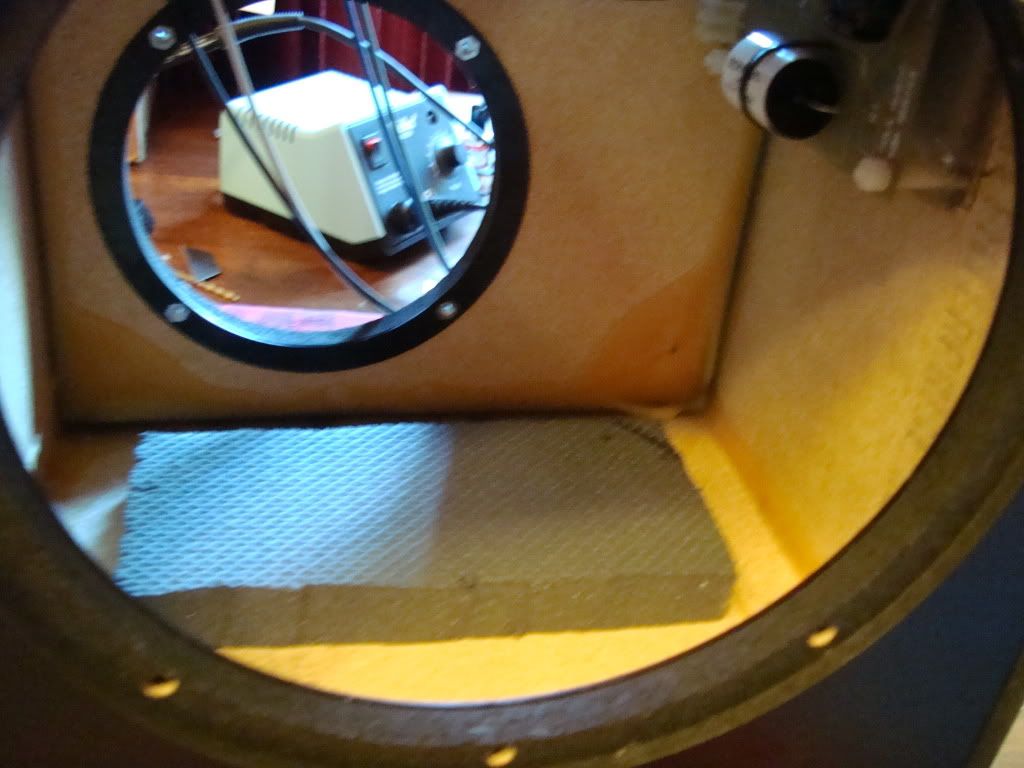
-
Very nice work, Larry. Did you coat the rings in Rustoleum or something like that?
-
This was the Right side Speaker when I get the Left side to this point (I see no need to post pics as it will be the same) I will finish posting pics of the work I have done as far as Dynamat, Mortite, JB-Weld, and stands.
Larry. -
Very nice work, Larry. Did you coat the rings in Rustoleum or something like that?
Thanks!!
I had them Black Oxided.. -
Left speaker is now done up to the point of the right speaker. Looking forward to powering these up later today or tomorrow..
My son is going to have a very nice set of SDA's!!! Thats if I can let go of them,,LOL!!! -
VERY nice work my man very nice indeed. I knew you would come up with a simple but solid way to mount the boards. Love the idea of adding the delrin plate to the back of the binding post plate.
!! PM coming your way !!.“The two most important days in your life are the day you are born and the day you find out why.” ~ Mark Twain -
Thanks Tony,
All I have left is JB Welding the MW6511's mounting them and the RDO-198's hook up and rock out.. -
Up and running!! sounds great so far can't wait for them to smooth out a little after a 100-200 hours. I will post the last of my pics in a few. It is amazing the bass these little guys put out..
-
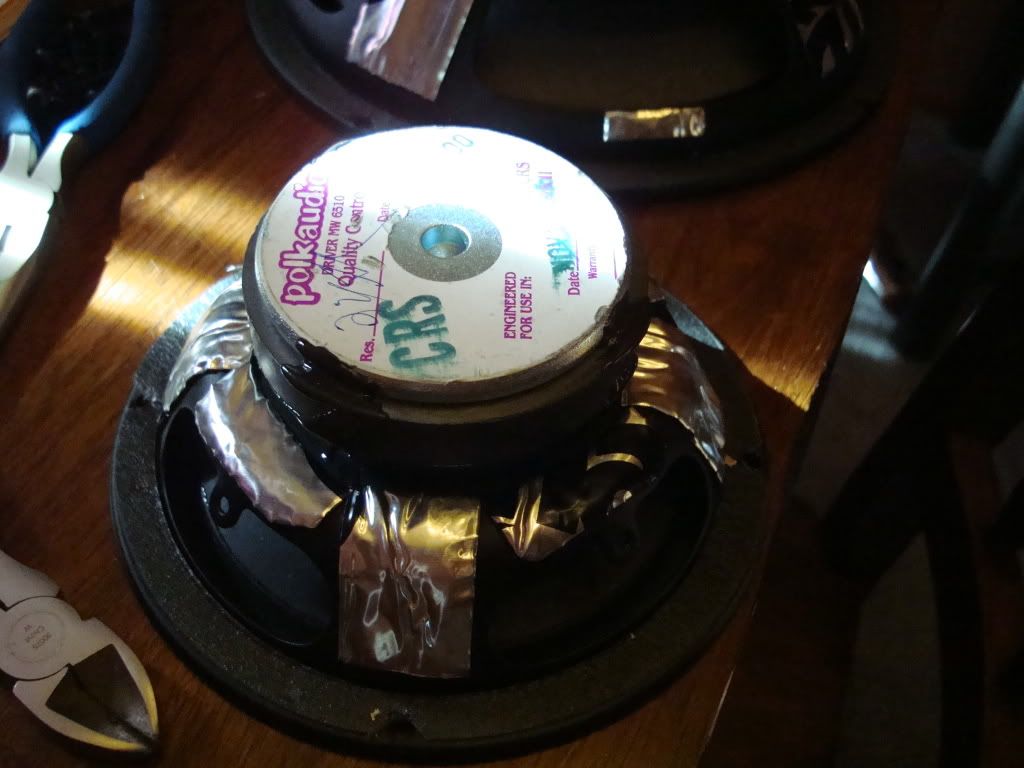
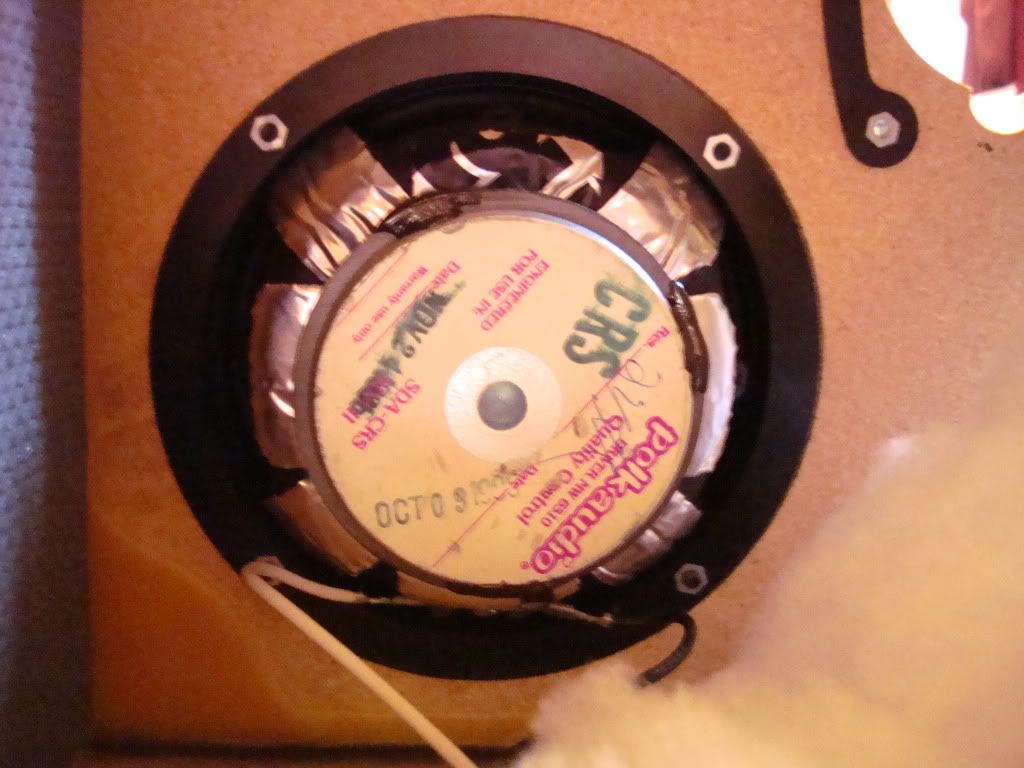
Putting Dynamat on the drivers and passives.
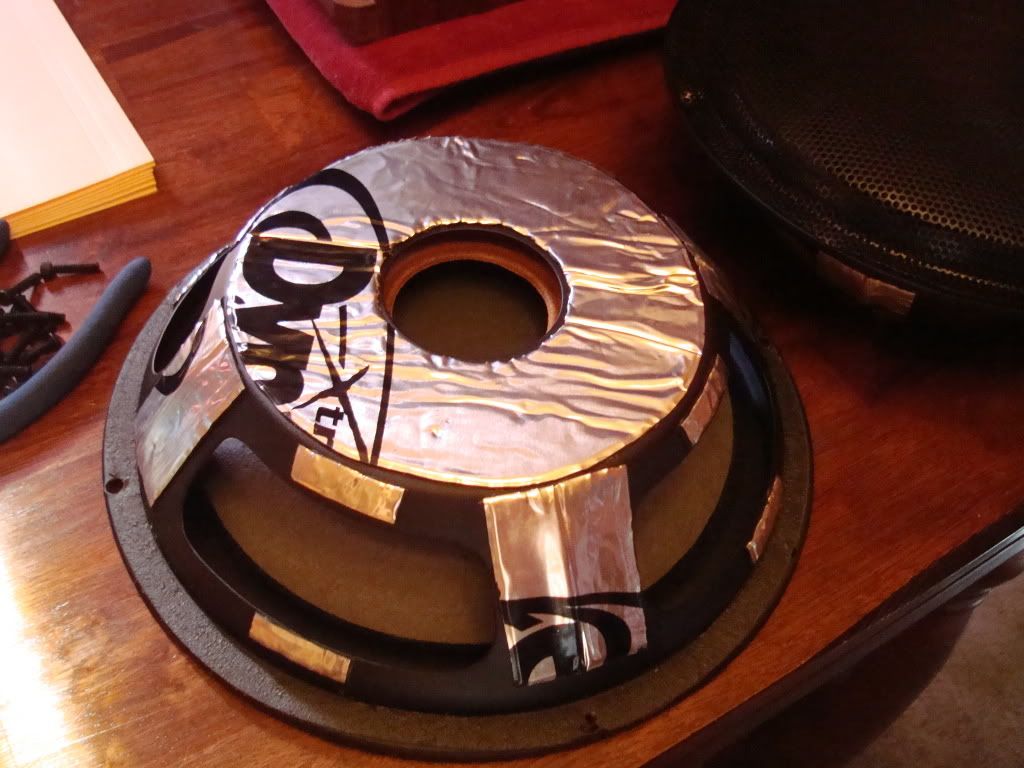
Since I used the wire harnesses out of the 2B's I didn't want to shorten the wires so I used some wire tie downs I got from Home Depot.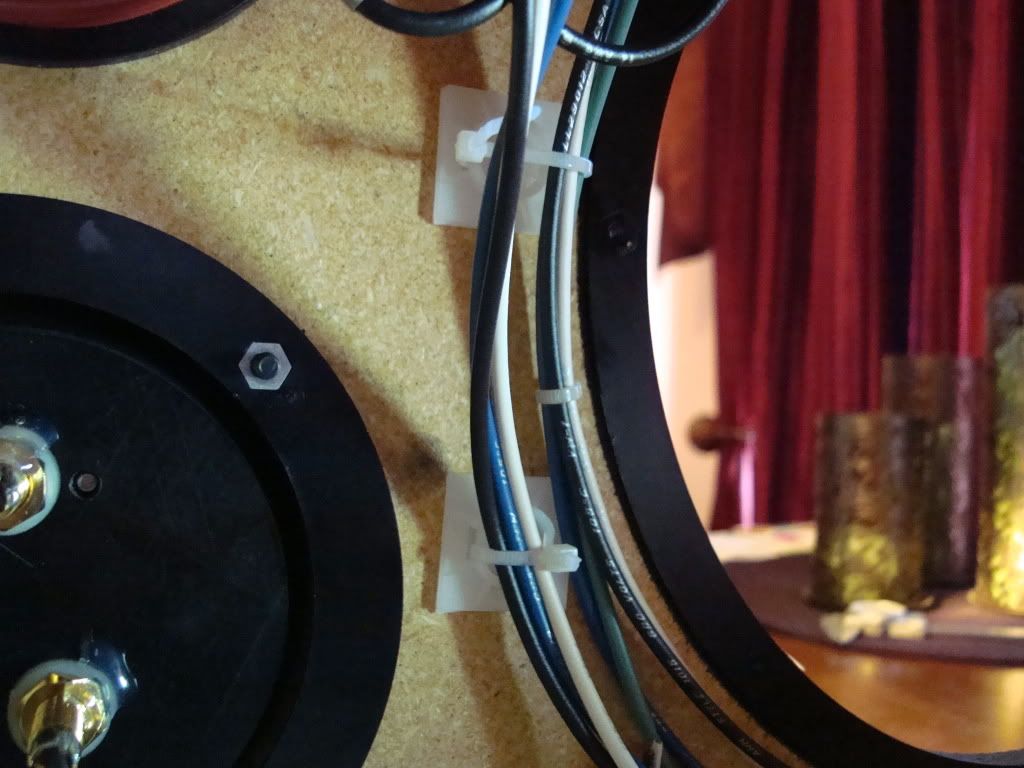
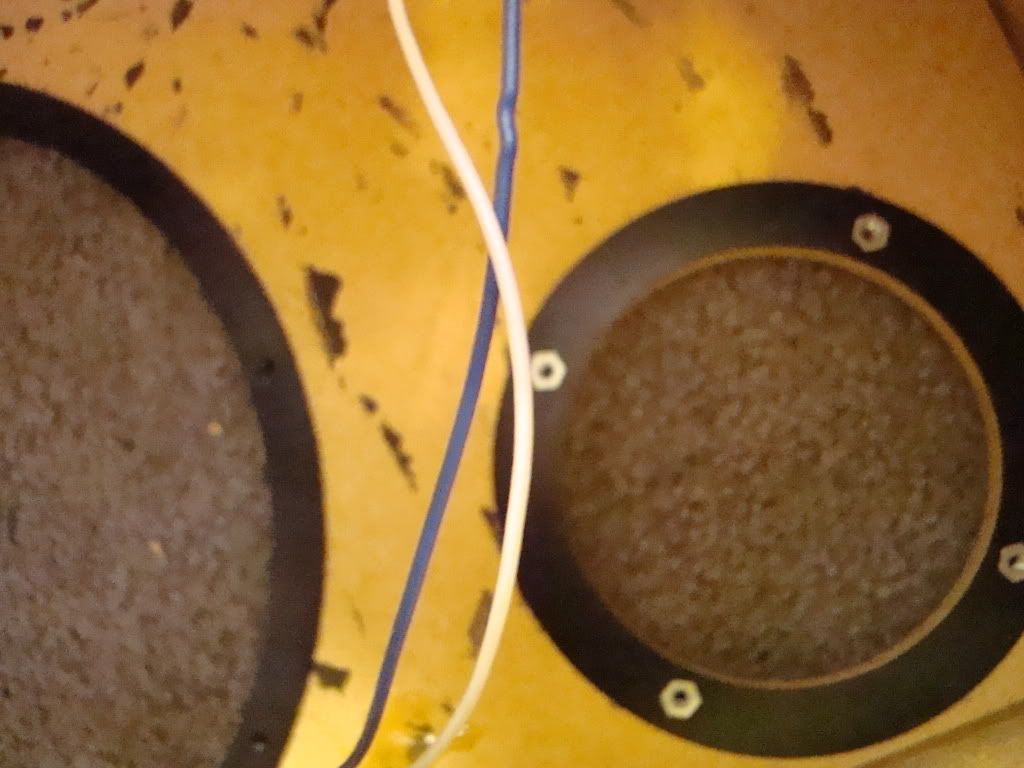
Driver install, another great pic with the rings t-nuts might work but the rings look clean and nice.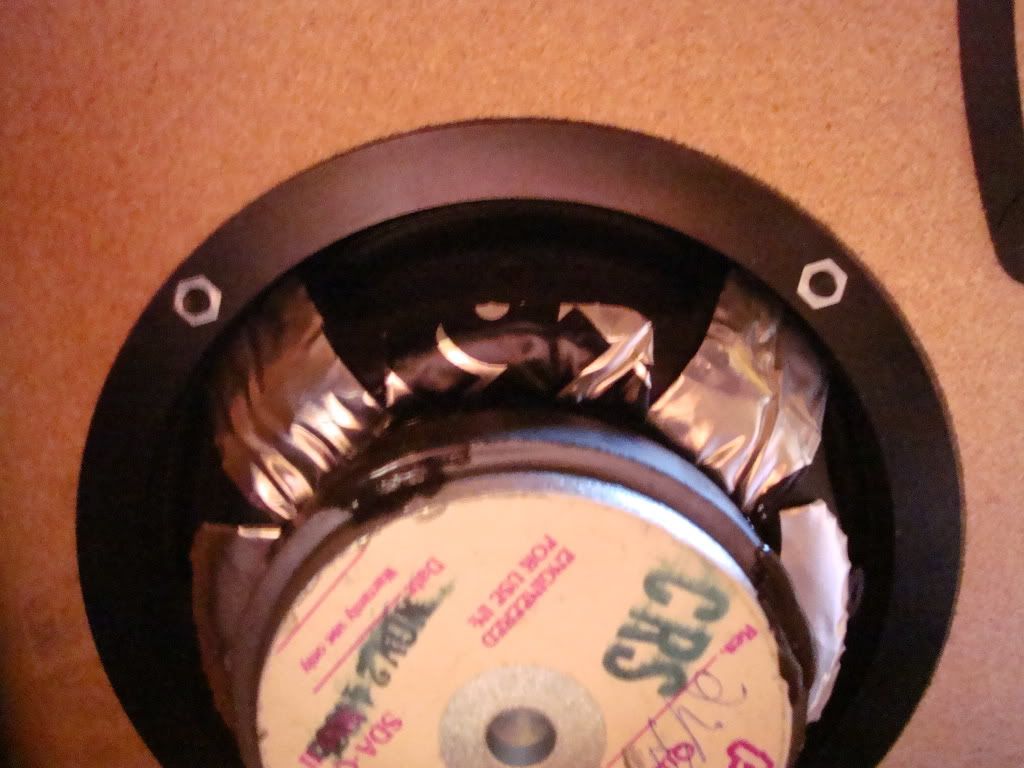
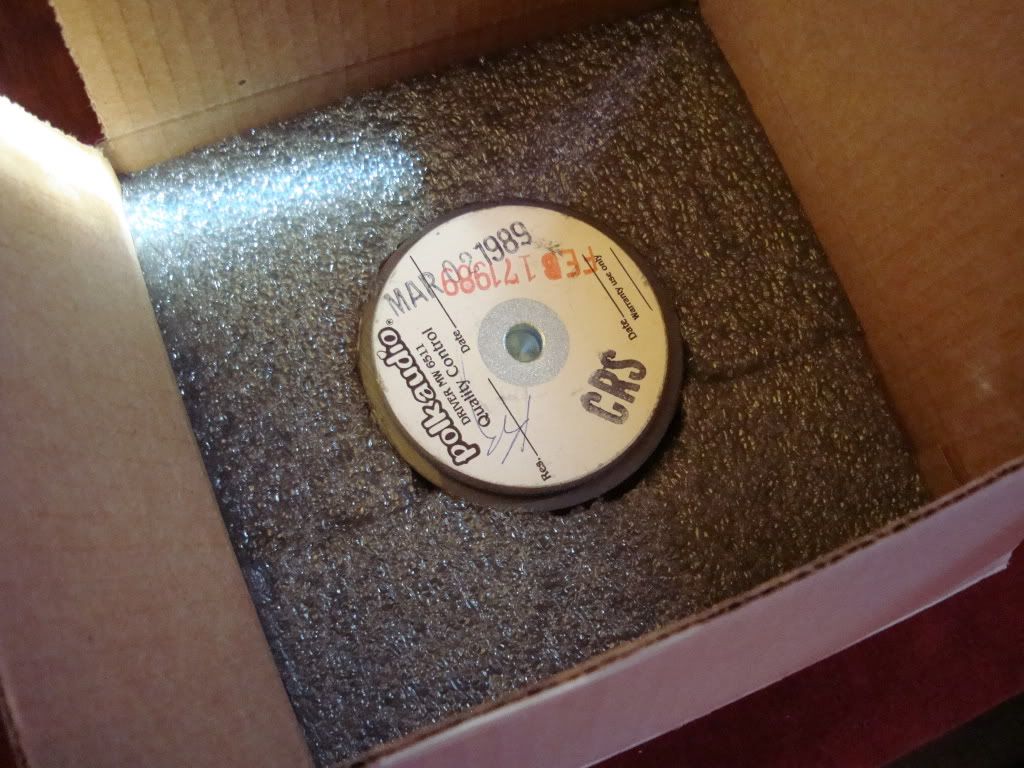
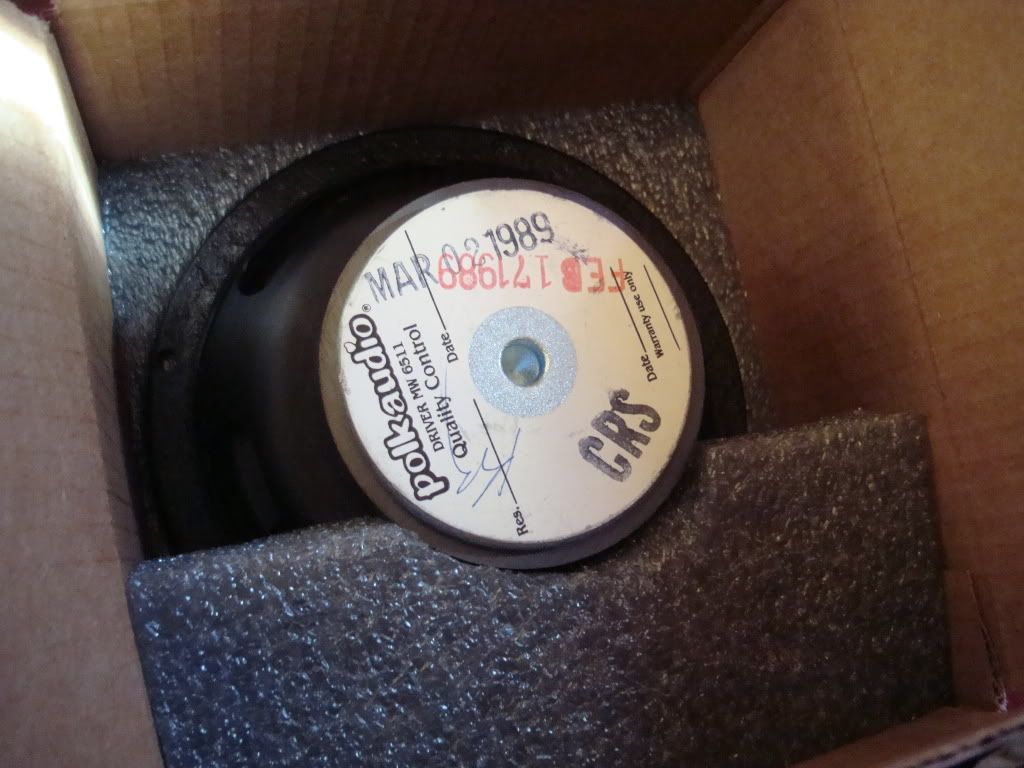
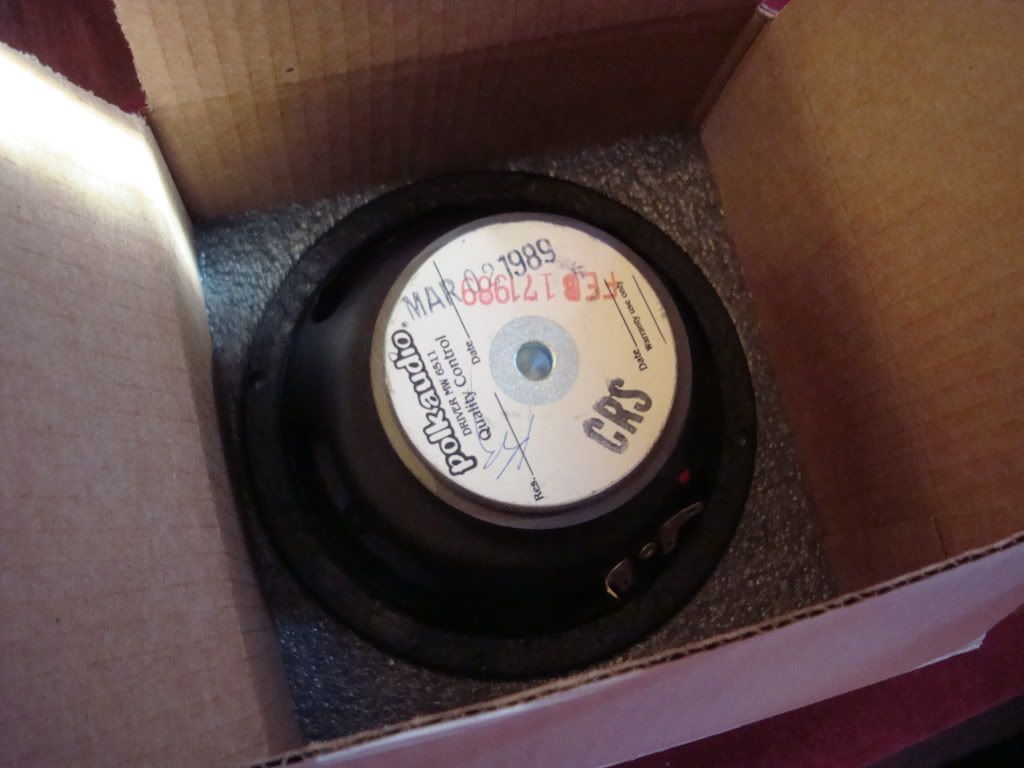
Unboxing my MW6511's. I purchased these boxes to stock all my extra drivers and cut foam to secure them, Over Kill?? Maybe but they look better in my closet!!

-
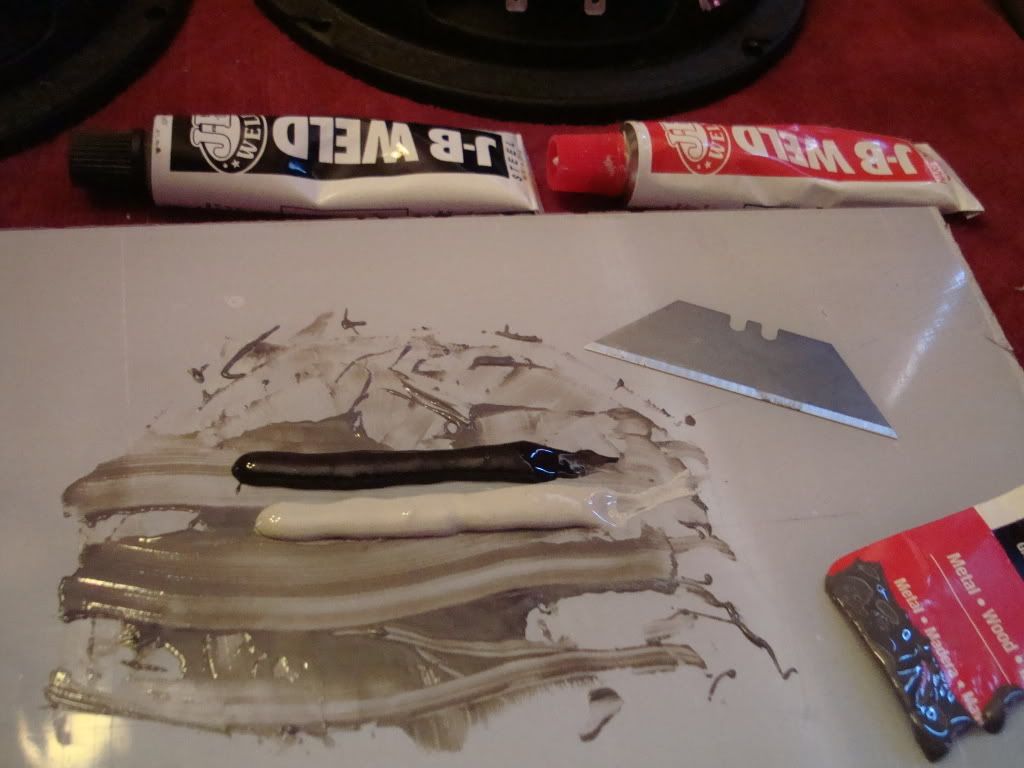
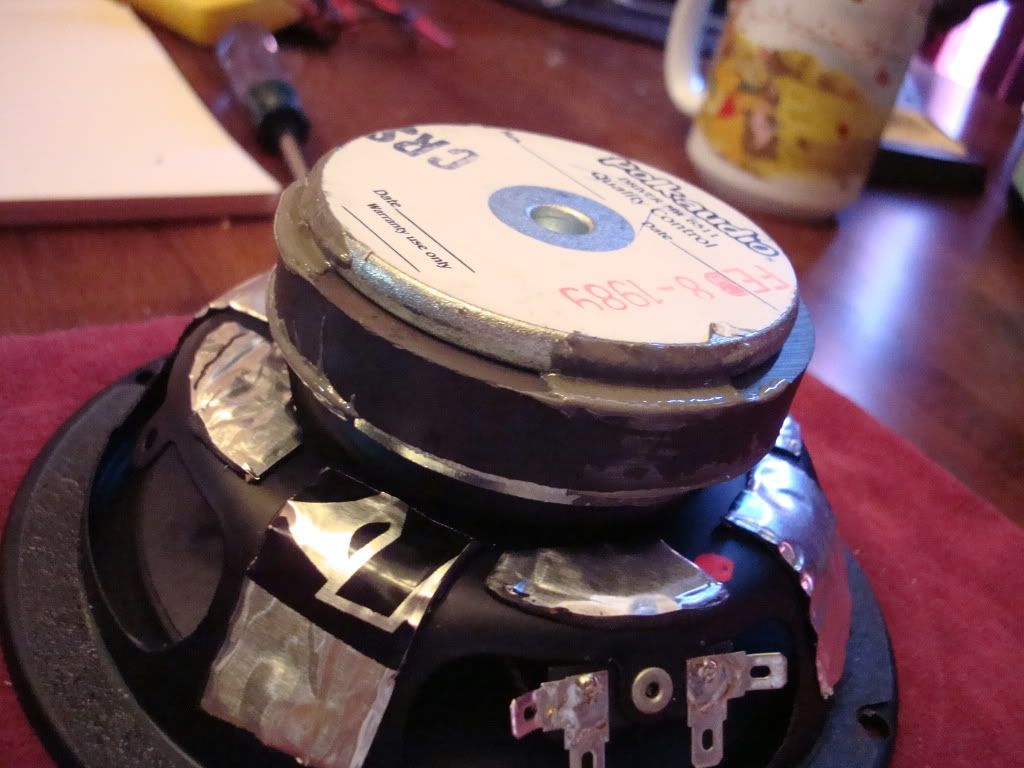
JB-Weld
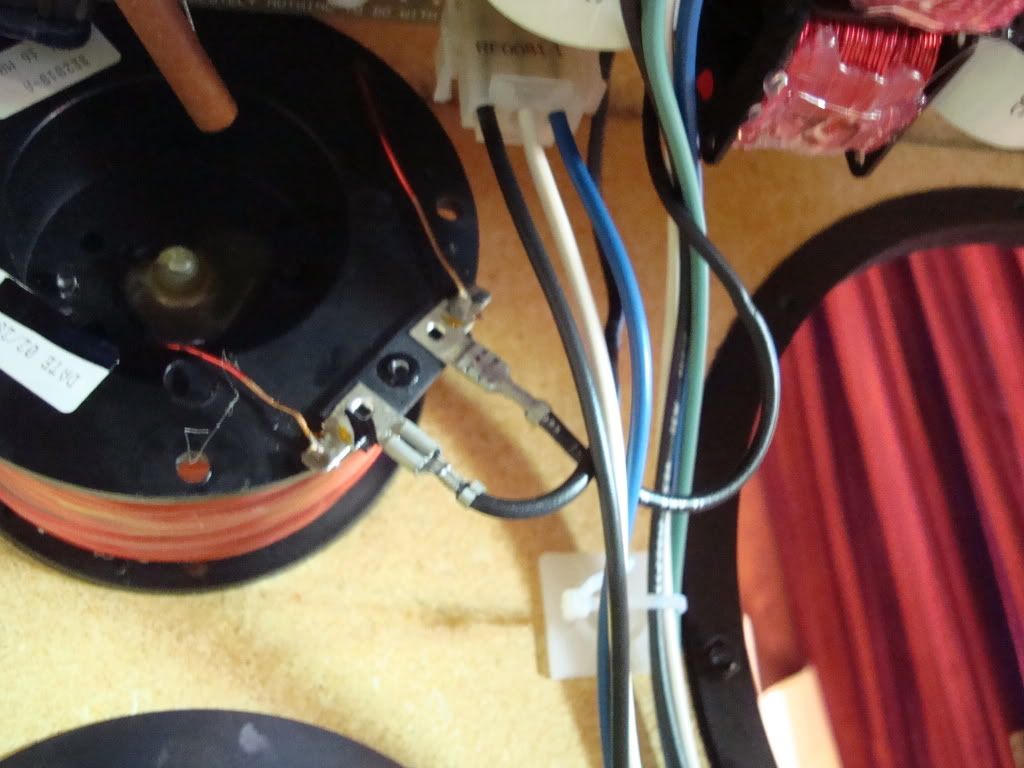
Pic of it hooked up for a test run!!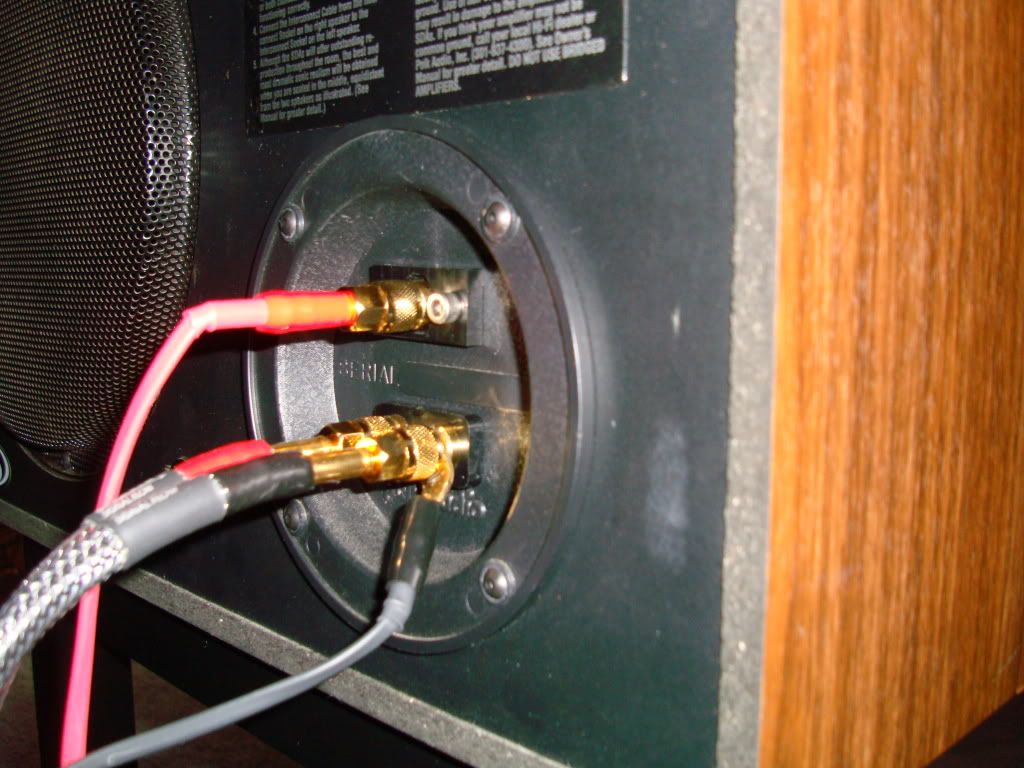
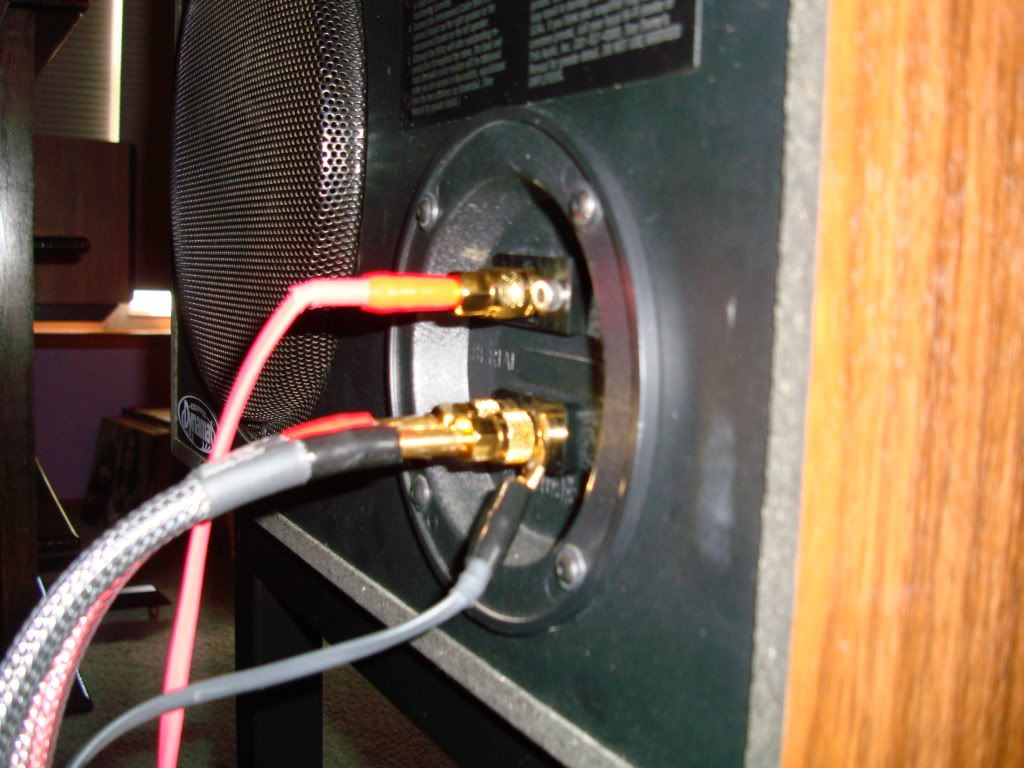
And I'm kicking back listening to some Journey!!! -
Damn nice Larry-- I really like the way you mounted the crossover boards,,what a great idea sir !!JC approves....he told me so. (F-1 nut)
-
Thanks George!! I really need to get a better camera though.
-
As usual, nice work!Political Correctness'.........defined
"A doctrine fostered by a delusional, illogical minority and rabidly promoted by an unscrupulous mainstream media, which holds forth the proposition that it is entirely possible to pick up a t-u-r-d by the clean end."
President of Club Polk -
Thanks Jesse!!
Been listening to them for most of the day now, and I'm not sure if it's the Dueland resistor or not but something beautiful is coming out of them, It's a shame they have to be 5" long.
I ordered some custom short tubes from Dueland for the 1.2tl's should see them in the next couple of weeks. They had to shut down for awhile because of flooding that put orders way behind.. -
-
Great job. I think I'm going to do my crossover mount exactly this way. Very nice.Good music, a good source, and good power can make SDA's sing. Tubes make them dance.
-
thanks for the step by step photos....i wasnt really sure what you were doing but by following along with the photos, i feel like i learned something.
my apologies if you already answered this somewhere but:
A) why did you do these mods in the first place?") what was the cost of all of this? (minus your time spent)
what was the cost of all of this? (minus your time spent)
eta: i went back and read the beginning of the thread seeing that the purpose was for upgrade.My Living Room
2 Channel
source > Sony DA555ES >
Kenwood GE-74 > Marantz SR4400 > Rotel RB980BX > Polk SDA2.
Pioneer VSX-D909S > Carver TFM-25 > Polk SDA1c.
Pioneer Elite VSX-99 > PSB imageB25.
Marantz 2226 > Polk SDA CRS.
Yamaha RX-V690 > Velodyne Servo F1000.
Home Theater
source > Onkyo TX-DS898 > B&W CC6 (center), B&W DM603, B&W DM601, B&W Rock Solid (rears), B&W AS6.
Bedroom
source > Pioneer Elite VSX-92TXH> ML Quest, B&W DM600 (center), B&W DM601 (rears), Velodyne Servo F1000. -
thanks for the step by step photos....i wasnt really sure what you were doing but by following along with the photos, i feel like i learned something.
my apologies if you already answered this somewhere but:
A) why did you do these mods in the first place? what was the cost of all of this? (minus your time spent)
eta: i went back and read the beginning of the thread seeing that the purpose was for upgrade.
A) why did you do these mods in the first place?
Because I had them, and wanted something to do, also it's fun!!:cool: what was the cost of all of this? (minus your time spent)
I have about $450 out of pocket for parts to make this happen.
The speakers cost me about $300
Keep in mind the Speaker rings and the Stands cost me nothing since I made these myself.. -
Larry, where'd the little plastic boot come from where you mounted the single cardas binding post for the sda connector? What are those screws? Do they set directly into the plastic you put behind the mounting cup? Got a part number for those screws handy?
What's the verdict on the Dueland resistor? It's a keeper? Do you know anything about their premium resistors, the cast ones? They're double the price of the standard ones.
Have you tested a resistor instead of the jumper where the polyswitch was?Good music, a good source, and good power can make SDA's sing. Tubes make them dance. -
Actually now I see you have a .5 ohm Mills. Any reason to put a Dueland in there as well over a Mills?Good music, a good source, and good power can make SDA's sing. Tubes make them dance.
-
I bet your son will be happy nice gift if you can part with them, nice stands did you make them yourself, if so you should make some to sell. I bet a lot of people would buy some if so put me down for 4ea. Nice work Larry. I just noticed the date of this thread so did your son get these, and were you able to part with them?Home Theater
Parasound Halo A 31 OnkyoTX-NR838 Sony XBR55X850B 55" 4K RtiA9 Fronts CsiA6 Center RtiA3 Rears FxiA6 Side Surrounds Dual Psw 111's Oppo 105D Signal Ultra Speaker Cables & IC's Signal Magic Power Cable Technics SL Q300 Panamax MR4300 Audioquest Chocolate HDMI Cables Audioquest Forest USB Cable
2 Channel
Adcom 555II Vincent SA-T1 Marantz SA 15S2 Denon DR-M11 Clearaudio Bluemotion SDA 2.3tl's (Z) edition MIT Terminator II Speaker Cables & IC's Adcom 545II Adcom Gtp-450 Marantz CD5004 Technics M245X SDA 2B's, SDA CRS+
Stuff for the Head
JD LABS C5 Headphone Amplifier, Sennheiser HD 598, Polk Audio Buckle, Polk Audio Hinge, Velodyne vPulse, Bose IE2, Sennheiser CX 200 Street II, Sennheiser MX 365
Shower & Off the beaten path Rigs
Polk Audio Boom Swimmer, Polk Audio Urchin -
Larry, in your internal photo of the binding post cup mounting, is that some sort of ring you have on the inside? Looks like you have a custom mounting for that, but I didn't get that in the rings kit the CRS+. Any chance a pair of those mounts could be made available???Good music, a good source, and good power can make SDA's sing. Tubes make them dance.
-
Also, how do you apply the Sonic Barrier to the inside of the cabinet? Is there an adhesive backer? Or did you use something along the lines of hot glue?Good music, a good source, and good power can make SDA's sing. Tubes make them dance.
-
Also, how do you apply the Sonic Barrier to the inside of the cabinet? Is there an adhesive backer? Or did you use something along the lines of hot glue?
yes it has a sticky back