DIY vertical center channel entertainment center.
PubFiction
Posts: 105
Introduction:
I have started building an entertainment center and wanted to post the work log and pictures. Mostly because I think my problems in life are similar to most normal people and so my solution might be valuable. Also a good way for me to rant =]
Here is the purpose, or problems. I have a small living room like many and that puts constraints on exactly where things can be, it also does not seat very many people, so we want to get the most seats possible in case we have guests over, obviously not all seats will be in the ideal listening postion. There are doors or archways on 3 walls in the middle ruining any chance of sectioning off an area. The only possible place to sort of center a TV was on one wall that also had a window. So we were hoping to have enough space by the TV to put in 2 emergency seats lol. We also decided we wanted to mount the TV on the wall to move it as far back as possible so if someone uses these emergency seats they can still see the TV (not the most comfortable I know). We also run a business out of the house which consumes every single spare room and space in the house so there was no option to make a HT room somewhere else.
So this left us with a fairly narrow set of guidelines for the entertainment center and we exhausted every possible retail option in town and online looking for something that would fit. Nothing did. So if you make furniture listen up your industry is failing. I actually have a very simple HT setup, we use an HTPC , a receiver and a center speaker. We now have an amp but could have gone without one if needed. Then there is the cable box. That is it, no consoles because computers can do so much more and nothing else. The movies and everything is done through the HTPC. And the kicker is the HTPC is actually in the office so it doesn?t even need to be placed in the entertainment center. On top of that we have exactly 1 blu ray, all others are stored on the hard drives in the HTPC, music is of course also on the HTPC, movies are otherwise rented or streamed.
So one would imagine with almost nothing to take up space other than bog standard, center speaker and receiver, it would be easy to find an entertainment center. Nope lol. We literally spent a couple months looking because we are busy and did not want to make something. Every place we went to had the same problems, at the top center of any HT system you could not fit a center speaker that is more than like 5 inches. The few that could do this always had some other problem, like there was no space to stick the receiver unless we tipped it on its side. Online there were better options but most of them were either way to big, or way too small and would look funny. Finally I caved in and decided to build one.
So I spent another week or so scouting all the home improvement stores to look for what could be built with not a lot of work and not a ton of tools. I don?t have a table saw, I do have a mitre and radial arm saw. No router, so it had to be pre made trim. And if I was to do it I wanted to do it right and make sure it would fit what I had now and maybe a little more down the line.
So I hope to get a new section of this build log up once a day now.
Post edited by PubFiction on
Comments
-
So after looking around I put together this basic idea. I had already put together a custom stain to match the existing wood in my house for some other projects. So I decided to go with bare wood and stain it myself. And I decided to use kitchen cabinets as the major frame. Kitchen cabinets come in a lot of premade sizes and they have fairly cheap ones that are unfinished in oak. Ideally I wanted to 21 inch cabinets which would fit most AV equipment. I also found a 12 inch cabinet in the middle would have 9 inches of space and that will fit the majority of center channel speakers in the 4 -6.5 inch driver range. To move the center channel as high as possible I will flip the cabinet upside down. And to make them look like entertainment centers I will cut off the bottom kick board area and replace it with some boards and couch feet. I also looked around at custom cabinets, I was hoping to find something in the right color. I talked with reps and it looked like if I could find the right thing I could order the cabinets already finished, the insides and sides would also be finished with shelves. So that would have saved me a ton of time and anyone looking at this should think of that. Cabinets come in lots of colors and styles. But I was not able to find a suitable color match. And there were a couple of things I knew I would need to customize. For instance I was hoping for the bottom cabinets to come configured with glass so I could put either glass or wood in the door panels.
Menards was the only place that stocked unfinished 21 inch cabinets, but for most people 24 inch might actually be better. So I picked those up these are the 24 inch cabinets for the floor, not wall cabinets. I picked up these feet from home depot, just based on the style. I also grabbed a couple pieces of ? luan for finishing the side of the cabinets, they sell precut sizes. My wife selected some trim we would use to give it some depth on the sides and it was labeled as white hardwood, best we could guess that was aspen. So I decided to use aspen for as many other parts as I did not know how it would stain. You don?t want a single piece of different wood it?s better to mix in a lot of that wood. So the hardest thing to find was the top. I was able to get a 24 inch wide by 6 foot aspen board 1 inch thick, this would not be long enough to overhang on the front and would probably not look right so I took a 2x1 inch x 6 foot to ad about 1.5 inches to the width. Then I went and found a couple 1x4 6 foot aspen boards that I would use on the bottom. I also found some handles in the color and style my wife would like with the practical features I wanted. They have to be big enough for my hands to easily grab them, and they need to be 2 hole style because I hat handles that spin and loosen up.
I took the cabinets and cut about 4 inches off the bottom to remove the toe kick. I flipped the center upside down and removed the drawer, and track. Noticing the particle board was 0.5 inches thick I saved this and pulled it apart. I will use it later as filler / support between cabinets which have ? inch overhang on the sides. Then I flipped the track upside down and mounted it in the reveres orientation. Luckily there was no modification needed. It was exactly symmetrical even this groove they cut in the wood on the back. Then I cut a piece of pine plywood from garage scrap to use as the bottom of the center speaker cabinet.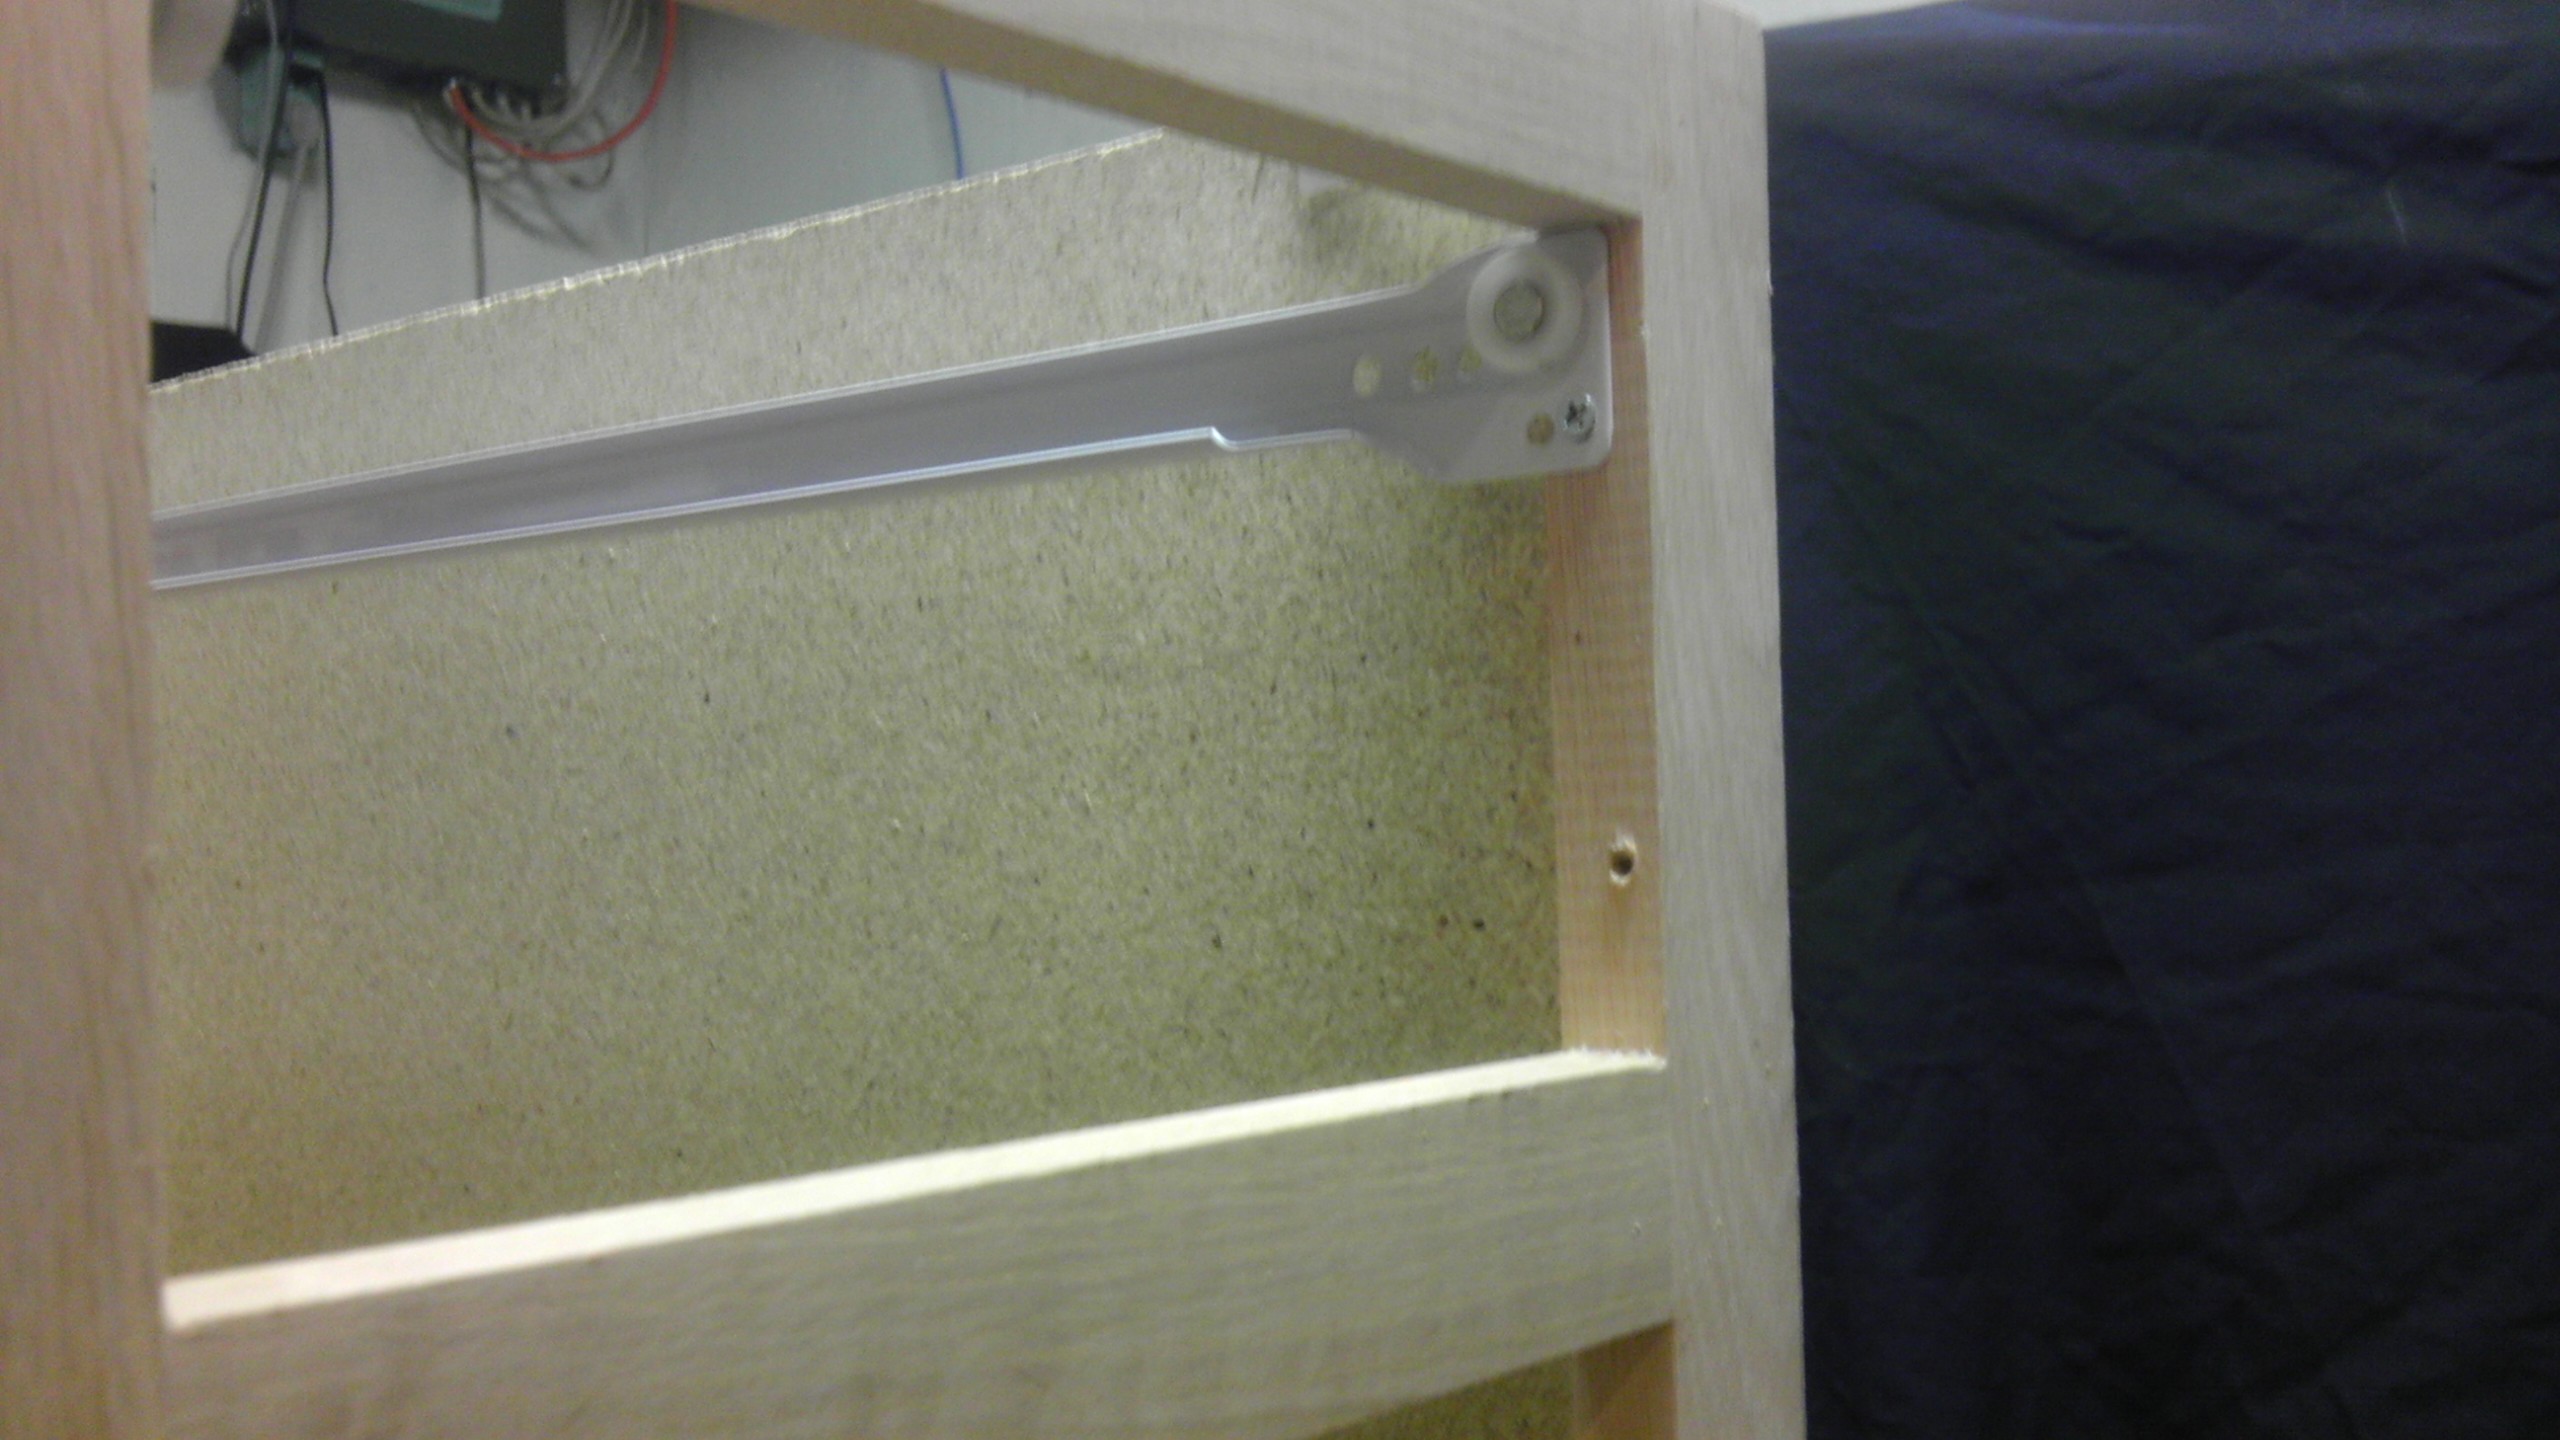
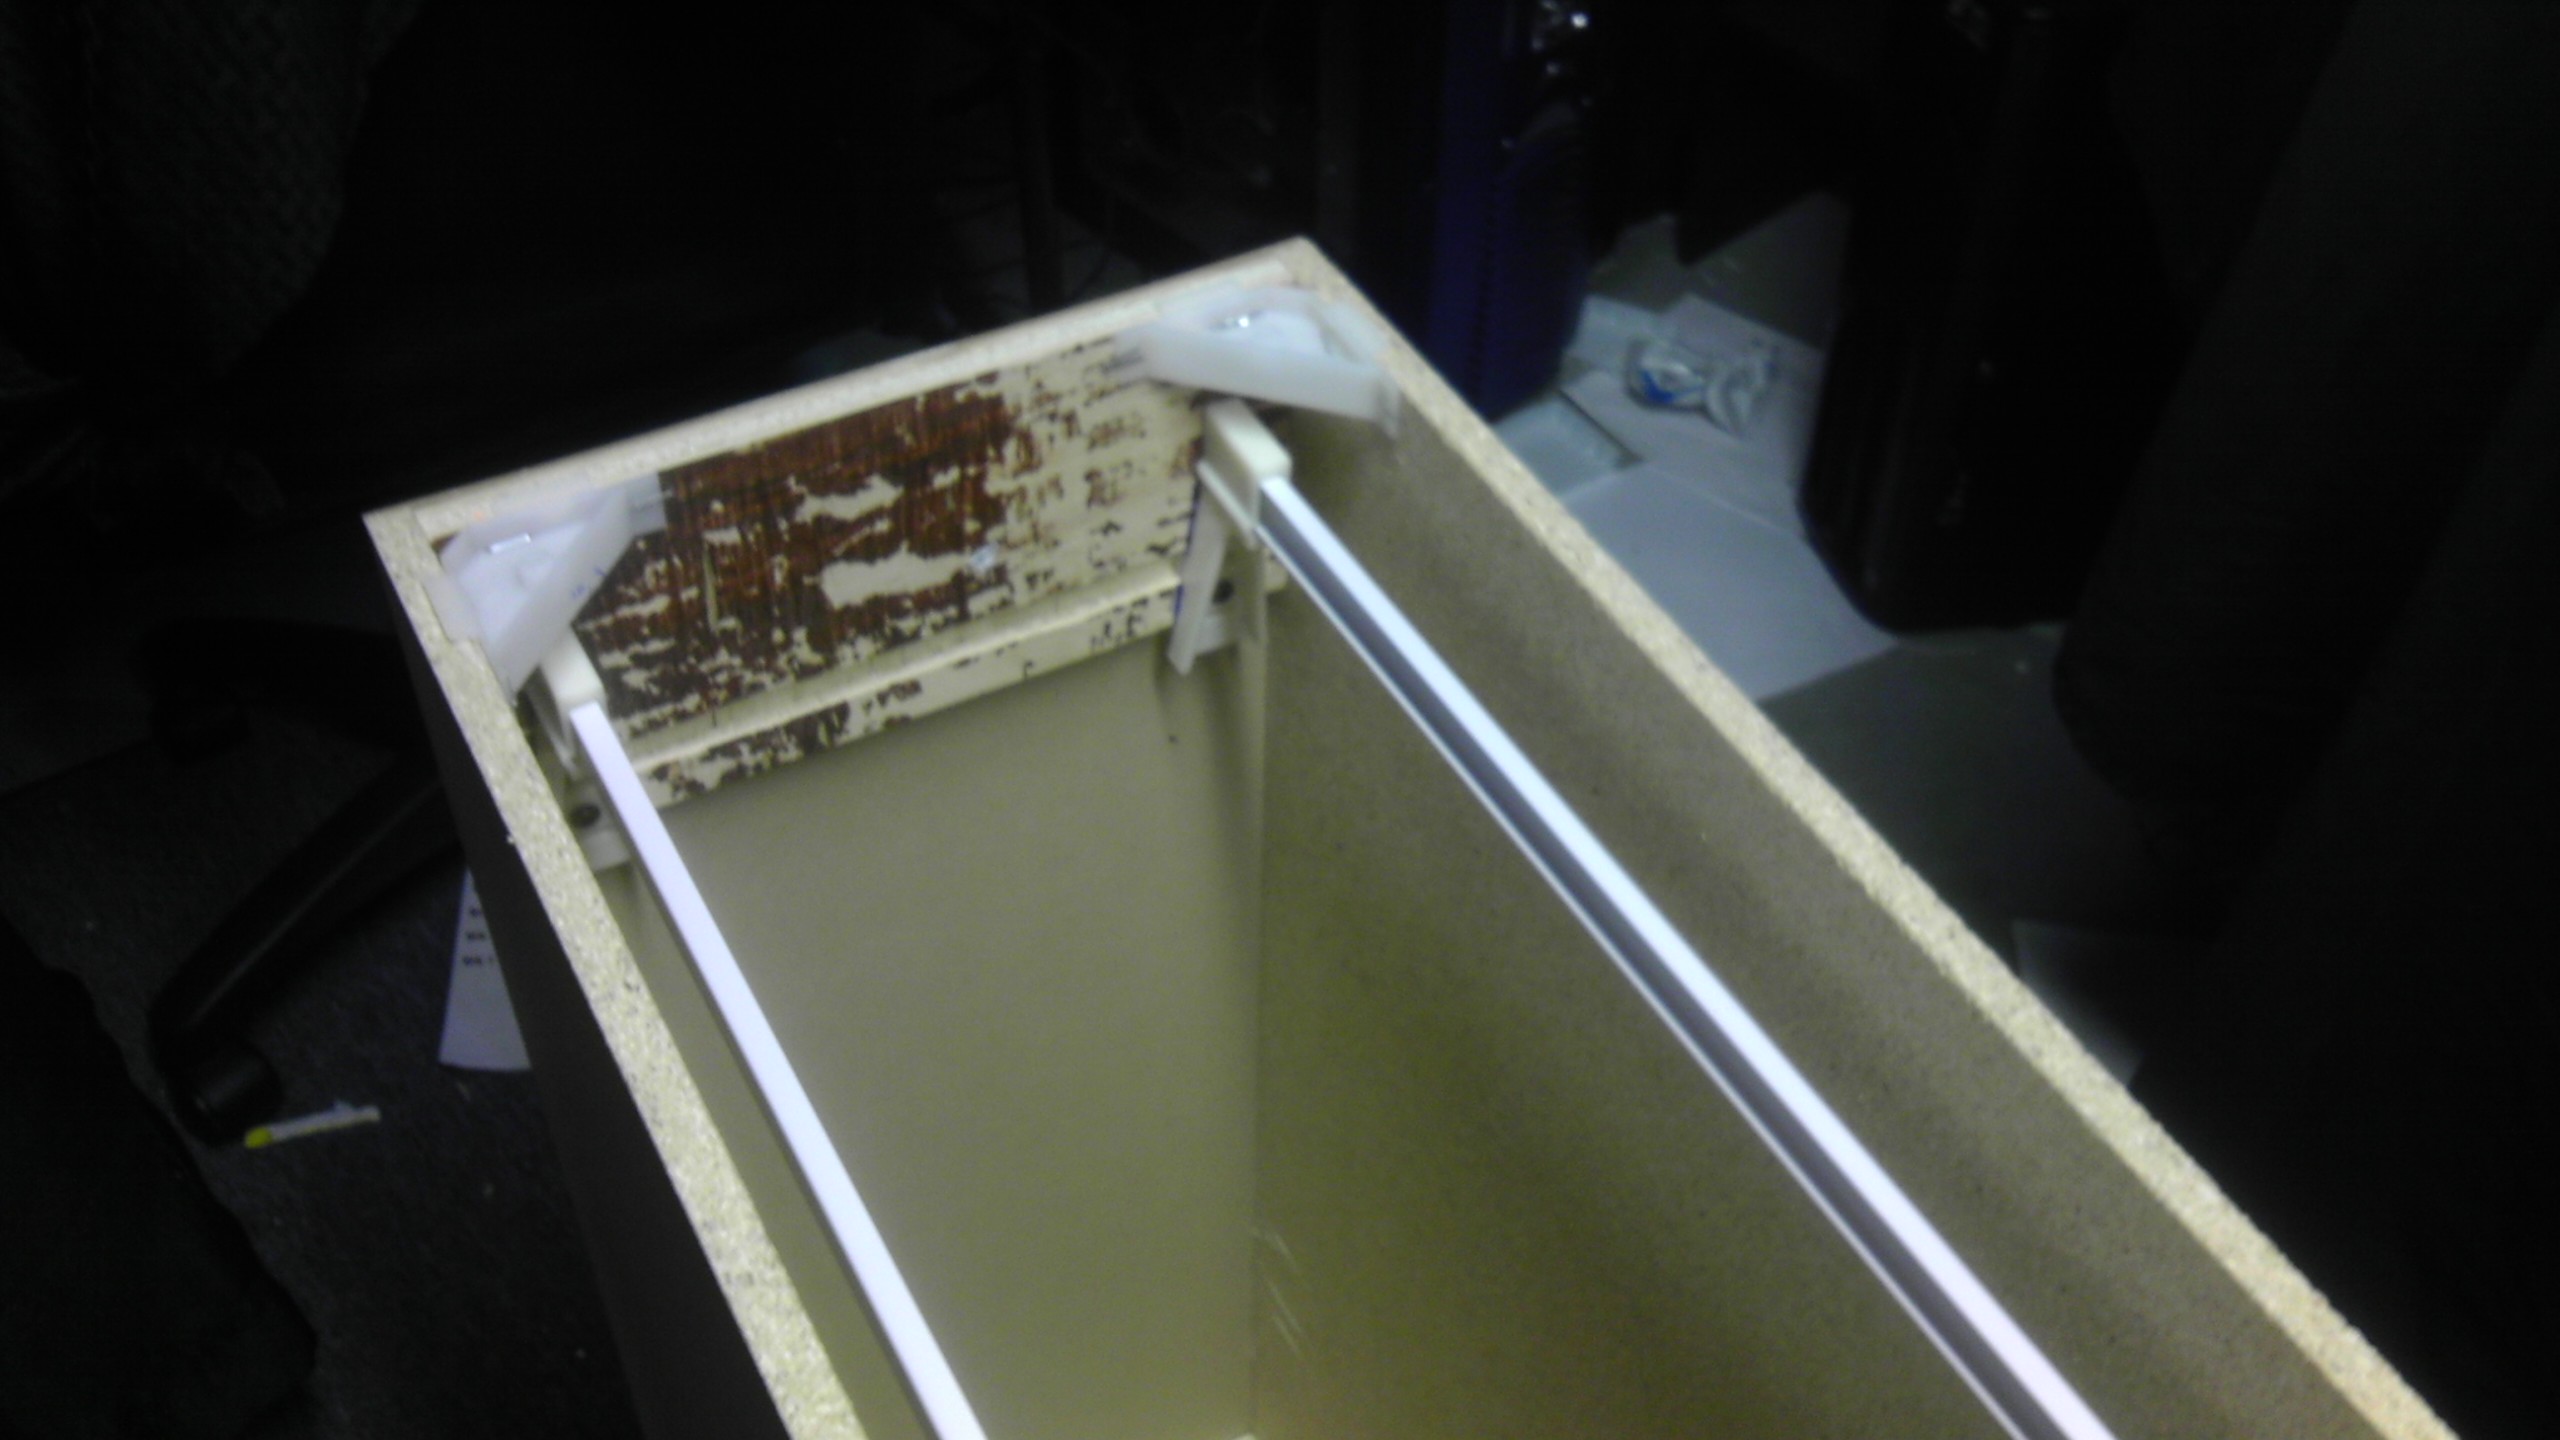
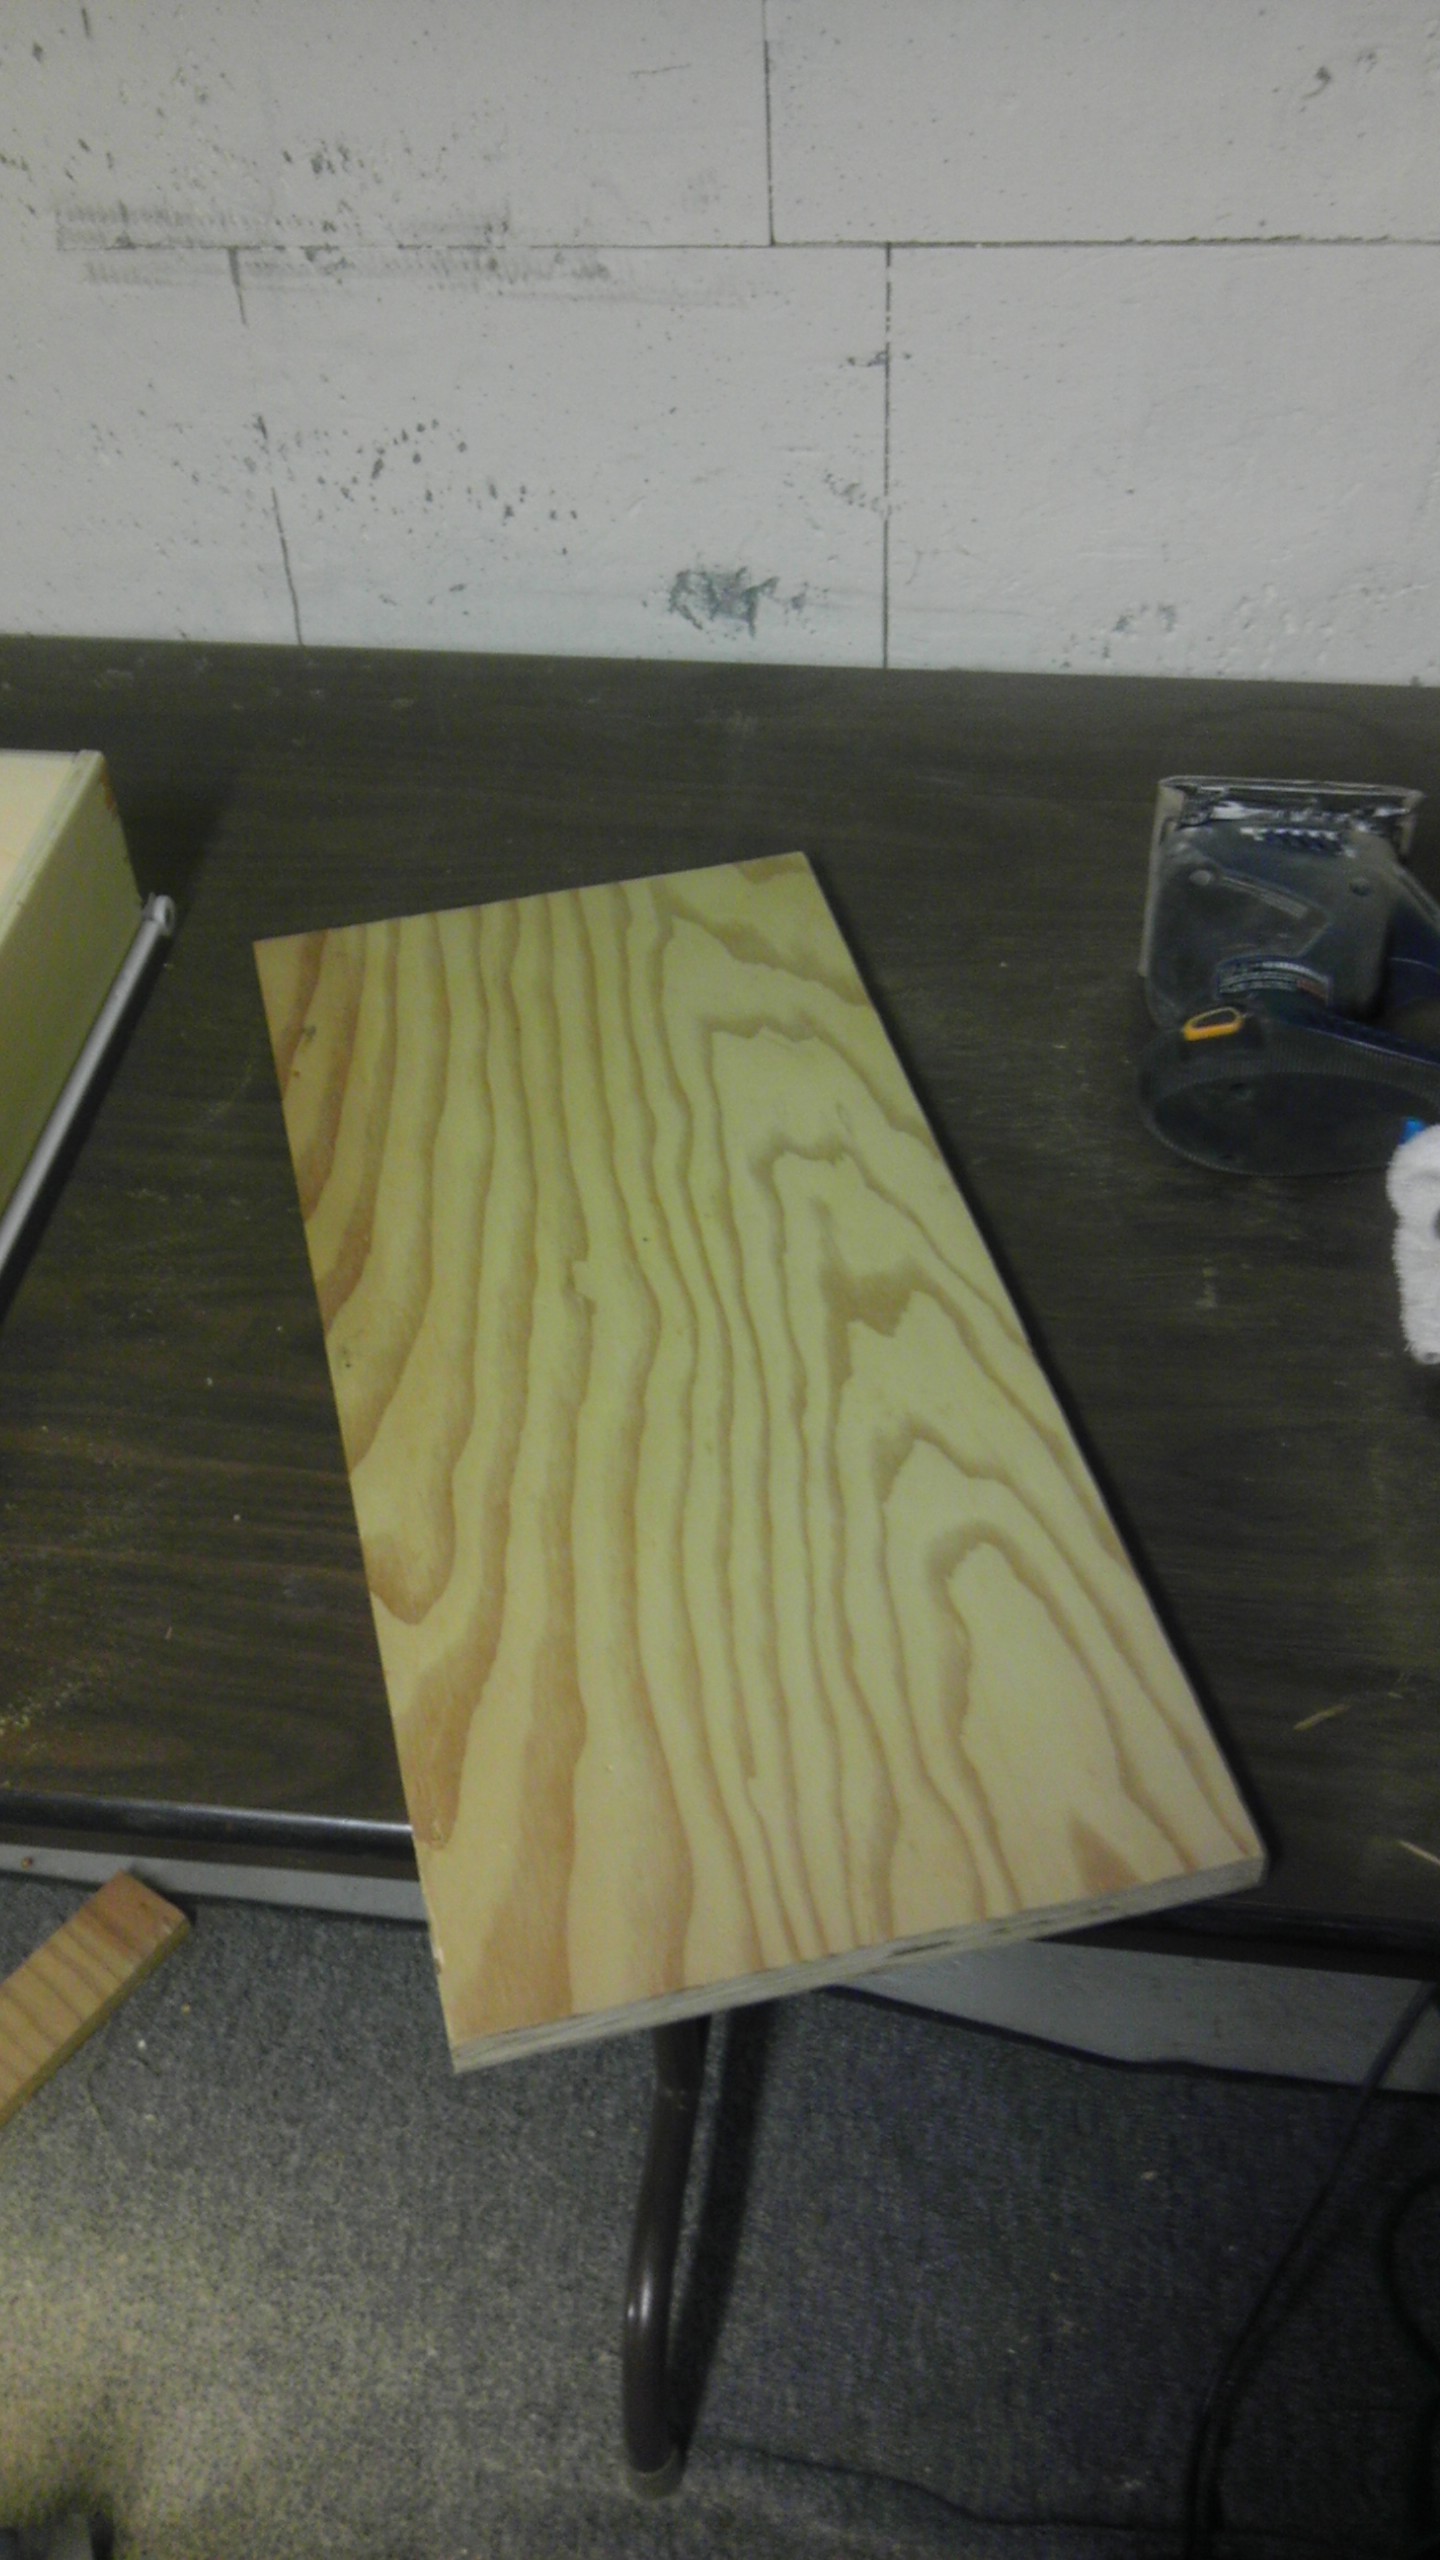
I took all most of those parts and stained them and finished them with satin polyurethane. I had pretty limited space as I mentioned above so staining had to be done in a lot more steps than someone who has a garage might have done. My garage is full, I mean full so there was no space to work there and being winter it all had to be done in the house.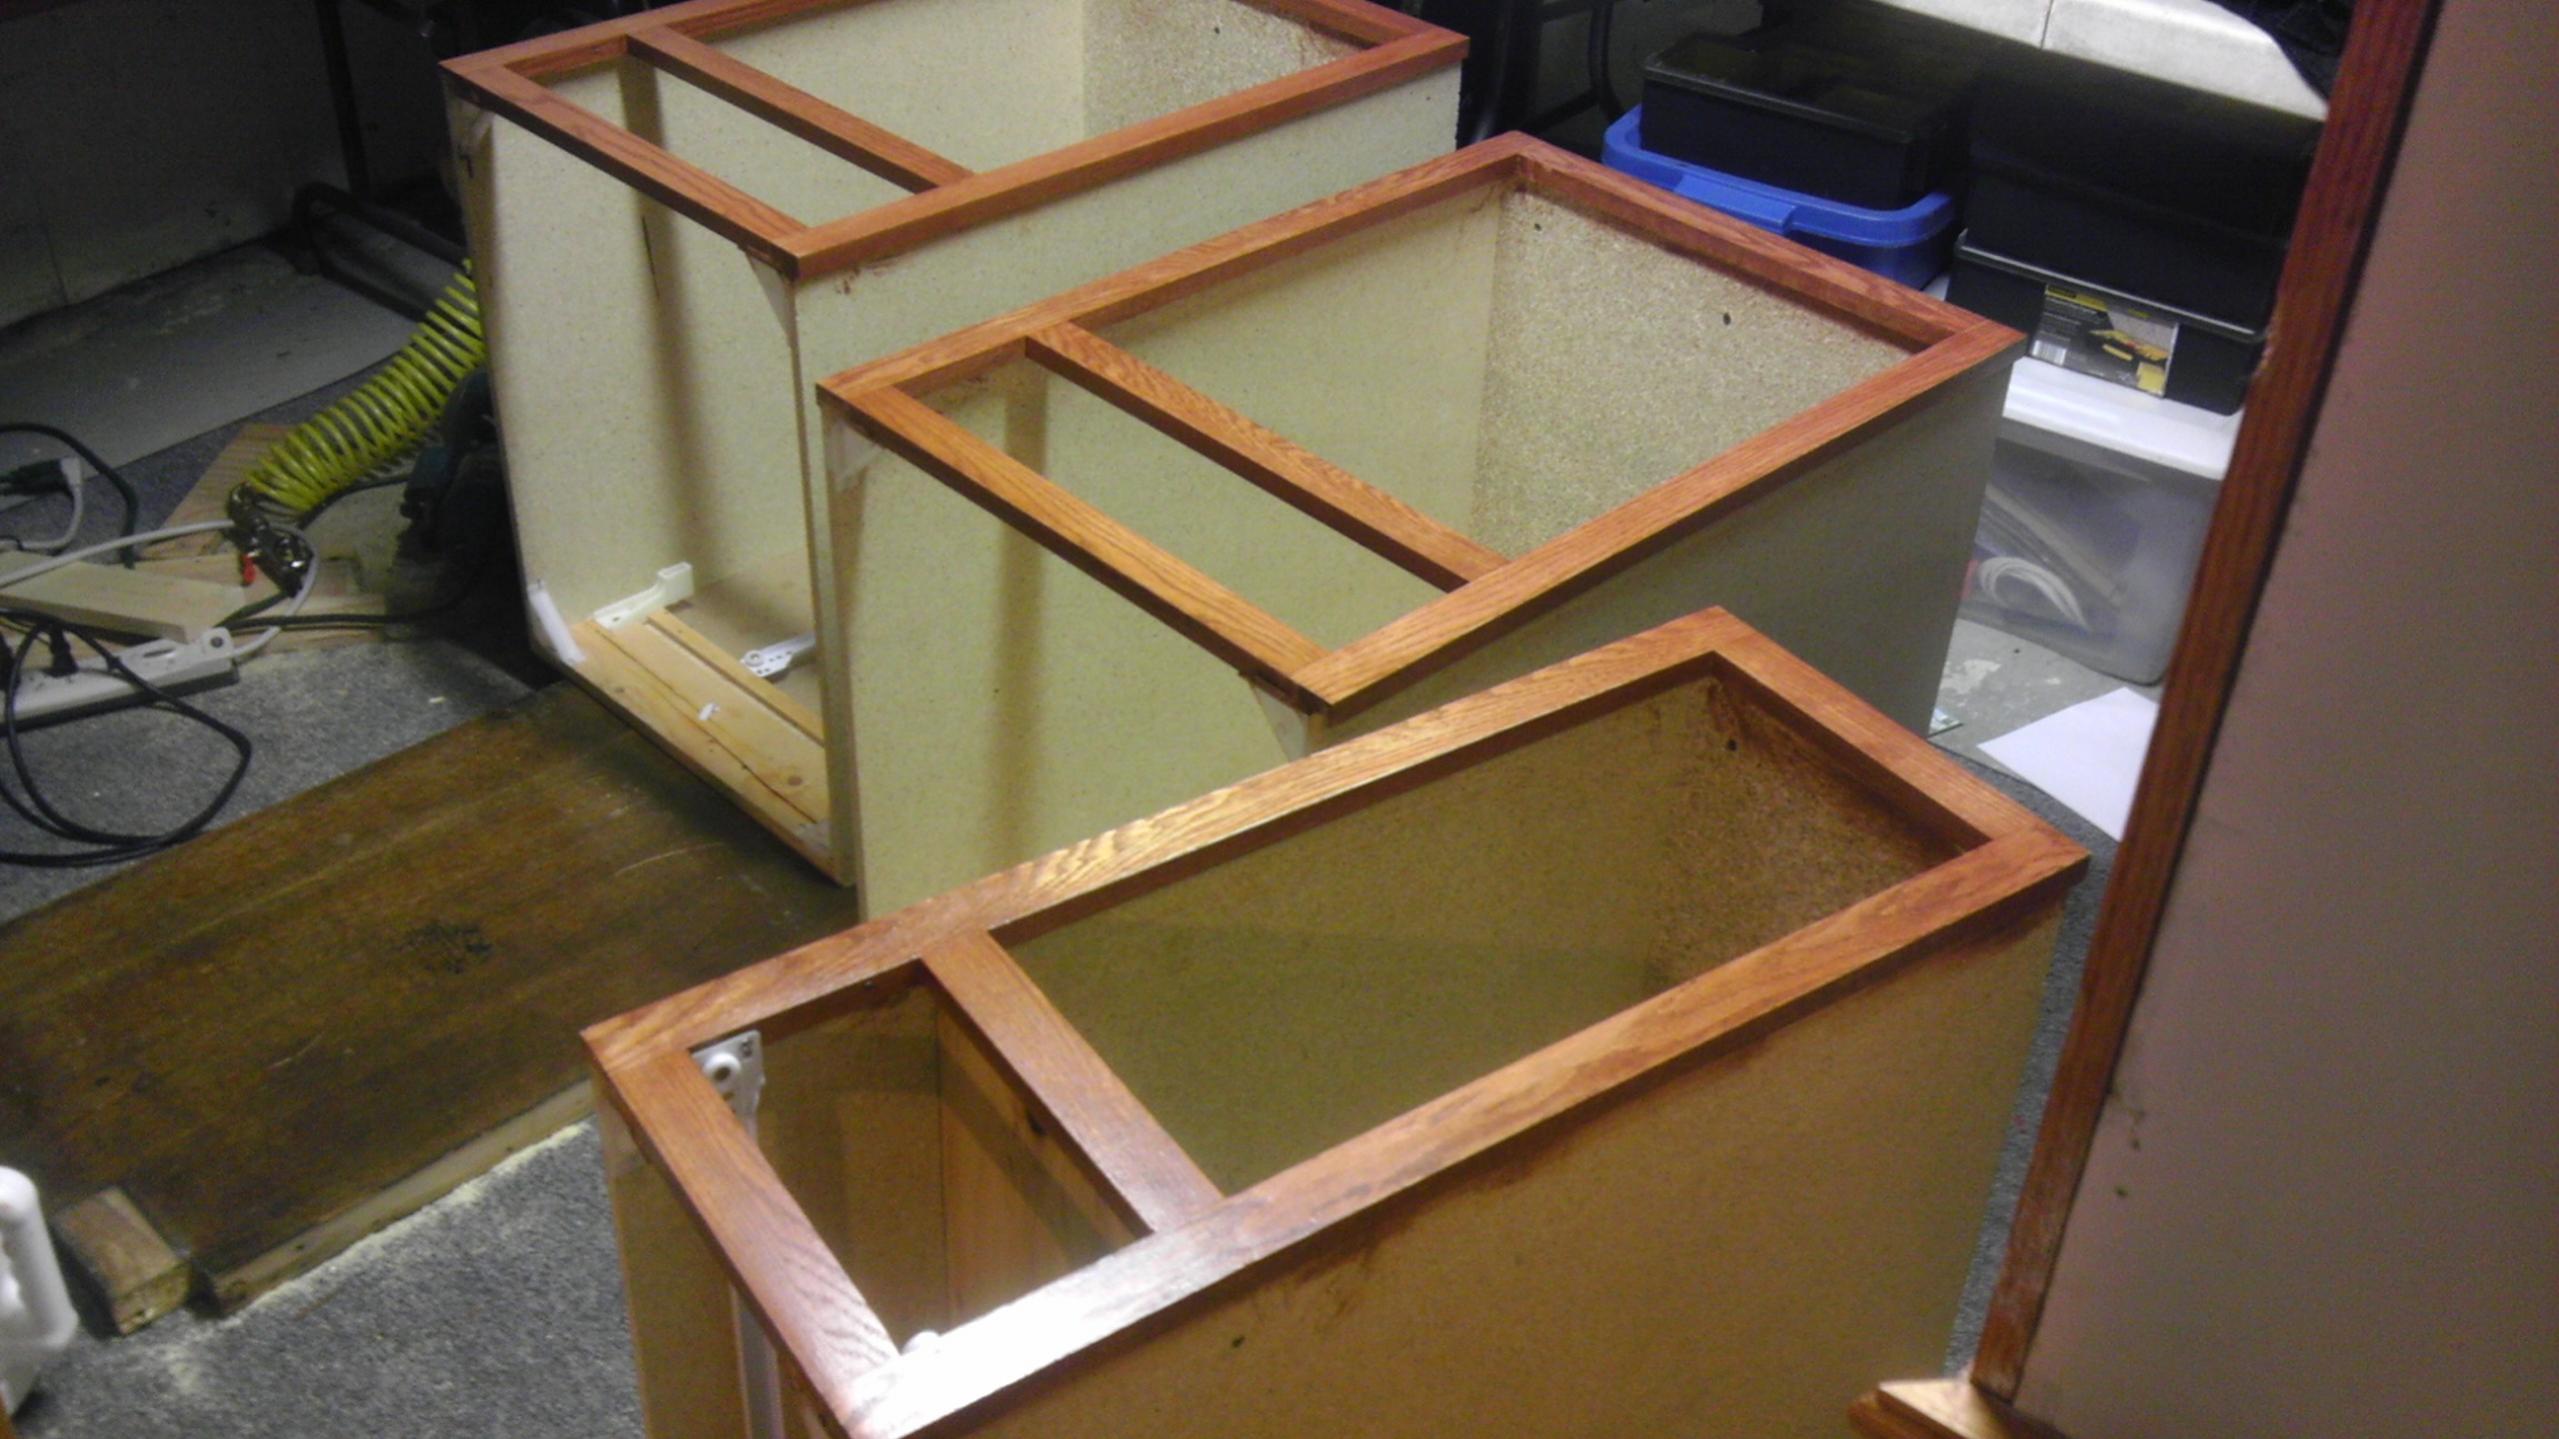
I also cut the side panels to finish the ends to size and the trim I would put onto the sides then stained them. I then moved it all up stairs because I don?t think I could get it out of my basement, we moved the table and assembled it in the dining room.
First I put the sides on the cabinets. Clamped them down with the trim and screwed them in place from inside the cabinet to outside so no screws would show.As mentioned I used the 0.5 inch thick particle board from the bottom of the cabinets to support the space in between the cabinets at the front and back. I decided to have the center cabinet stick out a little in front of the flanking cabinets. I mostly did it because I wanted there to be some levels and complication in look the center but I reasoned it as it might help sound quality. Then I carefully aligned them clamped them and screwed them together.
Next I cut and stained 3 pieces of 1 x 4 aspen to line the bottom and protrude out 1.5 inches. This will match the overhang of the top later. I screwed these down onto the cabinet being careful to this real wood or supports and of course not totally miss. Play it safe to the inside if unsure. I also put a short piece of the 1 x 4 aspen in the middle. These cabinets are only particle board, amps and AVRs can be heavy and I was worried that it might be a problem.
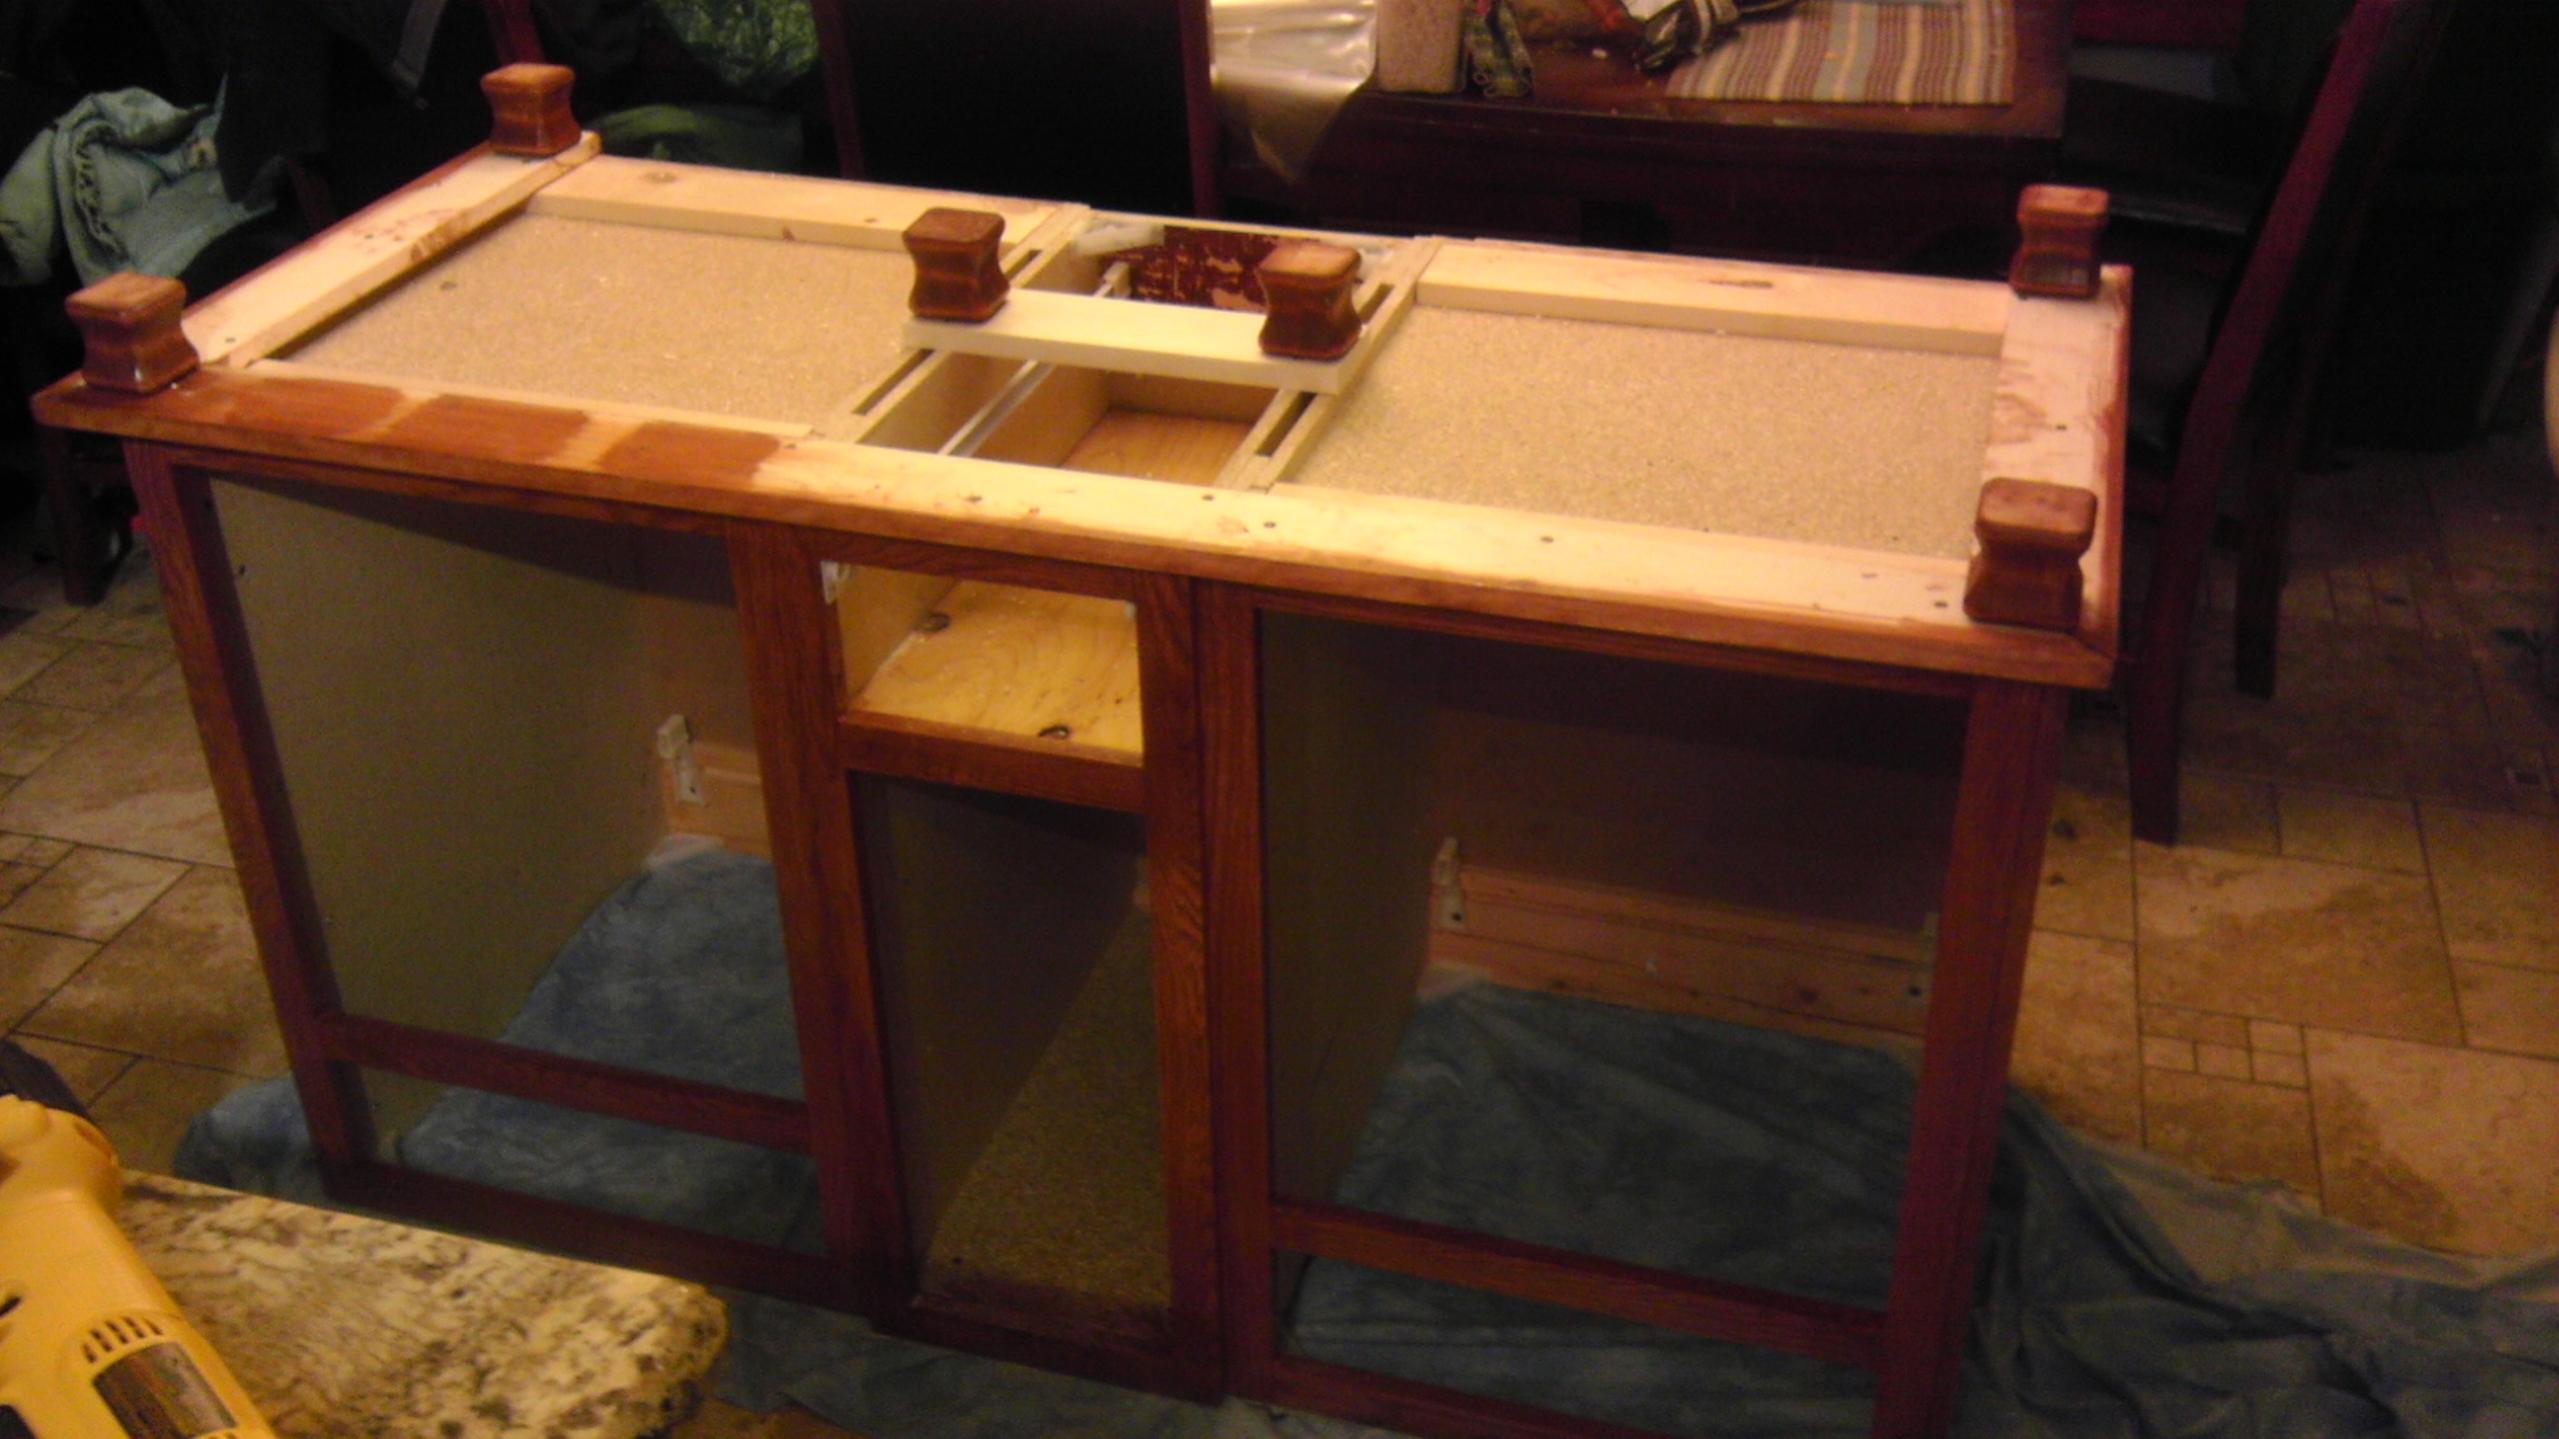
Next I drilled holes in the Places legs would go and hammered in the M8-1.25 T nuts to screw the legs in. Finally I attached the legs. 6 in total and flipped the entertainment center upright.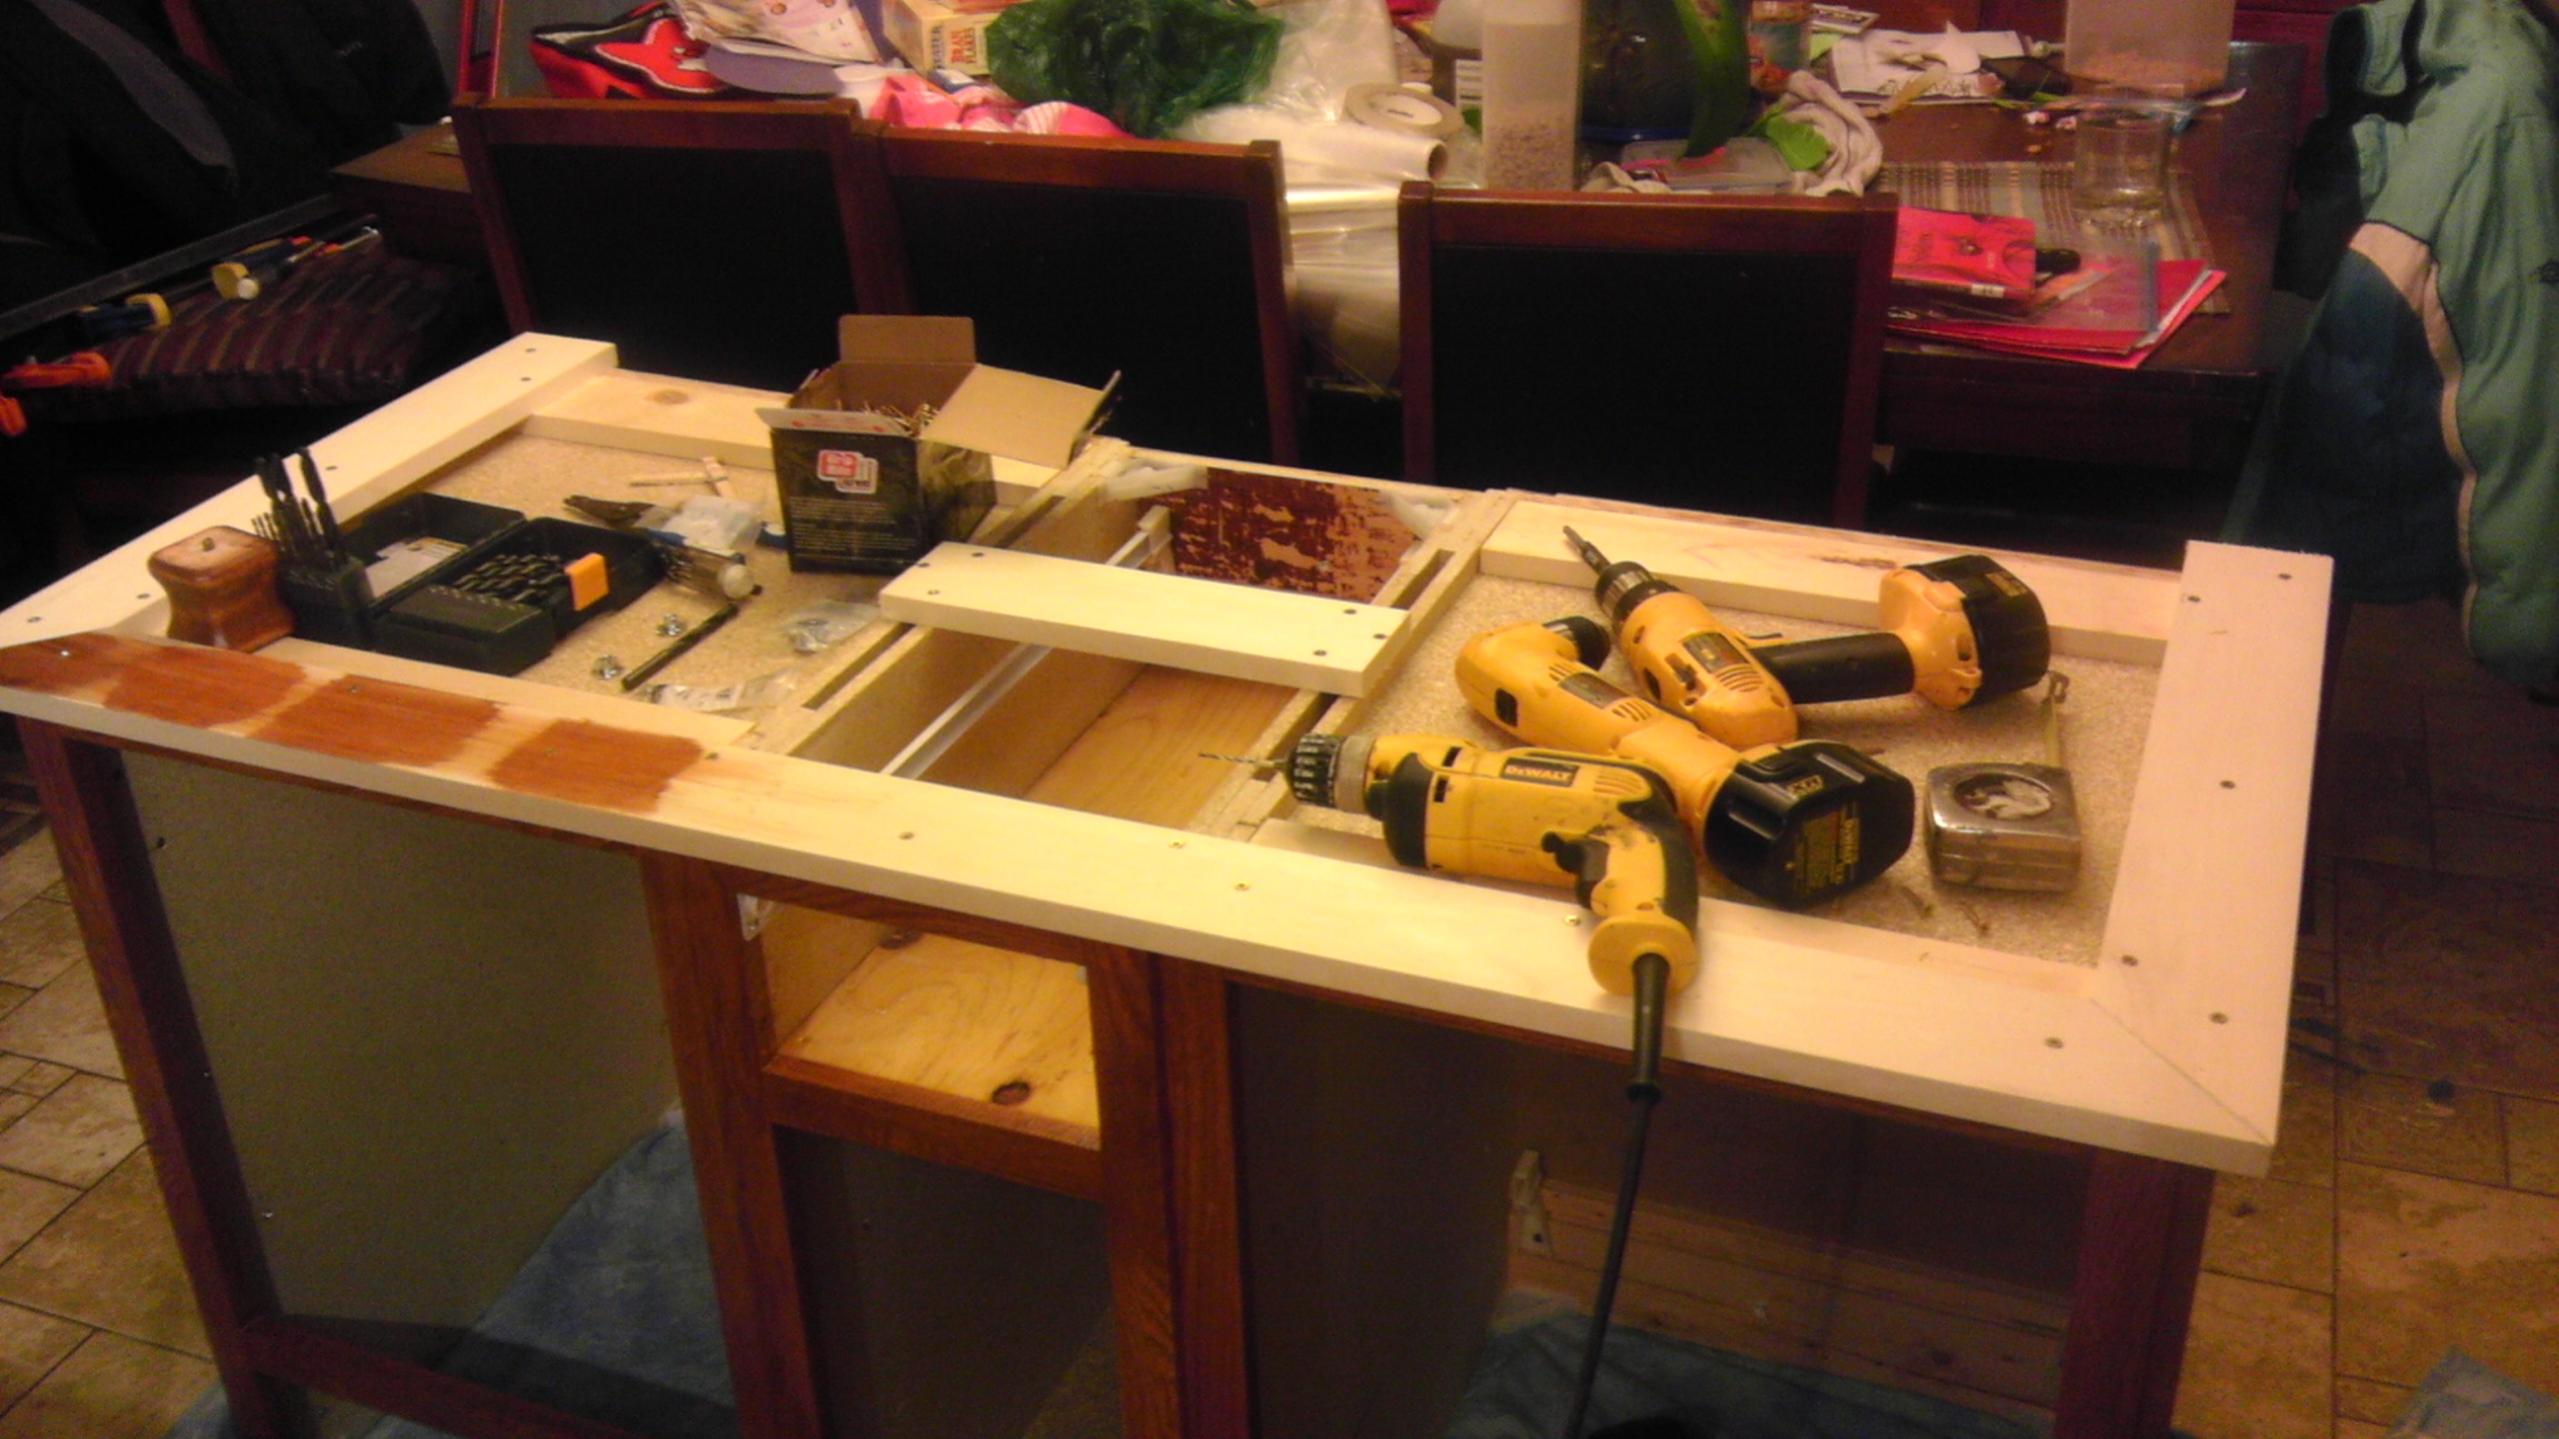
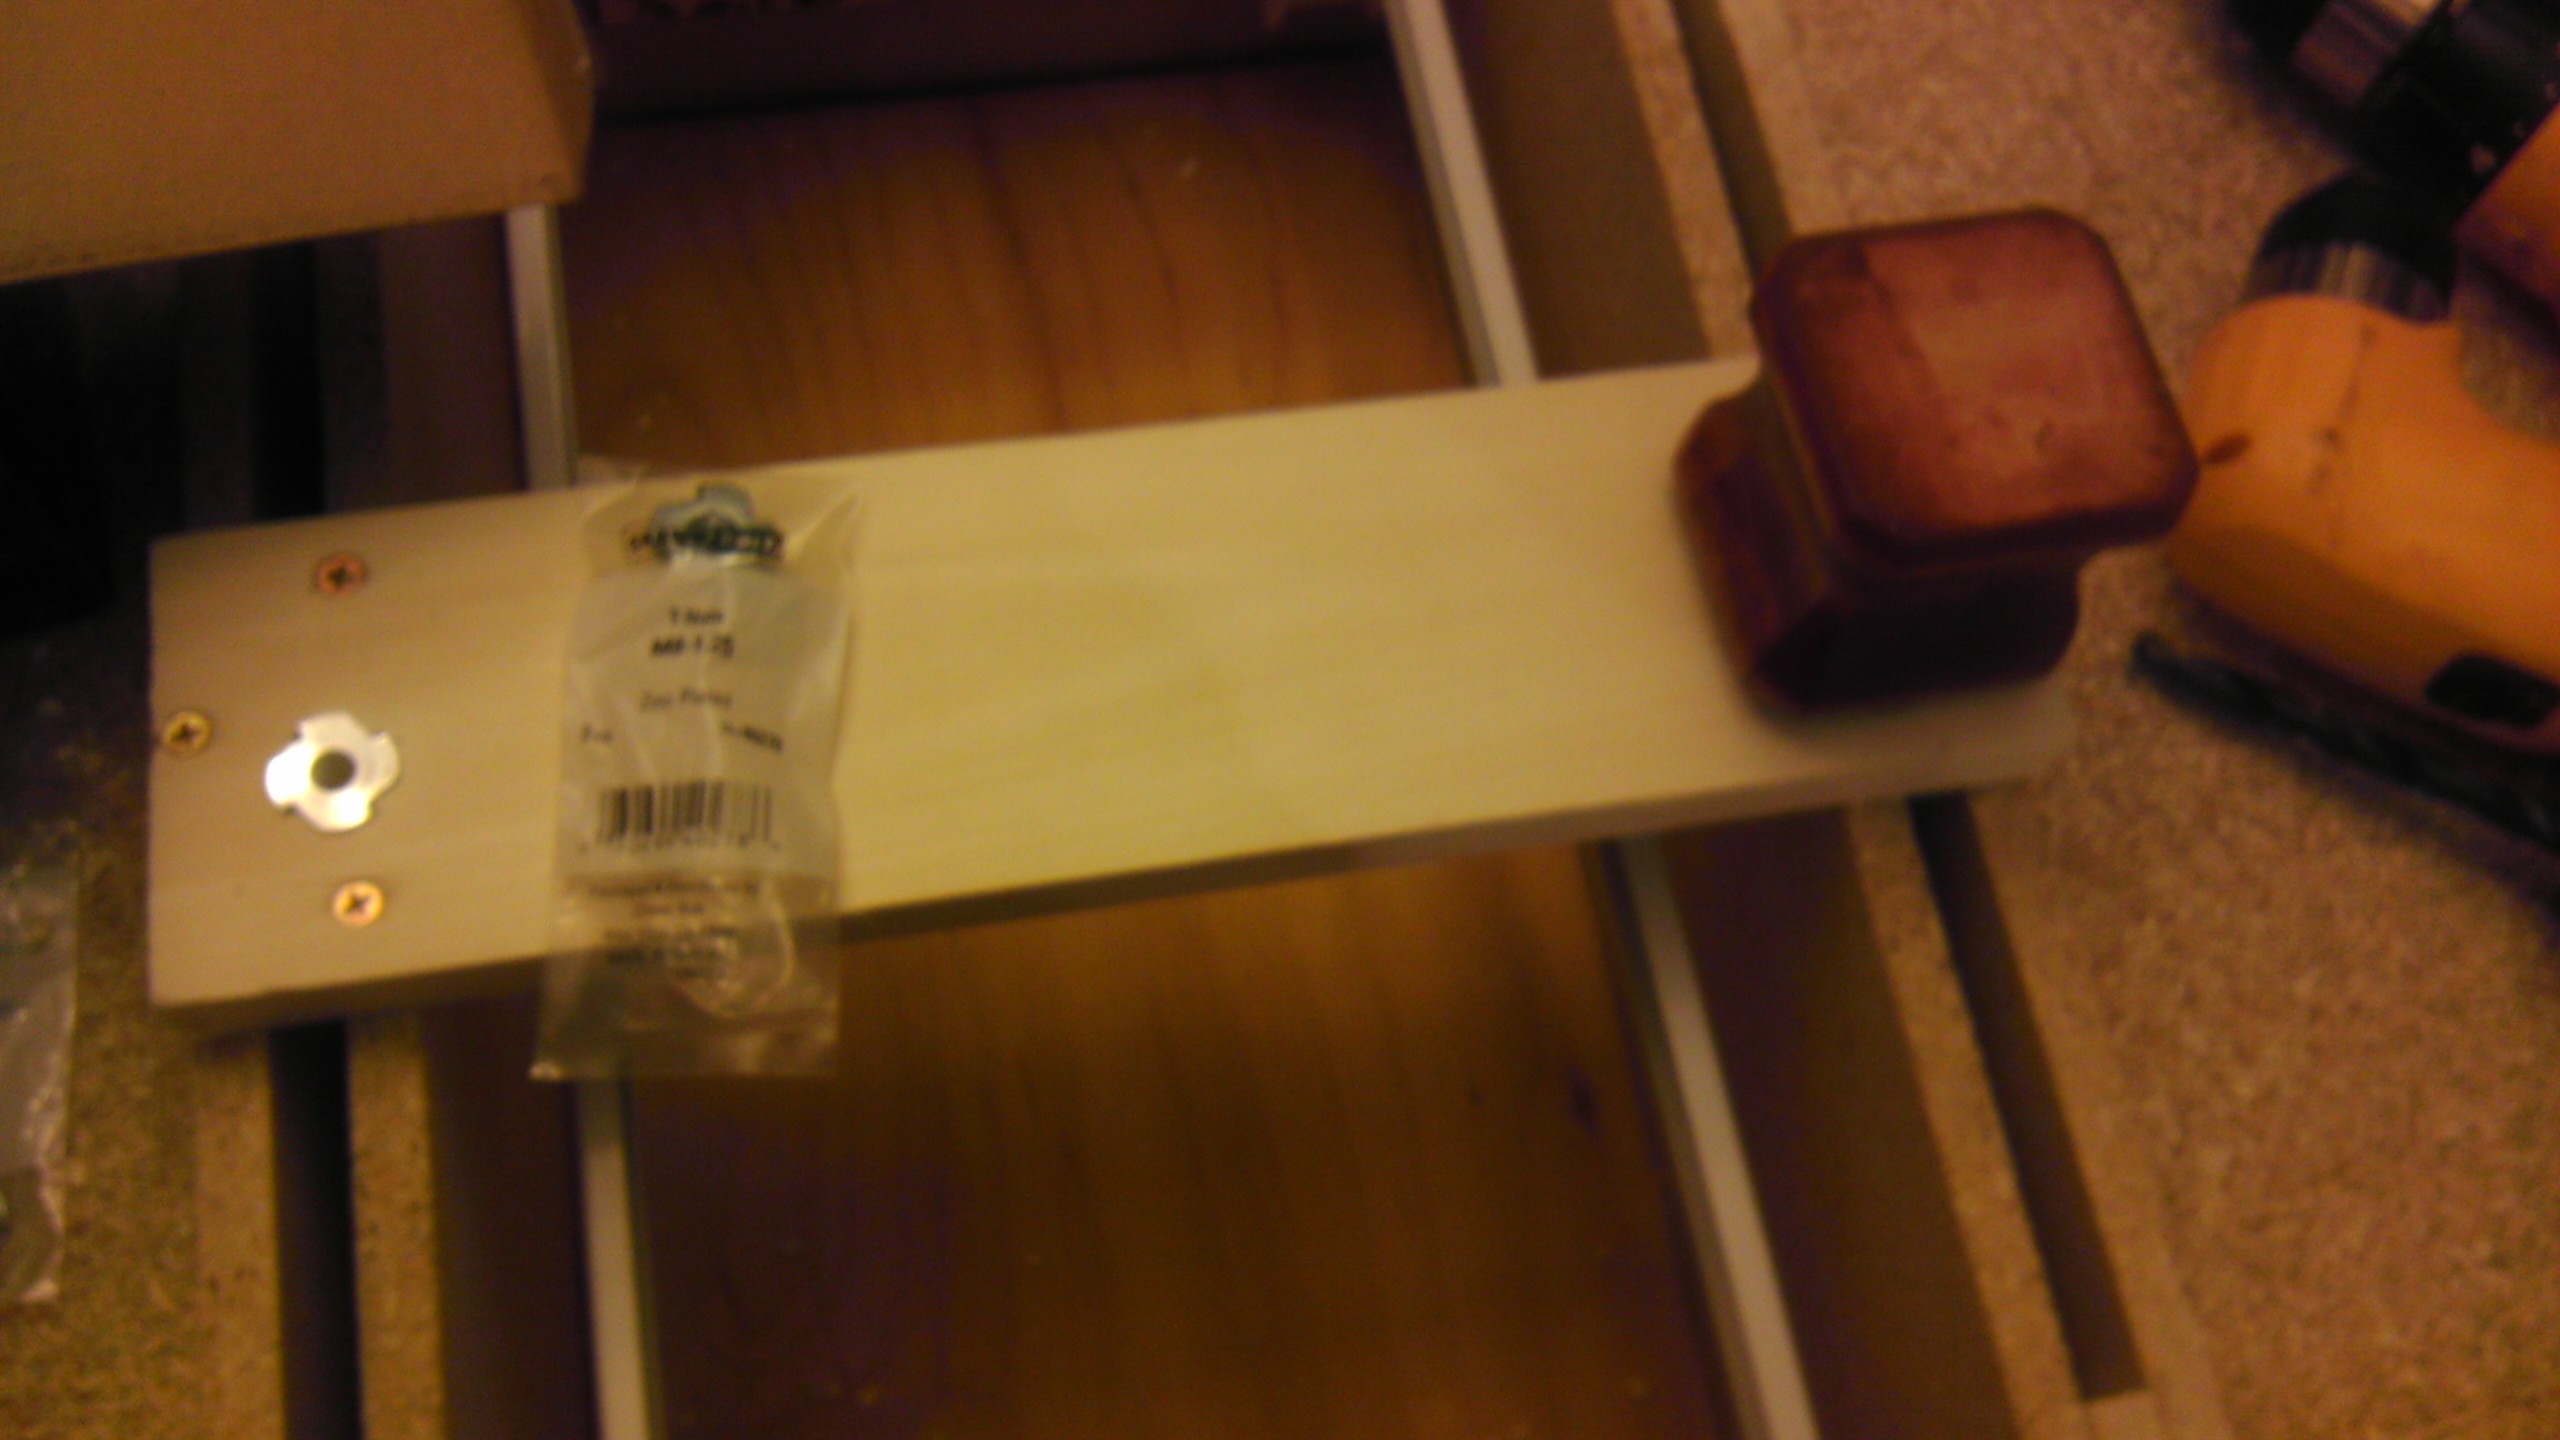
I finished the front of the drawers and attached the handle hardware. Most people are going to want to stain the whole drawer at this time.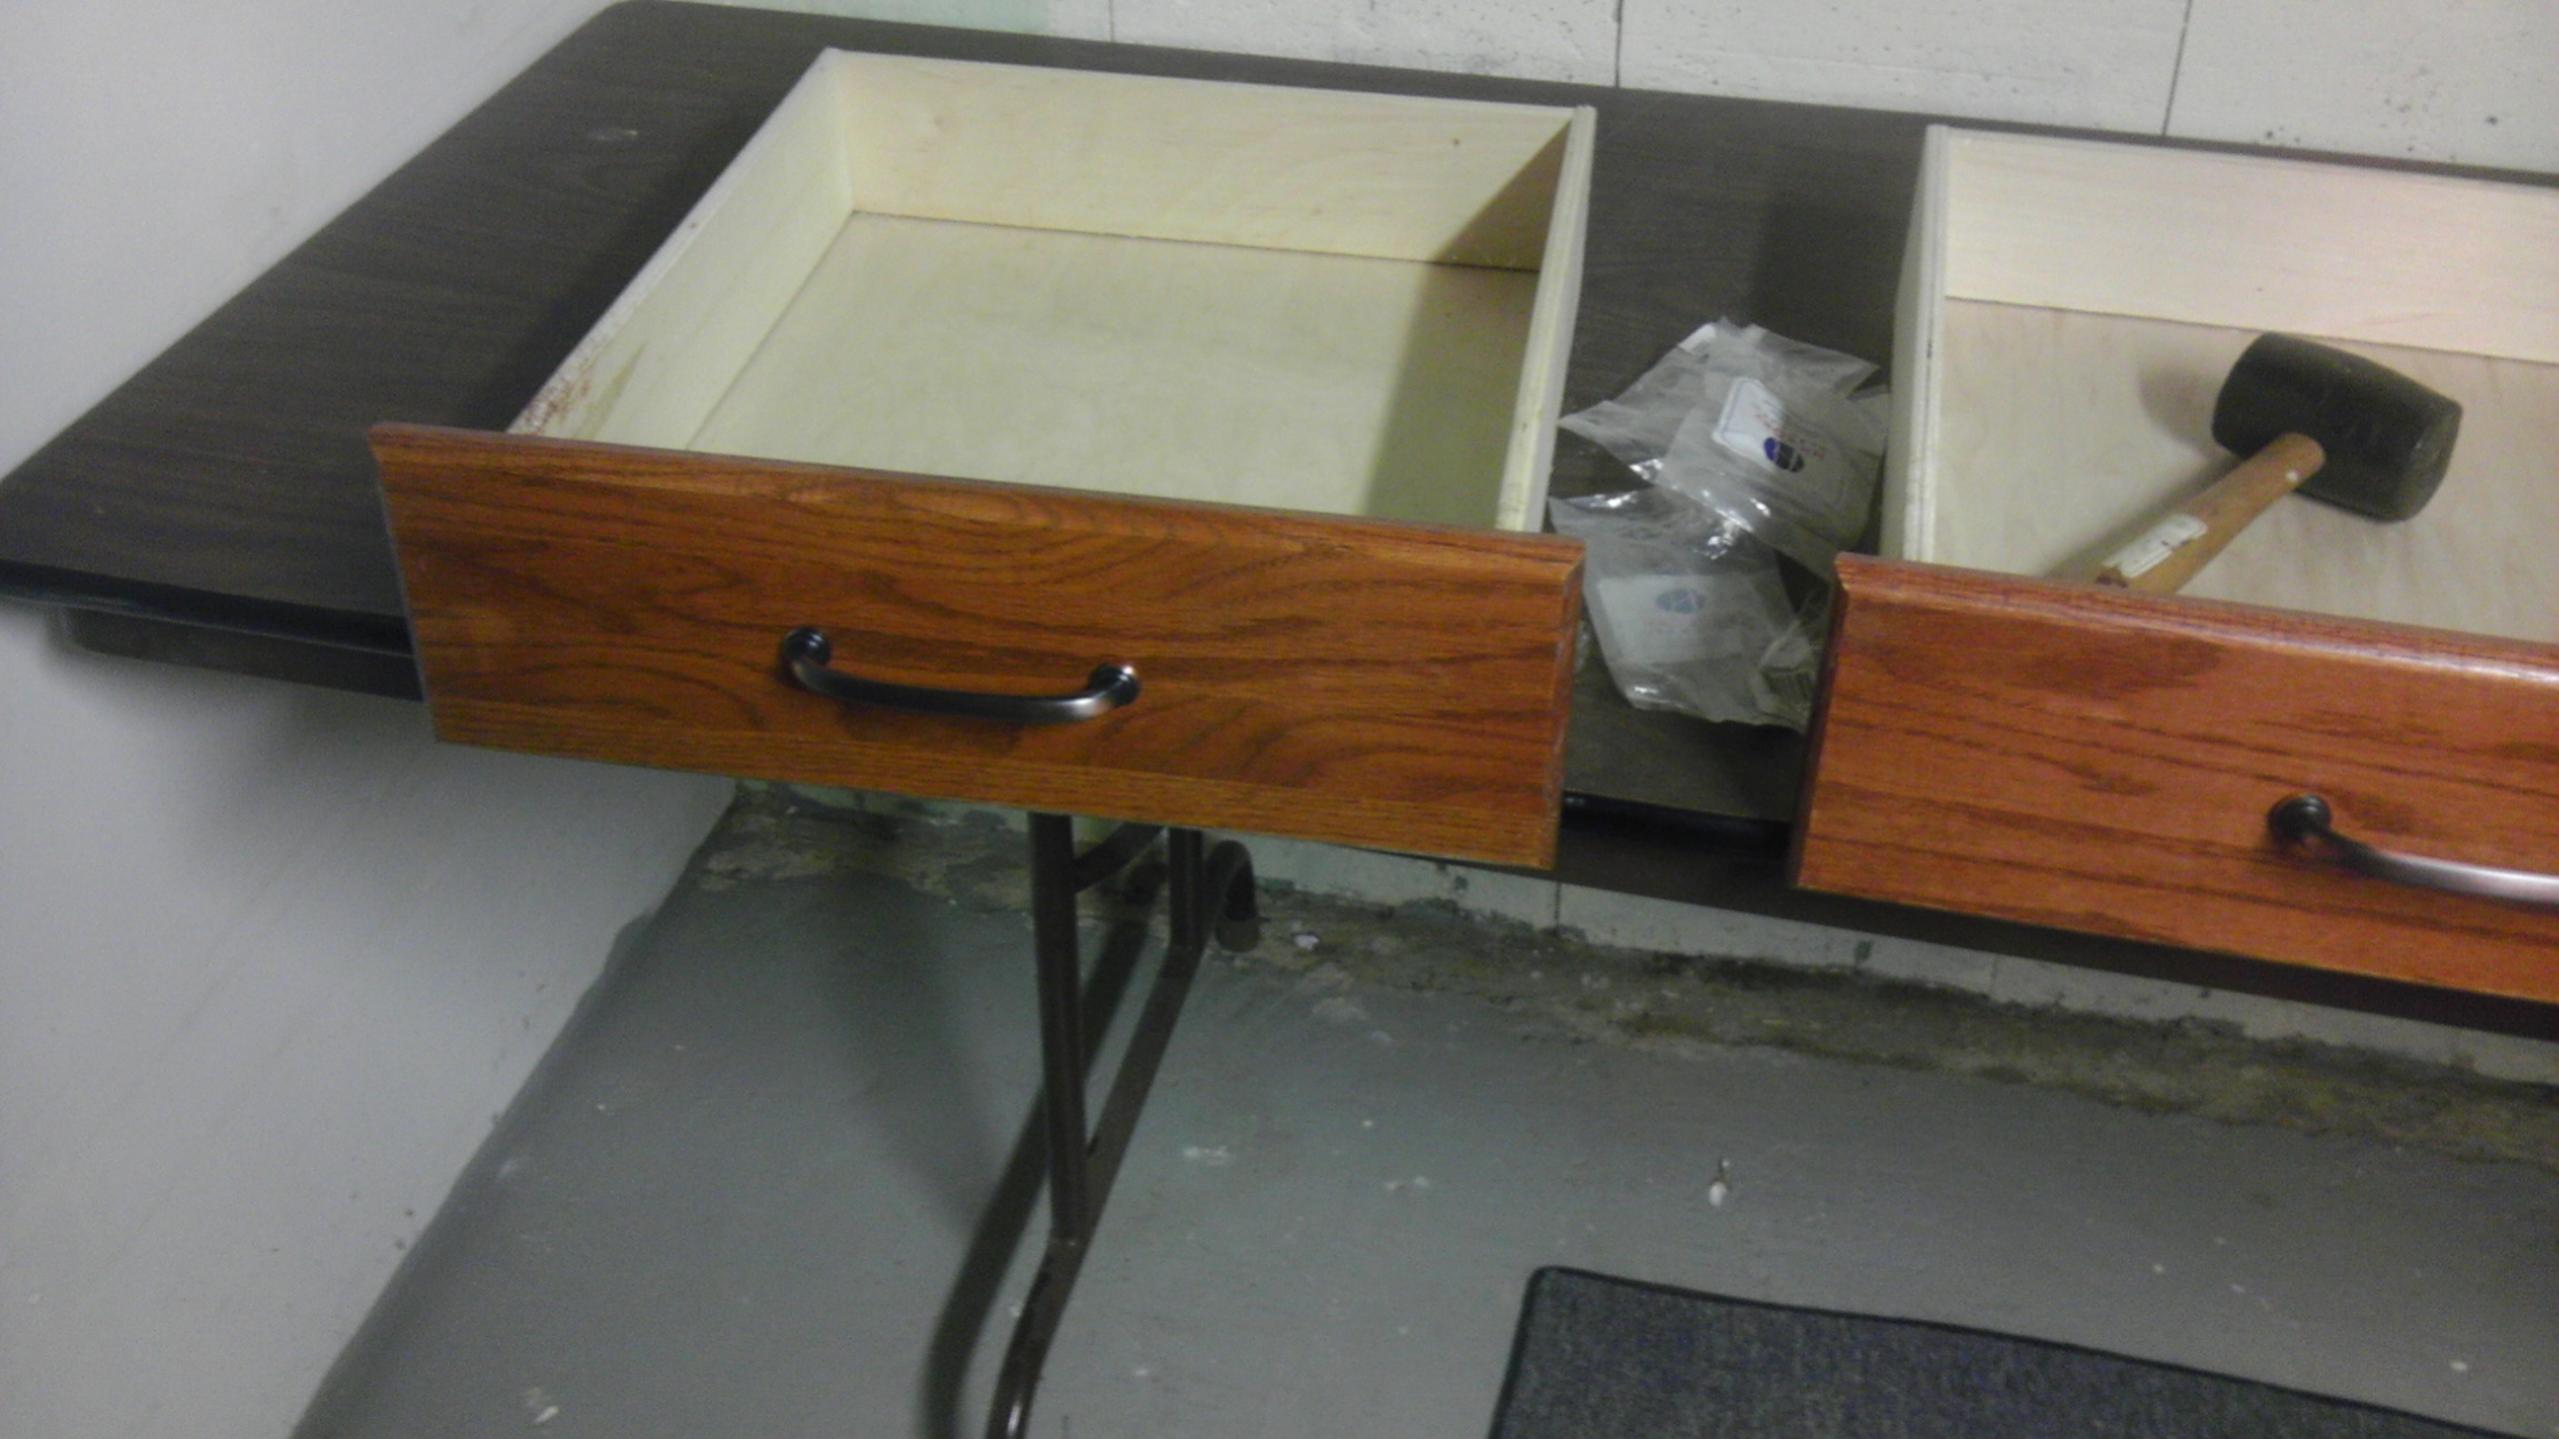
I also screwed the 1x2 aspen onto the 24x1x6 foot board on the back to create the top. Cut it to size on the sides then sanded the interface of the 2 pieces of wood. I stained it and coated it. I used the L brackets to plus the top (which used to be the bottom of the center cabinet to attach the top.
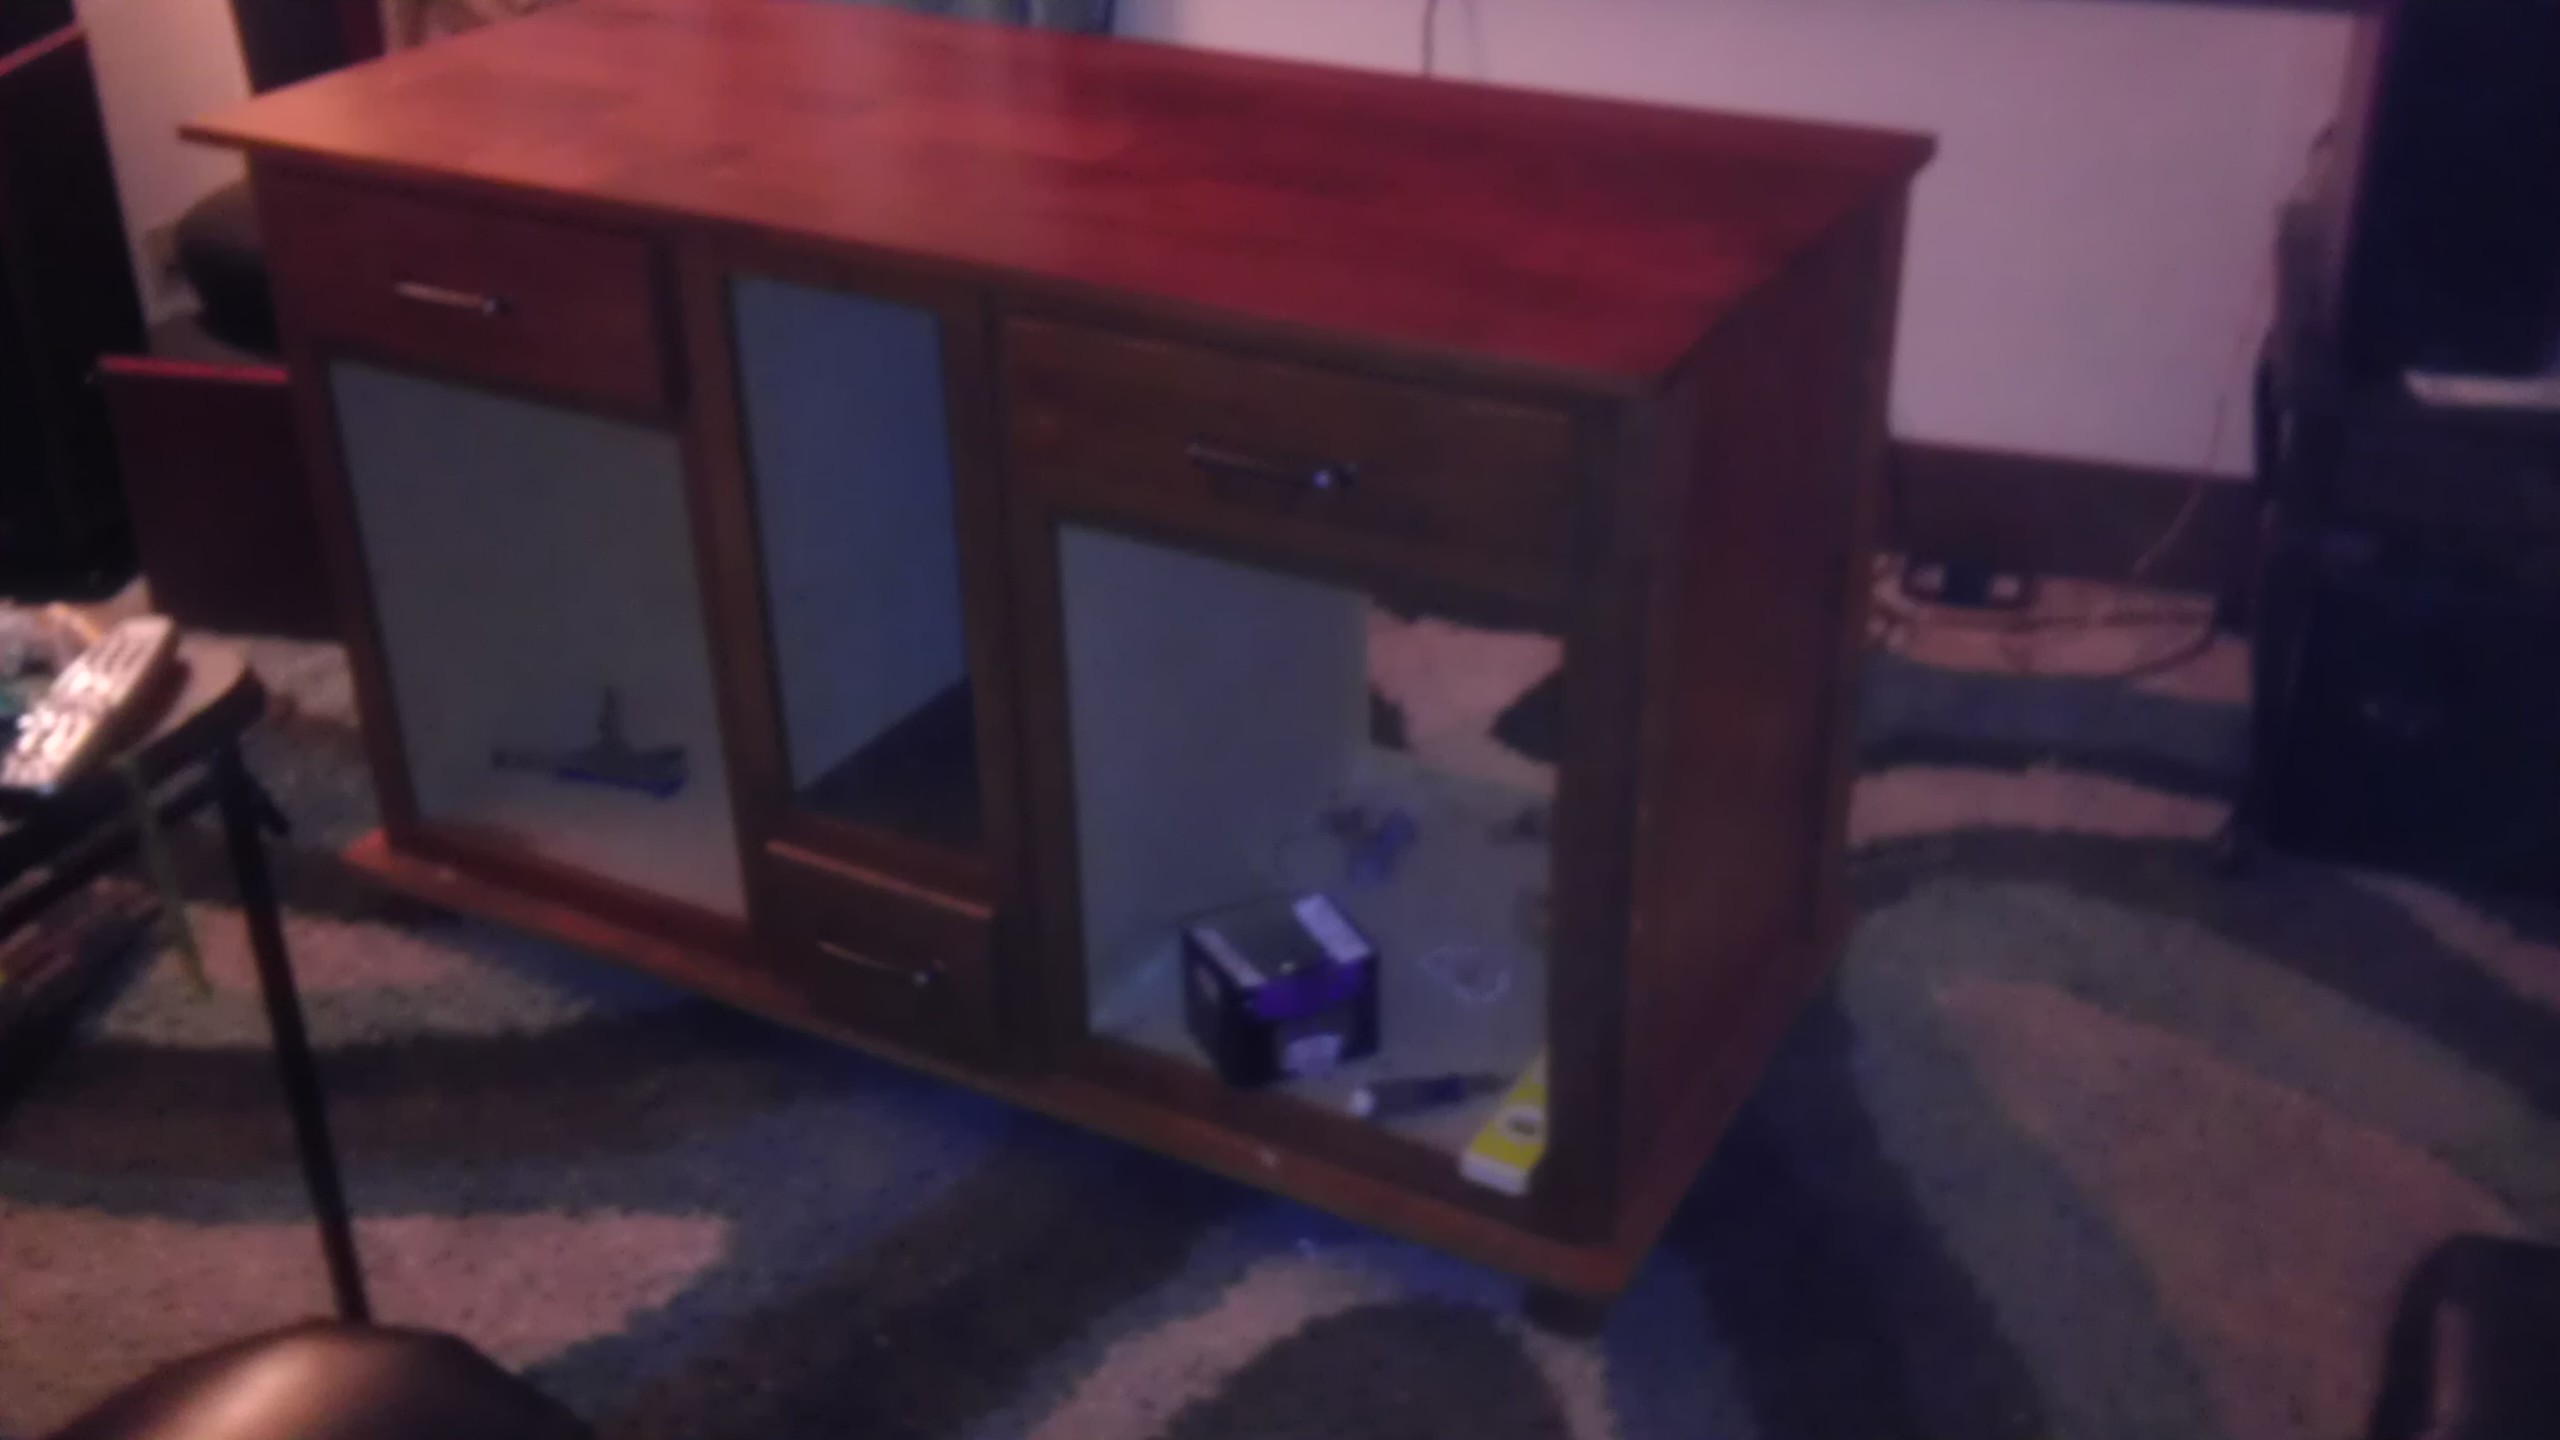
-
Now that's quite a nice project there. Will you keep us up to date with the progress.Main Family Room: Sony 46 LCD, Sony Blue Ray, Sony DVD/VCR combo,Onkyo TXNR 708, Parasound 5250,
Polk SDS-SRS with mods, CSI 5 center + Klipsch SC2, Polk RT2000P rears, Klipsch KG 1.5's sides, Polk Micro Pro 1000, Polk Micro Pro 2000, Polk SW505, Belkin PF60, Signal Cable Classics,Monster IC's, 2 15 amp circuits & 1 20 amp circuit.
Living Room: Belkin PF60, Parasound HCA2200, MIT ProlineEXP balanced IC's,Emotiva XDA-1 DAC/Pre,Emotiva ERC2 transport,MIT AVT2, Polk LSI 9's. -
Ya, I am actually further ahead than this it just takes time to type it up and so on. It is not complete yet though.
-
I also cut a couple pieces of ? inch plywood for the bottoms of the cabinets. I was not sure if I would do this but eventually just decided to make it all look nice. I stained and finished the wood then glued it down.
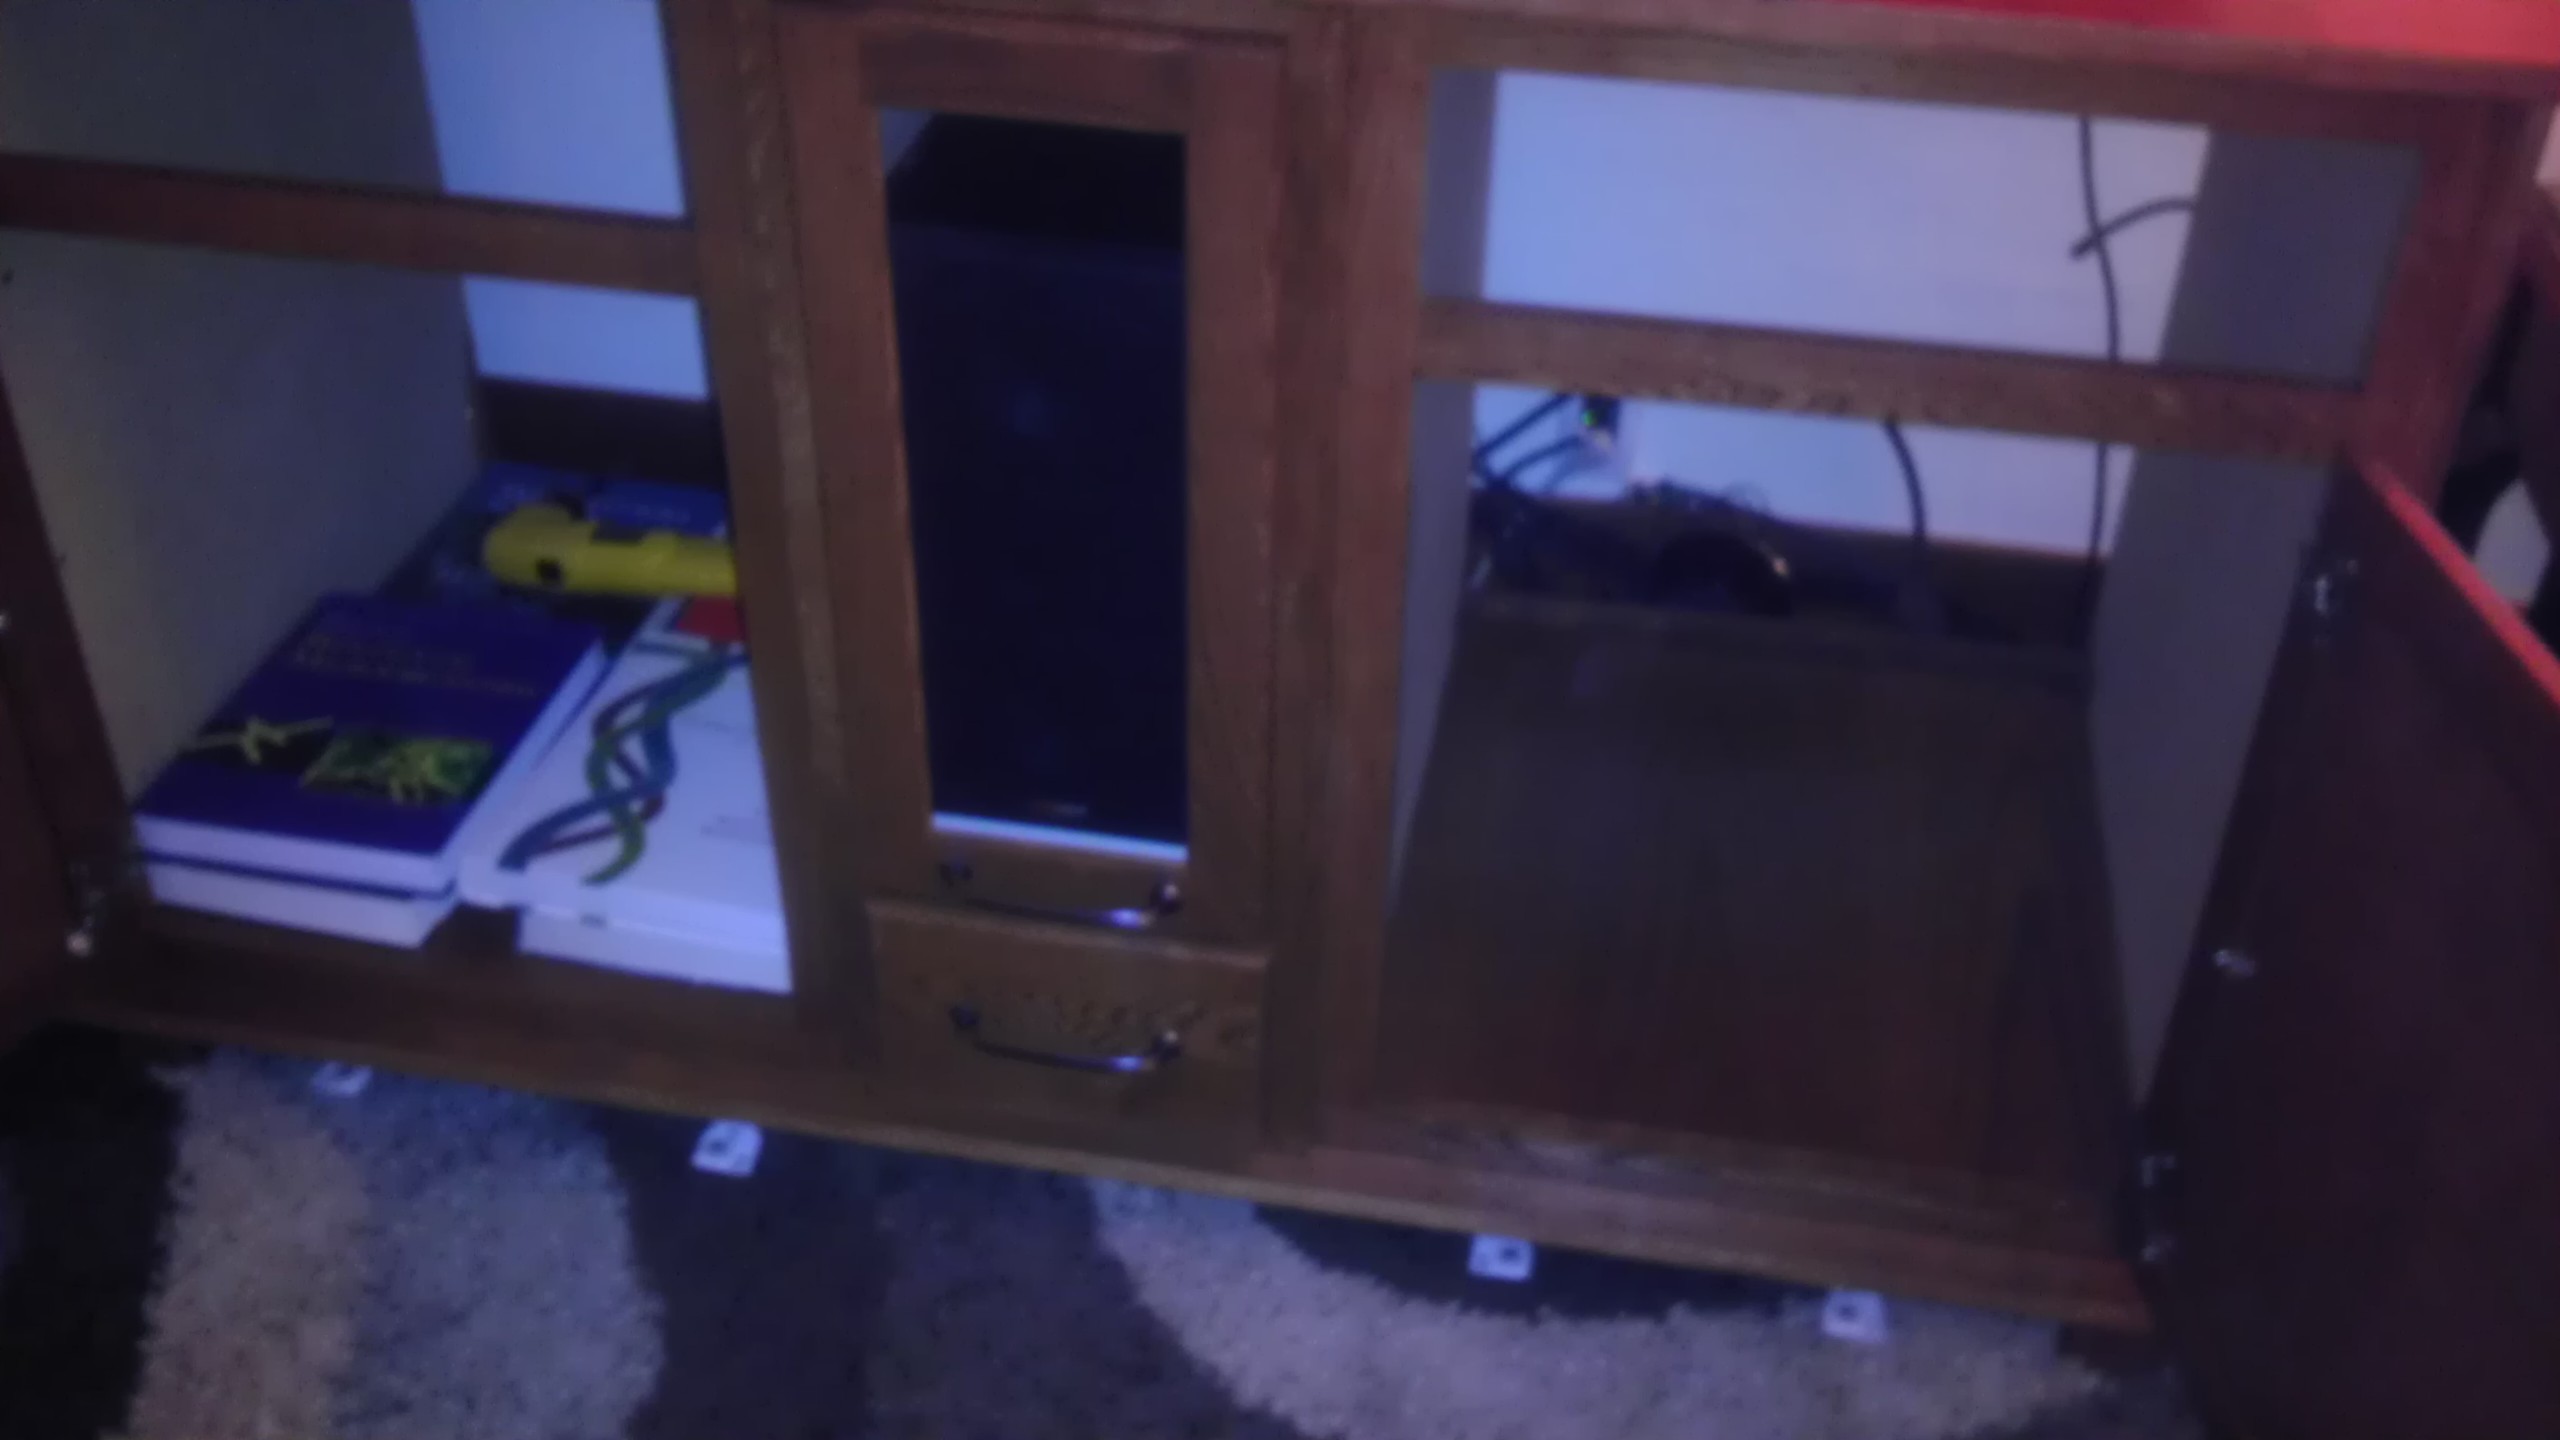
I needed to create a hole in the front door for the center speaker. I decided to just cut out all 3 doors because who knows what will happen in the future. My hope though is to hide things since I feel we are moving away from IR remotes. For now I use a Logitech harmony link to avoid having glass panels. If you were buying something cabinets might come with an option for a glass door insert.
I removed the door hardware then I had to carefully cut the back of the doors to free up the wood insert. I used a circular saw and cut shallow then used a utility knife to finish the cut. The doors were sanded where I cut them, and then I stained and finished the parts separately then reinstalled the hardware.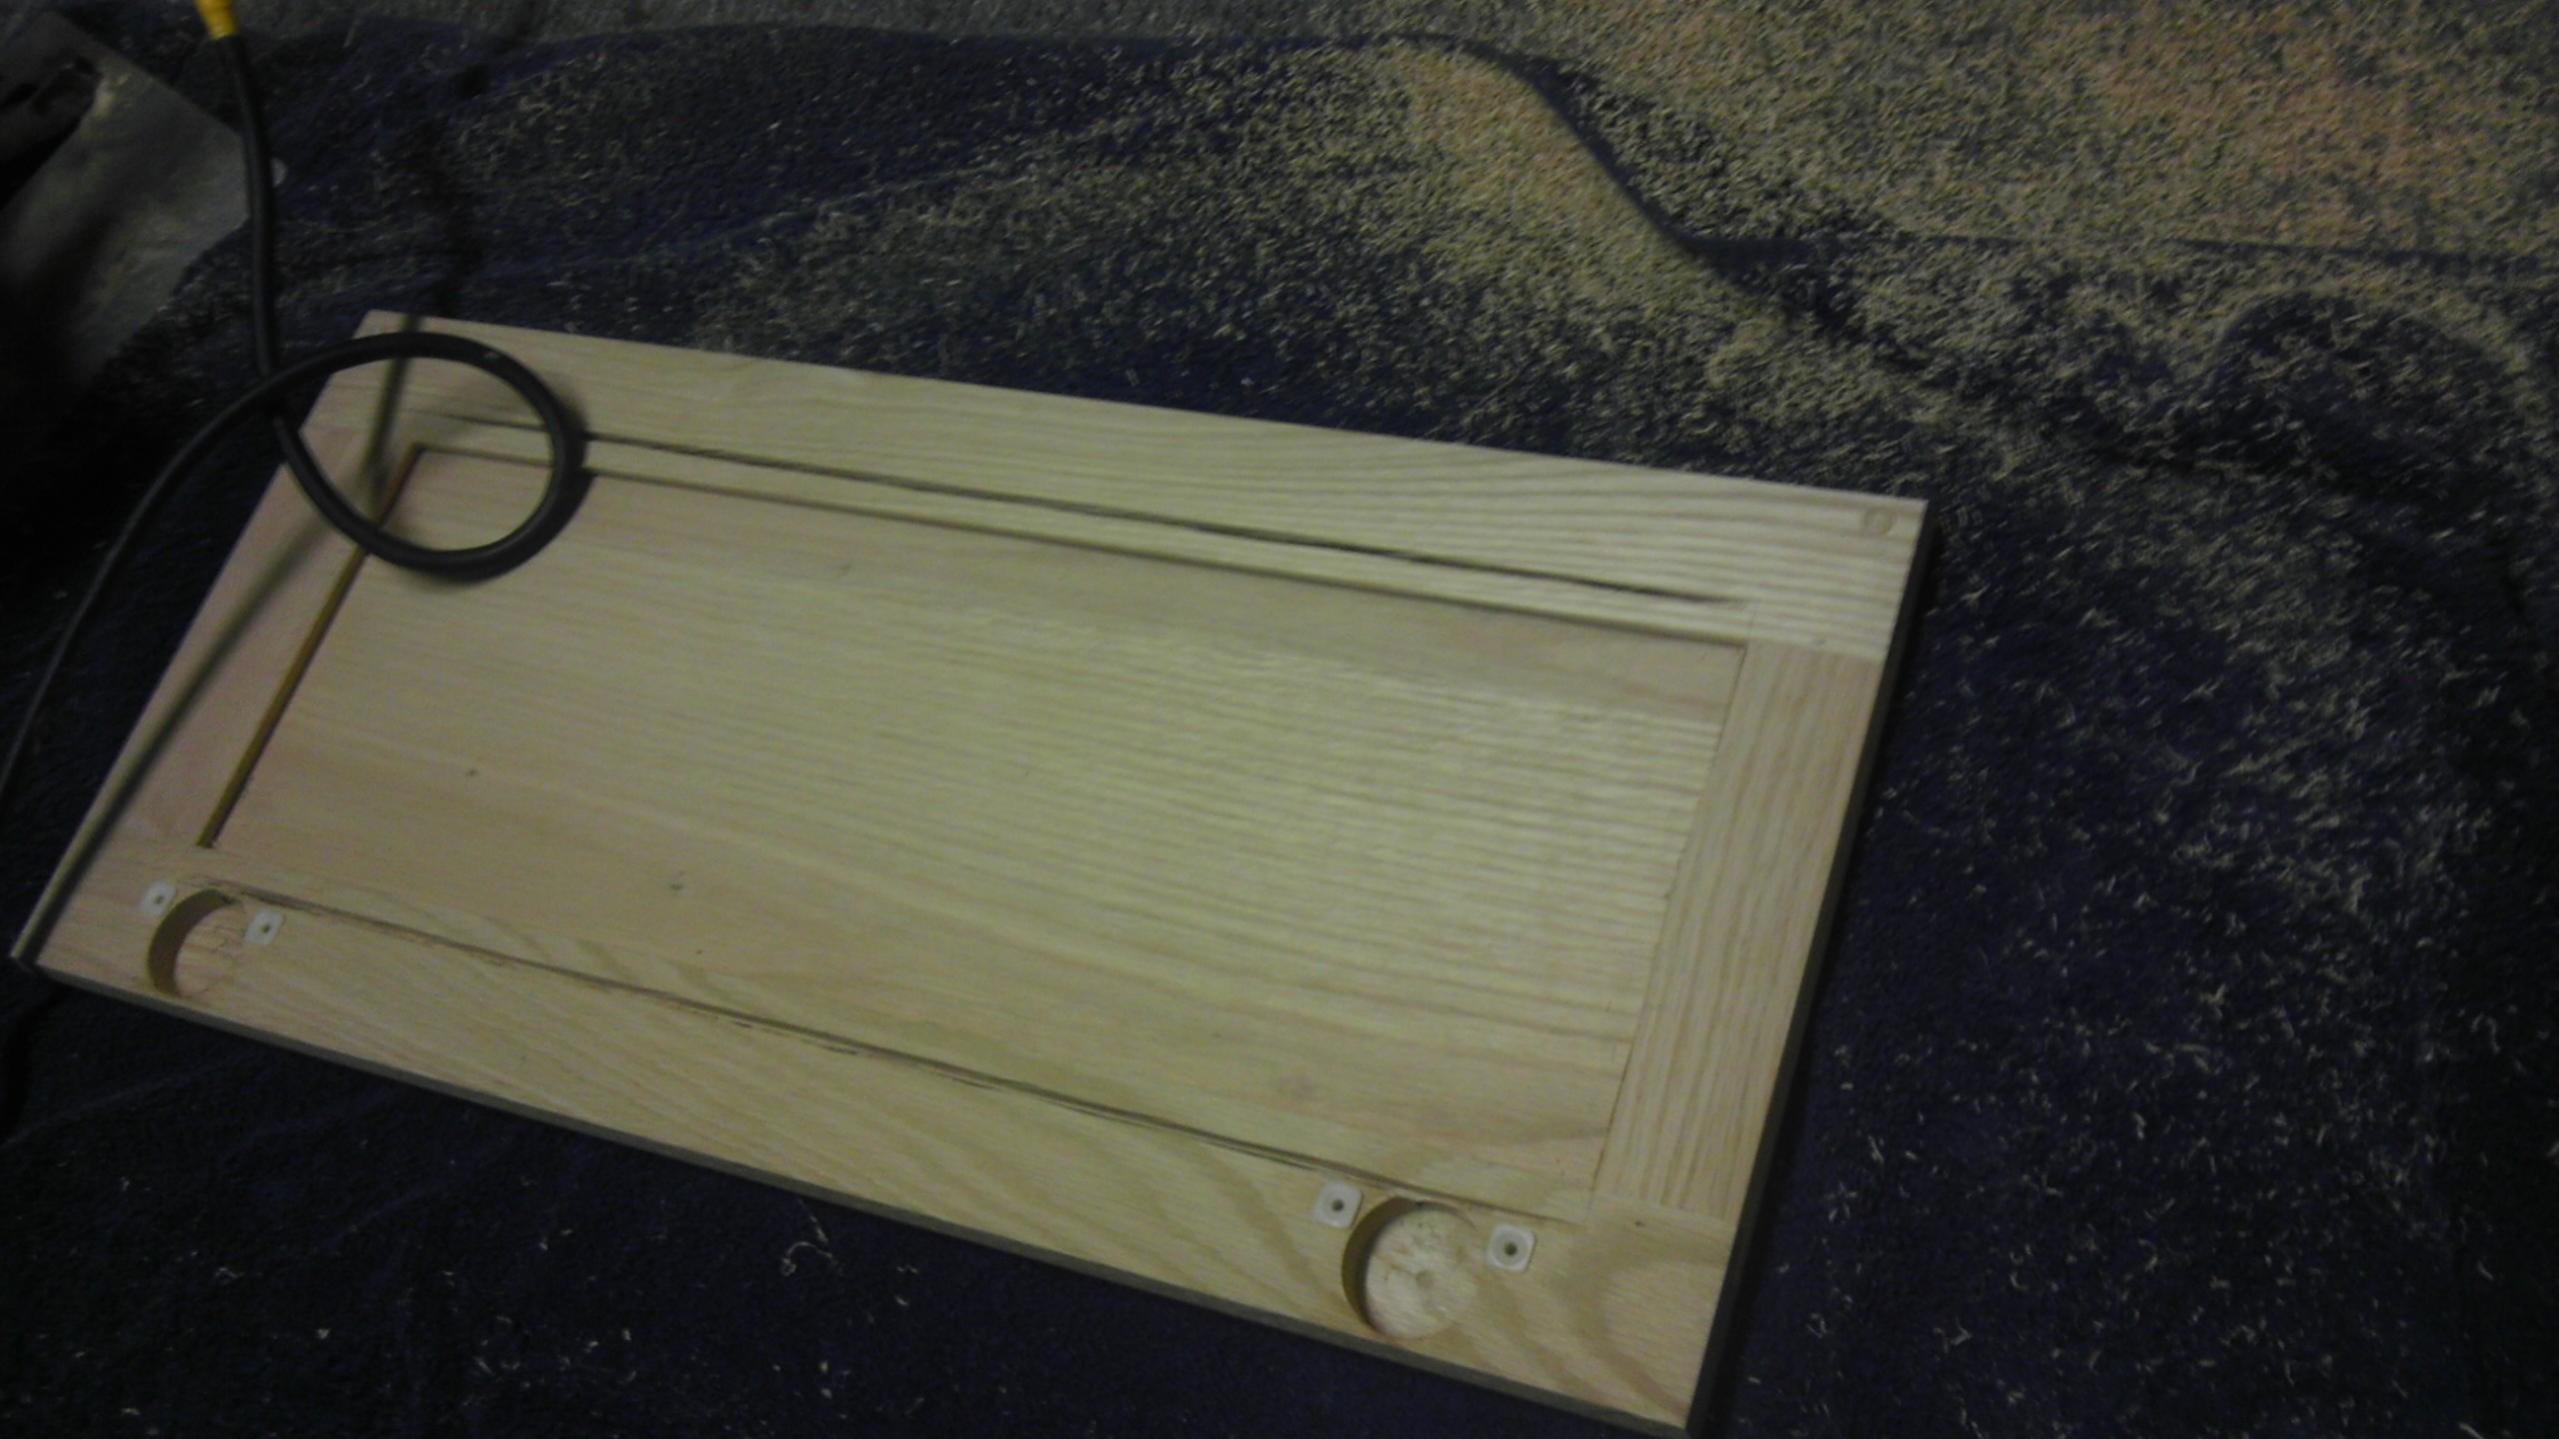
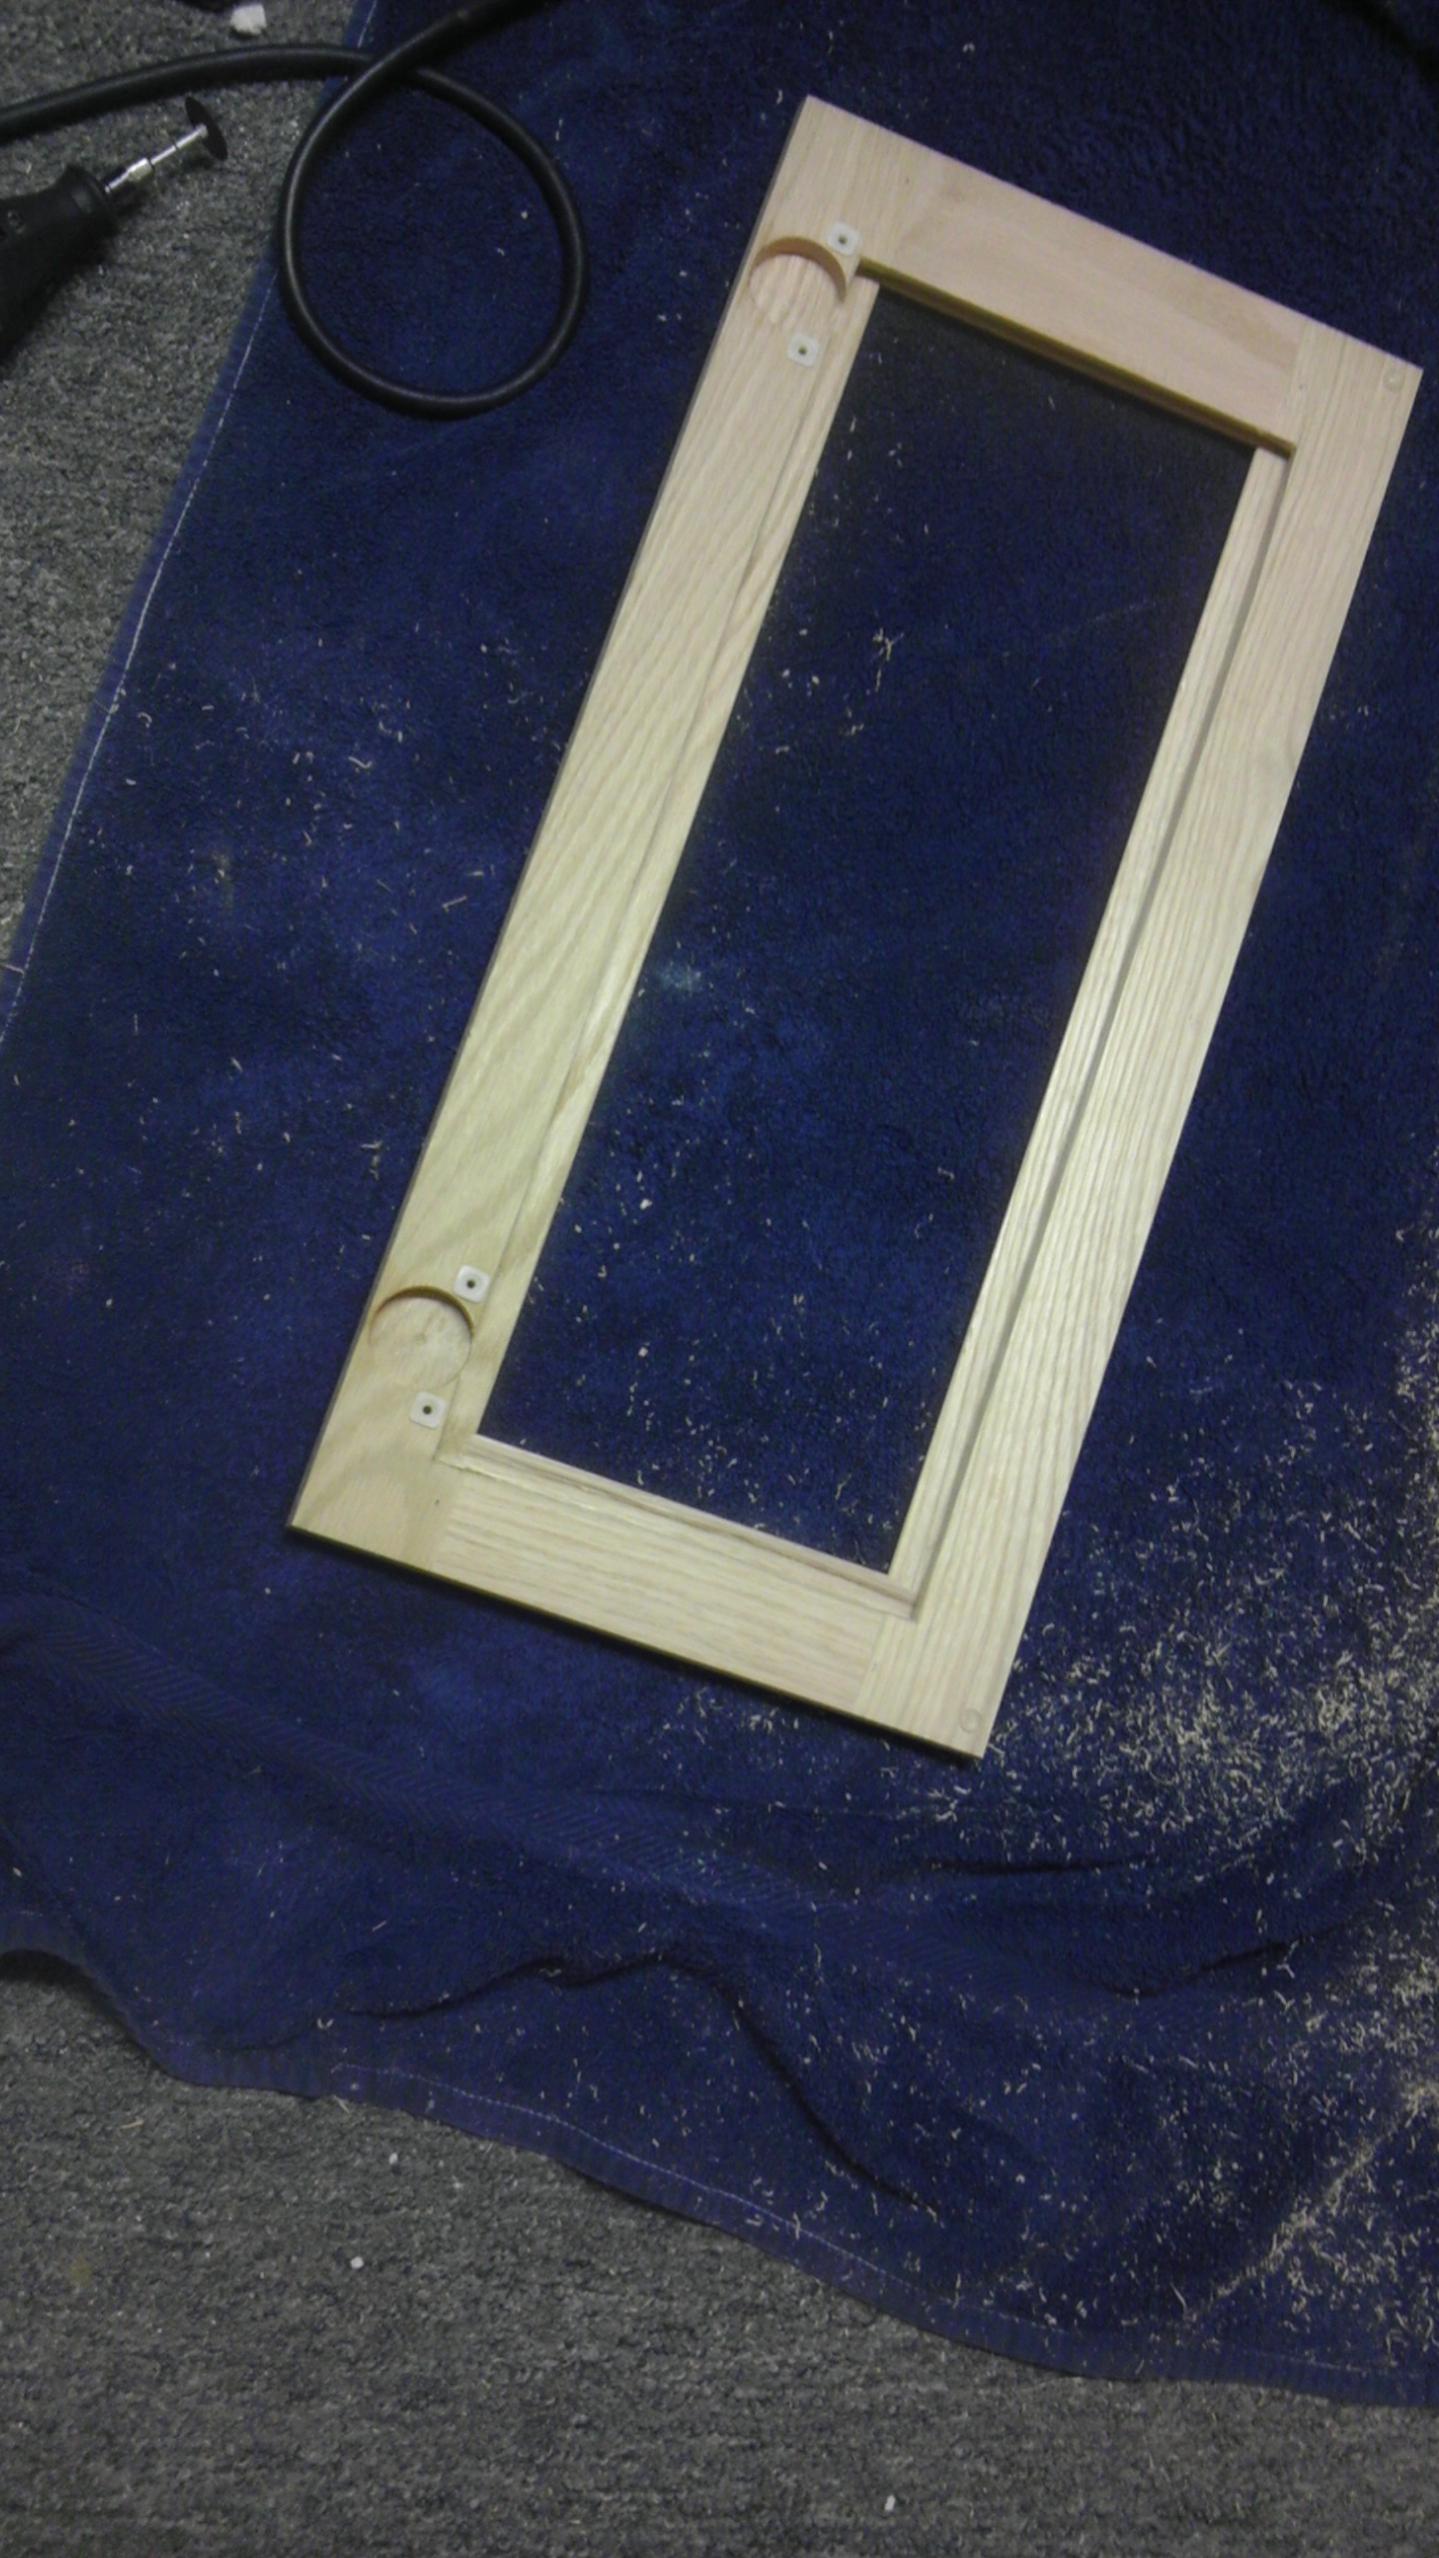
I found some metal clips that came with a mirror hanging kit from menards that would work to hold the wood in the doors. I might have to add some padding or something later to make sure there are no vibrations.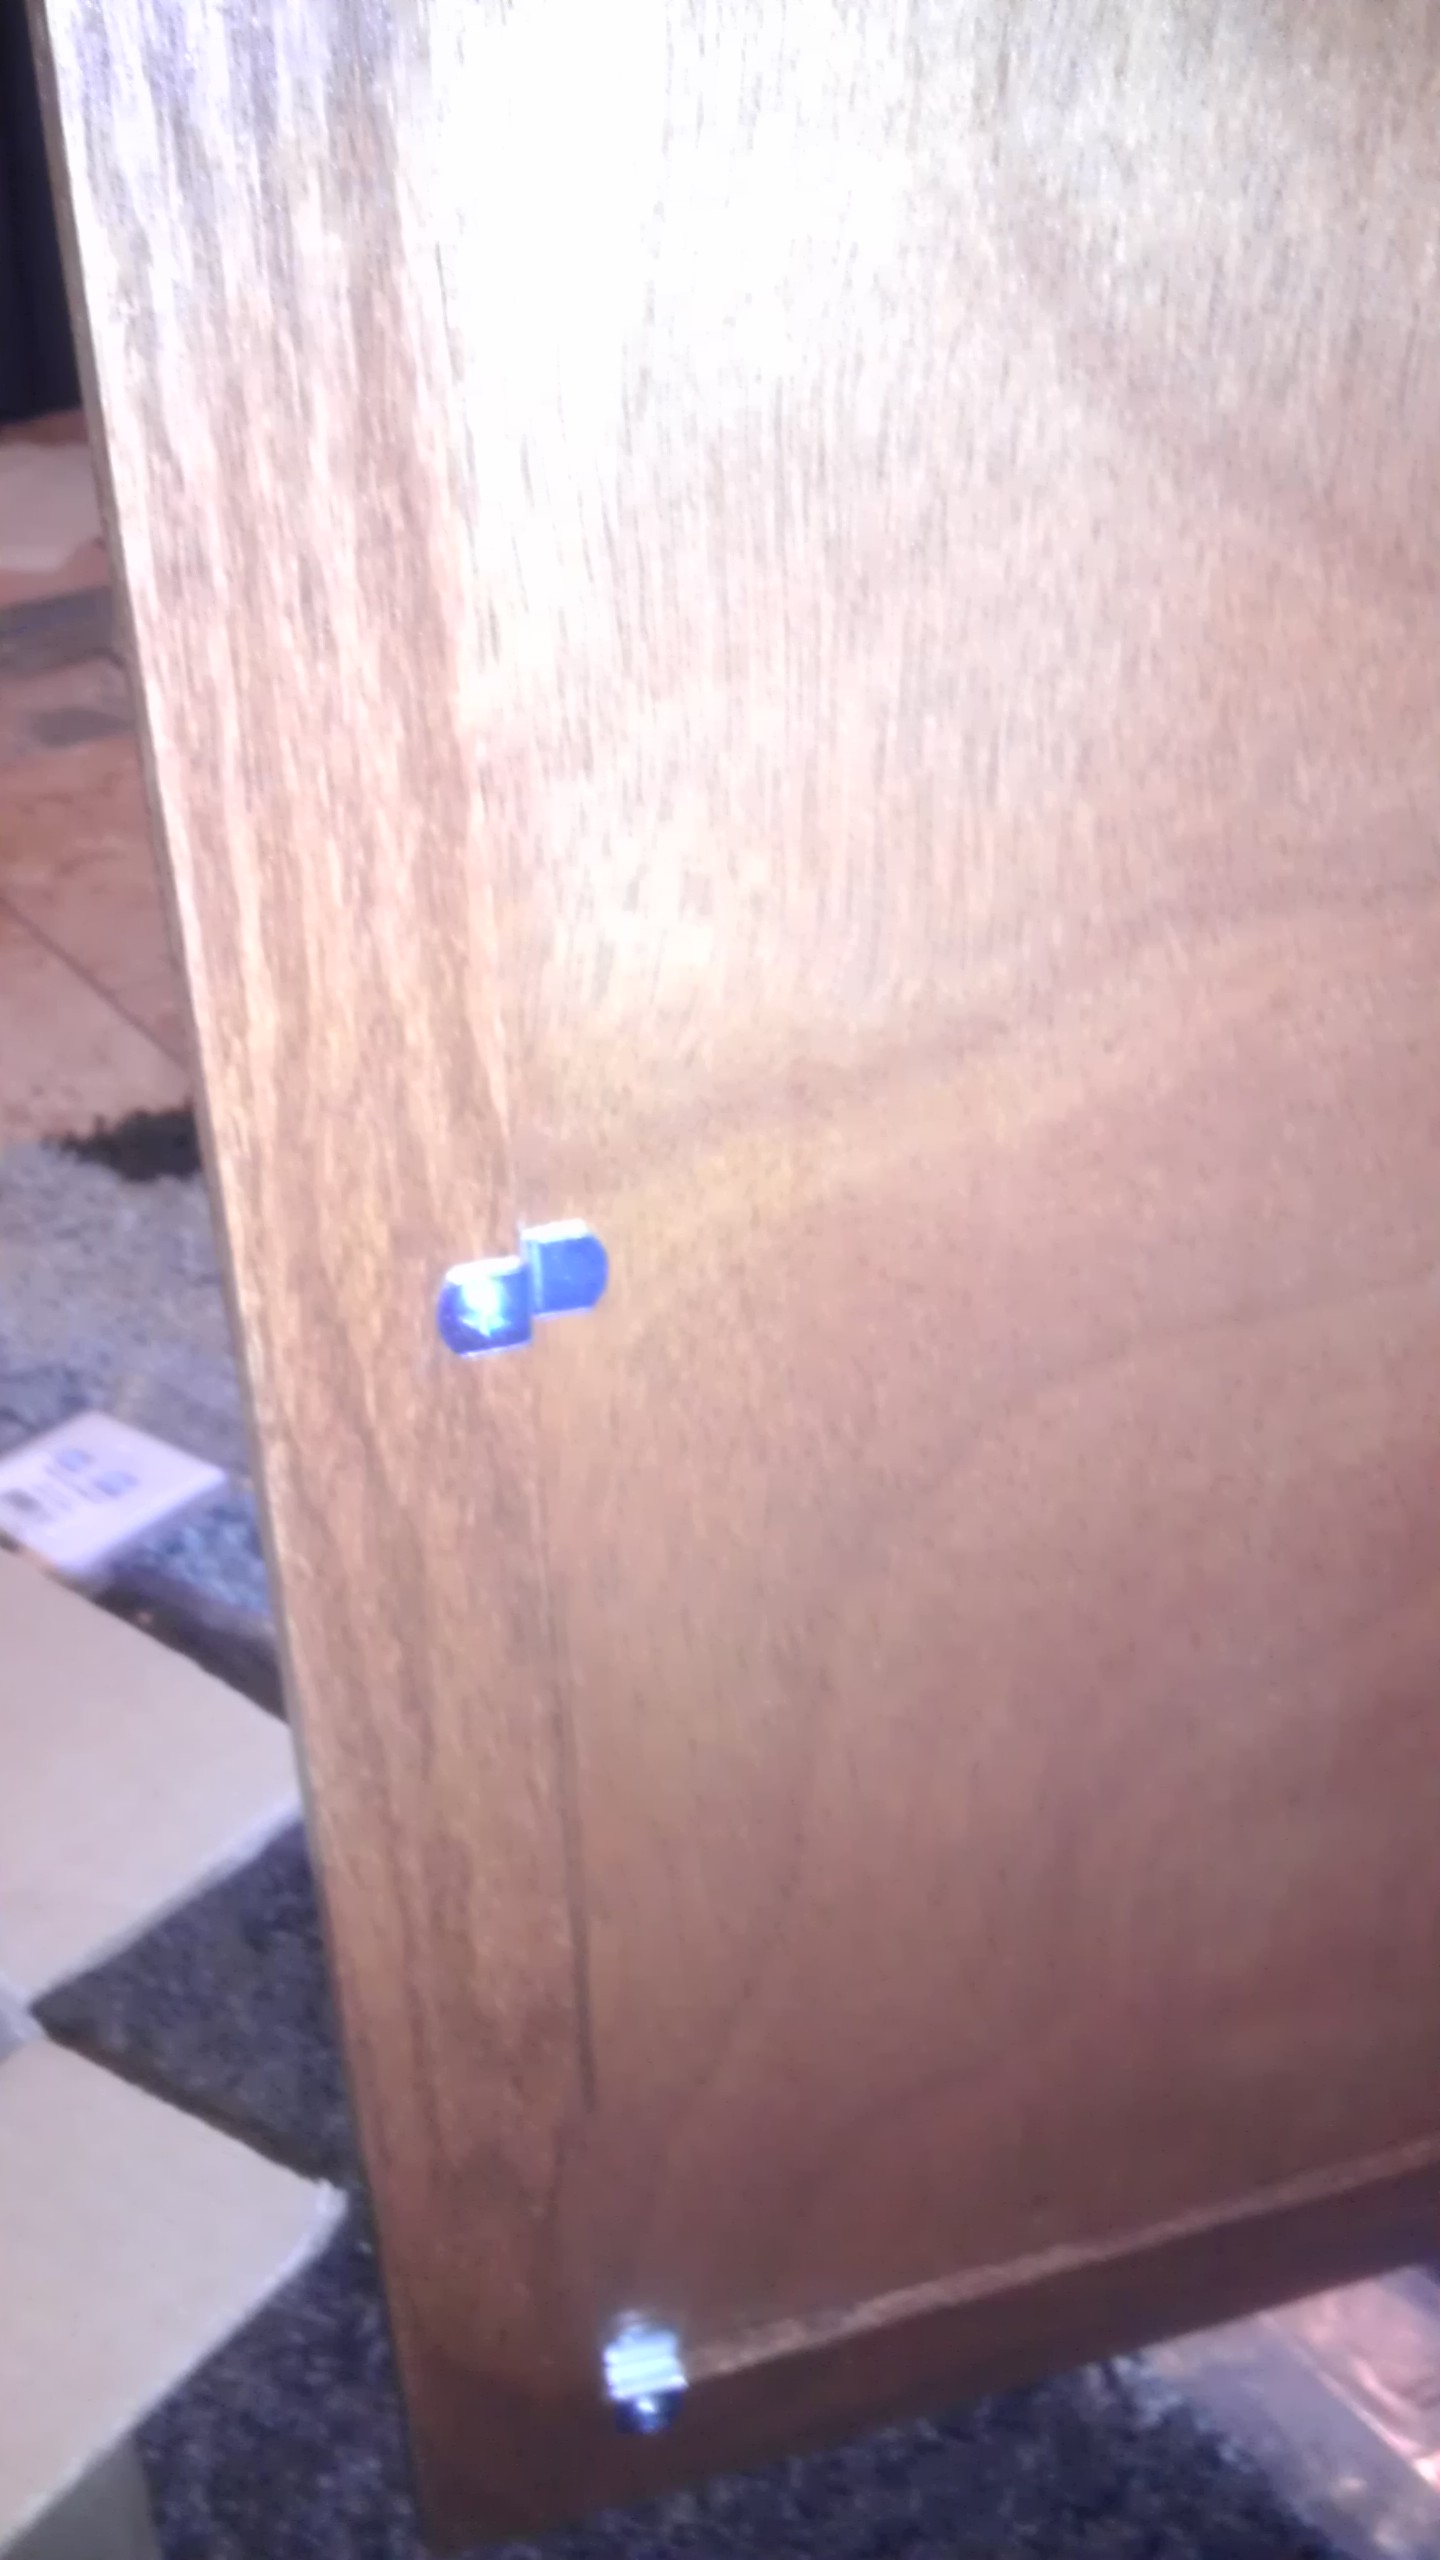
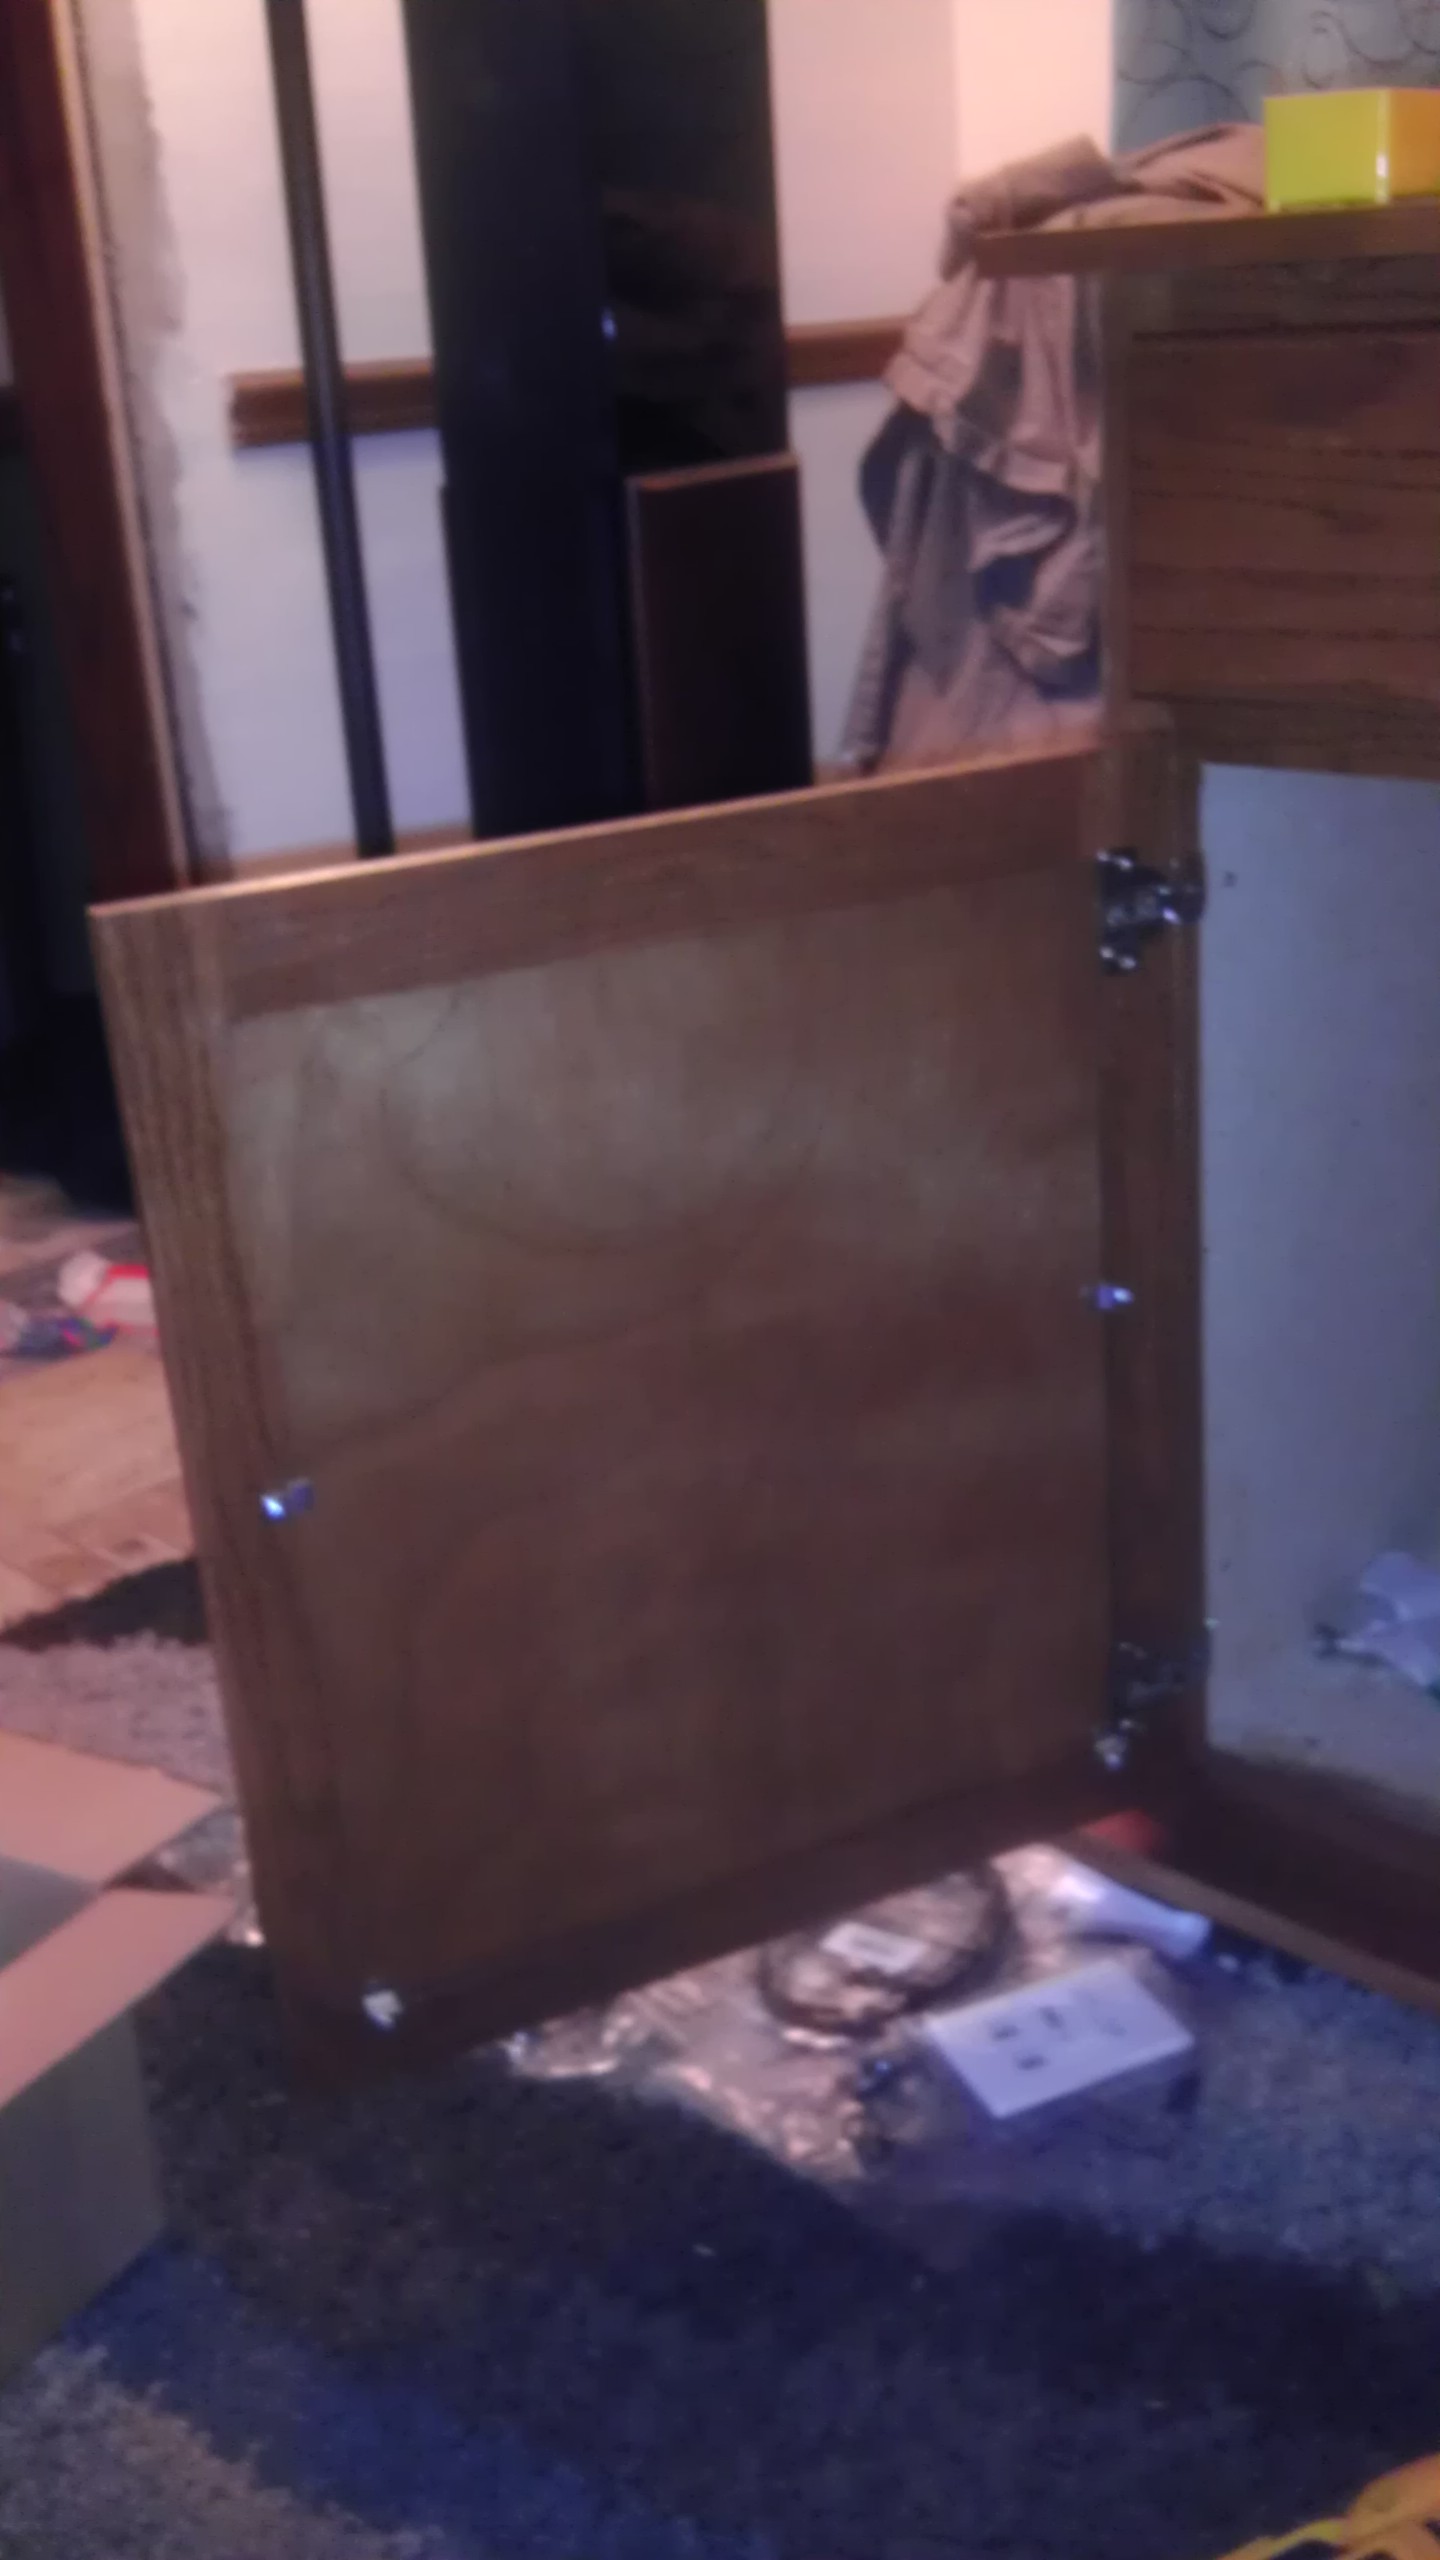
At this point the system looks finished from the outside with the exception of the center speaker door. I need to find some speaker cloth and make a frame. I am trying to figure out what the speaker cloth polk uses on the LSi series is so everything will match. -
Looking good my man , Nice job.Dan
My personal quest is to save to world of bad audio, one thread at a time. -
Very nice project, it looks great.
-
Looks nice. What gear will you house in the side cabinets and how will you ventilate them. Will they be wide open during use.Main Family Room: Sony 46 LCD, Sony Blue Ray, Sony DVD/VCR combo,Onkyo TXNR 708, Parasound 5250,
Polk SDS-SRS with mods, CSI 5 center + Klipsch SC2, Polk RT2000P rears, Klipsch KG 1.5's sides, Polk Micro Pro 1000, Polk Micro Pro 2000, Polk SW505, Belkin PF60, Signal Cable Classics,Monster IC's, 2 15 amp circuits & 1 20 amp circuit.
Living Room: Belkin PF60, Parasound HCA2200, MIT ProlineEXP balanced IC's,Emotiva XDA-1 DAC/Pre,Emotiva ERC2 transport,MIT AVT2, Polk LSI 9's. -
I have a pioneer sc-1222-k on one side and the emotiva xpa-5 on the other, they power 2x LSi15 and 3x LSi9. I set it back up each time I break working on it because the woman does not like being without her HTPC. I removed the entire back panel so it is fully open on the 2 sides in the back, and have no heat problems. I have considered putting fan in the bottom of each in the center, that would be one of the last jobs. The front doors always remain closed.
-
Next up I am finishing the inside and adding tracks for adjustable shelving. I used ? inch thick brass tracking and so decided to finish the inside with ? plywood to make the tracking look flush.
I cut the track into lengths, then cut the plywood to fill the area in between the tracking. On the 2 side cabinets I left 3 inches between the front and the track to accommodate moving shelves back so IR emitters might span multiple shelves. In the center I am assuming the center speaker will usually fill most of it so the tracking is right up in the front and back.
Stained and coated the wood.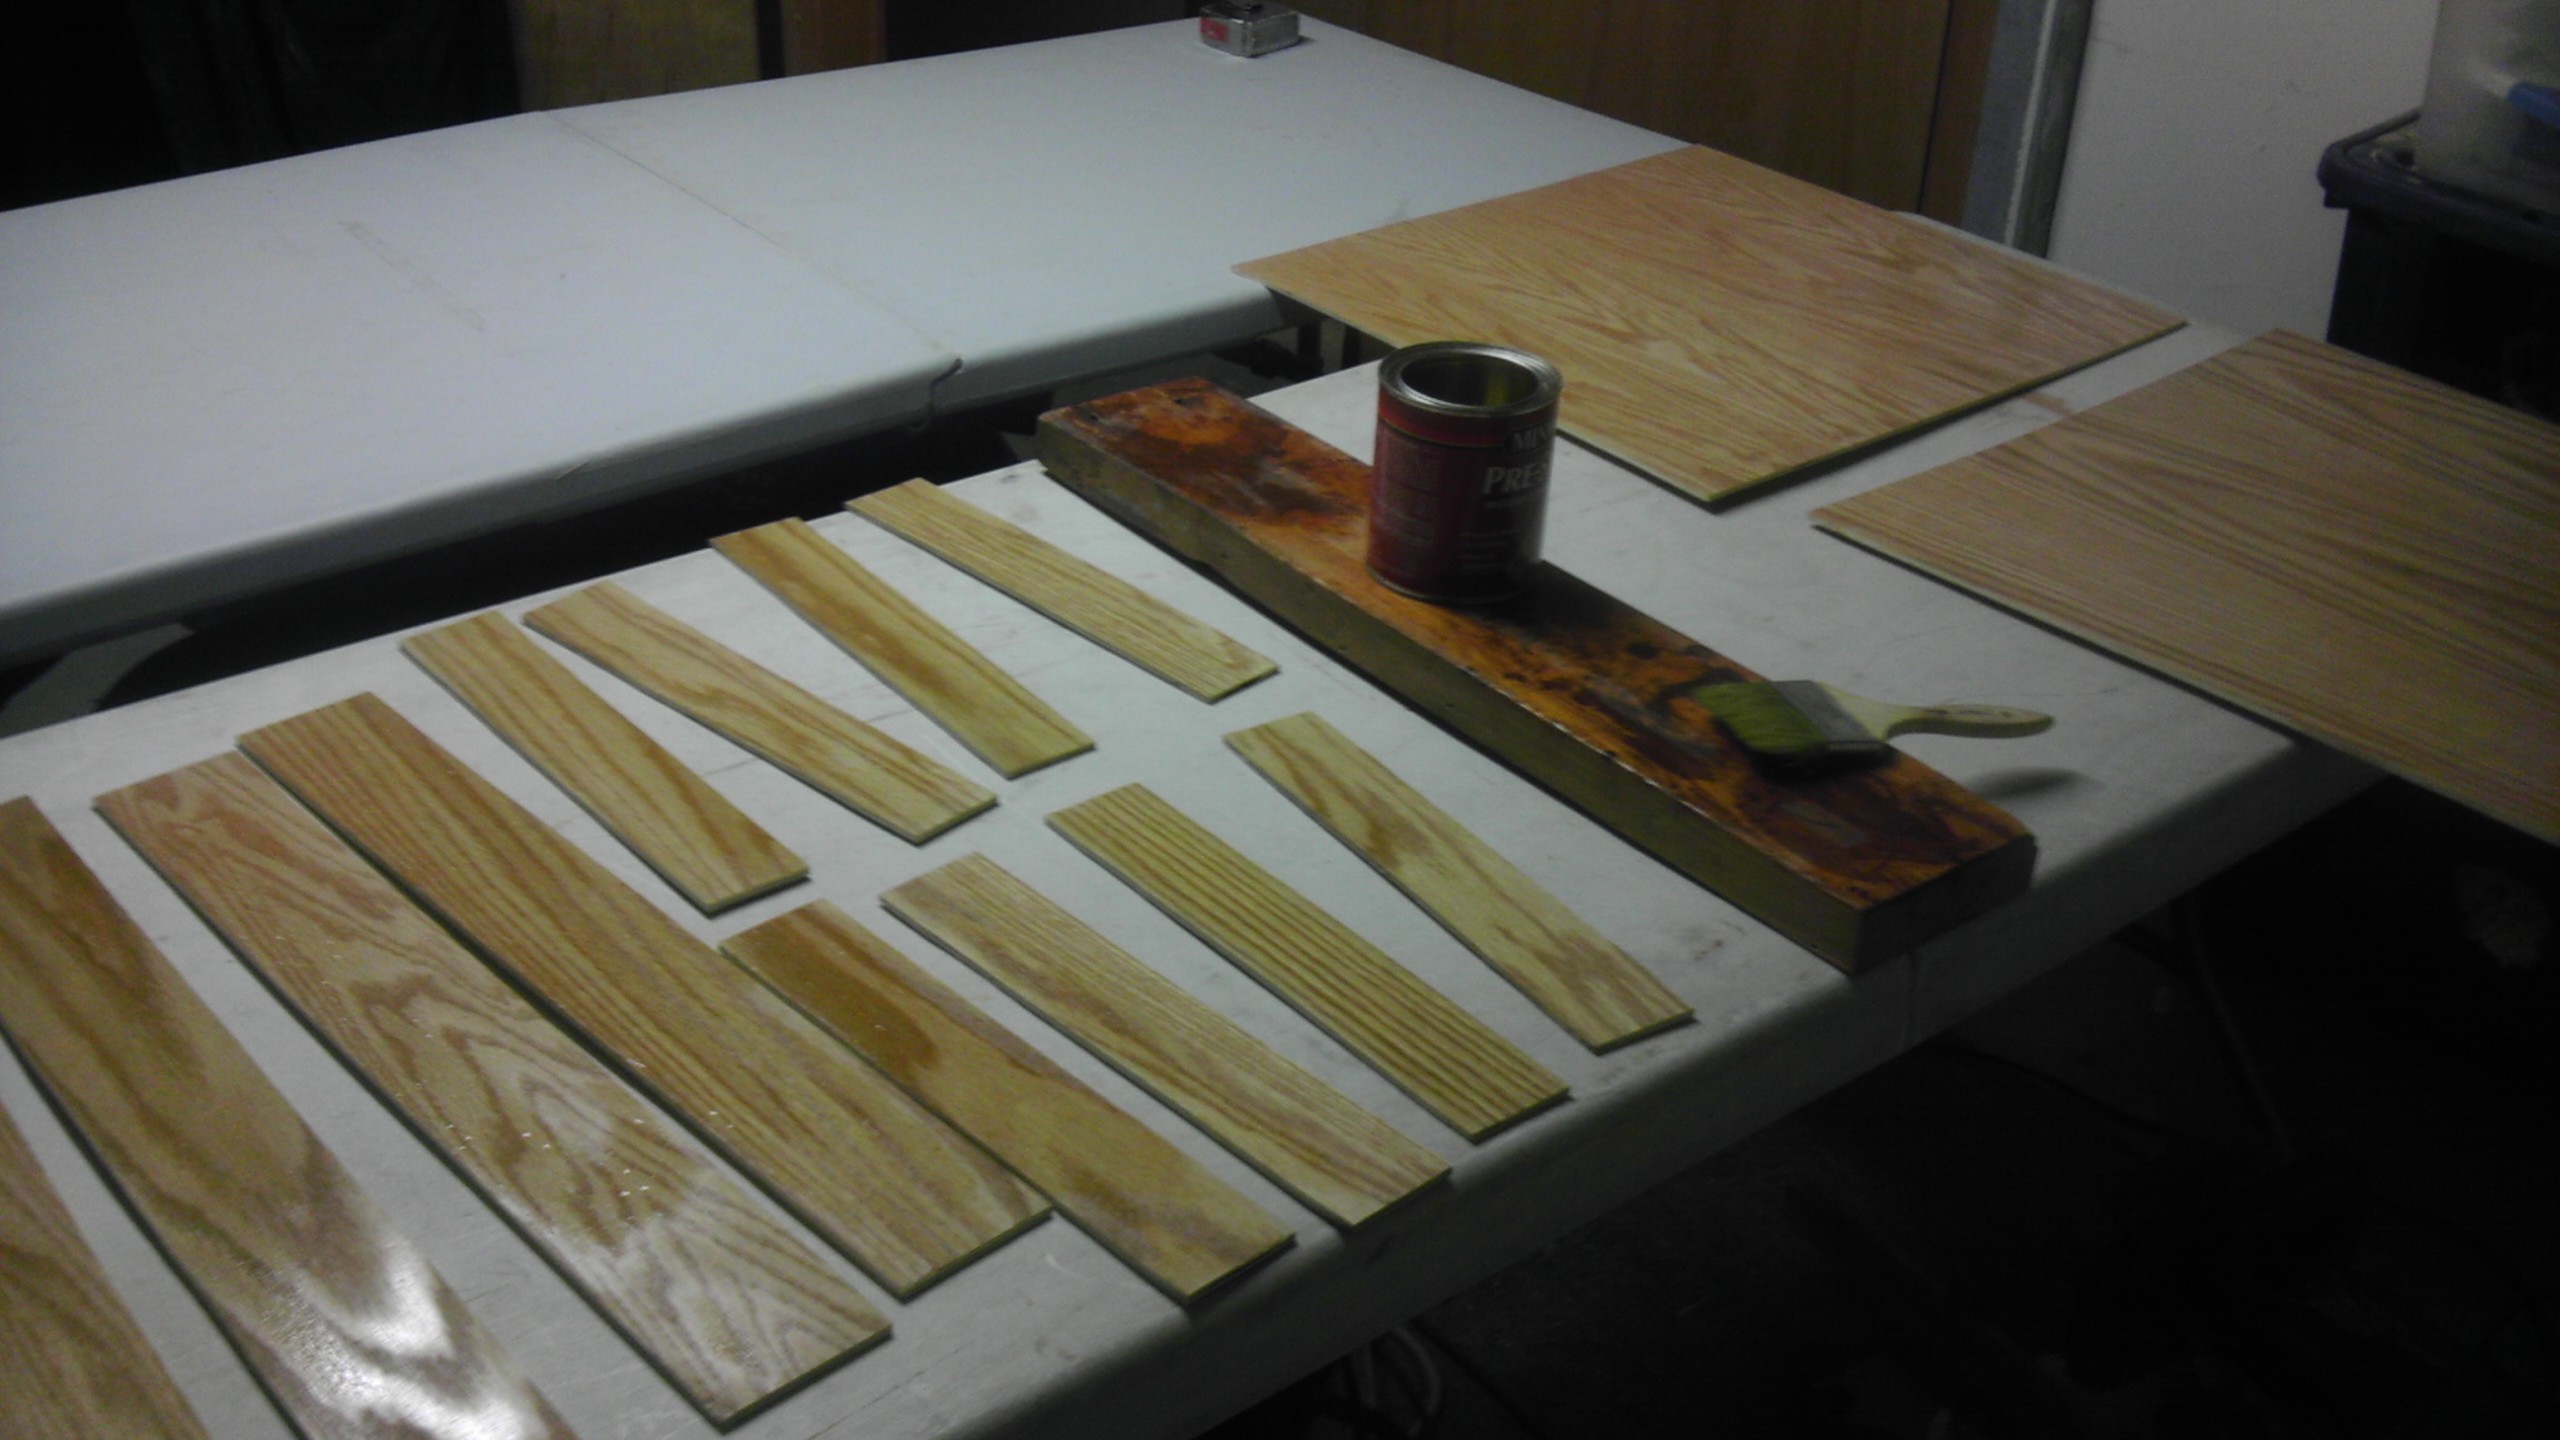
Then I placed the wood in the cabinet flipped up on one side and nailed in the tracking. Then I removed the wood and put down glue and placed the wood back in. Some of the plywood warped, or was warped, so the bigger pieces took a lot of weight to push them down. I just filled the cabinets with pretty much anything I could find that was heavy including lots of ceramic tile. Then I flipped it over the next day and did the other side.