2008 F150 Limited

theoperator1503
Posts: 3
Thought since I'm using all Polk SR series speakers I should post what I've got done. Right now I glasses door pods up front for a set of SR6500's and put a set in the rear in coax mode. I also have a SR124-DVC in the mail to me so I'm going to be making a fiberglass box to go between the front console and the rear seat in the middle.
Here's some pics.
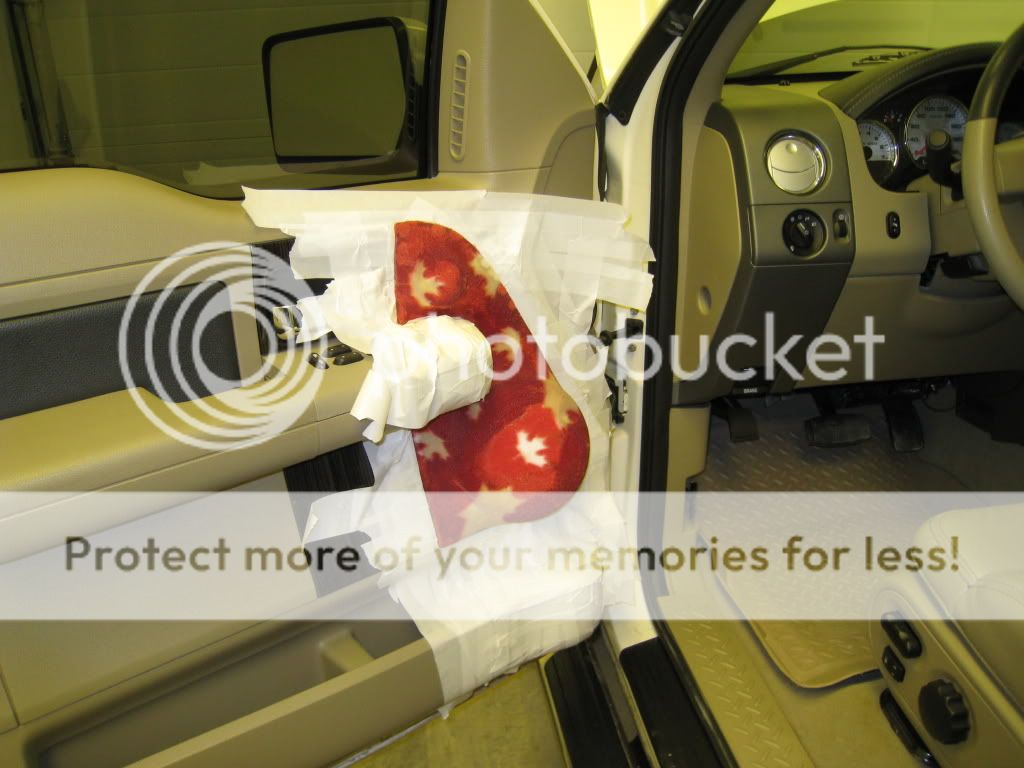


Here's my first shot at bondo, first layer was a little thick
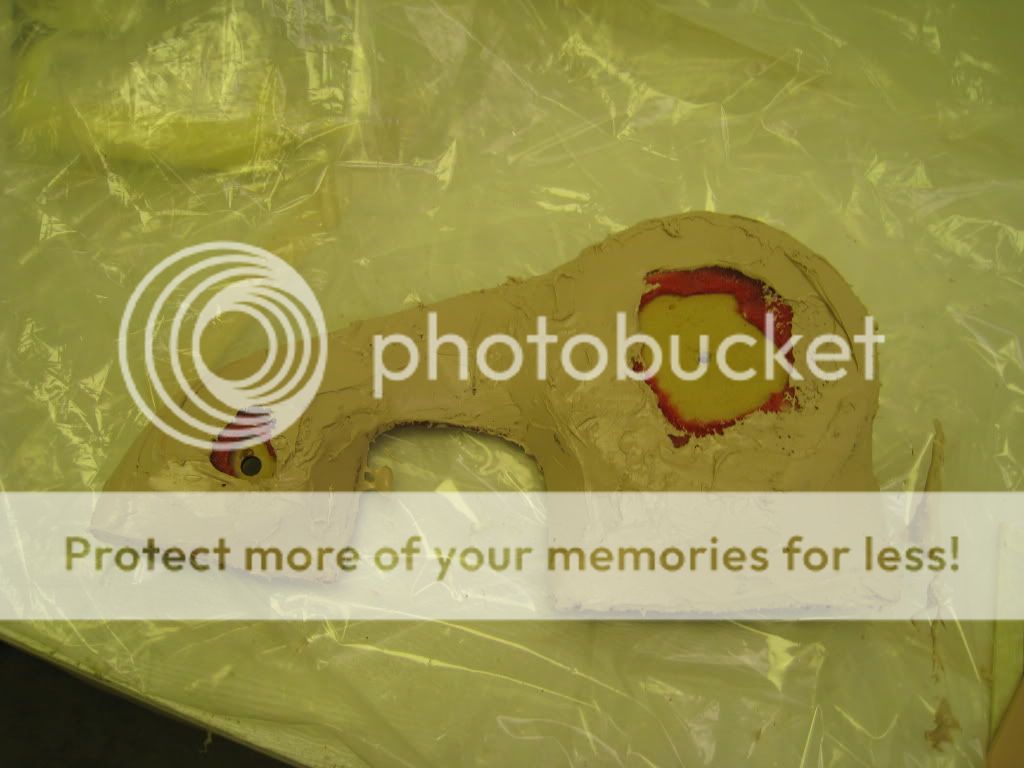
here is the back cut out and a few layers of mat and resin for strength.

Here is a shot with the rings cut out and 2 layers of bondo sanded with 80 grit.

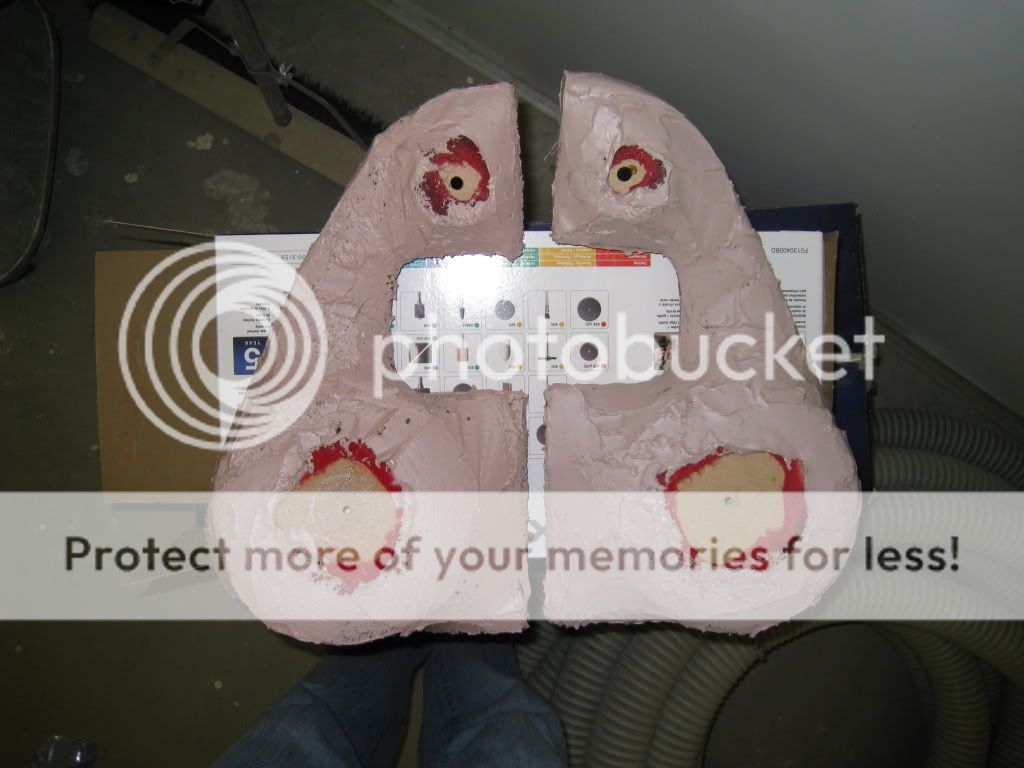
Here is the back with the one on the left I started cleaning up the back edges so it would fit back in the truck flush.


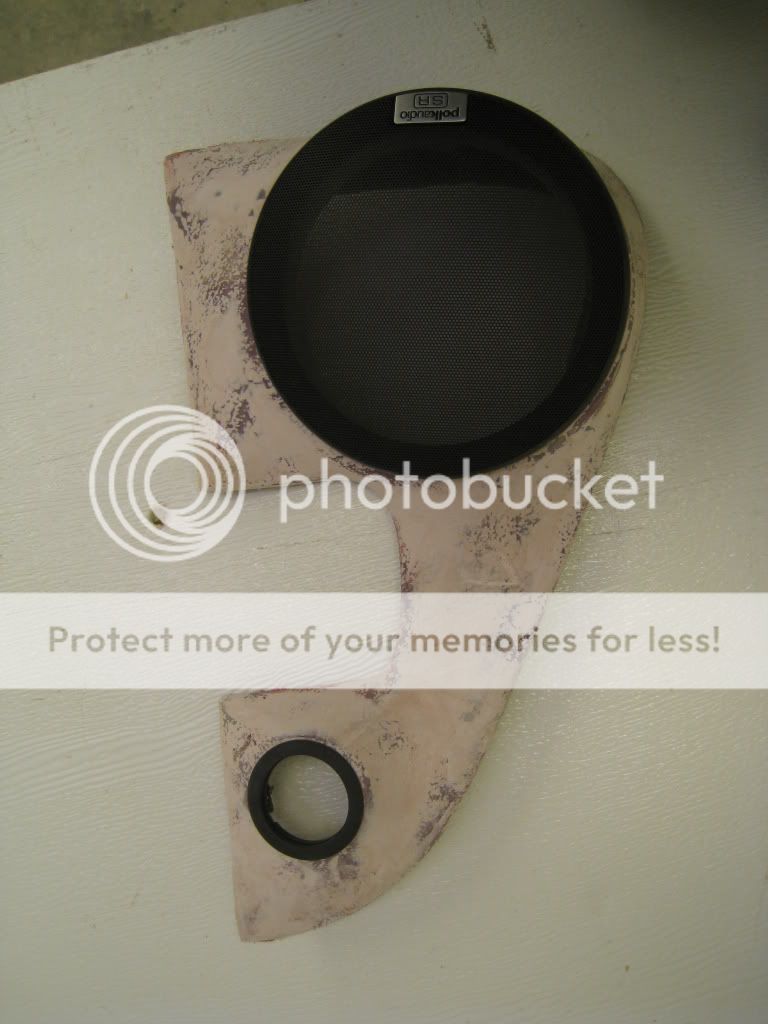
A shot of the grill for my polk SR6500's

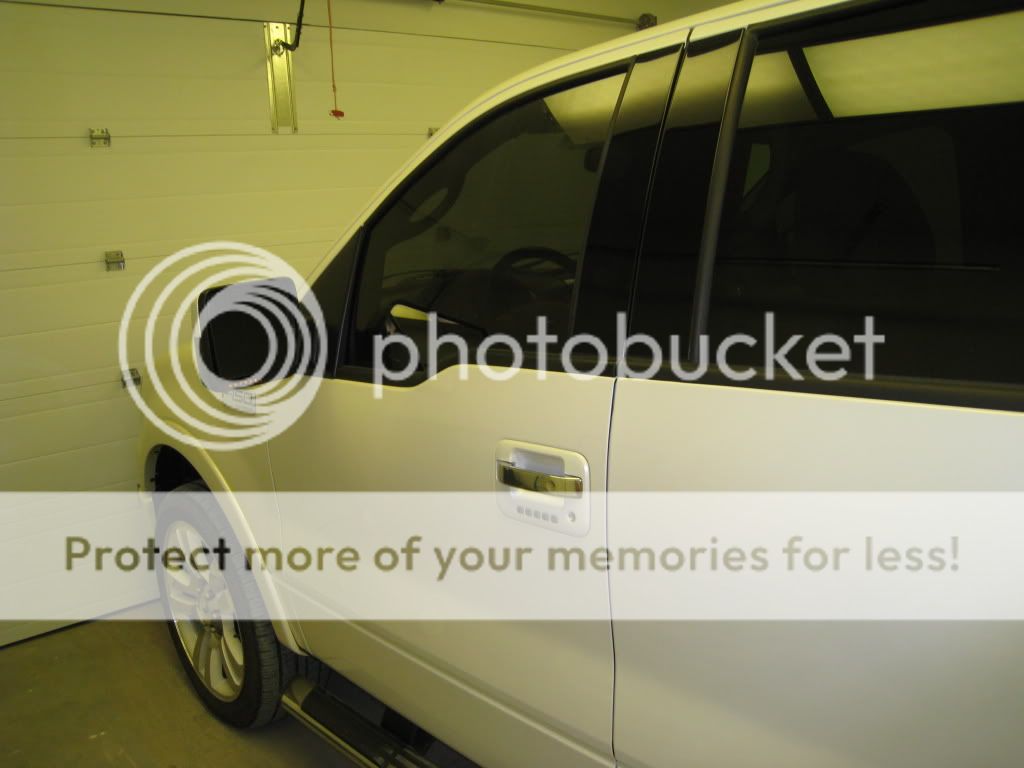
And here is my truck

Here's some pics.
Here's my first shot at bondo, first layer was a little thick
here is the back cut out and a few layers of mat and resin for strength.
Here is a shot with the rings cut out and 2 layers of bondo sanded with 80 grit.
Here is the back with the one on the left I started cleaning up the back edges so it would fit back in the truck flush.
A shot of the grill for my polk SR6500's
And here is my truck
Post edited by theoperator1503 on
Comments
-
This version of the pod didn't work out quite right so I started from Scatch but didnt take photos of the start of the new pods. This is what I ended up with.
the fleece i used was too thick so I decided to start over a little different.
This time I didn't get to take as much pics as I would of liked as I was trying to just get it done.
So here are some of the teardown pics of the install process.
Factory Front Door sound isolation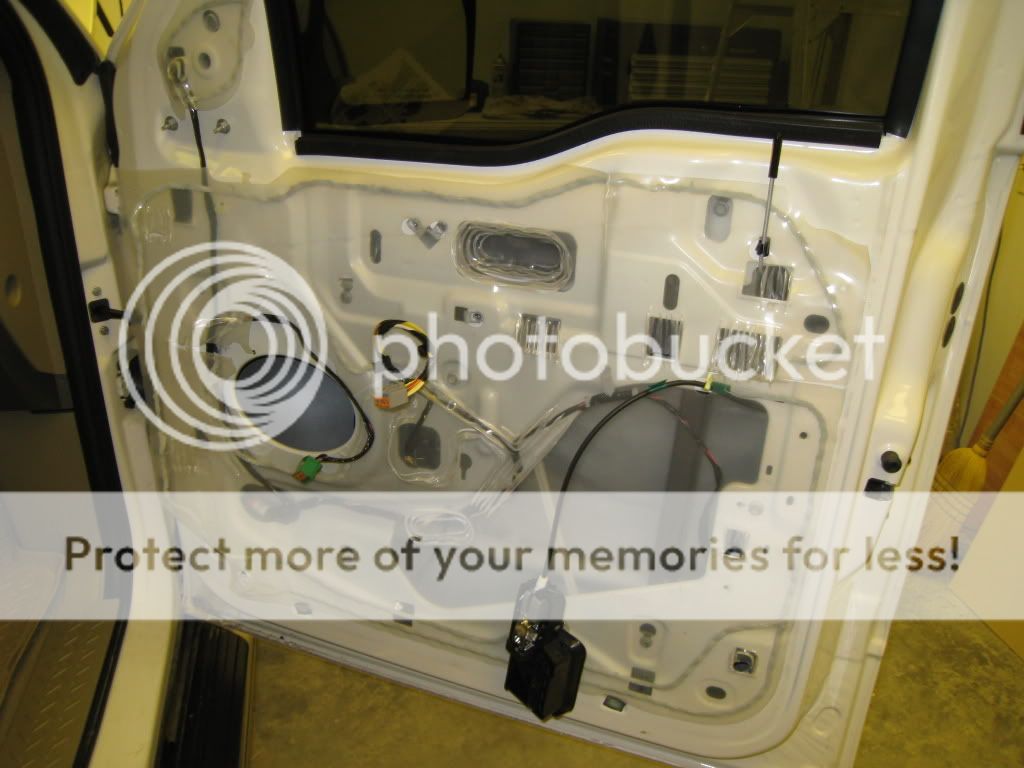
Deadened the outer skin of front
Deadedned the inner front
Rear factory isolation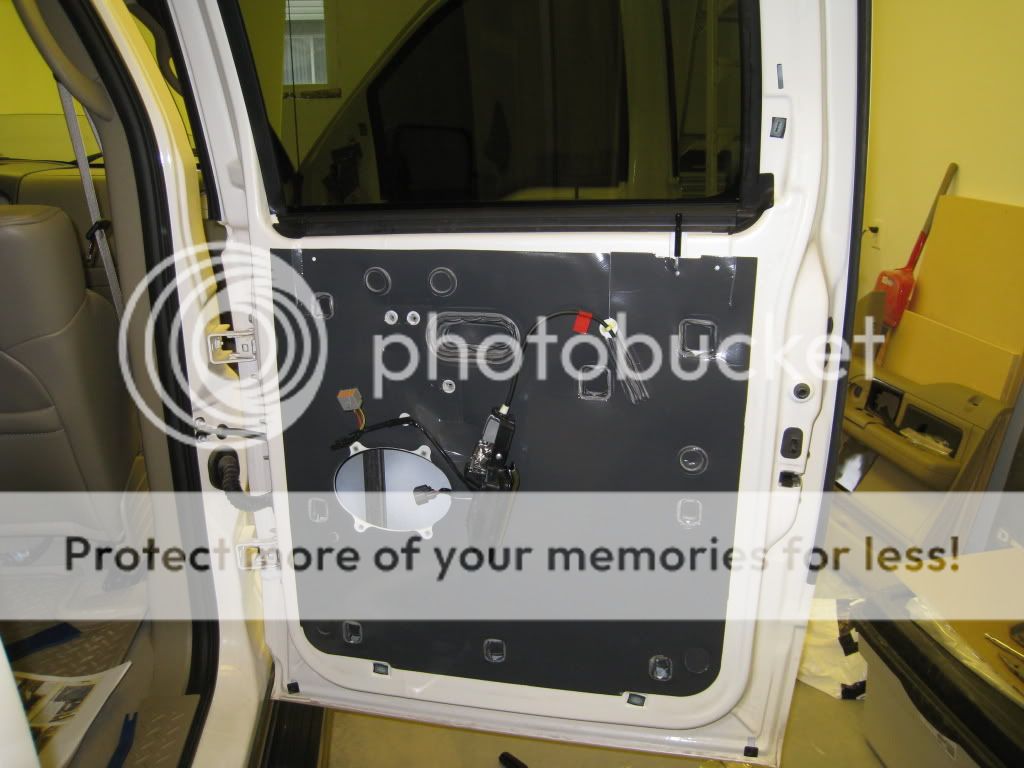
Rear with inner and outter skin done
This shows the rear door finished with the SR6500's in Coax mode.
I then went on to start the new front door pods.
This time instead of using a stock grill I laid fiberglass on the door to get the backing and used t-nuts that I took the spikes off and glassed in to mount the pods. This time I took everyones advice and picked up some evercoat Rage Gold and the sanding went so much smoother.
I also tried wrapping the finished pods using a 1/8th foam as shown here.
I didn't like the look of the soft so I took it off and sanded it again and then wrapped it in vinyl which is the exact same vinyl ford used for the front door accents. It was about 45 cnd a yard and didn't stretch very well so I had to make a seam at the bottom of the pods.
Here is the backside of the pods
Wrapped with Speaker in with and without grills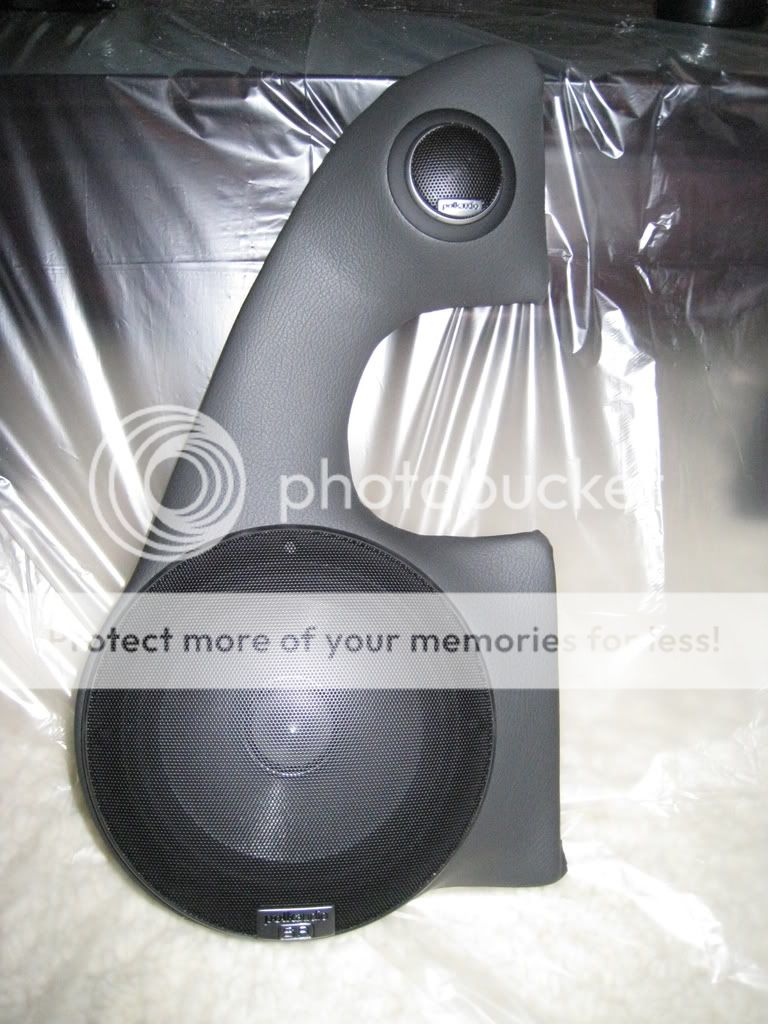


Once I mounted the Pods to the door I used some leftover deadener to seal the pod to the door so that there was no air leaks.

Some shots of the finished product (its not perfect, I want to do it again, My edges do not line up perfect and had to use some vinyl to match it up to the edges of the door.


Here shows the two amps stacked (1.1000,4.150) It's just temporary until I get my new SR124-dvc and make a nice box for it..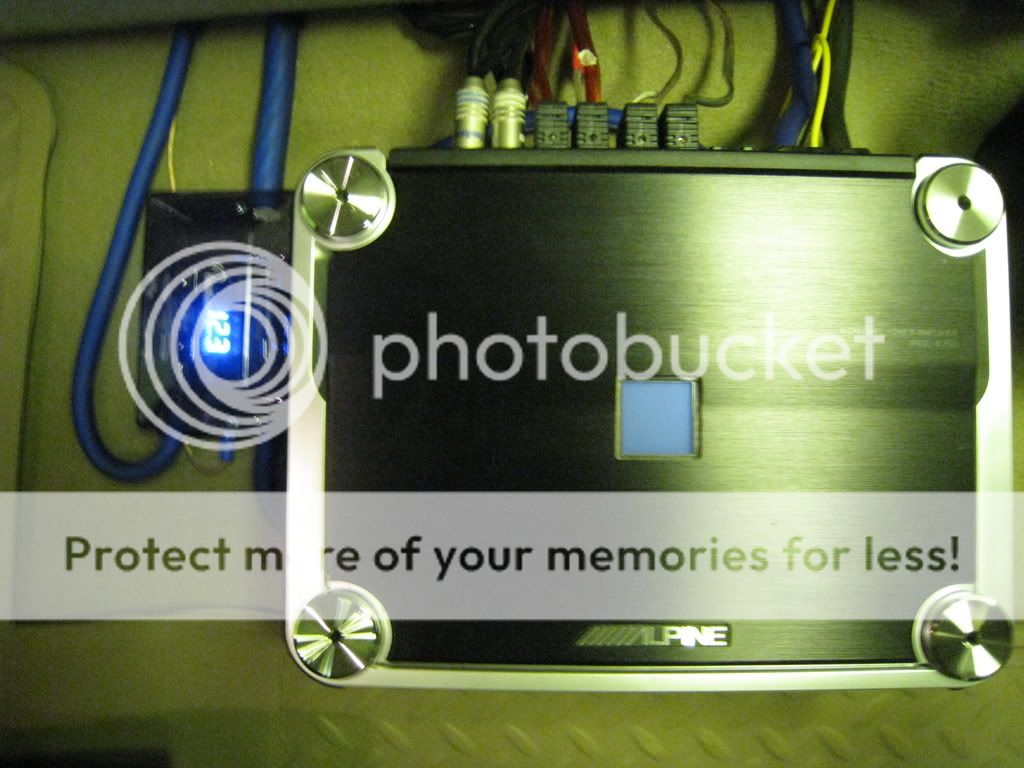
Here is the box I have in now, but I took out the rockford and made a spacer ring out of 3/4 mdf and put in a JL 10w6 for the time being.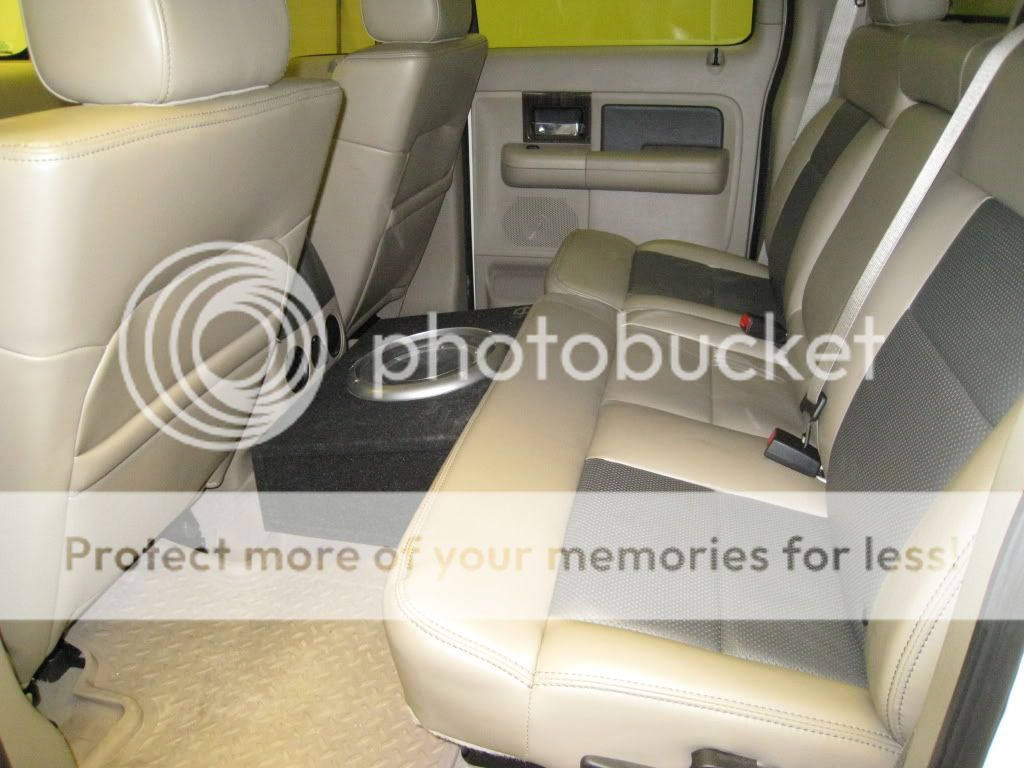
-
I would have coated the sub box in a vinyl to match the seats.
Oh and next time you wanna use vinyl, heat it with a hair dryer or a heat gun on the lowest setting. That will soften it up enough to get it to conform to stuff. If you don't have a heat gun, get a clothes iron and a wet, cotton towel. Not soaking wet so it's dripping or anything, just wet. Then fold the piece of material up in the wet towel and apply heat at the highest setting. Make sure your towel is cotton for this. The steam will heat the vinyl enough to make it pliable but the iron won't be in direct contact to burn the material.
When you heat the vinyl, you can't tug on it real hard 'cause it's soft and it'll tear easier.
Otherwise, nice deal. It's clean and professional looking. I think that matching the rest of the door panel might have been a bit more appealing but hey, to each his own. Great work, dude!Expert Moron Extraordinaire
You're just jealous 'cause the voices don't talk to you! -
Jstas, Thanks for the comments,
As for the sub box, that is just a pre-fab box I got for free and tossed in there to get some bass while I'm building my new box and Waiting for the SR 12 to arrive.
As for the vinyl I did use a heat gun while applying it to get it to stretch the problem was it has a heavy cloth backing on it and it still resisted stretching even with heat.
The iron and towel method is interesting though, I have never heard that before. Thanks. -
That's a carpenter's trick for getting a wood laminate to be flexible enough to go around a curve. It's fairly simple to do, just gotta be careful.Expert Moron Extraordinaire
You're just jealous 'cause the voices don't talk to you! -
A couple ideas on how to completely finish this truck off right:
Take the back seat off and mount the amps back there. (I am a professional and a F150 junkie). Its very easy look for the metal loops at the sides of the back seat. Right behind and above (pull leather upwards) is a black plastic clip, hit that and the seats slide up (one on each side. And there is 2 10mm nuts under that cover for the seatbelt.)
Then go to LMIWelding.com and pick up the seatlift. And your SR124 should fit under there. I have the same sub and components.
Lastly, go over to F150online.com and post your build pics there. Theres a lot to learn on that site. (such as how to take back seat off, etc.) -
Dude That is BADASS!!!! Very nice work.