DIY Project Part 1: Acoustic panels

iskandam
Posts: 704
After reading all the positive improvements that people have had with acoustically treating their listening room I decided to go this route. To get the most bang for the buck, building them is a lot cheaper than buying them.
Initially I wanted to use the rigid OC 703/705 boards that most people use for their DIY projects. Then I found out that Roxul mineral wool is even cheaper. I scoured the Yellow Pages for local insulation, air conditioning, heating, and building suppliers that may have these in stock with no success. After doing further research I discovered an even cheaper alternative. Why not use the rolls of pink OC R-series insulation fiberglass that's often on sale at Home Depot?
I followed this guy's instructions to build 6 panels. I bought the peg boards and poplar wood to build the frame from Home Depot and had them cut everything to size.
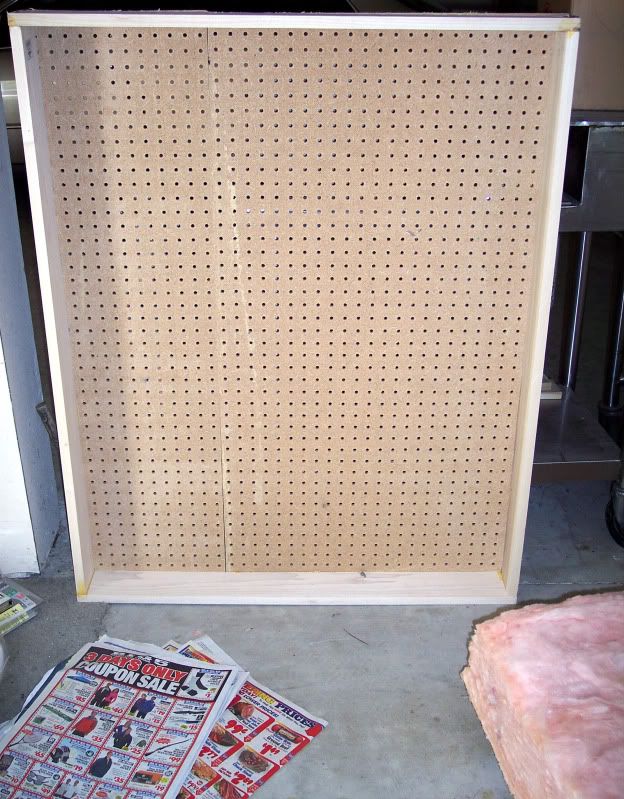
I used Titebond II and 1" threaded nails to join the poplar wood together and Liquid Nails to bond them to the peg board. Then I flipped them over and nailed the peg board to the wood frame. I left them out to dry for one full day.
I used two 110" x 110" rolls of polyester fiberfill from Walmart to create a sandwich layer between the pink fiberglass and the frame that looks like this

Muslin cloth from Walmart is used to cover the front, fully stretched out and thumbtacked to the peg board

Only 2 of them are the standard 4' x 2' size. The rest are customized to fit my specific listening room. The biggest one is 7' x 2' to go on the wall directly behind the couch
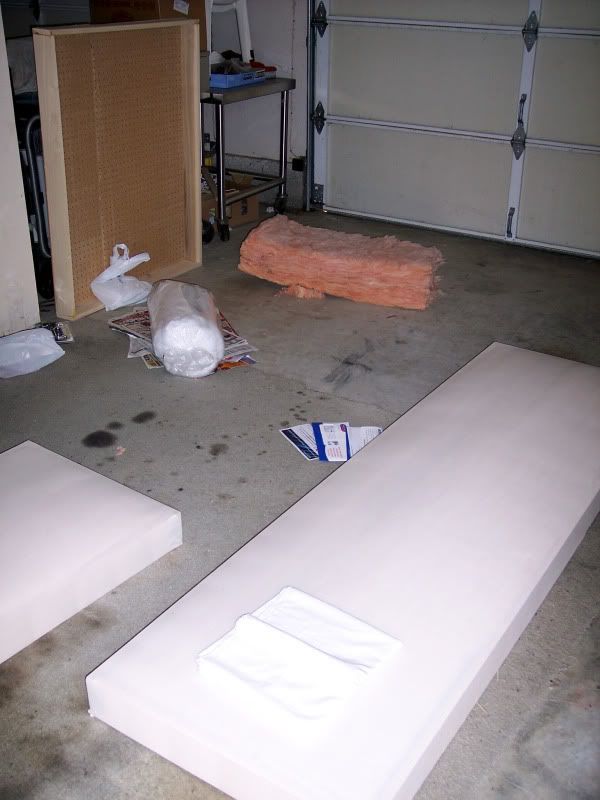
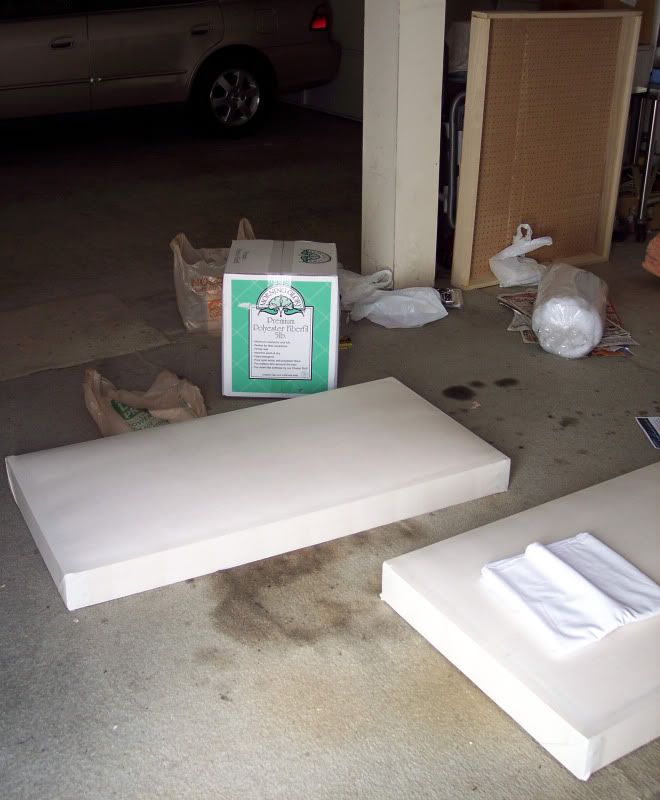
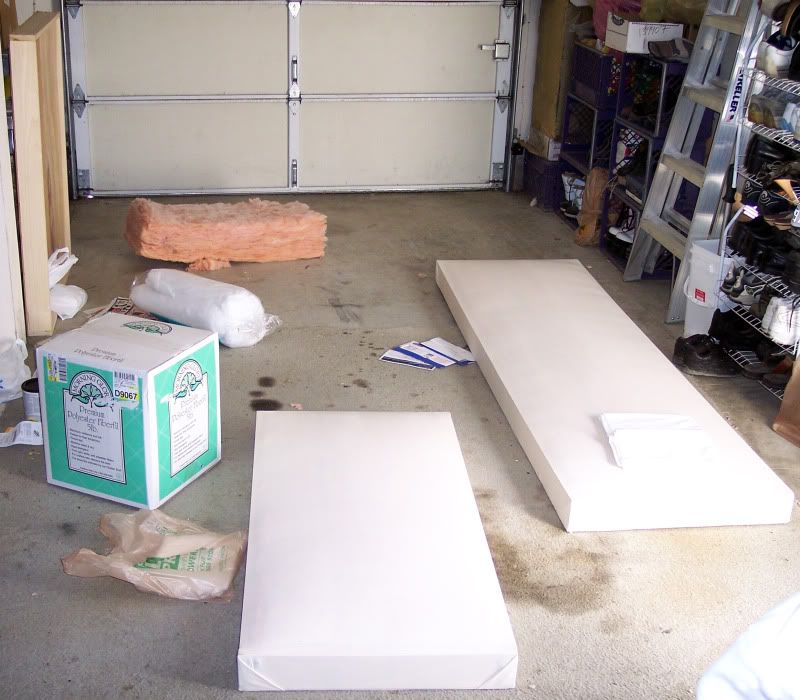
One will go on the side wall to the left side of the couch.
A week later I found a color that's an even better match to the walls of my living room so next week I will de-cloth the two panels in the garage and redo them with the new cloth.
This is what the living room looks like with the 3 panels spread out across the front soundstage

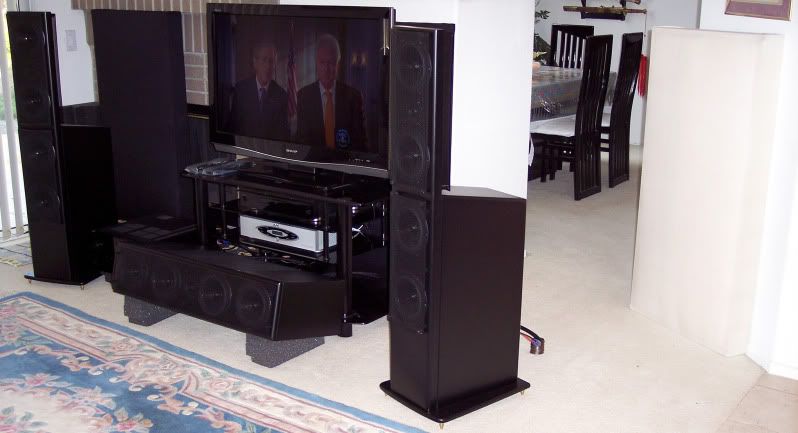
I put one behind each speaker to address first reflection issues, which was critical because these open-baffle speakers needed at least 3-4' of space behind them to create an open and spacious soundstage. I only have 2.5' behind the left main and 2' behind the center channel. I do have 3.5' behind the right main.
Behind left main
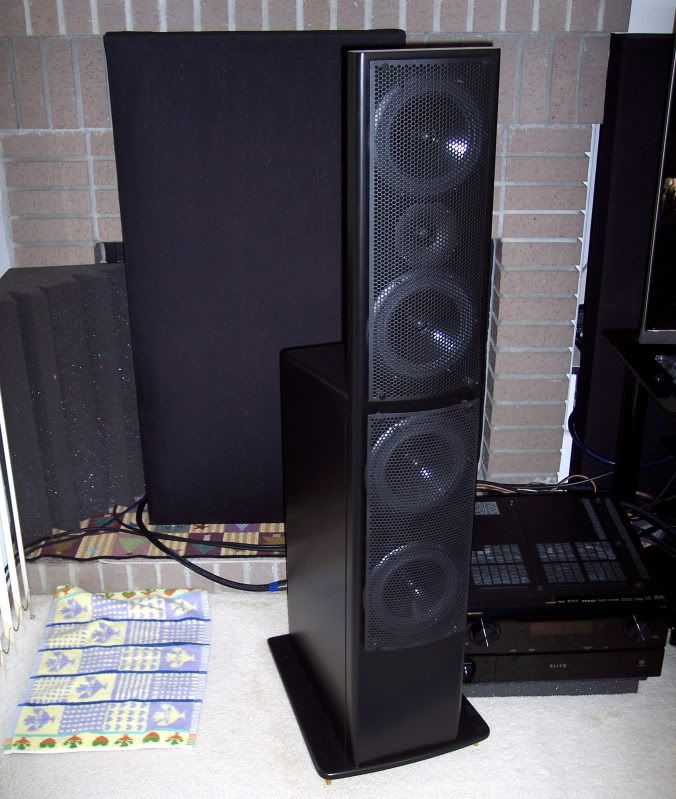
Closer look
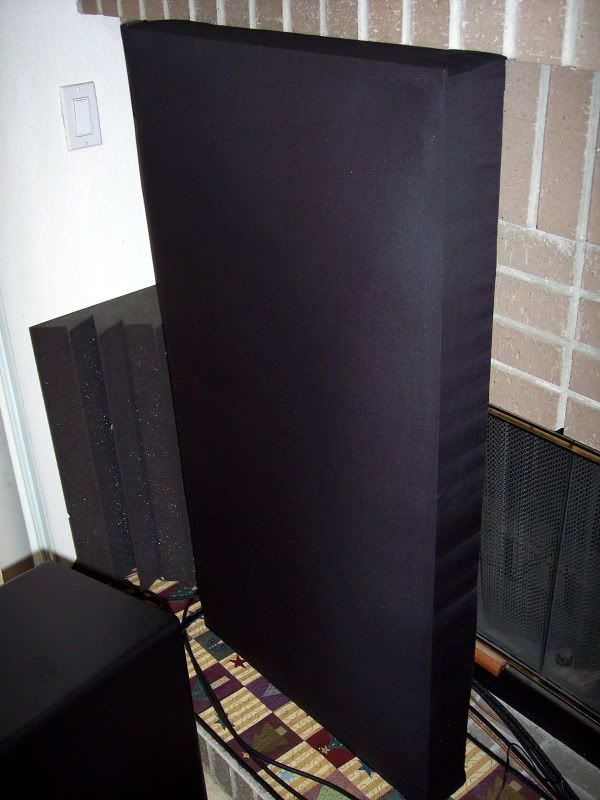
Behind center channel. I decided to use black cloth for this one and the left main to blend in better with the speakers and also to hide the cables behind the open TV stand. It works wonderfully.
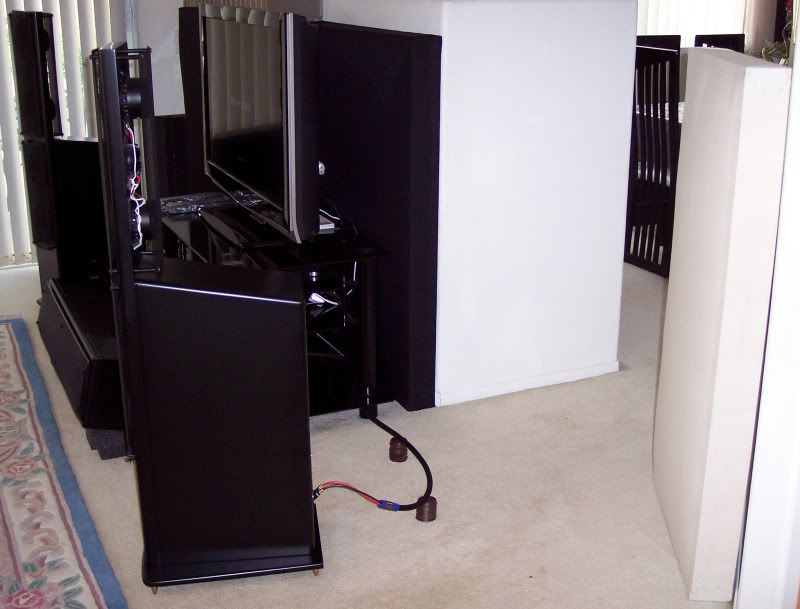
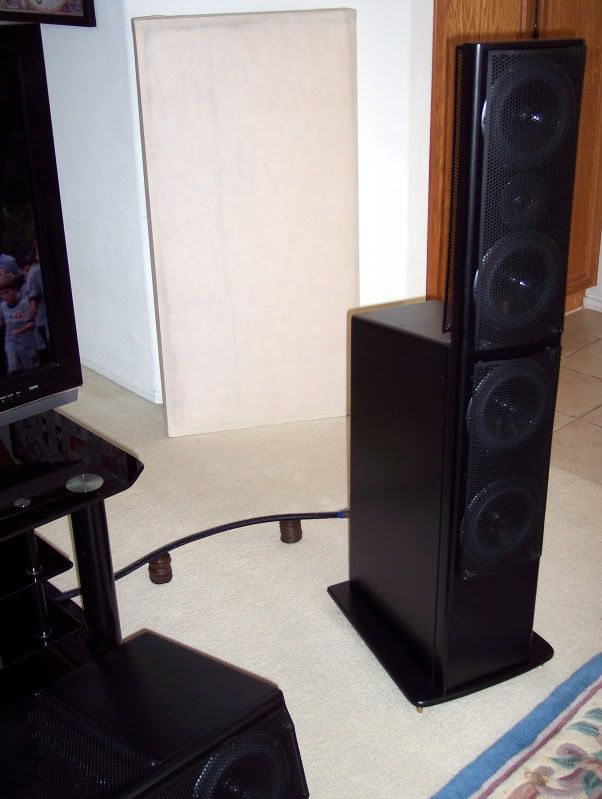
Behind right main. Note the opening between the speaker and the wall behind the panel. Since this is a high traffic area the panel would have to be removeable. I will install feet and door handles on each side to allow it to be moved around easily.
I started this project early this year and planned to have it done by the end of January. Well, two weeks of rain and three weeks of flu prevented that from happening. I'm in the home stretch now. I have one panel left and two panels to re-cloth. The goal is to have everything done and installed by next weekend.
Initially I wanted to use the rigid OC 703/705 boards that most people use for their DIY projects. Then I found out that Roxul mineral wool is even cheaper. I scoured the Yellow Pages for local insulation, air conditioning, heating, and building suppliers that may have these in stock with no success. After doing further research I discovered an even cheaper alternative. Why not use the rolls of pink OC R-series insulation fiberglass that's often on sale at Home Depot?
I followed this guy's instructions to build 6 panels. I bought the peg boards and poplar wood to build the frame from Home Depot and had them cut everything to size.

I used Titebond II and 1" threaded nails to join the poplar wood together and Liquid Nails to bond them to the peg board. Then I flipped them over and nailed the peg board to the wood frame. I left them out to dry for one full day.
I used two 110" x 110" rolls of polyester fiberfill from Walmart to create a sandwich layer between the pink fiberglass and the frame that looks like this

Muslin cloth from Walmart is used to cover the front, fully stretched out and thumbtacked to the peg board

Only 2 of them are the standard 4' x 2' size. The rest are customized to fit my specific listening room. The biggest one is 7' x 2' to go on the wall directly behind the couch


One will go on the side wall to the left side of the couch.
A week later I found a color that's an even better match to the walls of my living room so next week I will de-cloth the two panels in the garage and redo them with the new cloth.
This is what the living room looks like with the 3 panels spread out across the front soundstage


I put one behind each speaker to address first reflection issues, which was critical because these open-baffle speakers needed at least 3-4' of space behind them to create an open and spacious soundstage. I only have 2.5' behind the left main and 2' behind the center channel. I do have 3.5' behind the right main.
Behind left main

Closer look

Behind center channel. I decided to use black cloth for this one and the left main to blend in better with the speakers and also to hide the cables behind the open TV stand. It works wonderfully.

Behind right main. Note the opening between the speaker and the wall behind the panel. Since this is a high traffic area the panel would have to be removeable. I will install feet and door handles on each side to allow it to be moved around easily.

I started this project early this year and planned to have it done by the end of January. Well, two weeks of rain and three weeks of flu prevented that from happening. I'm in the home stretch now. I have one panel left and two panels to re-cloth. The goal is to have everything done and installed by next weekend.
Post edited by iskandam on
Comments
-
I appreciate the craftsmanship and think the panels came out nice. Those fronts and center speaks look freaking awesome. What are they? Nice setup also bro.Shoot the jumper.....................BALLIN.............!!!!!
Home Theater Pics in the Showcase :cool:
http://www.polkaudio.com/forums/showcase/view.php?userid=73580 -
Well there's a bit of a learning curve involved in clothing them. The first one came out so ugly I couldn't show it here
 Can't say that I enjoyed making them. They're very time-consuming and working with fiberglass has not been pleasant. But I do enjoy the results, plus I saved a good amount of money by building them instead of buying them.
Btw the mains are AV123 X-Statiks and center is X-Voce. The center channel is 3ft wide and over 1ft deep, making placement a real headache, especially with the space requirement of open baffle designs. -
Thanks for sharing your project and the link. I've been looking to build some of these myself. I'm thinking though that you can't be married or have a very cool wife/girlfriend because the waf on that system protruding into the room like that and the cable elevators would be near zero.SDA-1C (full mods)
Carver TFM-55
NAD 1130 Pre-amp
Rega Planar 3 TT/Shelter 501 MkII
The Clamp
Revox A77 Mk IV Dolby reel to reel
Thorens TD160/Mission 774 arm/Stanton 881S Shibata
Nakamichi CR7 Cassette Deck
Rotel RCD-855 with modified tube output stage
Cambridge Audio DACmagic Plus
ADC Soundshaper 3 EQ
Ben's IC's
Nitty Gritty 1.5FI RCM -
Just watched THE ISLAND on DVD with these panels in place. They took the edge out of the upper midrange and high. I can now listen at higher volumes without fatigue. They also opened up the soundstage and made them deeper.
I haven't had a chance to do critical music listening yet, maybe next week after all the panels are done and set up where they should be.
