Building a Polk MM1240SVC Subwoofer...
jon s
Posts: 905
Someone gave me a Polk MM1240SVC 4-ohm subwoofer... I don't have a need for a subwoofer for my car (an older Prius... I could not imagine someone booming out bass in a Prius... Especially a 60+ YO grandpa)...
I built a couple of subwoofers before... They came out okay... I learned a lot on what not to do... During this build, I learned more... Some of it, too late but you live and learn.
My biggest problem is that I don't have much tools-wise... I have a router, jigsaw, circular saw and a RO sander... That's it. No workbench, just a collapsible table I could use out in the backyard.
In my previous sub builds, my biggest issue was cutting braces. The braces was just a piece of wood cut at 45 degree angles. This proved to be quite difficult without a miter or cross cut saw. No matter what I did, the cut was way off and the brace would only touch the sides at one point.
I figured I needed a jig... This is what I came out with...
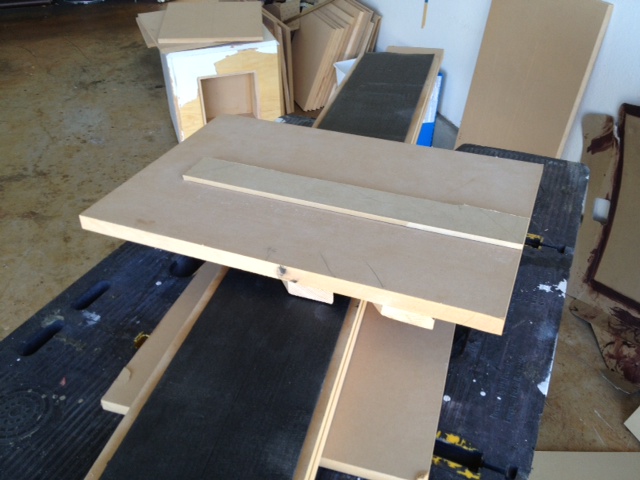

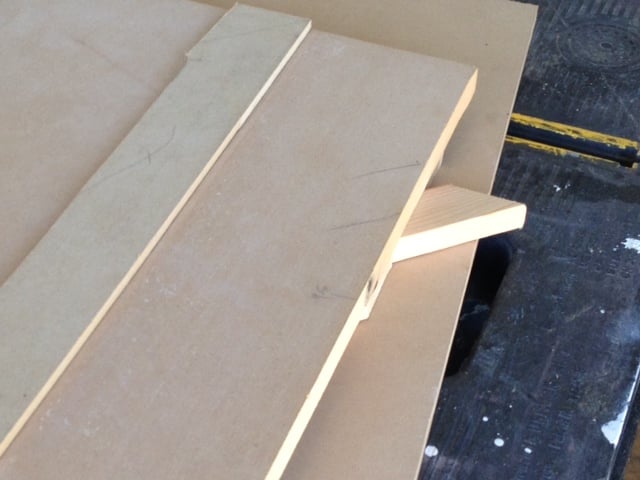
I just had to place the piece of wood between two glued pieces that was set 45 degrees. Then just cut the wood along the ledge. The raised ledge kept the circular saw aligned. Simple and precise enough...
I built a couple of subwoofers before... They came out okay... I learned a lot on what not to do... During this build, I learned more... Some of it, too late but you live and learn.
My biggest problem is that I don't have much tools-wise... I have a router, jigsaw, circular saw and a RO sander... That's it. No workbench, just a collapsible table I could use out in the backyard.
In my previous sub builds, my biggest issue was cutting braces. The braces was just a piece of wood cut at 45 degree angles. This proved to be quite difficult without a miter or cross cut saw. No matter what I did, the cut was way off and the brace would only touch the sides at one point.
I figured I needed a jig... This is what I came out with...


I just had to place the piece of wood between two glued pieces that was set 45 degrees. Then just cut the wood along the ledge. The raised ledge kept the circular saw aligned. Simple and precise enough...
Post edited by jon s on
Comments
-
Using Bass Box Pro, I decided to build the sub in a 17.5" x 17.5" x 19" sealed box... The box will have 0.75" sides except for the front, which will be 1.5" thick. The F3 (the -3dB point) is 45Hz. The amplifier will be in a separate enclosure to prevent any issues of leakage through the amplifier itself. I decided on a sealed box because it is more compact than a vented design, which would be about 30% larger. Also, sealed boxes are a lot easier to build. I attached the Bass Box Pro file...
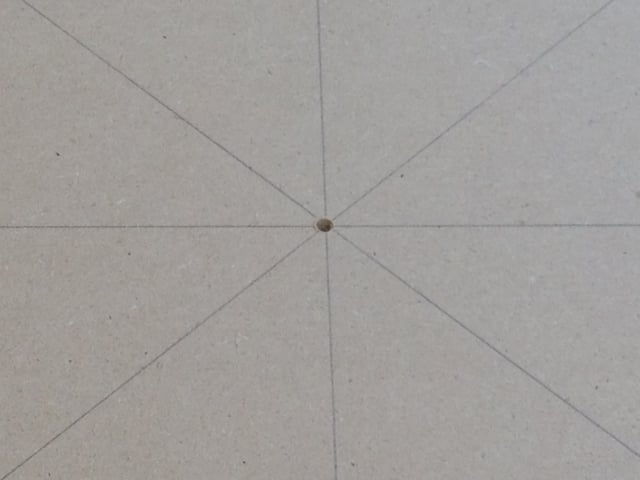
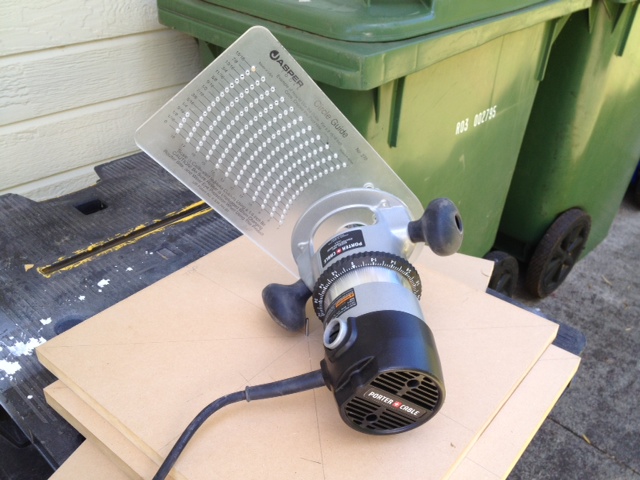
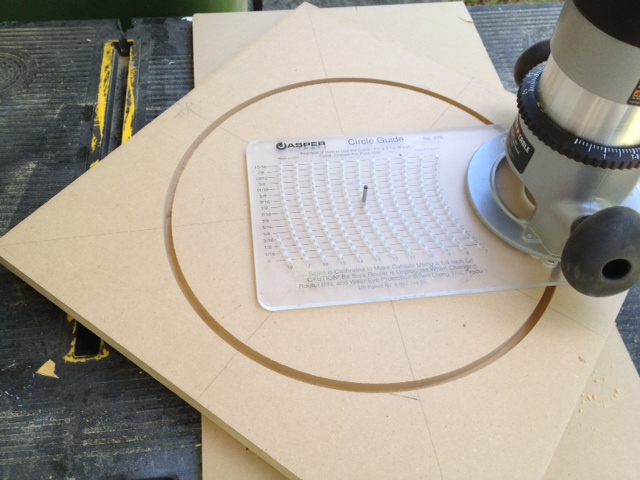
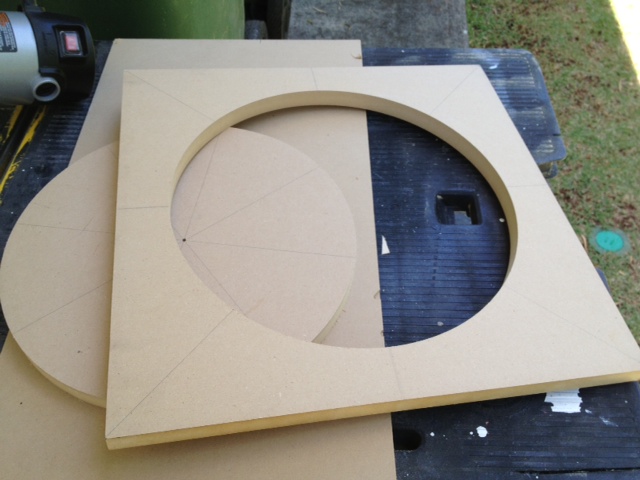
I cut the 0.75" MDF using the circular saw and a Kreg saw guide. This enabled me to cut multiple MDF to specific lengths. After the wood was cut, I drew lines on the baffle piece to find the center point in order to cut out the driver opening. I then drilled a 1/8" hole for the Jasper circle cutting jig. I used two pieces of MDF, one to sit the driver on, the other to flush mount the driver. I routed the hole making several passes of about 1/8" deep, otherwise you could burn out the bit and the router motor.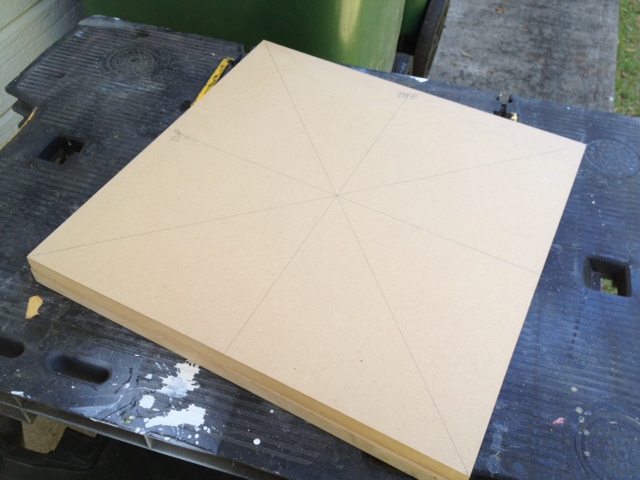
-
A good bit of advice. Always cut the largest pieces of the sub a tad larger (1/4") than planned. Unless you have a table saw, the pieces will never be precise and you might find the larger panels too small, leaving you an indented ledge. With the larger pieces (in this case, the top and bottom panels), you won't have this problem. If the panels are too large, you can always trim but you cannot restore the edge if it is already cut...
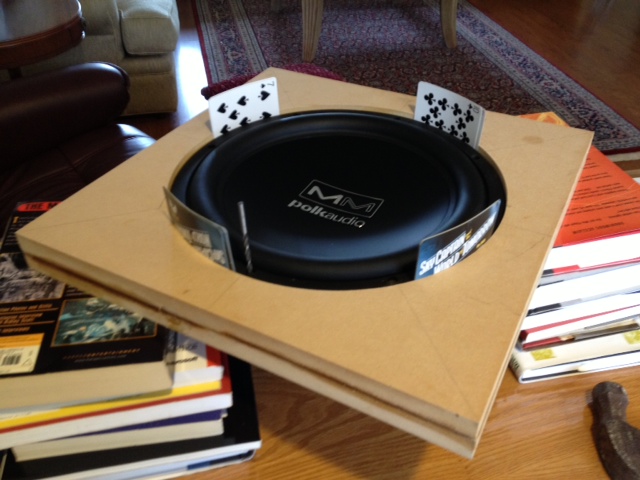
I glued the two baffle pieces together. I then placed the driver into the baffle and used playing cards to shim the driver to center it. After that, I used a punch to create the starting points for the bolt holes.
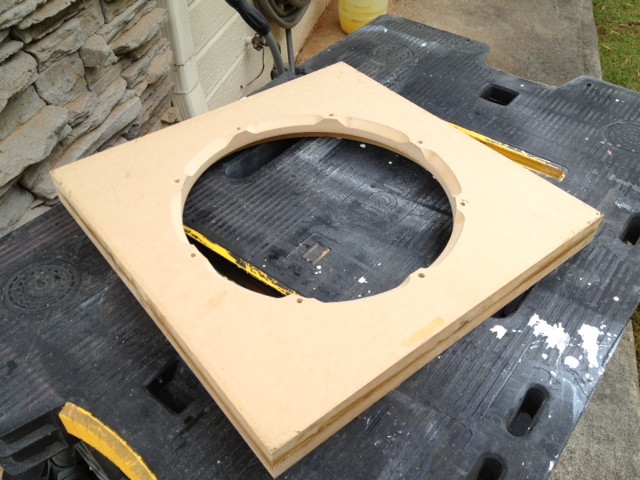
After that, realizing that the Polk sub is a shallow driver, I routed the rear of the baffle to allow more breathing space for the driver. I then inserted the hurricane nuts on the back of the baffle, applying Gorilla Glue to keep it in place. The glue is really important as the nuts can easily be pushed out, making it impossible to remove the driver later on...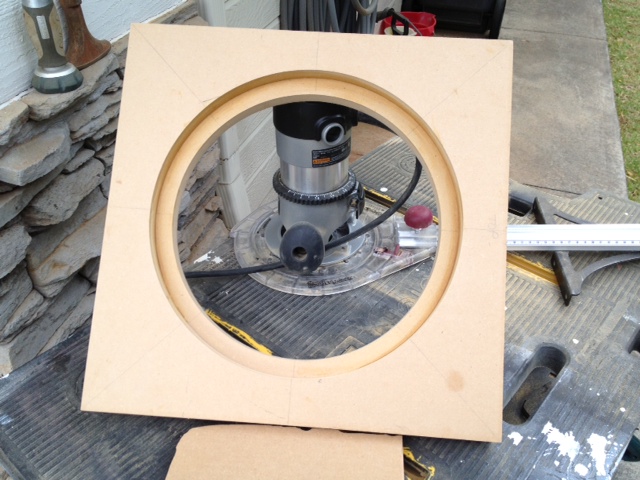
-
I then routed out the rear panel for the subwoofer plate amplifier. In this case, I decided to use the Dayton Audio SP250 250-watt amplifier. The amplifier is a little below the rated power of the driver (400 watts), but this amplifier allowed me to use the sub in music as it has high level inputs and outputs, which is getting harder to find.
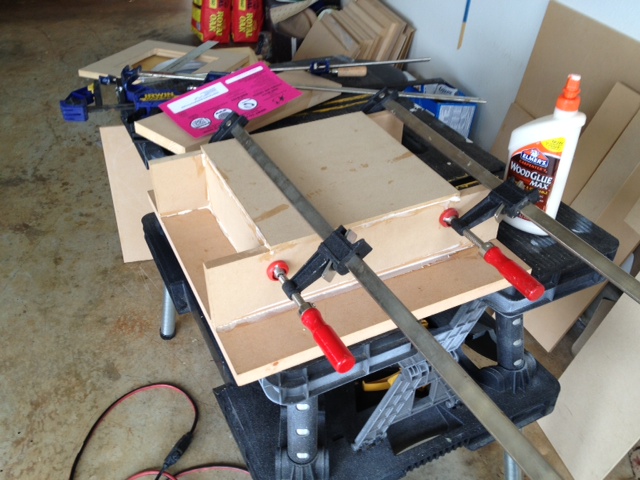
I then glued the amp sub enclosure together...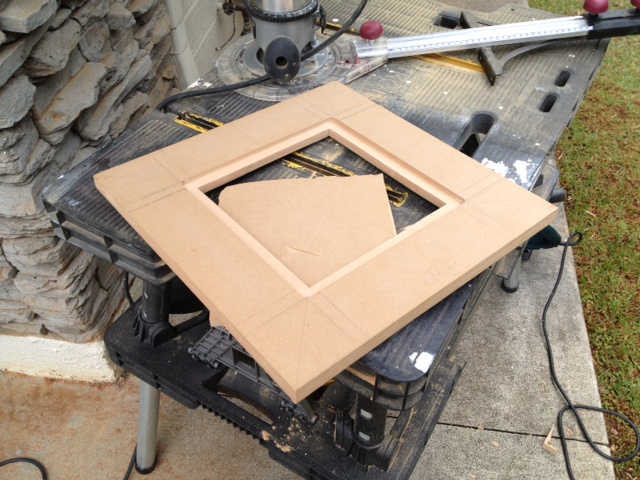
-
I then glued the box together. I then used Bondo on all the crevices to fill in any gaps. I then sanded the box down...
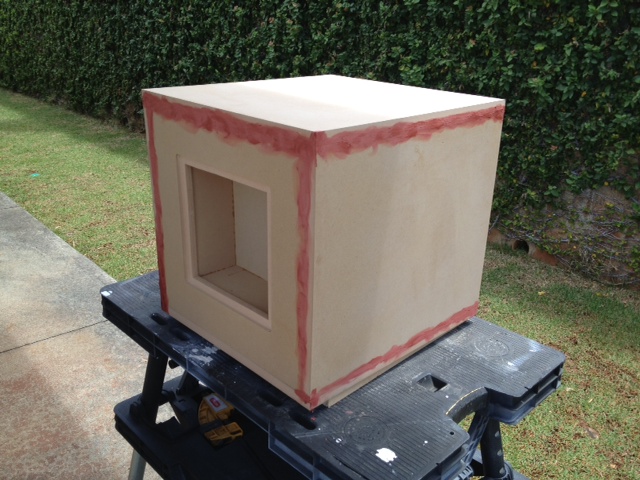
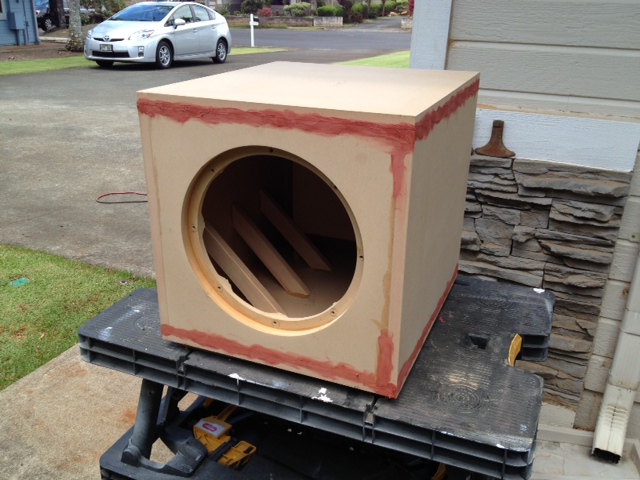
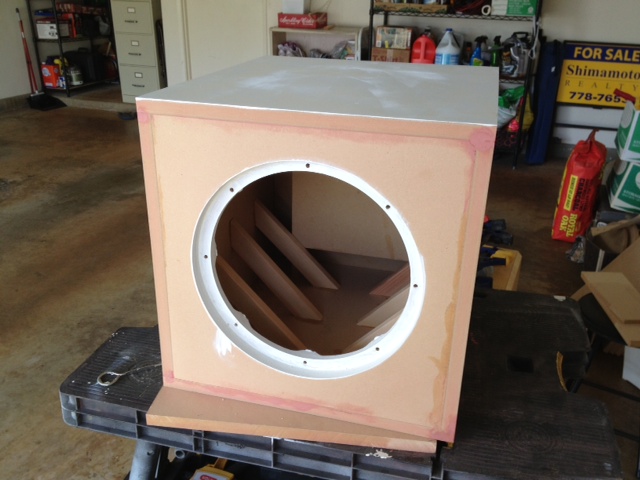
Here is where I ran into my first problem... I wanted to veneer the enclosure using maple veneer. After applying the wood glue on the sub box, I noticed the glue would not adhere on a couple of the surfaces. I found out that the MDF I used on a couple of panels were treated. The surface of the MDF was very smooth and had a polished finish. This prevented the wood glue from penetrating the MDF. The wood glue would peel off in one piece like saran wrap...
If you look at the top of the box, you can see the surface is different over the sides... -
I tried sanding down the top of the box but it did not improve the situation...
I then had to change my plans... I painted the top with Zinsser shellac based primer to see if it would adhere to the box... It did. I then had to change from veneer to painting the box.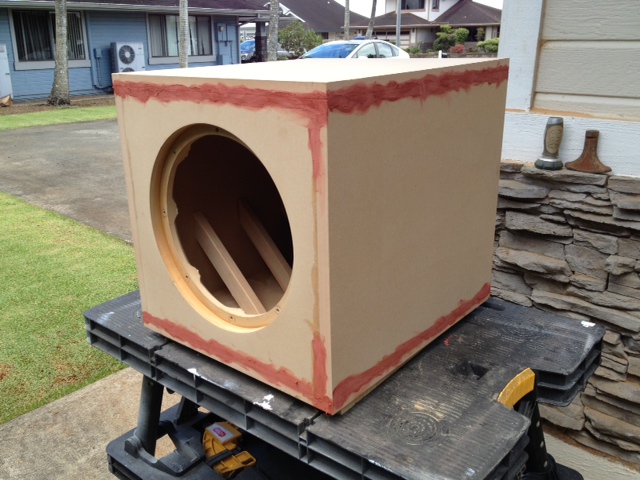
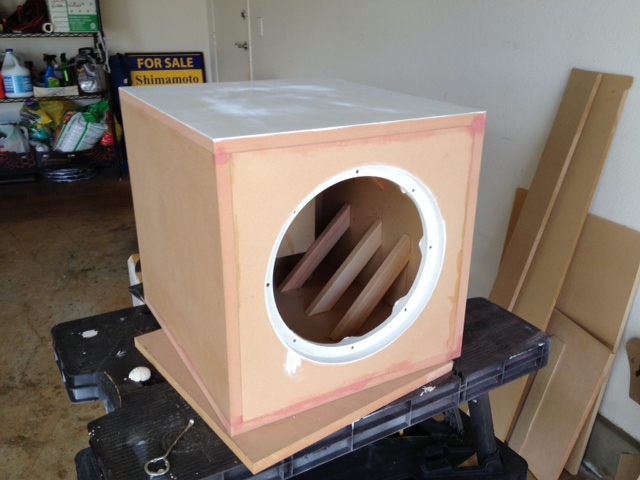
-
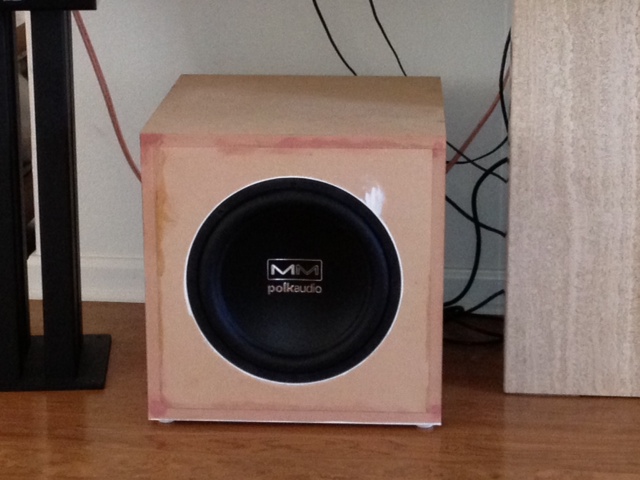
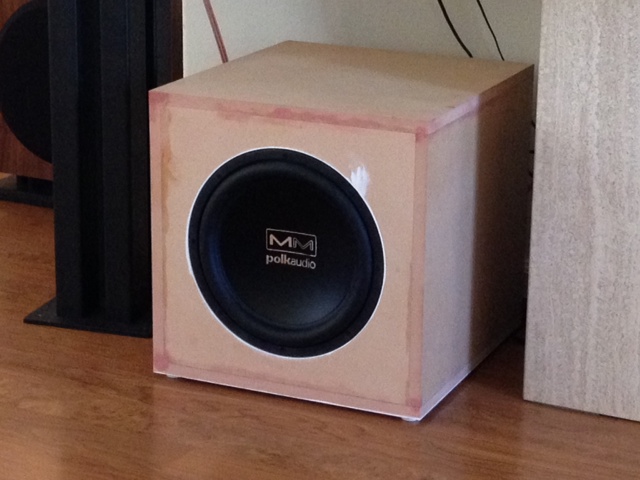
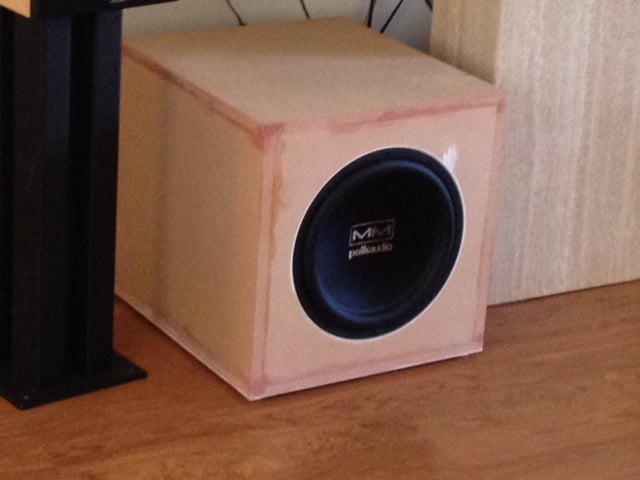
I then decided to assemble the sub to see if there are any issues... i tested it with my Polk RT55i speakers and all was well... The bass was tight and went down pretty low...
-
I then painted the whole box with the Zinsser primer... Remember, when using primer, make sure you do not use water-based or odor-free primers... When you spray lacquers or enamels over it, it will wrinkle and crack like the bottom of a dried bed of a lake. I learned this the hard way...
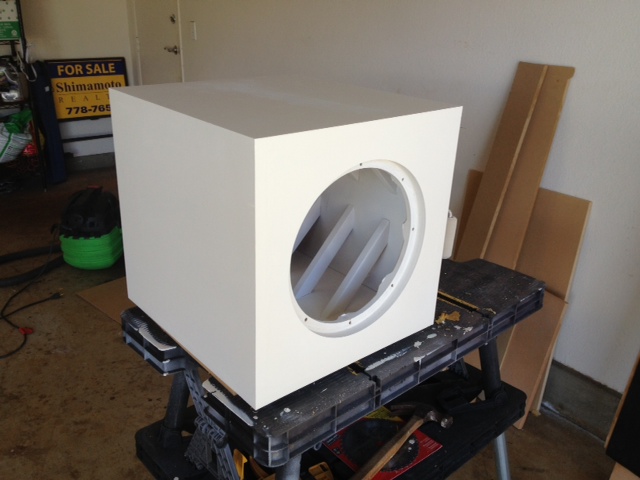
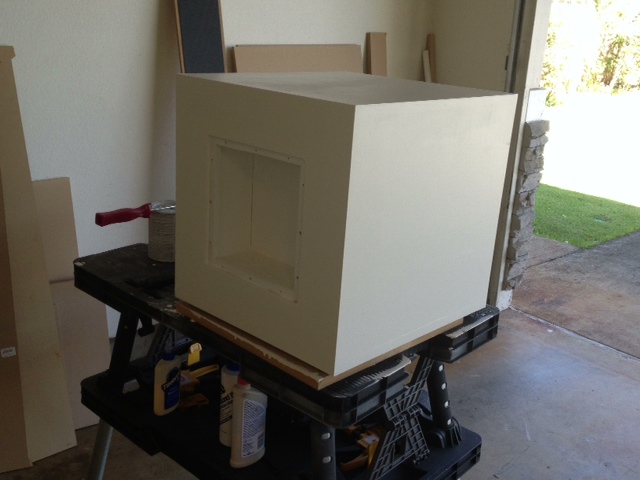
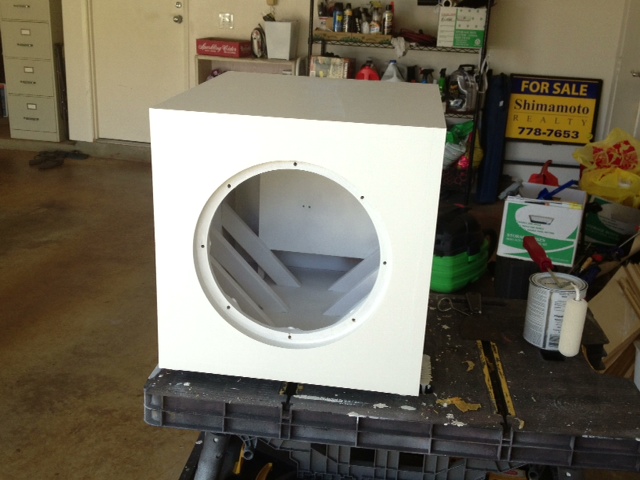
-
My wife did not like the sharp edges of the sub... i used the router and rounded the edges. Reprimered it with the Zinsser. then painted it with black primer... I used the circle I cut out for the driver to prevent any paint getting inside the box...
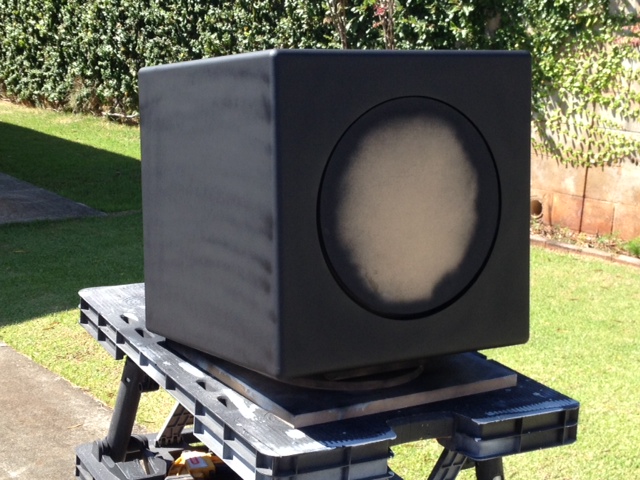
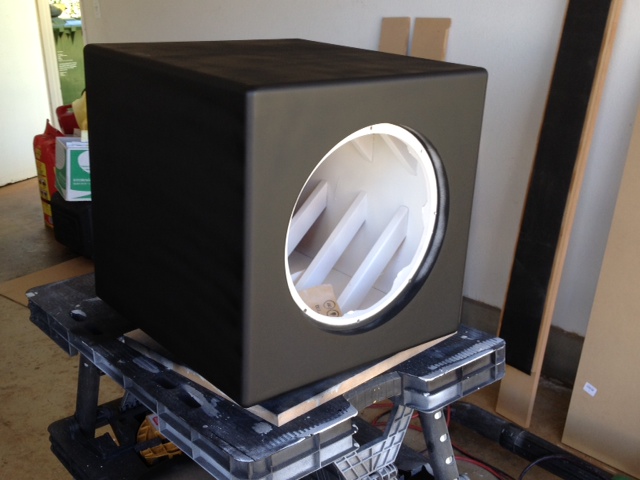
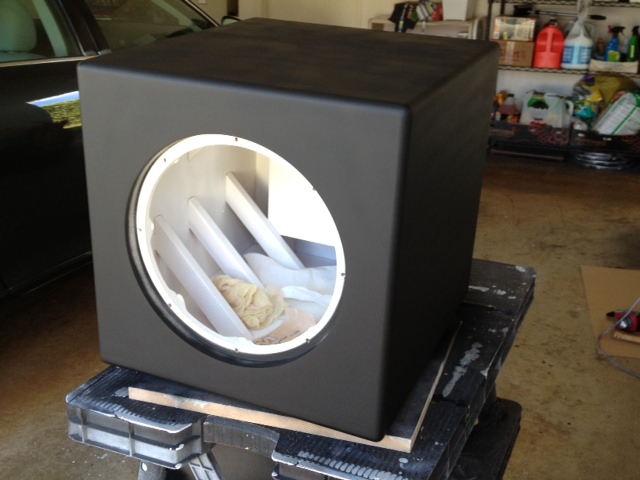
-
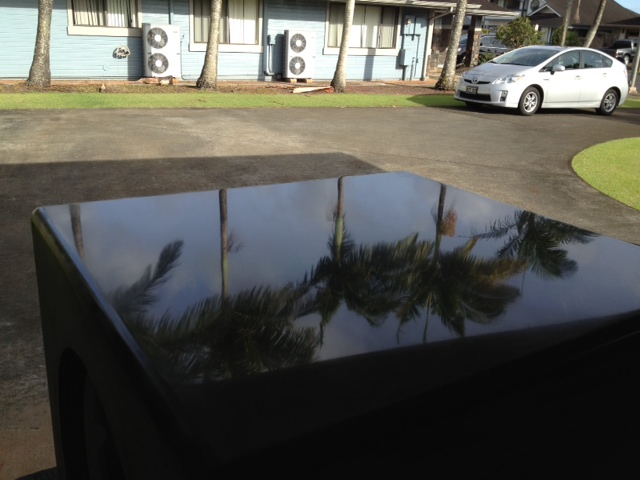
I then painted the box with several layers of metallic black paint... It looked fine until I started sanding the finish down. When i sanded through a layer, I could see it blemish. Bad news...
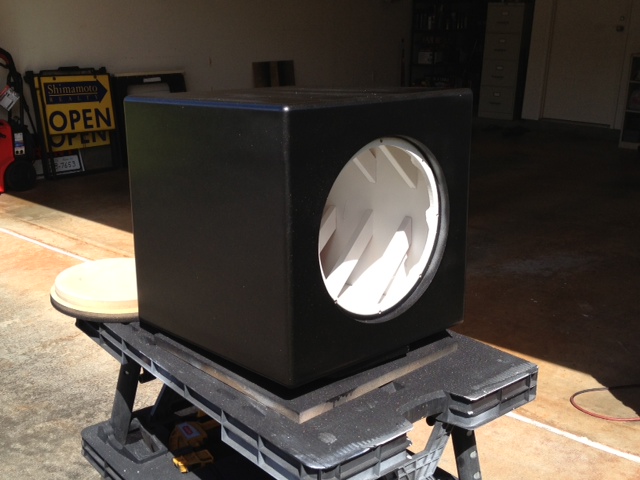
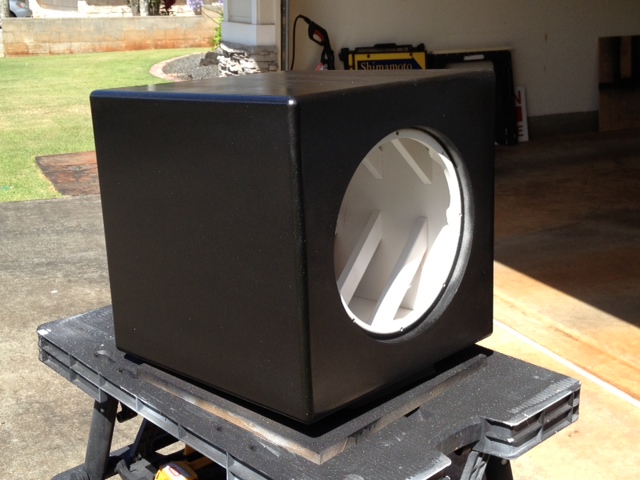

-
Nice work!"Science is suppose to explain observations not dismiss them as impossible" - Norm on AA; 2.3TL's w/sonicaps/mills/jantzen inductors, Gimpod's boards, Lg Solen SDA inductors, RD-0198's, MW's dynamatted, Armaflex speaker gaskets, H-nuts, brass spikes, Cardas CCGR BP's, upgraded IC Cable, Black Hole Damping Sheet strips, interior of cabinets sealed with Loctite Power Grab, AI-1 interface with 1000VA A-L transformer
-
I then had to repaint the box... This time I used Rustoleum Automotive Enamel Gloss Black... i like this paint. it goes on rather smoothly and is run resistant...
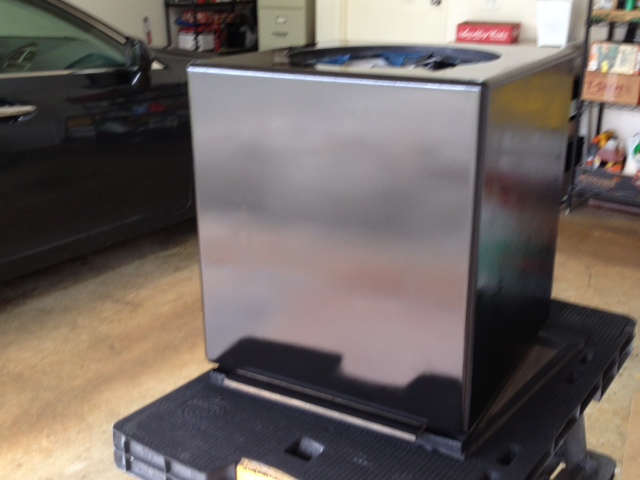
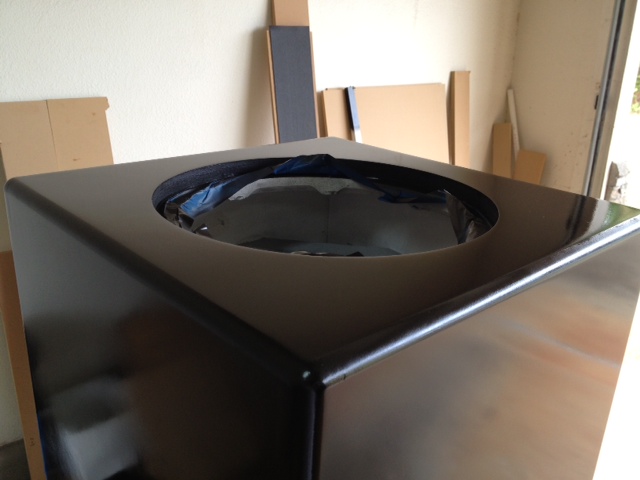
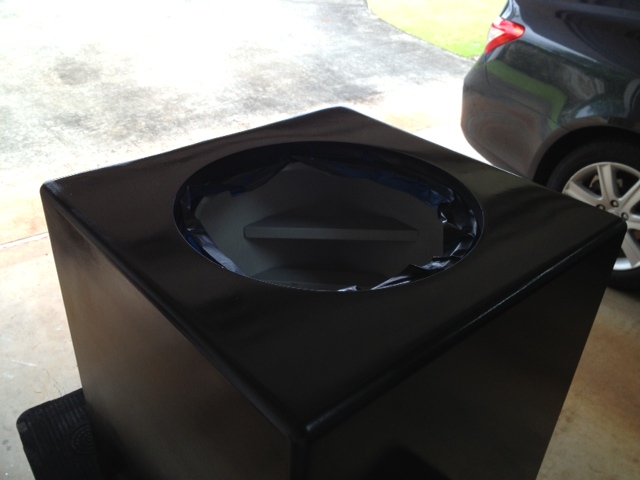

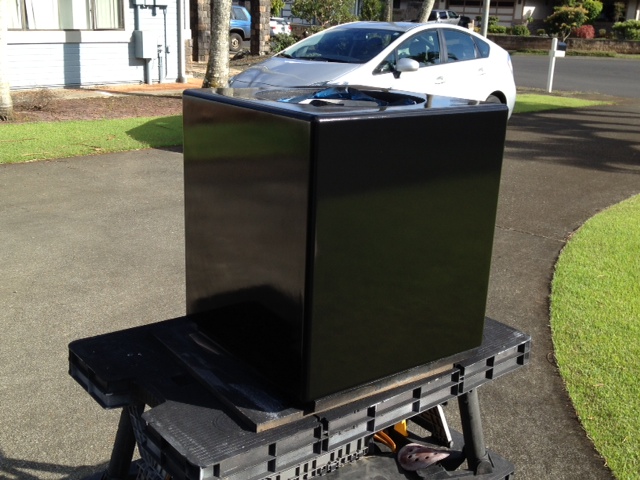
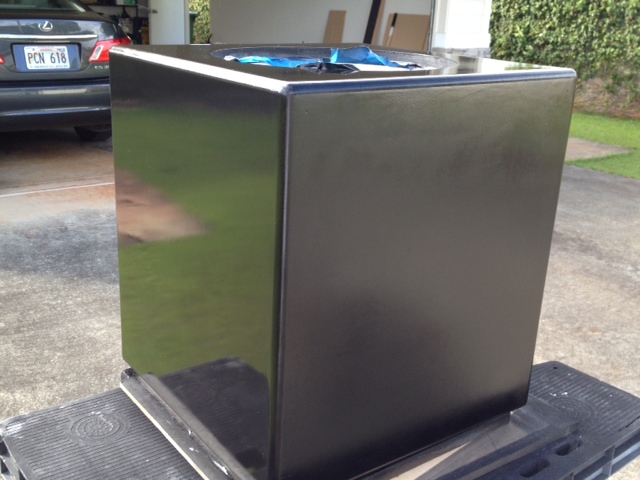
Ignore the right side on this picture... That is the bottom, so i did not finish it completely... -
I sanded down the finish and polished it down... i could have done a better job but got lazy... There are some fine scratches on the surface...
I then assembled the sub, stuffing it with poly-fill to lower the Qtc and started using it... Then I noticed an issue... At louder volumes, the sub made some odd slapping sounds... I could not figure it out... With advice from a moderator from HT Shack, I found out that my speaker gasket was not seated properly... After that, the sub was fine... With only 250-watts, the sub will get loud, but not super loud, I figure max output will be at about 112dB... The bottom end is very tight. i am very happy with the results...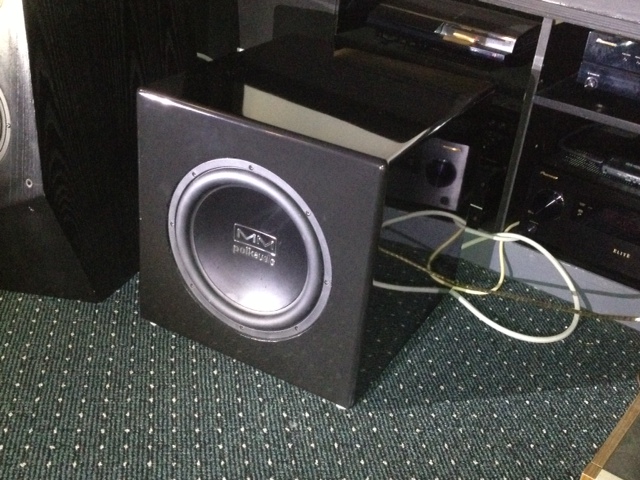
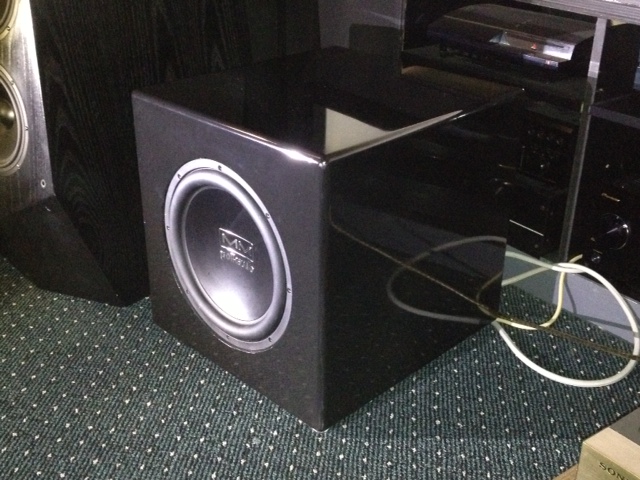
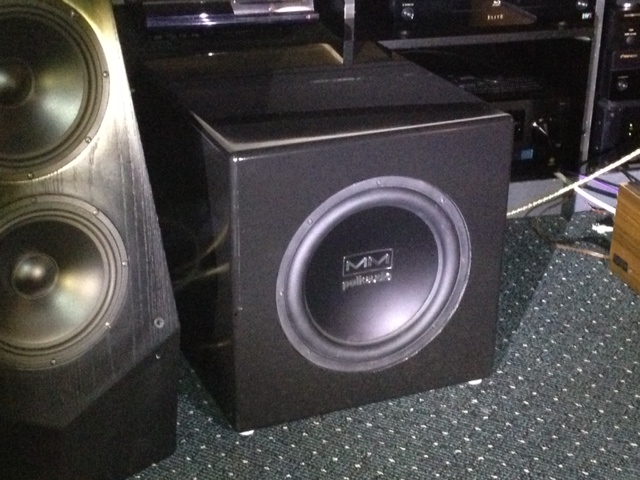
Sorry about the poor quality of the pictures... The room is painted black. Even with 600-watts of lighting and two 500-lumen lights pointed directly at the sub, the pics came out grainy... Just not enough light... -
Thanks for sharing. Nice and congrats!
- Online - Focal Solo6 BE, Polk PSW10, Focusrite Saffire Pro 24 DSP, Lenovo x220t
- Music/HT - Lsi25, Lsi9 (Vr3), Lsi7, LsiC, Pioneer SC-68 & BDP-62FD, PS3
-
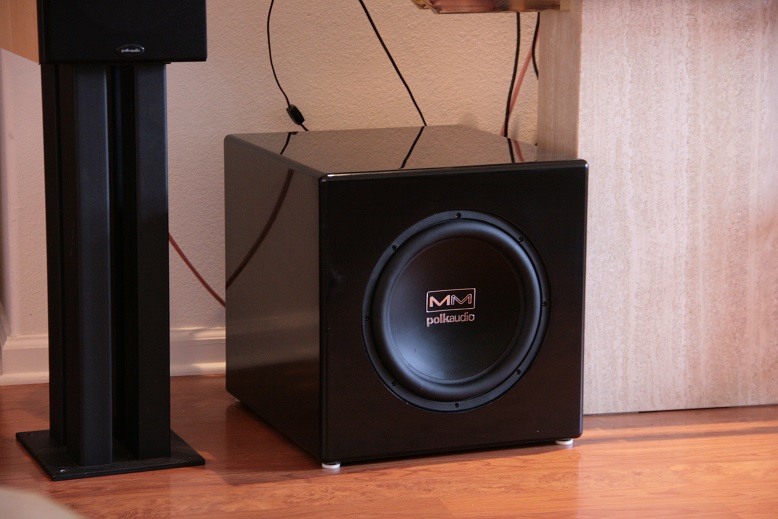
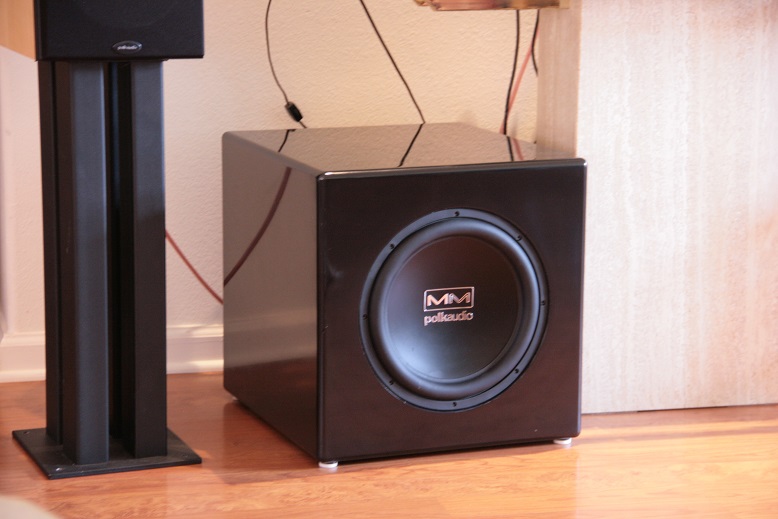
Here's better pics...
I know, the white feet gotta go.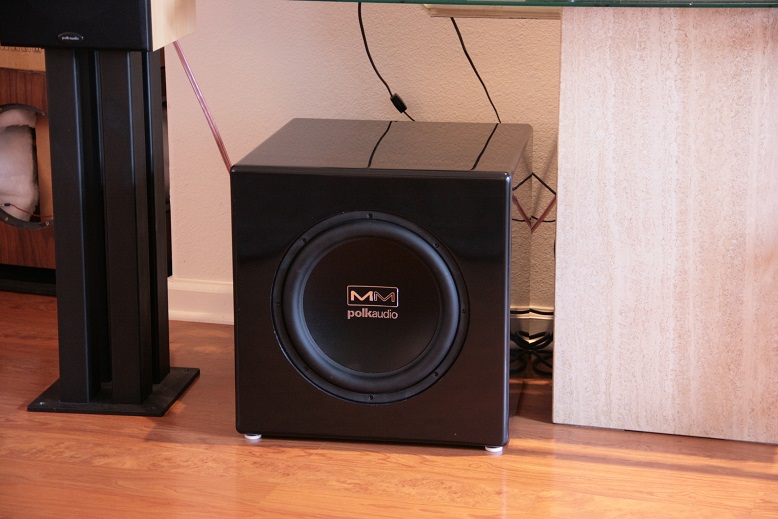
-
Outstanding build imo! Very nice! Reminds me I need to get off my butt and into the shop for a "future project" I keep meaning to do.
Btw....I have found that flea markets can be good sources for cheap tools. Although I did not need it I picked up a Ryobi miter saw for $30 a while back.--Gary--
Onkyo Integra M504, Bottlehead Foreplay III, Denon SACD, Thiel CS2.3, NHT VT-2, VT-3 and Evolution T6, Infinity RSIIIa, SDA1C and a few dozen other speakers around the house I change in and out.
