SDA 2 Schematic
Blacksoldier
Posts: 47
Hello everyone, I am new here and have been lurking in the background for a while. I am the owner of an SDA 2 and I am looking for a schematic to check all the wiring etc. while I am doing a cap upgrade. I have searched but the schematic for the SDA 2 is not shown on here, only SDA 2B etc. Could someone point me in the right direction to get one. Thanks in advance.
Post edited by Blacksoldier on
Comments
-
No one has the information I seek? Still looking for the above mentioned info. Thanks guys.
-
The 2A is here: http://www.polkaudio.com/forums/showthread.php?55888-POLK-AUDIO-Speaker-Wiring-Schematics-amp-More-Stereo-Dimensional-Array(SDA)>
>
>This message has been scanned by the NSA and found to be free of harmful intent.< -
Thanks, but mine is a basic SDA 2. I have already looked over that post.
-
Can you post a pic of your speaker with the grills off?
I'd like to compare your pic to this. (notice the tweeters)
http://www.polksda.com/sda2.shtml2-channelBelles 22A Pre, Emotiva XPA-2 Gen 2, Marantz SA8005, Pro-Ject RPM-10 Turntable, Pro-Ject Phono Box DS3B, Polk Audio Legend L800's, AudioQuest Cable throughout. -
xsmi, thanks for the reply. Those are the same SDA's that I own, except mine has the SL2000 tweeters.
Here is a pic of my SDA 2. -
Hello Blacksoldier,
Welcome to Polk's forum, the SDA2 schematic has been added to the above schematic thread courtesy of Darqueknight.
Cheers, Ken -
http://www.polkaudio.com/forums/showthread.php?135550-Polk-Audio-SDA-1A-SDA-1A-SchematicKenneth Swauger wrote: »Hello Blacksoldier,
Welcome to Polk's forum, the SDA2 schematic has been added to the above schematic thread courtesy of Darqueknight.
Cheers, Ken
Will you also tuck the 1A schematic into the appropriate location in The Repository?
Blacksoldier...Darqueknight? Spooky. -
As you wish.
-
[Elvis Voice]Thankyew, thankyew verra much.[/Elvis Voice]
-
Kenneth Swauger wrote: »Hello Blacksoldier,
Welcome to Polk's forum, the SDA2 schematic has been added to the above schematic thread courtesy of Darqueknight.
Cheers, Ken
Thanks a lot to both Darqueknight and yourself Kenneth. I appreciate your kind help. I have already ordered the caps so I will commence work as soon as they arrive. -
You're welcome! Keep us posted on your progress, take some photos. We love photos!
-

 Kenneth Swauger wrote: »You're welcome! Keep us posted on your progress, take some photos. We love photos!
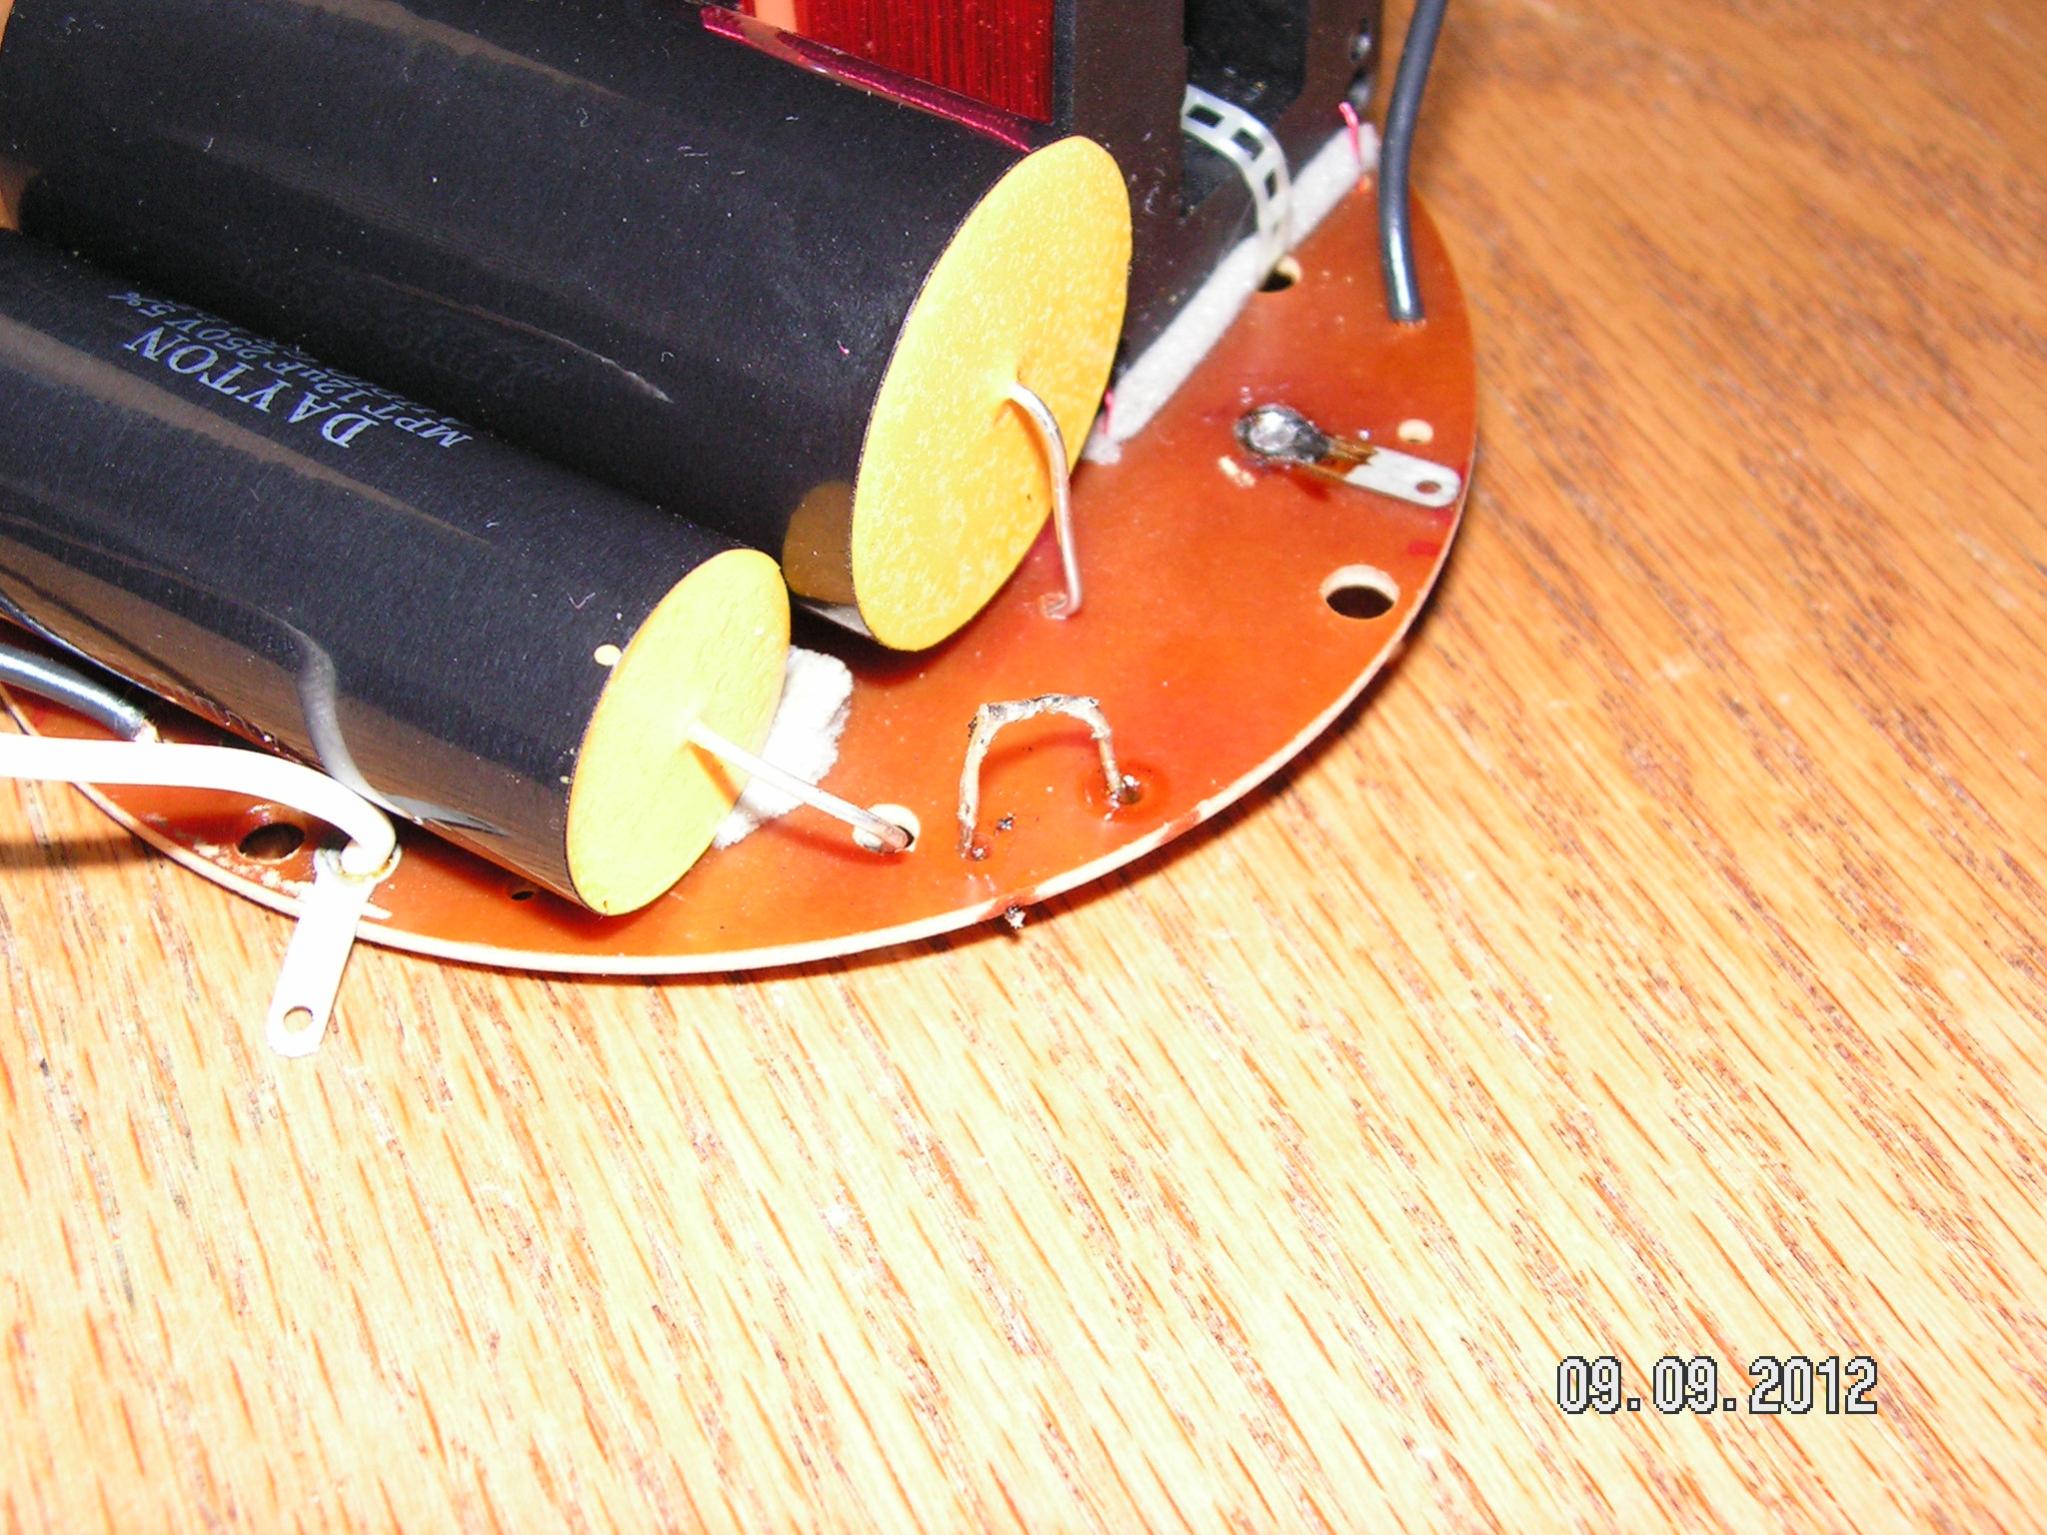
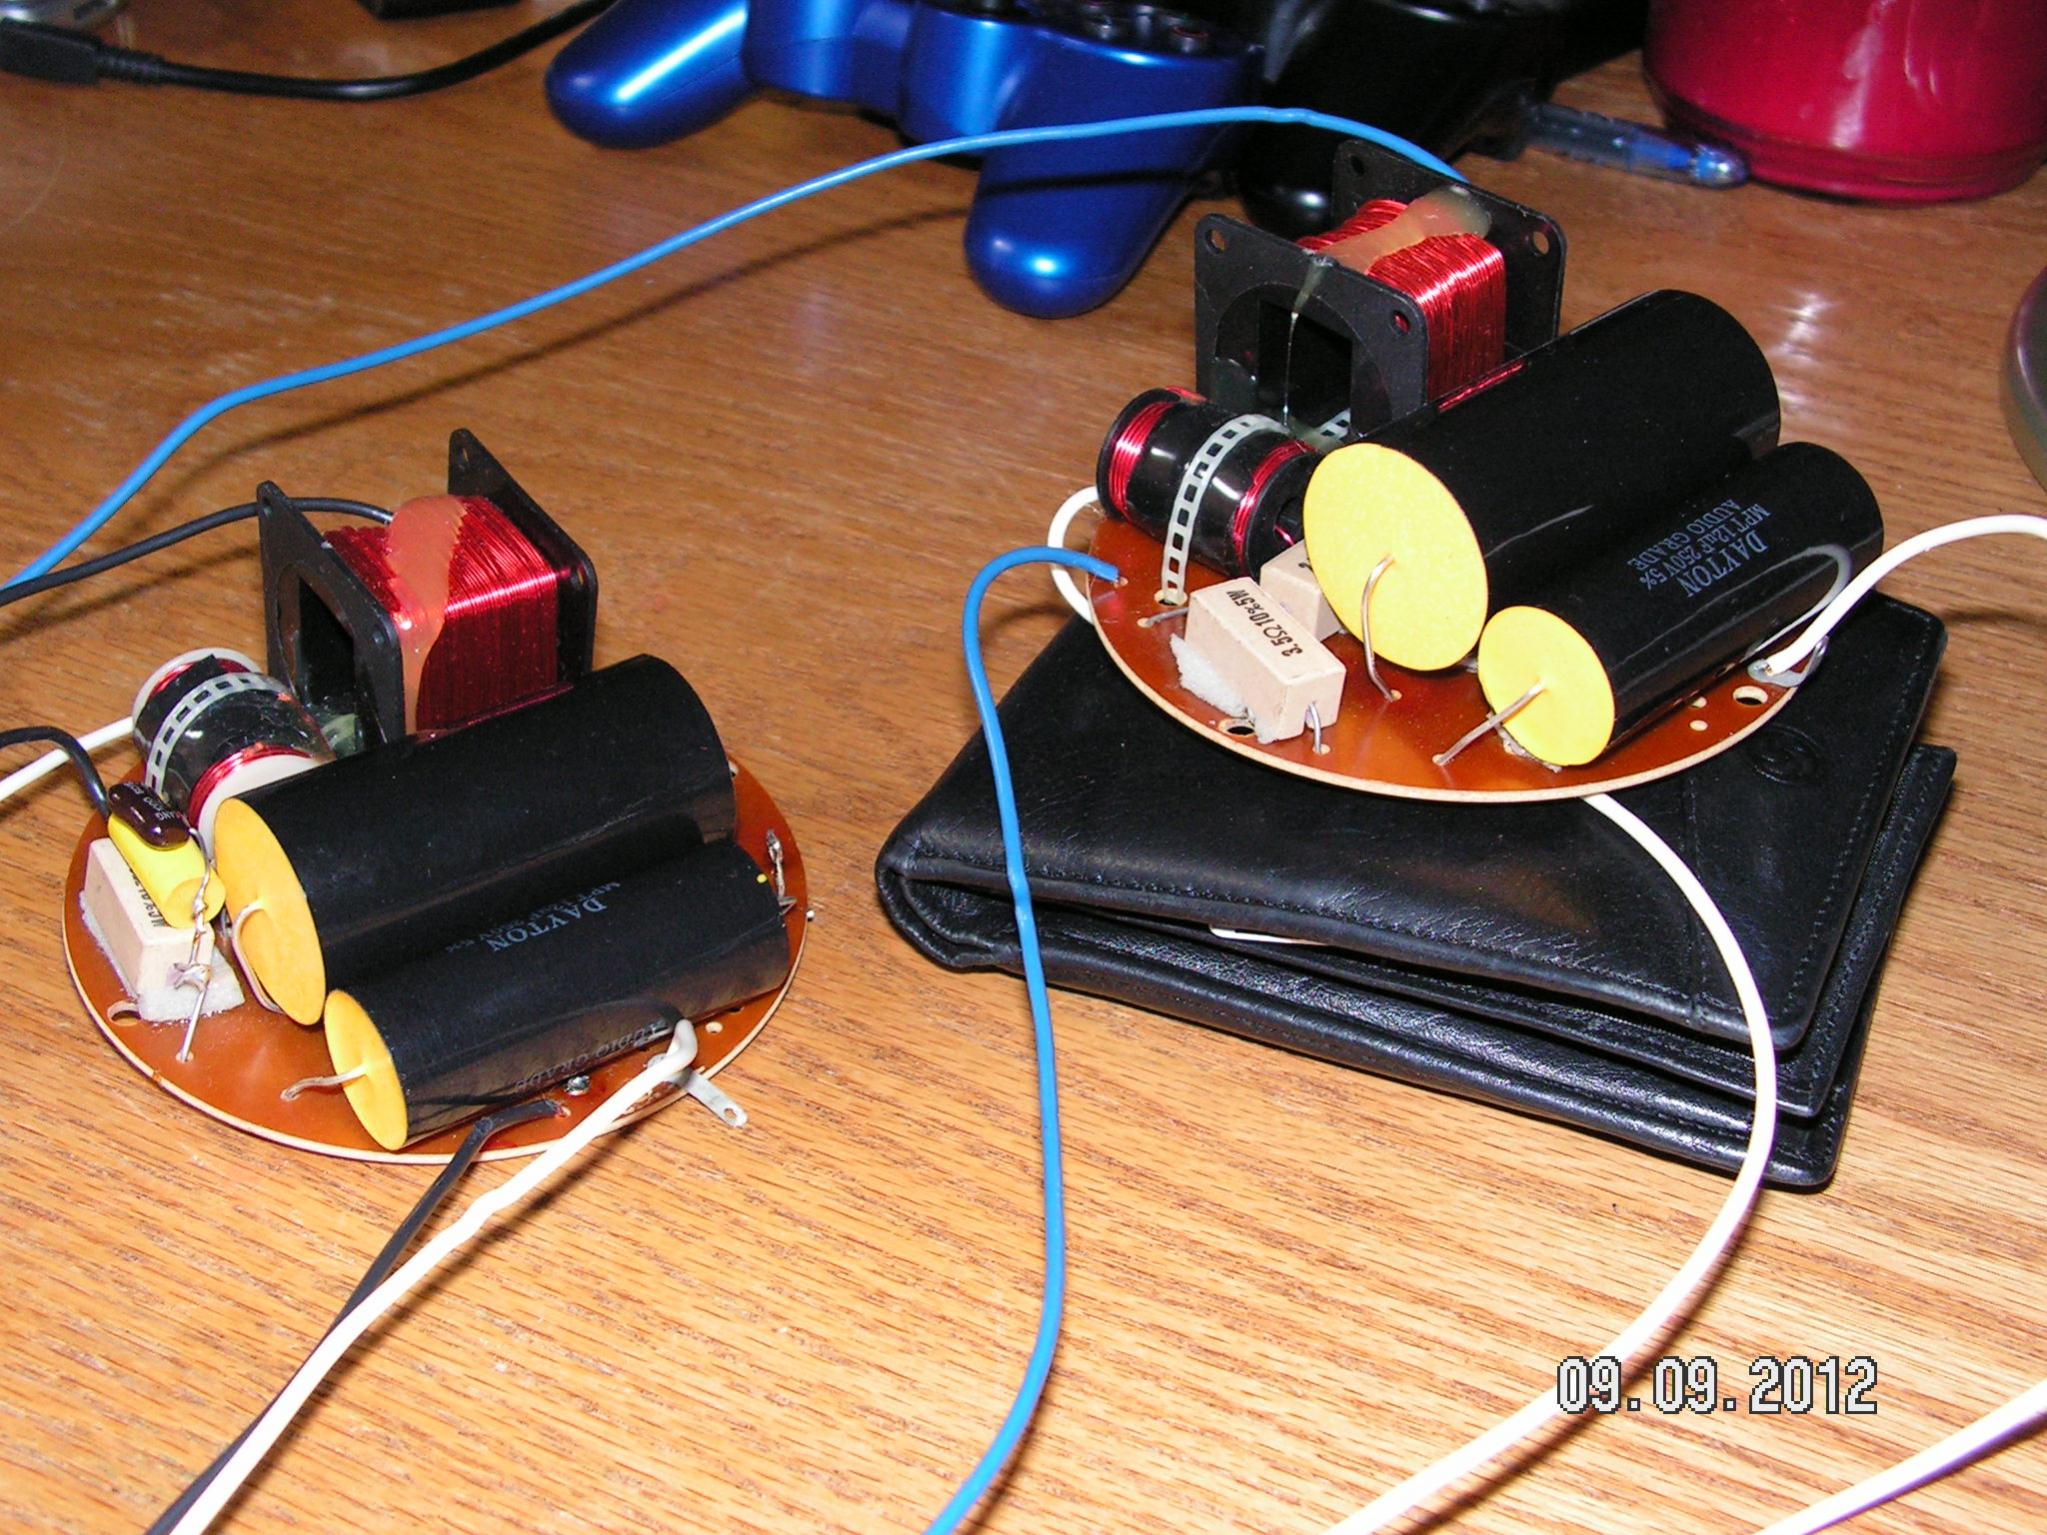
These pics show what I have done so far, which is to replace the 27uf and 12uf capacitors. I have also cut off the tops of the poly switches and soldered the leads together to form a jumper as stated in another thread in this forum. I have not soldered the caps in as yet until I replace the resistors and the .47uf caps. As you can see, the Daytons are pretty big so I want to ensure I can move things around to make it all fit. -
Completed my recaput JB weld on the on the back of each driver as per another thrrad in the forum. My next project is to dynamat the mids and passive radiators. I had to pull the center of all three mids on one cabinet with a pin, but they turned out well. So far they sound awesome. Just hooked them up to my Sony ES receiver and did a complete check to ensure everything was working as they should, and they are. Thanks for the help guys.
I also have a monitor 5 that I plan on recapping next. -
Very cool! I'm glad the update went well, now you can enjoy your effort!
-
Looking good so far BS. I suggest you replace those resistors with Mills 12 watt in the same value. They're only ~ $4 each and will make a nice improvement in clarity and smoothness."Science is suppose to explain observations not dismiss them as impossible" - Norm on AA; 2.3TL's w/sonicaps/mills/jantzen inductors, Gimpod's boards, Lg Solen SDA inductors, RD-0198's, MW's dynamatted, Armaflex speaker gaskets, H-nuts, brass spikes, Cardas CCGR BP's, upgraded IC Cable, Black Hole Damping Sheet strips, interior of cabinets sealed with Loctite Power Grab, AI-1 interface with 1000VA A-L transformer
