Bypass fuse on Monitor 11
Shacky
Posts: 113
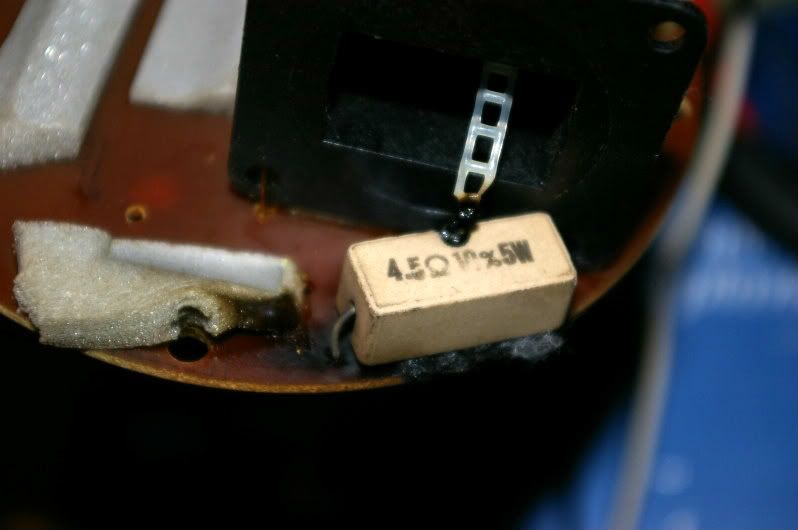
I'm thinking easiest way to bypass fuse on my Monitor 11's is to splice the hot wire in this image rather than dismantling all the coils on back of my terminal. Any thoughts?
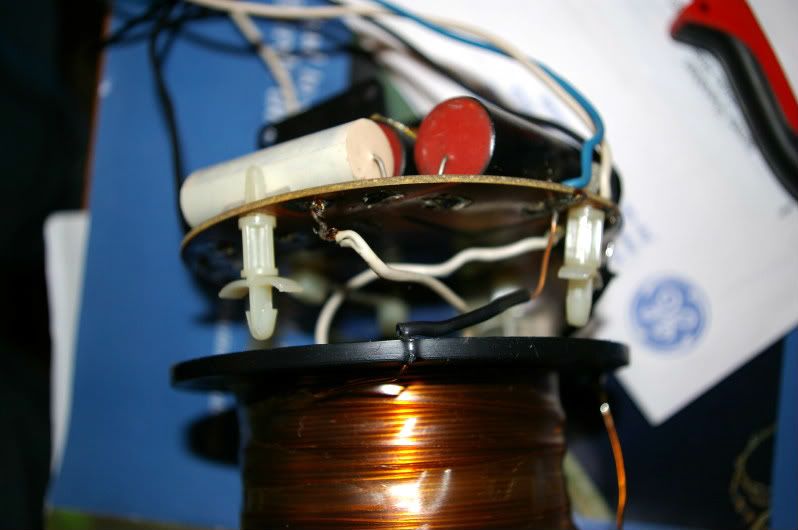
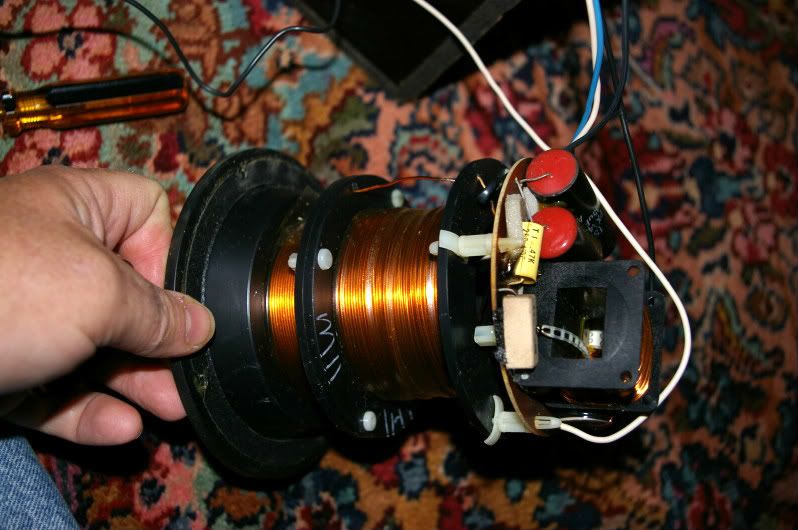
PS I have removed the crossover board from the assembly.


PS I have removed the crossover board from the assembly.
Post edited by Shacky on
Comments
-
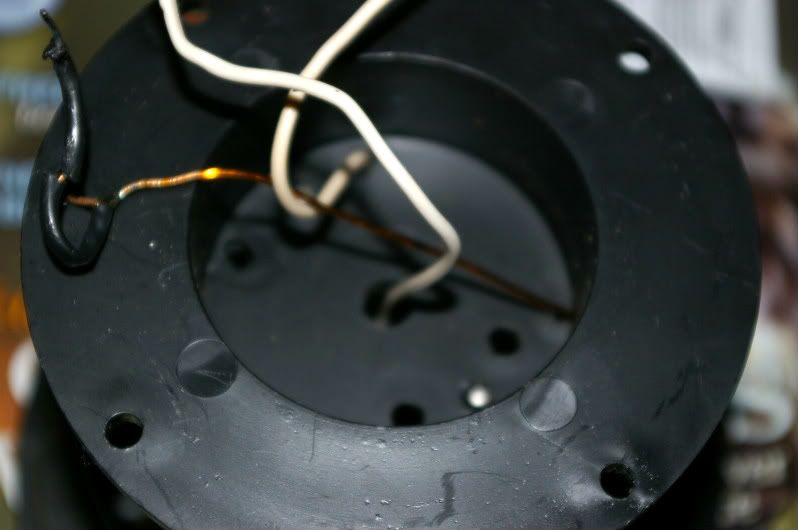
Another shot with crossover removed.
-
No suggestions for bypassing fuse? :sad:
-
Maybe it's just me -- but I don't see a fuse...
-
Yes, I believe that's how I bypassed the fuse on my Monitor 5B's. It was awhile ago so I can't remember exactly, but it did NOT involve dismantling any of the inductors or any other parts. Simple cut and splice to keep continuity.
H9"Appreciation of audio is a completely subjective human experience. Measurements can provide a measure of insight, but are no substitute for human judgment. Why are we looking to reduce a subjective experience to objective criteria anyway? The subtleties of music and audio reproduction are for those who appreciate it. Differentiation by numbers is for those who do not".--Nelson Pass Pass Labs XA25 | EE Avant Pre | EE Mini Max Supreme DAC | MIT Shotgun S1 | Pangea AC14SE MKII | Legend L600 | BlueSound Node 3 - Tubes add soul! -
Maybe it's just me -- but I don't see a fuse...
Normally it's located on the terminal cup where the binding posts are. It's not shown in the photo's.
H9"Appreciation of audio is a completely subjective human experience. Measurements can provide a measure of insight, but are no substitute for human judgment. Why are we looking to reduce a subjective experience to objective criteria anyway? The subtleties of music and audio reproduction are for those who appreciate it. Differentiation by numbers is for those who do not".--Nelson Pass Pass Labs XA25 | EE Avant Pre | EE Mini Max Supreme DAC | MIT Shotgun S1 | Pangea AC14SE MKII | Legend L600 | BlueSound Node 3 - Tubes add soul! -
Thanks H9!
Yes I assumed folks knew the fuse is on other side of terminal.
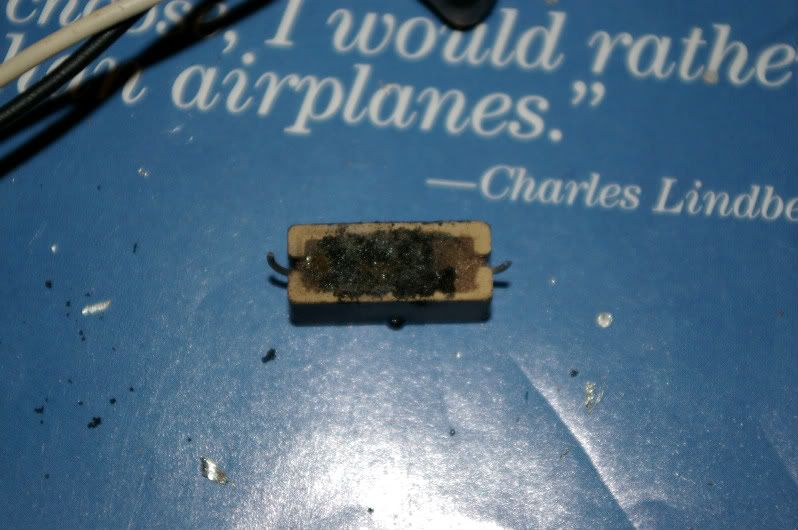
Have some char from burnt resistor on PCB. Others suggested I coat with krylon or even JB Weld to prevent any semi conductivity. -
If it's charred it was overheated, go with a larger wattage resistor or don't underpower the speaker. Also a little rule of thumb is when you mount the new resistor don't set flush on the pcb, leave an air gap between the pcb and bottom of the resistor. Air circulation helps.
If you are redoing the x-over always replace the resistors with Mills wirewound non-inductive. Most of use the 12Watt vs. the 5Watt.
H9"Appreciation of audio is a completely subjective human experience. Measurements can provide a measure of insight, but are no substitute for human judgment. Why are we looking to reduce a subjective experience to objective criteria anyway? The subtleties of music and audio reproduction are for those who appreciate it. Differentiation by numbers is for those who do not".--Nelson Pass Pass Labs XA25 | EE Avant Pre | EE Mini Max Supreme DAC | MIT Shotgun S1 | Pangea AC14SE MKII | Legend L600 | BlueSound Node 3 - Tubes add soul! -
Yes replacing with Mills 12 W. Here are some pictures of the old resistor. The mid driver was shot on this speaker. Not sure if it was shifted magnet or burnt VC from this issue. Both fuses were blown which saved the Peerless tweeters. All done by previous owner sho was using low end Sony AVR at ear piercing levels. Not what I will be doing for sure.
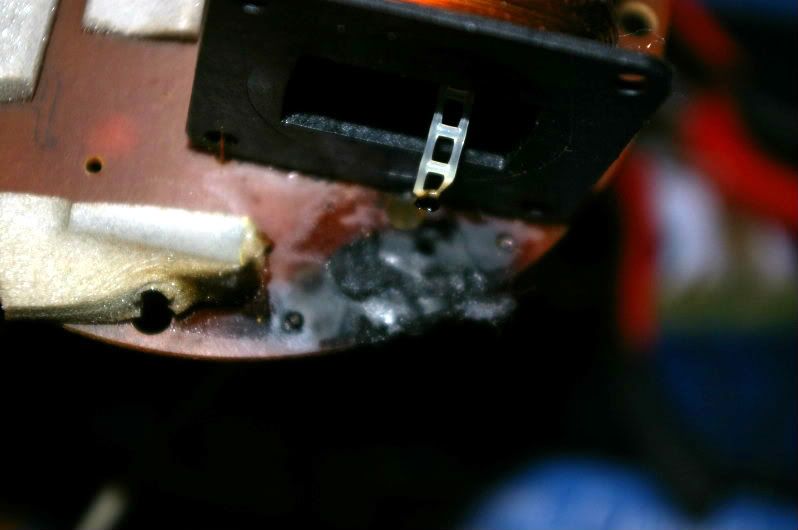
-
Toasty!!!

Be sure the traces are still good.
H9"Appreciation of audio is a completely subjective human experience. Measurements can provide a measure of insight, but are no substitute for human judgment. Why are we looking to reduce a subjective experience to objective criteria anyway? The subtleties of music and audio reproduction are for those who appreciate it. Differentiation by numbers is for those who do not".--Nelson Pass Pass Labs XA25 | EE Avant Pre | EE Mini Max Supreme DAC | MIT Shotgun S1 | Pangea AC14SE MKII | Legend L600 | BlueSound Node 3 - Tubes add soul! -
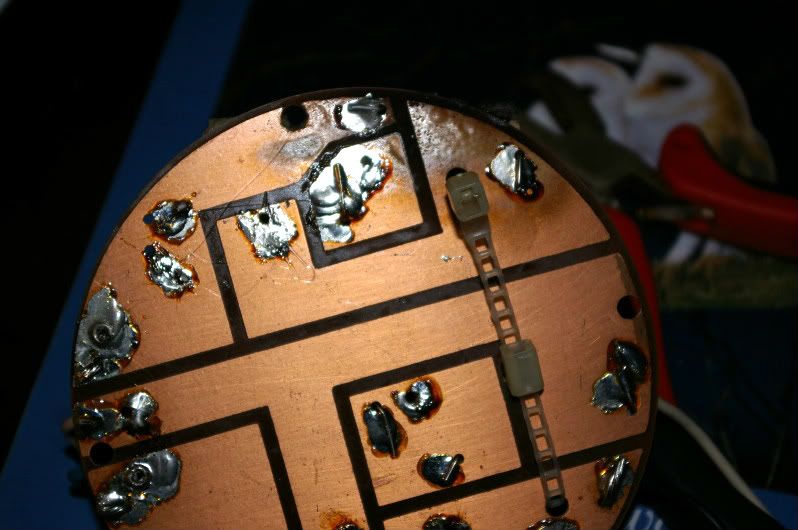
Other side:
-
Well splicing that white wire didn't work. Now that I study it more that white wire coming through middle hole is ground. The other white wire coming through outer hole in coil mount is the hit wire from fuse to tweeter. It must be connected to the positive terminal underneath all thos coils.
Looks like I'm going to keep fuse in circuit as I do not want to go down that worm hole. -
Redid wiring leaving fuse in place. For those looking at this down the road the center white wire coming through the coils is ground. The outer white wire is tweeter positive from fuse. As best I can tell you have to remove the coils from terminal plate if you want to bypass fuse from inside.
Hope that makes sense.

