SDA SRS 2 need CPR and ICU life support
Options
Comments
-
Hearty statue- you are spot on about the help and expertise here in this group! If you read the entire thread (which turned out to be quite a book.... You saw that I couldn't have done it without this group. Thanks for the props and compliment. It was a fun project and VERY rewarding. Kept me busy and in the basement shop late nights through the holidays ( fun for me)... And it even was the catalyst for teaching my two young sons (7 & 9) how to solder, even though the 7 year old burned himself a little. But he'll only do that once!
Thanks though. I'd do it again in a heartbeat. Still loving them. Still hoping to help out the next guy that takes it on. -
Still sounding great. Time to start thinking about center channel to match them in a 7.1 HT system. So if these guys are amped with ext. amp in the 150/200 wpc range... 1) what center channel would be a good match to them? And 2) would I be able to get away with powering the center with 100 watts directly from the AVR? Or need to ext amp it too? Currently the fronts are pre-outed from the AVR. And all other channels to be amplified outs from the AVR.
Thoughts? -
If the AVR supplies clean power, and your center/surround speakers don't present too low of an impedance, I don't know why you couldn't run the center (and surrounds) directly from the AVR. I'd expect the AVR has gain compensation to match the loudness of the main L and R. (Truth to be told, I run my center channel considerably louder than the main L and R, because otherwise the spoken dialog isn't appropriately intelligible.)
-
I first got a CS2 but it just didn't sound right. Then I was told a CS400 and Polk told me (on the Facebook page) a CSia6 is a good match. I got a CsiA6 for $250 from newegg great match later found out a CsiA5 is about the same just older model. The AVR should be enough for front and 2 surroundsPOLK SDA 2.3 TLS BOUGHT NEW IN 1990, Gimpod/Sonic Caps/Mills RDO-198
POLK CSI-A6 POLK MONITOR 70'S ONKYO TX NR-808 SONY CDP-333ES
PIONEER PL-510A SONY BDP S5100
POLK SDA 1C BOUGHT USED 2011,Gimpod/Sonic Caps/Mills RDO-194
ONKYO HT RC-360 SONY BDP S590 TECHNICS SL BD-1 -
I'm still looking for a respectable amp to power my pair (SDA SRS 2).
I've run across two Harman Kardons that look interesting in the $300 range. Any preferences on the Citation 22 versus the PA-2400?
Is $300 a decent price, used?
Are they common ground, as needed for these speakers?
Thanks for any insight! -
I'm reading that the HK Citation 22 is a "dual mono amp". Does that mean that it is not common ground?
-
Maybe. Aragon advertises "Dual Mono"; but it's really only on the + side, the negative side is either common-ground or common-ground with some resistance. The 8008BB has ~20 ohms between the channels, bypassable with a foot of jumper wire connecting the two channels at the negative binding posts.I'm reading that the HK Citation 22 is a "dual mono amp". Does that mean that it is not common ground?
Dual-mono CAN mean separate negative-side grounds, but it doesn't have to. -
Thanks for the input Schurkey. If I go look at this amp I'll take my DMM and measure. True Common Ground will give me little or no resistance. Or you say "some resistance". Do you have an idea of a level of resistance that it would be unacceptable? When I measure, how do I know if its good for my speakers or not?
Thanks very much!!! -
OK, measured amp. Common ground showing .5 ohm resistance. Bought the amp. NIIIIICE!!!! Its in good shape. He "said" it was rarely used. I just happen to believe him.
-
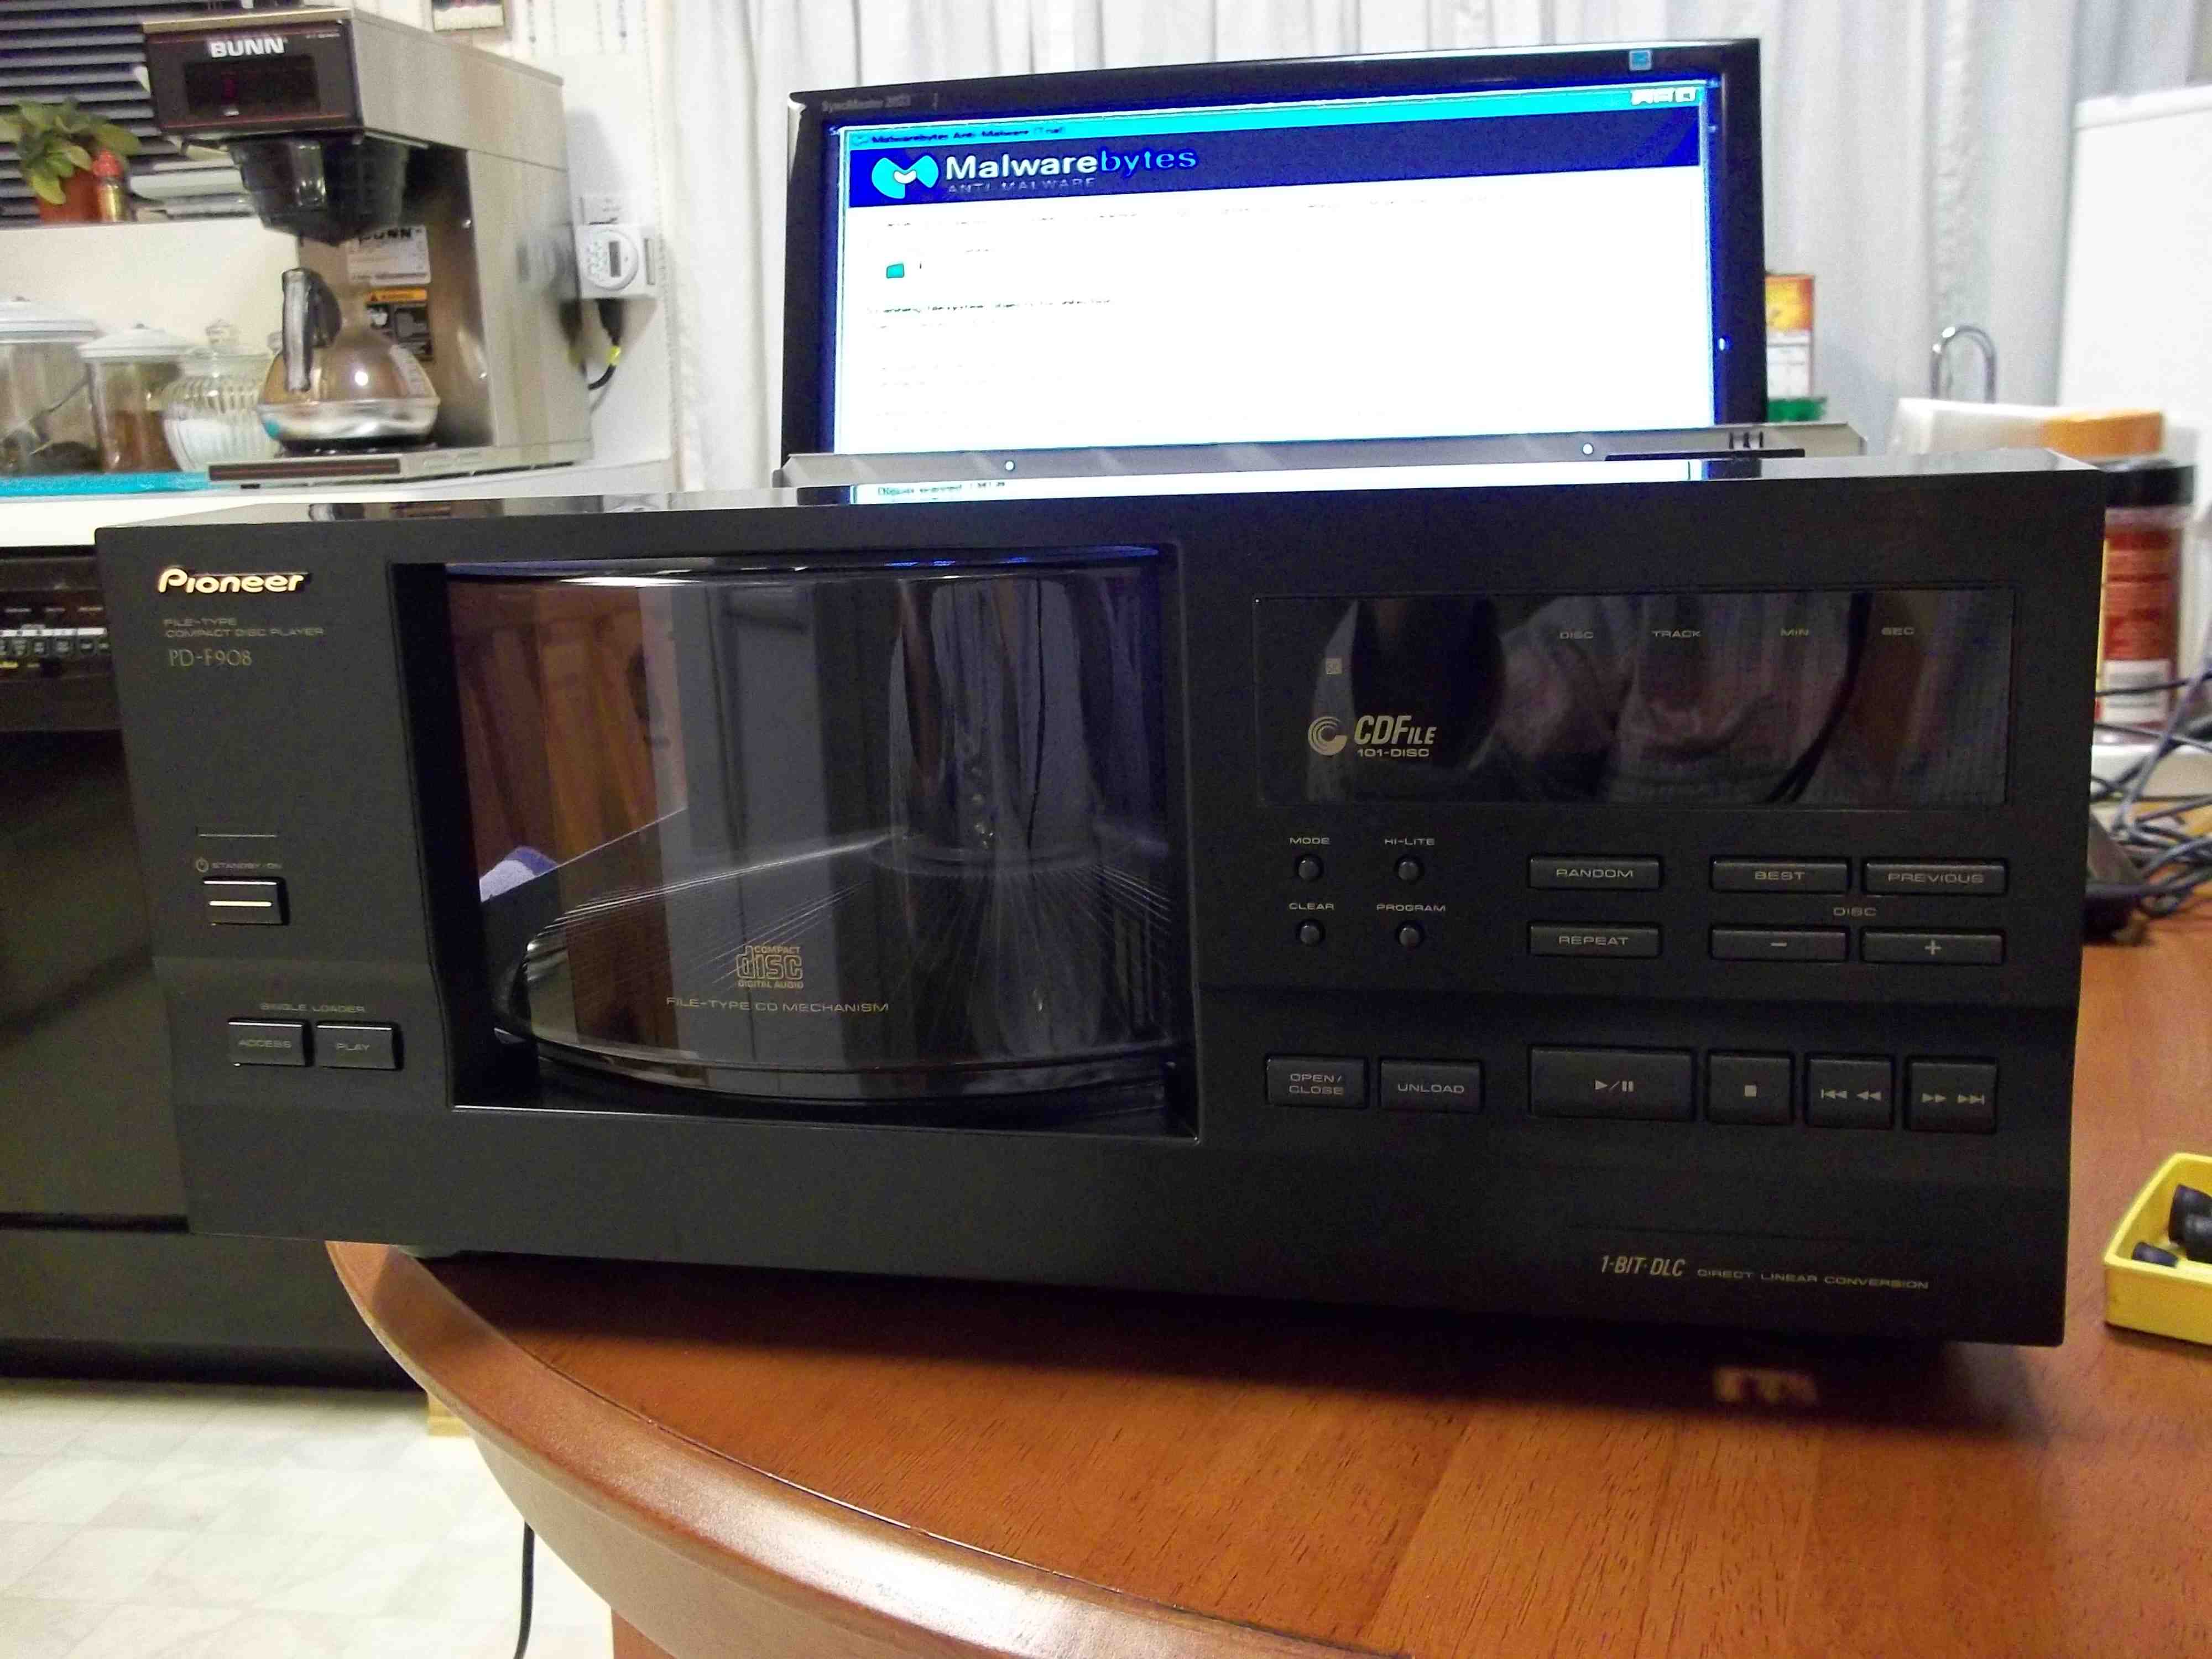
I just scored a nice Yamaha Natural Sound cd/DVD player to replace my nasty Sony with issues. I was getting static fuzz in the quiet parts of songs. And, the HK citation amp was a little unbalanced to being 5-10% higher on the right side. Was worried I had connector problems with the static, though I had replaced all cables. And I thought the unbalanced channels were amp problems.
Replacing the old Sony 200 cd mega storage player with the Yamaha DVD S1700 solved both problems. Back in really good sound. Best yet. Over 200 hours since mods and couldn't be happier.
The Yamaha was at the same goodwill store I found the speakers at. $15 for the Yamaha. Not the best cutting edge, but certainly a steal and upgrade for me. -
So "MR Bargain" I got this at Goodwill last weekend for $20

 I just scored a nice Yamaha Natural Sound cd/DVD player to replace my nasty Sony with issues. I was getting static fuzz in the quiet parts of songs. And, the HK citation amp was a little unbalanced to being 5-10% higher on the right side. Was worried I had connector problems with the static, though I had replaced all cables. And I thought the unbalanced channels were amp problems.
Replacing the old Sony 200 cd mega storage player with the Yamaha DVD S1700 solved both problems. Back in really good sound. Best yet. Over 200 hours since mods and couldn't be happier.
The Yamaha was at the same goodwill store I found the speakers at. $15 for the Yamaha. Not the best cutting edge, but certainly a steal and upgrade for me.POLK SDA 2.3 TLS BOUGHT NEW IN 1990, Gimpod/Sonic Caps/Mills RDO-198
POLK CSI-A6 POLK MONITOR 70'S ONKYO TX NR-808 SONY CDP-333ES
PIONEER PL-510A SONY BDP S5100
POLK SDA 1C BOUGHT USED 2011,Gimpod/Sonic Caps/Mills RDO-194
ONKYO HT RC-360 SONY BDP S590 TECHNICS SL BD-1 -
-
Well I guess that's an accurate opinion from someone that knows all about them. I have a Carver that only plays one and skips so I guess it is better?ken brydson wrote: »You got ripped off
 POLK SDA 2.3 TLS BOUGHT NEW IN 1990, Gimpod/Sonic Caps/Mills RDO-198
POLK CSI-A6 POLK MONITOR 70'S ONKYO TX NR-808 SONY CDP-333ES
PIONEER PL-510A SONY BDP S5100
POLK SDA 1C BOUGHT USED 2011,Gimpod/Sonic Caps/Mills RDO-194
ONKYO HT RC-360 SONY BDP S590 TECHNICS SL BD-1 -
Well I guess that's an accurate opinion from someone that knows all about them. I have a Carver that only plays one and skips so I guess it is better?
My bad. Your post showed a big blank white space when I posted. That's what I was referring to. No offense intended. the pic is showing now...Nice grab -
Thanks ken you had me going as I thought you know something bad about this varmit, like it makes your cd's start peeling or something :eek:ken brydson wrote: »My bad. Your post showed a big blank white space when I posted. That's what I was referring to. No offense intended. the pic is showing now...Nice grabPOLK SDA 2.3 TLS BOUGHT NEW IN 1990, Gimpod/Sonic Caps/Mills RDO-198
POLK CSI-A6 POLK MONITOR 70'S ONKYO TX NR-808 SONY CDP-333ES
PIONEER PL-510A SONY BDP S5100
POLK SDA 1C BOUGHT USED 2011,Gimpod/Sonic Caps/Mills RDO-194
ONKYO HT RC-360 SONY BDP S590 TECHNICS SL BD-1 -
OK Polk friends.... I've come a LOOOONG way since my introduction to the Polk SDA SRS world back last November. I've reread those first couple of pages here and to be honest, I had no idea what I had or what I was getting into. You guys probably all knew that, it was me that didn't know what I didn't know!
Anyway, now 7 months later, I'm looking back, and ahead. Funny to look back at some of the elementary stuff you guys were dragging me through. Heck, I'd just picked the ugly beasts up from Goodwill and knew nothing about them. I've had newer Polks, but to be frank, never knew Polk had vintage stuff until I saw these. I was too "college poor" in the late 80s and mid 90s to even know.
But today, I look back on this project with pride. I never felt I was in over my head, even though without some of your help I sure would have been. And it was a very fun project to waste away some winter hours in the basement. Thanks!
But I'm also looking ahead. I mentioned somewhere in the thread that these Polks were the impetus to move forward faster on my dedicated AV room system... which makes me need to move forward faster on my dedicated AV/Home theater project. Its all starting to flow now. I'm looking for a second PSW450 to dual wield those in the theater. Looking for a CSi A5 too, someone said was a good timbre match. Thanks too for some help finding the separate amp, the HK Citation 22, while older, was a great improvement. I'm having fun with this sound. It is amazing. Well over 200 hours of burn in. After 200 hours of lower level, I've found myself with some more at-home time when the family is gone, and am now getting some 75% volume burn in. Wow these things move some air and deliver some sound pressure.
Anyway, just wanted to touch base and say hi, and thanks again. Rereading this reminds me how much of a really helpful and great group of folks there are out there. Maybe some new pics when the theater room starts coming together.


